Back from Alaska

I haven’t updated this blog for a couple years now. We’ve used the trailer for three trips. The first was the shakedown- we got up into British Columbia, Canada in the summer of 2017, but it got too hot and we came home. Then we went to Arizona, New Mexico, and a little into southern Colorado in September 2018. That was fun. But the big trip was up through British Columbia and Yukon, Canada to Alaska.

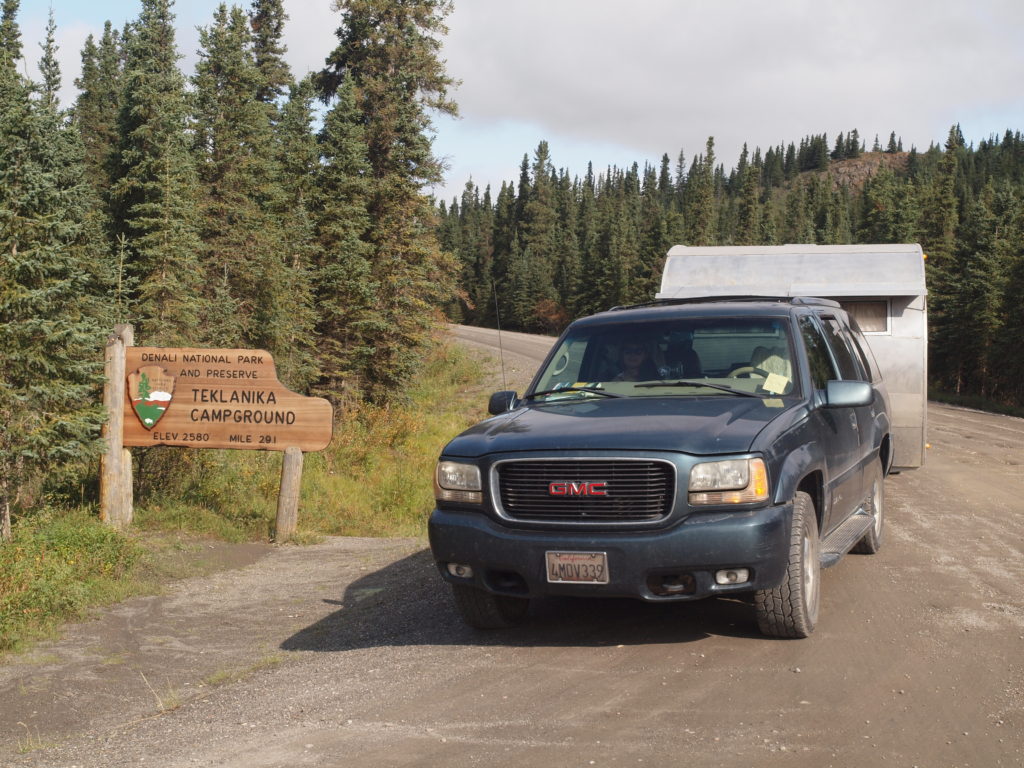
We got to Denali National Park. We were lucky on the weather. For those of you who aren’t from the U.S., Denali is known for having the tallest mountain in North America and a huge area of truly wild country. There is a single road from the entrance to Wonder Lake, a bit over 90 miles in. Normally visitors aren’t allowed to take their cars beyond the entry area, but if you have a reservation for the Teklanika campground you can go there. It’s 29 miles in. You leave your car there, and you can either walk or ride the buses that come along virtually every half hour. We went to Teklanika.

Arrived At Teklanika

Fewer than half the people who visit Denali actually see the Mountain. (People who live there rarely say “Denali”, or its old name of “Mount McKinley. It’s just “the mountain”.) It’s so tall it makes its own weather. According to the ranger we talked to, normally Denali park gets 14 inches of precipitation a year. Half falls as rain and half as snow. In the month before we got there, Denali got 18 inches of rain. The road was closed and the bulldozers just got it opened two days before we got there. We rode the bus out to Eilsen visitor center, which is the best view of the mountain. That day it looked like this:

Denali

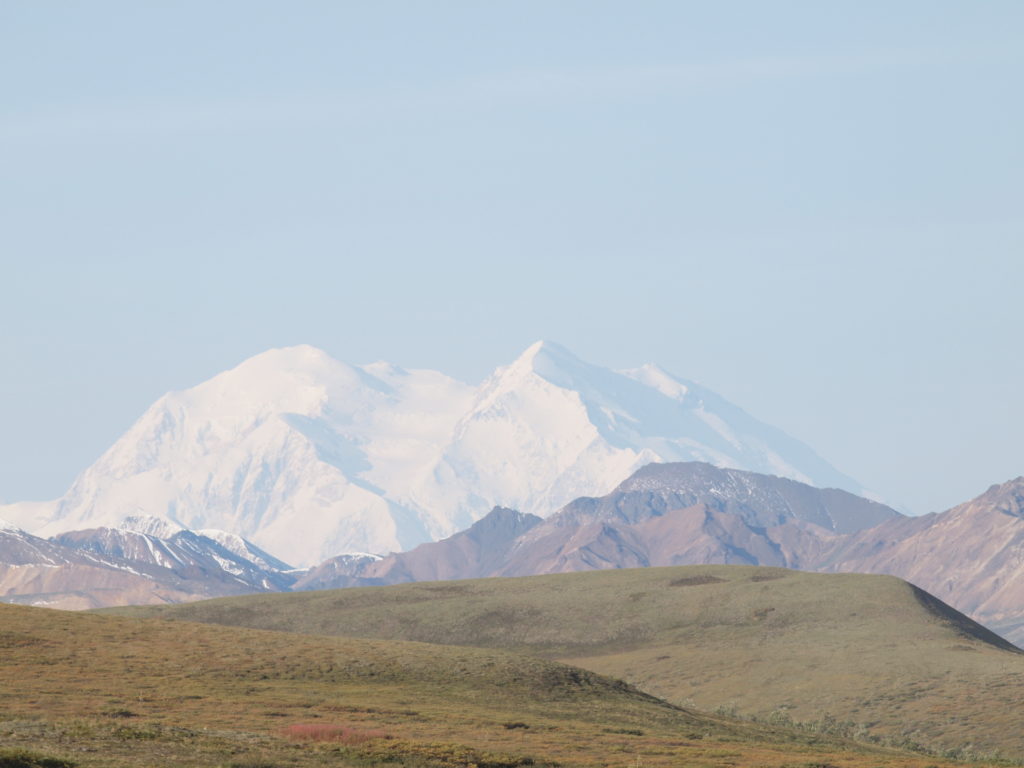
And the next day it was overcast. We were there for six days and it never again was clear like this.

We had intended to go to the coast, which is beautiful in a different way, but there were several major wildfires in the areas we wanted to go. My wife has serious asthma, and if we drove past a major wildfire that trip would end in the nearest emergency room.

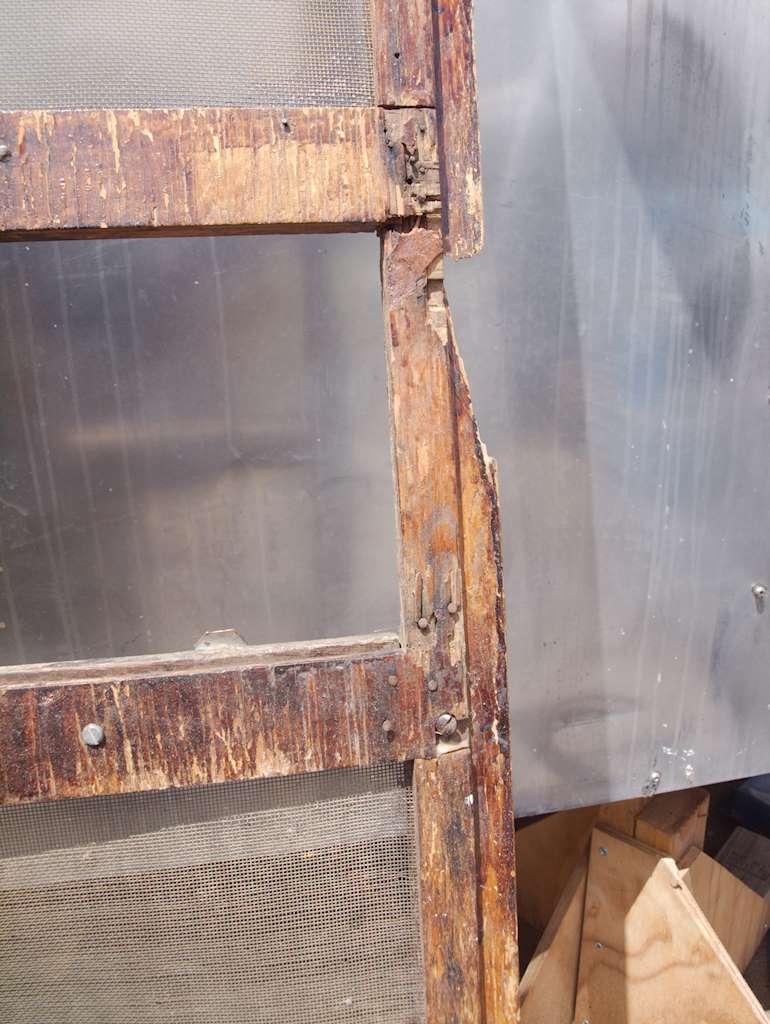
We drove the Denali Highway back. Horrible dirt road- the bouncing did some damage to the trailer but nothing I can’t fix. This picture was taken somewhere around here.

Denali Highway, looking at the Gulkana Glacier

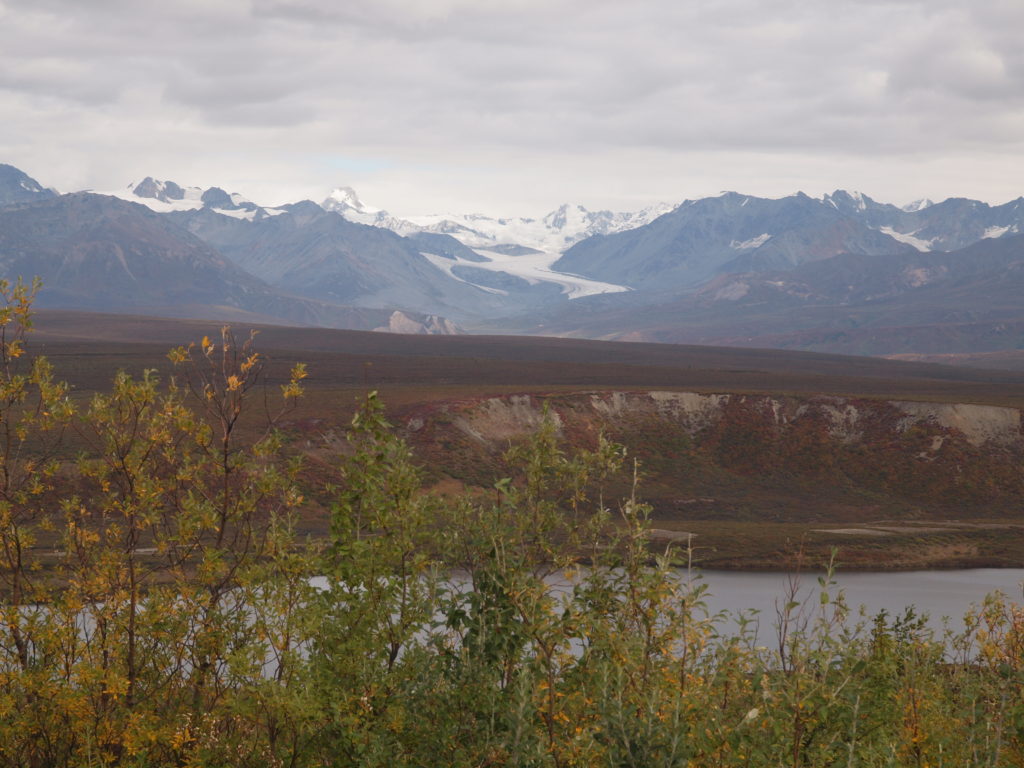
The land in this picture belongs to the Ahtna first nations tribe. (Formerly known as American indians, which if you know geography is pretty silly. They mostly prefer to be called first nations.)

Here’s what’s special about this area, and much of Alaska. If you’ve never been there it’s hard to imagine how wild this is. Imagine you were in great shape and had excellent outdoor skills. Further imagine you had a helicopter available to drop you whatever you needed where and when you needed it, so you could go over mountains and cross rivers and marshes. To keep things simple, when you cross a road you immediately go far enough to the side so you don’t cross that road again as it winds back and forth.

If you walk north from here, in eight or ten miles you’ll hit a major highway. In Alaska that means a two-lane paved highway. As you cross it, look left and right. You might see a sign, and you might see one or two cars or trucks as you cross, assuming you cross in daylight during the summer. You probably won’t see a building or secondary road. In another 150 or so miles you’ll cross another similar road. In about another 300 miles you’ll reach the Arctic Ocean without seeing another road or building.

If you walk west, in 110 miles or so you’ll cross another similar road. Then in 400 miles you’ll stand on the shores of the north Pacific ocean. With luck you might see some walruses.

If you walk south, in 75 miles or so you’ll cross another road. You’ll cross in a more populated area, so you probably will see a building or two as you cross. In another 100 miles or so you’ll see the Pacific Ocean, either in Prince William Sound or the Copper River Delta.

If you walk east, in 75 miles or so you’ll cross another road. In 40 miles or so you’ll cross another. 30 or 40 miles after that you’ll be in Canada, but you’ll have to walk another 100 miles or so to find a road and people who can tell you that.

March 17, 2017

Today was a big day.  I completed the floors. I had to pull the furnace to do that, and I replaced it. I built a housing for it.  Now it looks like this:
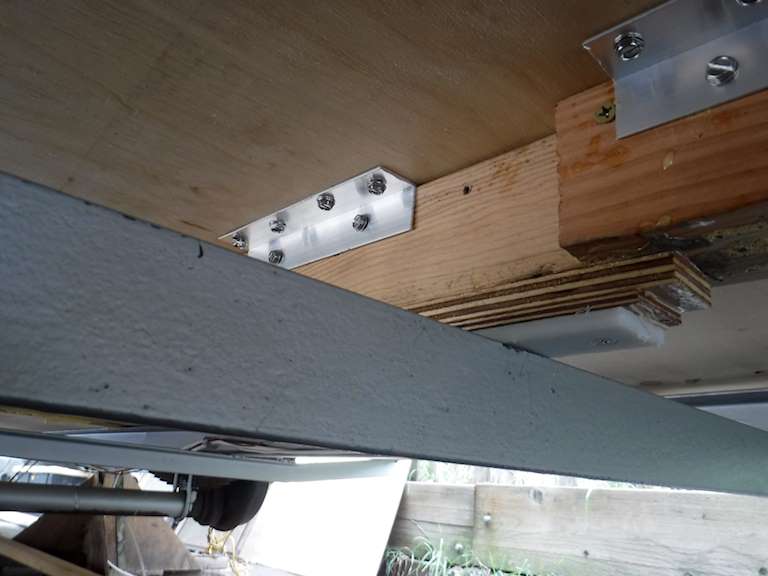
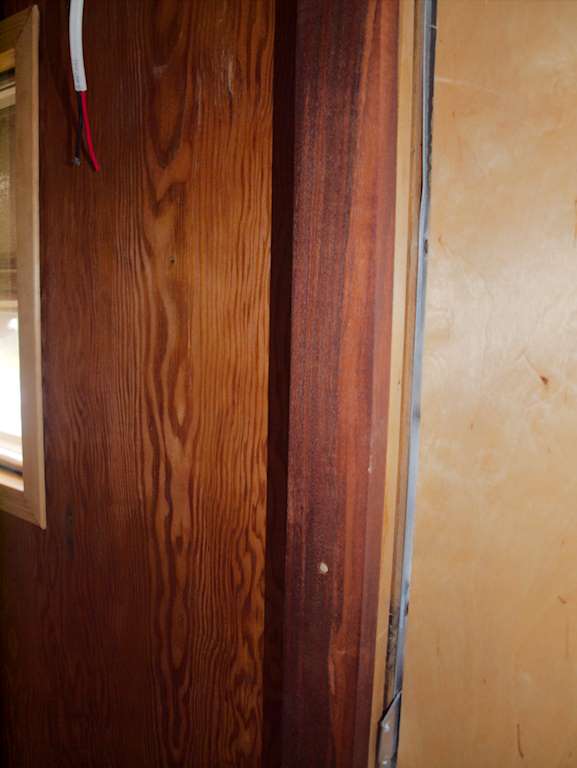
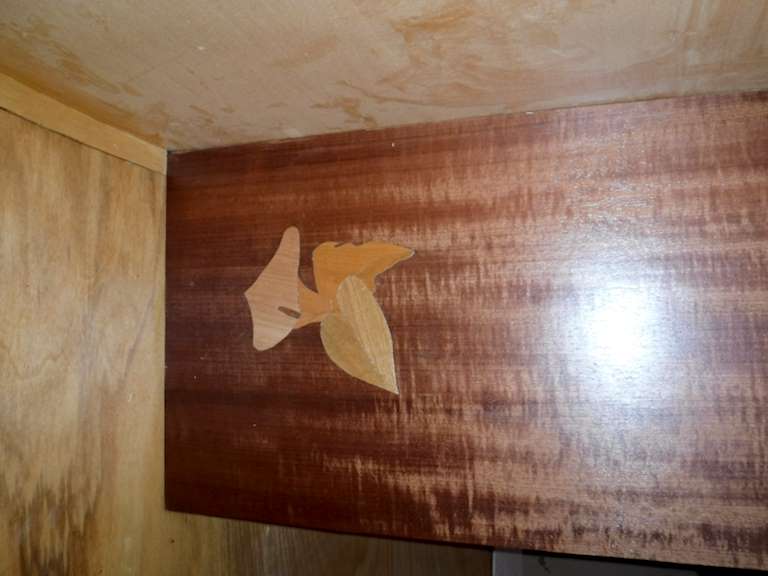
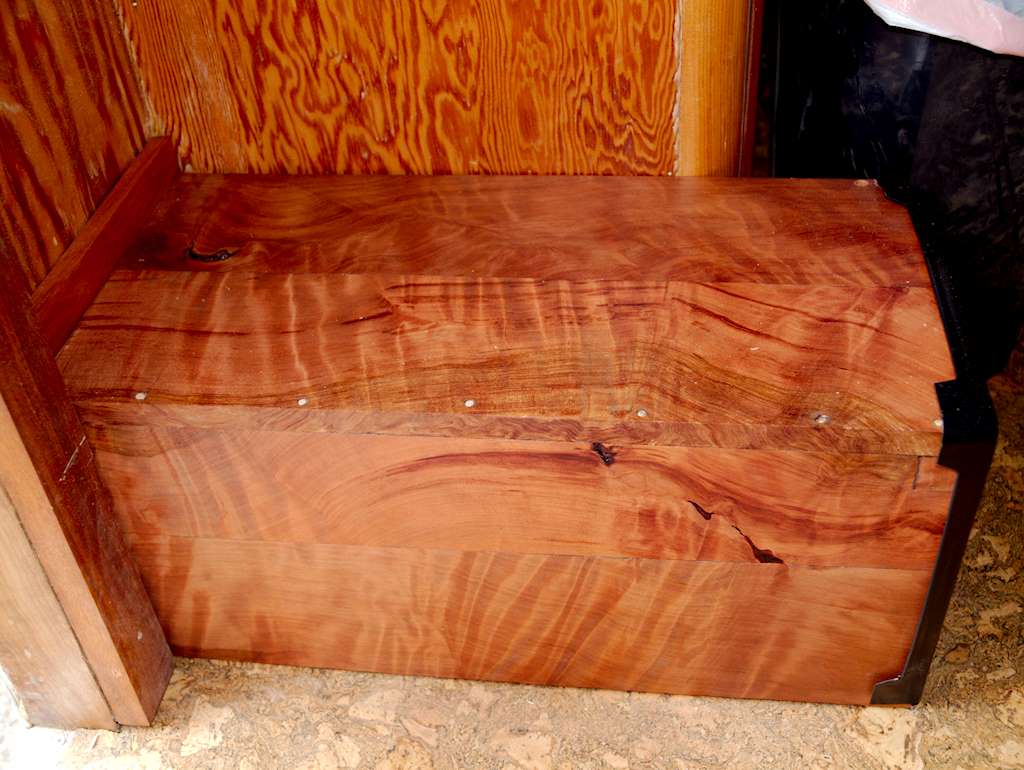
I love that curly redwood.  This is just inside the front door, on the left.  I’ve been working on the solar charging system.  I got two 260 watt solar panels. I made a support structure out of aluminum angle.  In operation they look like this:
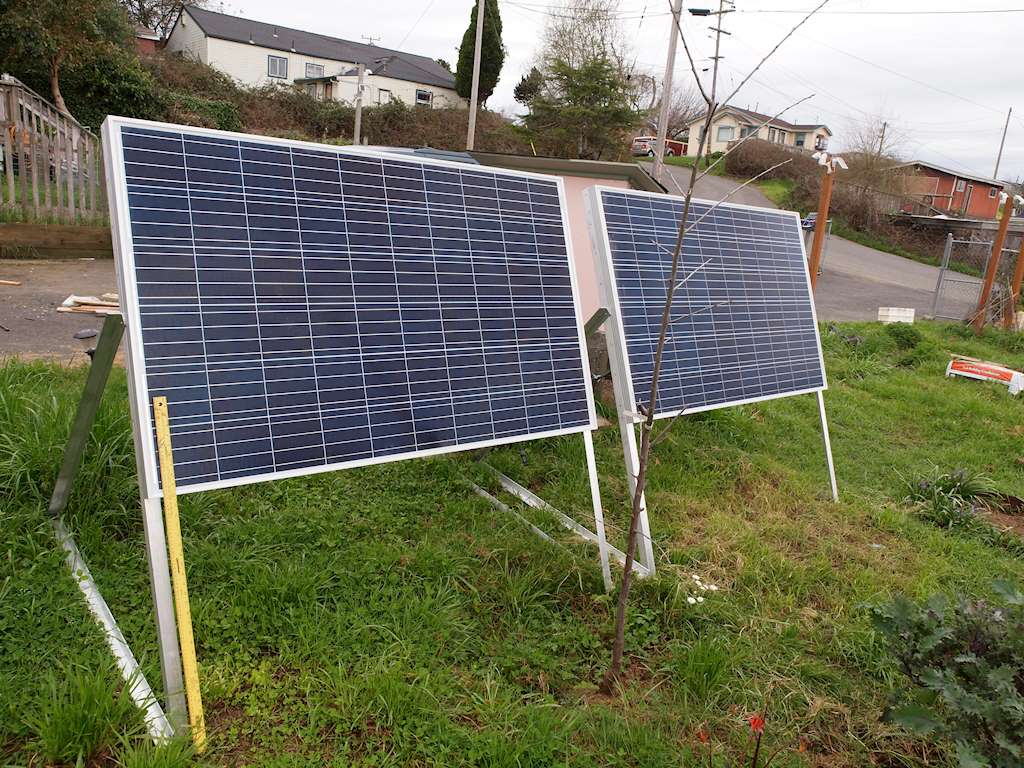
That’s  a yardstick, for scale. The support uses three lengths of angle on each side of each panel.  The longest piece is about 54 inches- just enough to fit through the front door.
By changing which holes the rear vertical support the screws go in I can change the angle to get optimum depending on where I am and when during the year.  More vertical for winter and farther north, flatter for summer and farther south. I’m still working on how I’m going to support it for travel.

I got an MPPT controller. That’s more expensive, but uses the panels more efficiently to maximize power.  It also give me more flexibility on the panels. Maximum power rating is a bit over 7 amps at a bit under 40 volts. That lets me use 50 feet of 10 gauge wire and lose hardly any power. I need to have flexibility in where I put the panels, because they need to be out of the shade as much as possible. If I used a standard PWM controller that runs around 14 volts, I’d need something closer to 2 gauge.  That gets heavy and expensive.

Also, there wasn’t a place to put the solar charge controller. All the electrical equipment was on the back of the right-side cabinet, just inside the rear door.  That’s on quarter inch thick.  I had put in a couple backing supports, but it wasn’t enough.  So I took everything off, got a piece of half inch plywood, and attached it to the structure of the cabinet.  Then I had more flexibility.  Here’s what it looks like now:

Top: Breaker Panel for internal wiring and lights.  Second row down:  Inverter on left, 110 Volt Power Converter/Charger on right. Third row: Solar MPPT charge controller on left, amp/volts/watt-hour meters- one for charge and one for discharge. Bottom row:  110 volt outlets. Two are connected the the power converter, and one is switched. When we have access to 110, leave the inverter off and turn the switch up. Then everything is running on shore power and the battery is fast charged.  When boondocking, plug in the solar panel, turn on the inverter, and turn the switch down.  Now we are self contained, and if there’s any decent sun we should be able to run the refrigerator without limits.

I’m finally ready to take it to my local RV repair center. They are going to repack the bearings and give me a general safety inspection.  It has the very old brakes, and I hope I don’t have to replace them. If I do, I do.  I don’t take shortcuts on safety.  I had a bad connection for the right turn light wire, so I had to pull the lower back panel off again.  This time I made sure all the connections were underneath the trailer, so if there’s ever another problem I can fix it.  It’s been up on blocks for at least eight months.  It’s nice to have it back on its own wheels.


February 9, 2017

I’ve been doing mostly flooring, although I also got the refrigerator properly installed.  First the easy one- the fridge.  This is a 110-volt dorm-type refrigerator in a pretty pastel green.  This picture doesn’t do it justice, but it’s not easy to get a good picture of it.

I decided to install a cork tile floor.  It’s light weight, spongy so comfortable and cuts down on sound, and provides a little insulation. The front end of the trailer is pretty much done now.

I really like the look of the cork.  I still need to complete the floor in the kitchen and bathroom.

January 8, 2017

The holiday season has been pretty busy with non-trailer work.  And some play.  But I have continued to make some progress.

We had visitors over Thanksgiving, so my wife and I turned the house over to visitors and slept (and took showers) in the trailer. So the couple weeks before that were busy with plumbing. I got the water heater and furnace plumbed and wired.  I put in the refrigerator, but when I got it connected I found there was an internal propane leak.  Given how old it was I discarded it and bought a new pastel-green 100 volt dorm refrigerator.  These are efficient enough that I think we can risk the battery power.  I’m not including photos of the new refrigerator because I still have to do the trim.

Over the bed I added a little shelf.  See top right of this picture.
My wife likes to listen to meditation videos or audios to help her fall asleep. This way she can plug her phone or tablet into the charger you can see, and put it on the shelf. The charger or tablet is charged, and the earbud wires are as out-of-the-way as they can reasonably be.
I did some testing on the refrigerator.  For a fraction of a second it hits about 800 watts, then settles down to 80 or below.  I couldn’t find a 300 or 400 watt true sine wave inverter that will produce that much power, so I got a 600 watt AIMS inverter. I also got a 45 amp power converter. The Progressive Dynamics PD9245CV seems to have appropriate specs and a good reputation, so I got one of those. Here’s how I set up the wiring:

12 Volt
Wiring comes from the batteries to a 100 amp main power busbar, with a measurement busbar on the negative lead.  From the measurement busbar leads go to two 12 energy meter.  They measure voltage, current, watts, and total watt-hours.  One is wired to measure discharge out of the battery, and one is wired to measure charging into the battery.
Two main leads come out of the battery.  One goes through a 100 amp circuit breaker to the distribution panel.  One goes through another 100 amp circuit breaker to the inverter.

Here’s the wiring inside the battery compartment. From the left it’s the measurement busbar, power busbar, and circuit breaker for the inverter: 

And here’s the power converter, inverter, meters, and the 110 volt wiring.

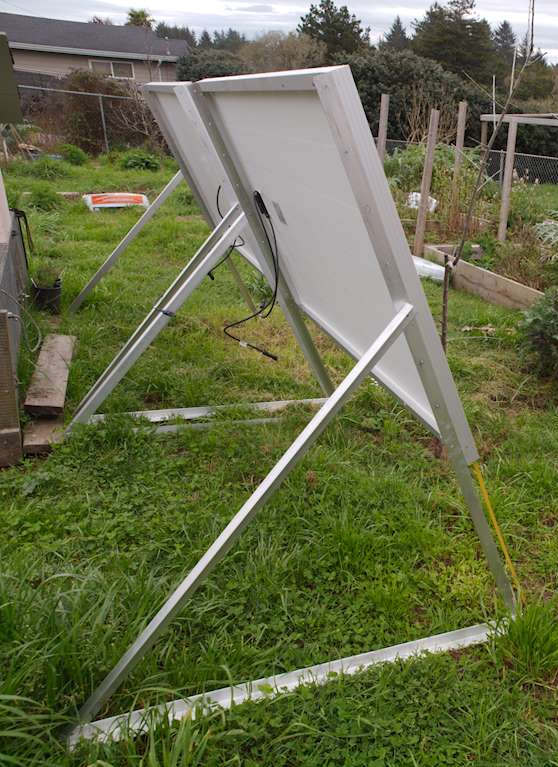
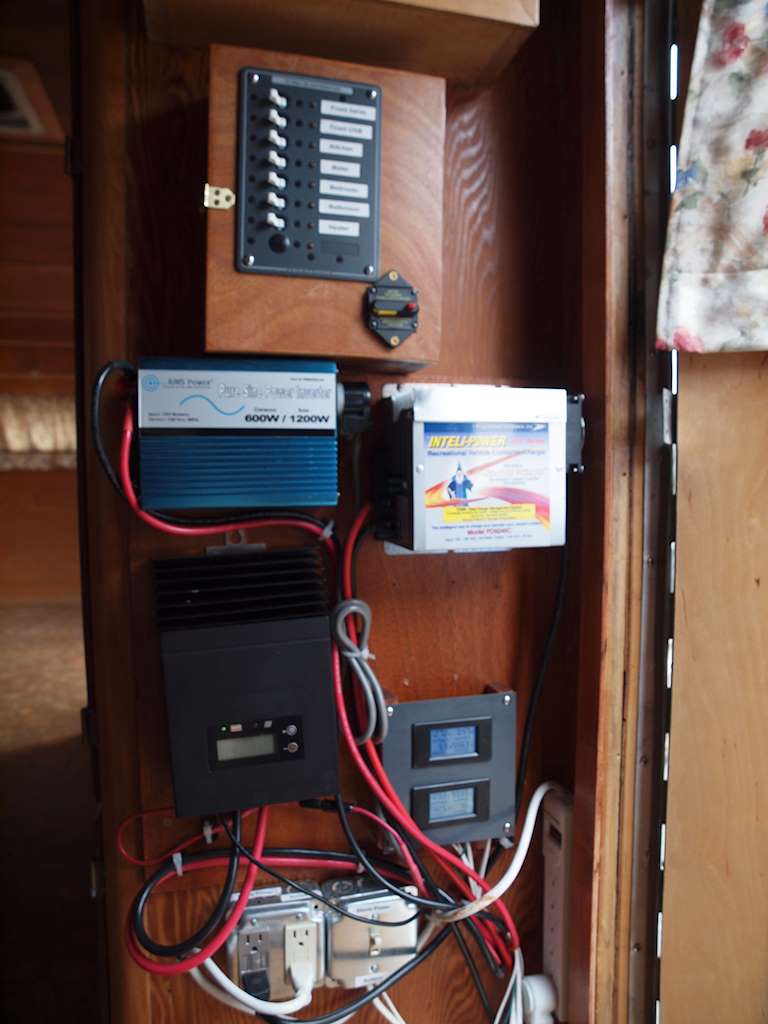
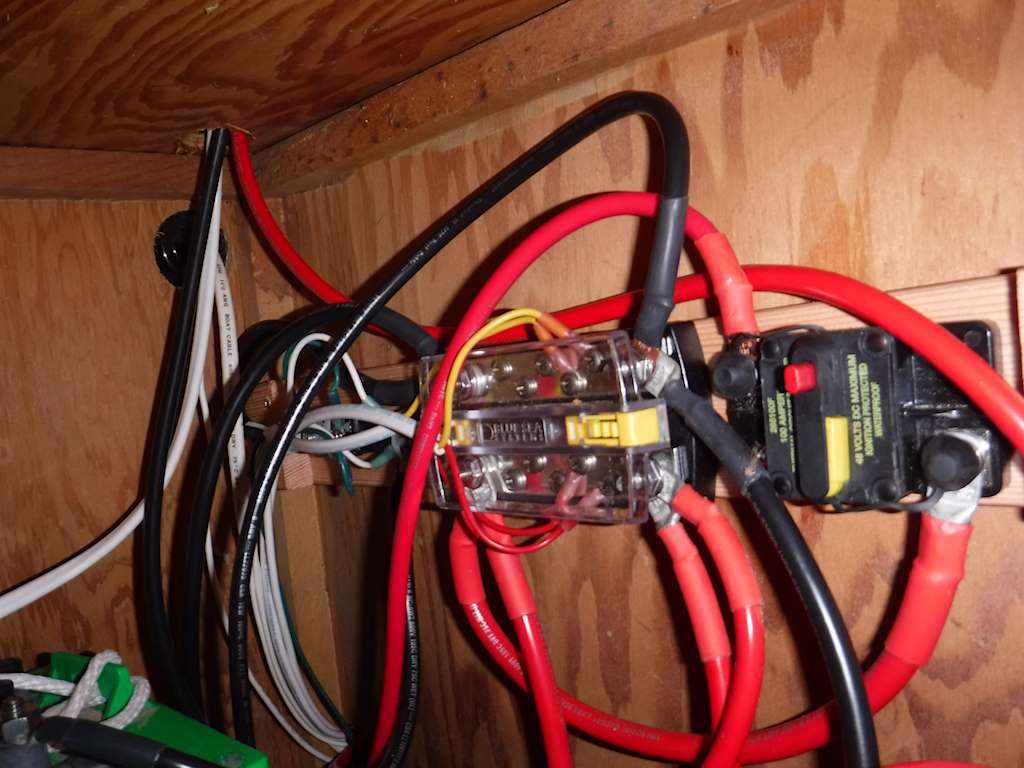
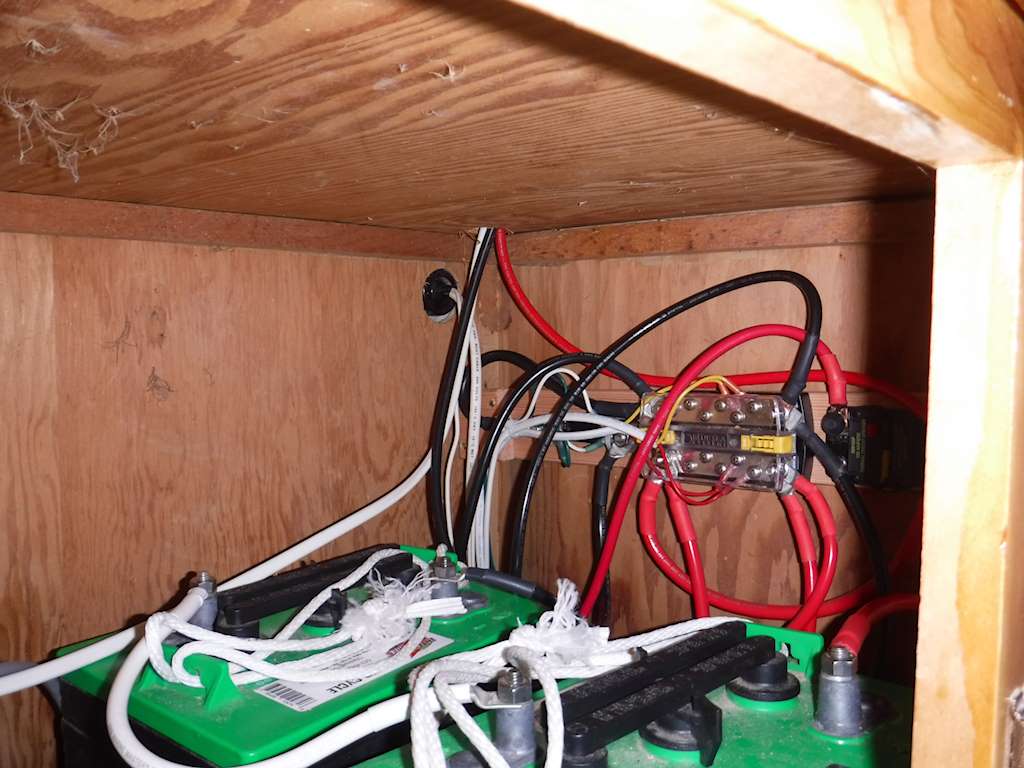
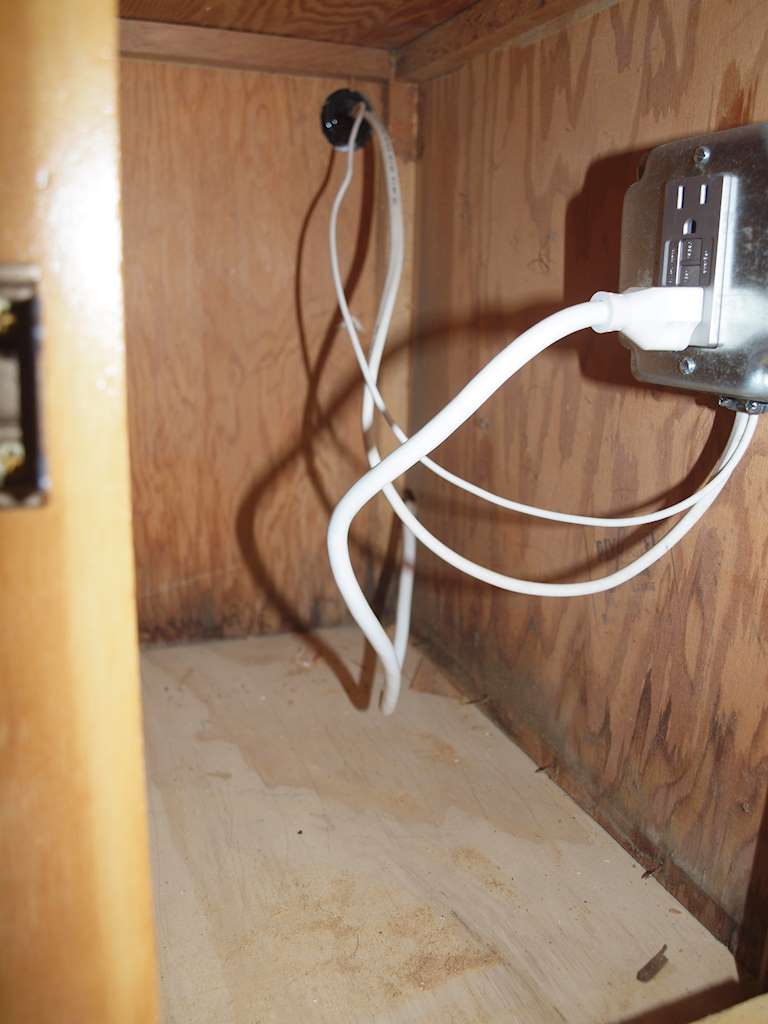
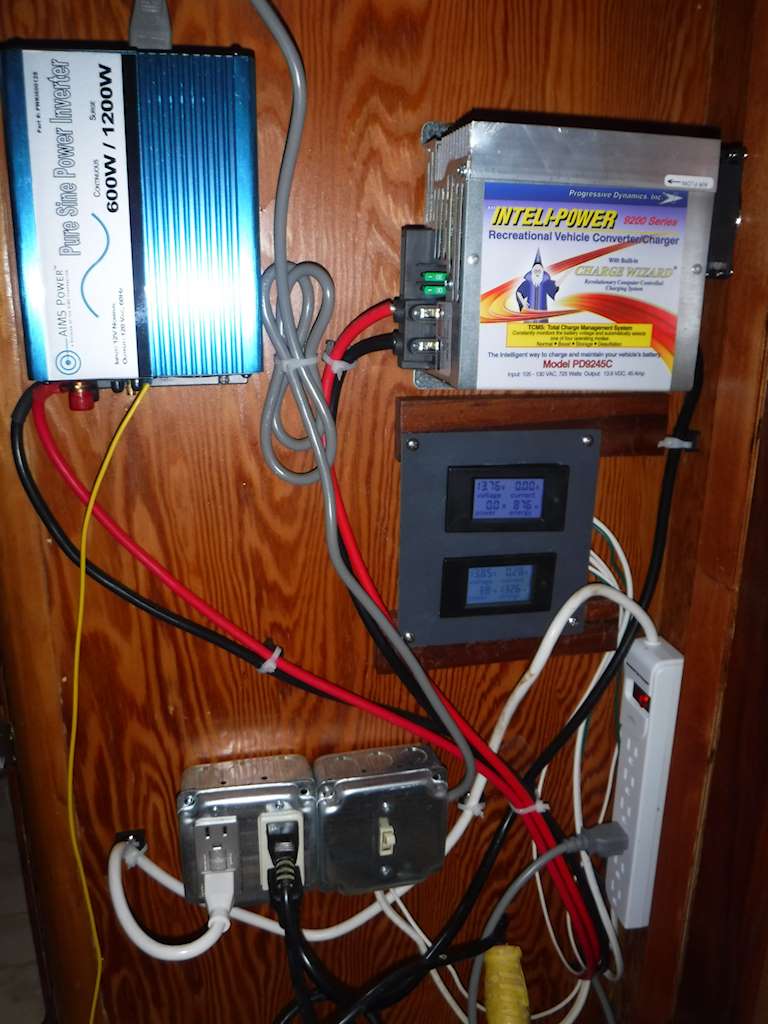
It’s all extremely out in the open, but it sort of has to be.  Because the power converter and inverter can generate heat, it’s not a good idea to put them inside a cabinet.

110 Volt

Shore power comes into the trailer into the battery compartment and to the cabinet back panel through the white wires at the bottom of the image above.  Inside the two electrical boxes it connects to the right of the two duplex outlets, and to the switch.  The switch is what is sold as a 3-way switch in the hardware stores, although it’s actually a single-pole double throw. That controls the left duplex outlet. With the switch in the upper position, the duplex outlet runs off shore power and the inverter can (and should be) turned off.  With the switch in the lower position the 110 power comes from the inverter.  That way the refrigerator cord (the gray line into the power strip) and everything else can be left plugged in. When changing between shore and battery power we just need flip that switch and the inverter switch.

I made a Wiring Diagram for the convenience of whoever needs to fix something.  I will add some labels to the switches and meters.

The shower was not yet usable because I didn’t have a shower pan.  I got some fairly heavy PVC and tried to heat-form the piece to make a shower pan out of that. I was not able to get anything usable, so I went back to something I have experience with- fiberglass.  Normally I use epoxy, but I was almost out of epoxy and time was short.  I was able to get some polyester resin that claims to be waterproof, so I lined the bottom of the bathroom with 4 mil polyethelene and laid up a polyester shower pan. The bottom is two layers of matt and four layers of cloth with excess resin, so it should be very waterproof. It still needs work.  There are still some sharp edges to be cleaned up, and it’s not flat enough. Some water stays near the drain.  I’ll need to get more epoxy and micoballoons (for the easy sanding), and that should be fairly easy to fix.
I also put back the U-shaped shower curtain rod. A standard shower curtain and liner is the right size horizontally but too tall, so I sewed that to the right length. I also need to put in the corner molding.  I added towel hooks on the right side, toilet paper holder on the left, and a rack in the shower. I had a Coleman porta-potti, but the pump broke and I couldn’t find replacement parts.  So I got a Thetford.  I think it’s a bit better made and they sell parts. Here’s what the bathroom looks like now, with the curtain pulled aside.


It’s borderline claustrophobic, but I was able to shower and get clean  Everything works.
More work to come.

November 16, 2016

The work continues slowly, but continues.  I’ve pretty much completed the internal wiring.  I have two 6 volt golf cart batteries, which go to a new breaker panel:

dscf0206


That’s a marine breaker panel, fed through the 100 amp breaker on the lower right.  That also allows serves as a master switch. There are two different kinds of lights. All led’s of course, and modern. The sconces use standard bulb of about 2.4 watts if I recall correctly, and the reading lights are supposed to be 2 watts. I haven’t actually measured them. The sconces let me set a background level wherever we are, and then use one of the reading lights so we can see what we’re doing.

The living room has three sconces and three reading lights.
pa175238 pa175239 pa175241
I went kind of overboard in the kitchen.  There we have eight reading lights. I hate cooking or cutting food and not being able to see what I’m doing.  Also some of those lights can be pointed to illuminate the cabinets.
pa175246
One sconce and two reading lights in the bathroom
dscf0213
And two sconces and three reading lights in the bedroom.
dscf0217 dscf0219
Note that we have a number of charging stations.  Each is like this:dscf0216
It has a “cigarette lighter” output, and two usb ports: 1 amp and 2.1 amp.  There are two of these in the bedroom, two in the living room on the right wall, and one on each end of the kitchen.  The two in the living room are on a separate 20 amp circuit, so if we want to use something with high current requirements we would use those.dscf0220

The rest are intended to charge cell phones and tablets.

Next comes plumbing.  The water system is mostly installed.  From the wall water inlet we have 1/2″ pipe for pressurized water, 1 1/4″ inch tubing for water from a container, and 1/2 inch tubing for a vent.  Those are all plumbed to a 41 gallon fresh water tank under the sink.dscf0196 dscf0194

From there it’s half inch pex pipe to the pressure pump.  The cold lines from there are all pex, and the hot is all 3/8 copper tubing.dscf0191 dscf0199

There’s a faucet and a shower.  Shower lines are rather exposed.  I need to make that look a bit nicer but I’m not sure how at the moment.dscf0203 dscf0204

Next comes the propane supply.  I did all the lines under the trailer with 1/2 rigid soldered copper.  I know that the official recommendations are to use all black iron pipe. That’s because of the constant stream of gravel and other debris when it’s being pulled. But in this case the tubing will all be protected- none will be exposed.  Copper is lighter and will last longer.

I haven’t bolted the propane tank holder down, but here’s what the front looks like.dscf0178 dscf0183

I got one of the auto-switch pressure regulators. If one tank runs out and the other is full, it will switch over automagically.  The lines come up into the cabinet under the sink on the left, and from there it tees to the water heater and the stove.dscf0191

And on the left it comes up inside the cabinet in front of the refrigerator, and tees to the heater and the refrigerator.dscf0189 dscf0186

I still need to wire the heater and water heater, but once they are wired and I connect the propane in front, we should have hot water and heat.


September 25, 2016

Hard to believe it’s been over two months since I posted.  I have done some work, although I’ve been busy with non-trailer stuff.

First I got the refrigerator installed.  The inside of the cabinet is lined with the polyiso foam, which SHOULD help efficiency slightly.
dscf0147 dscf0149 dscf0150
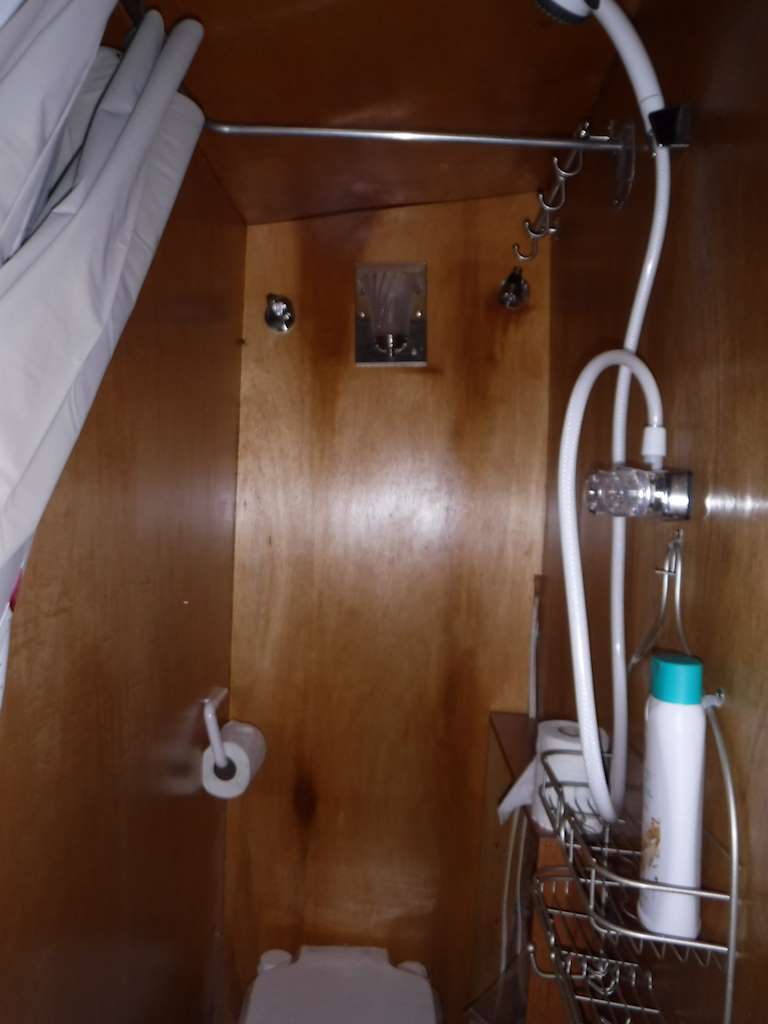
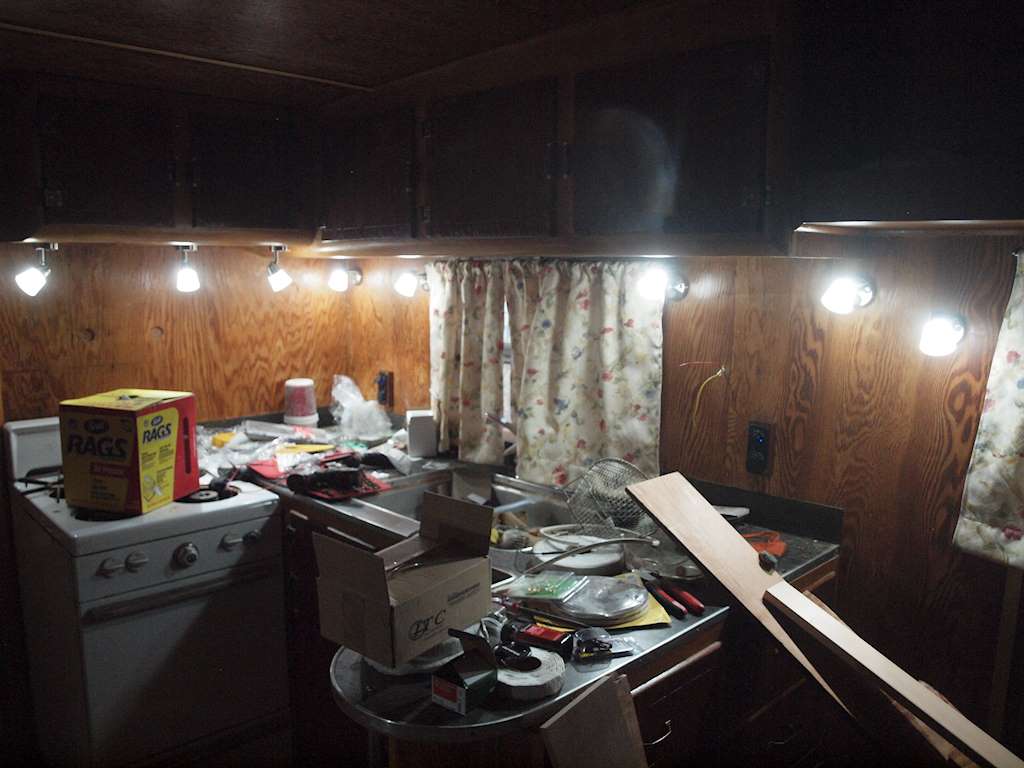
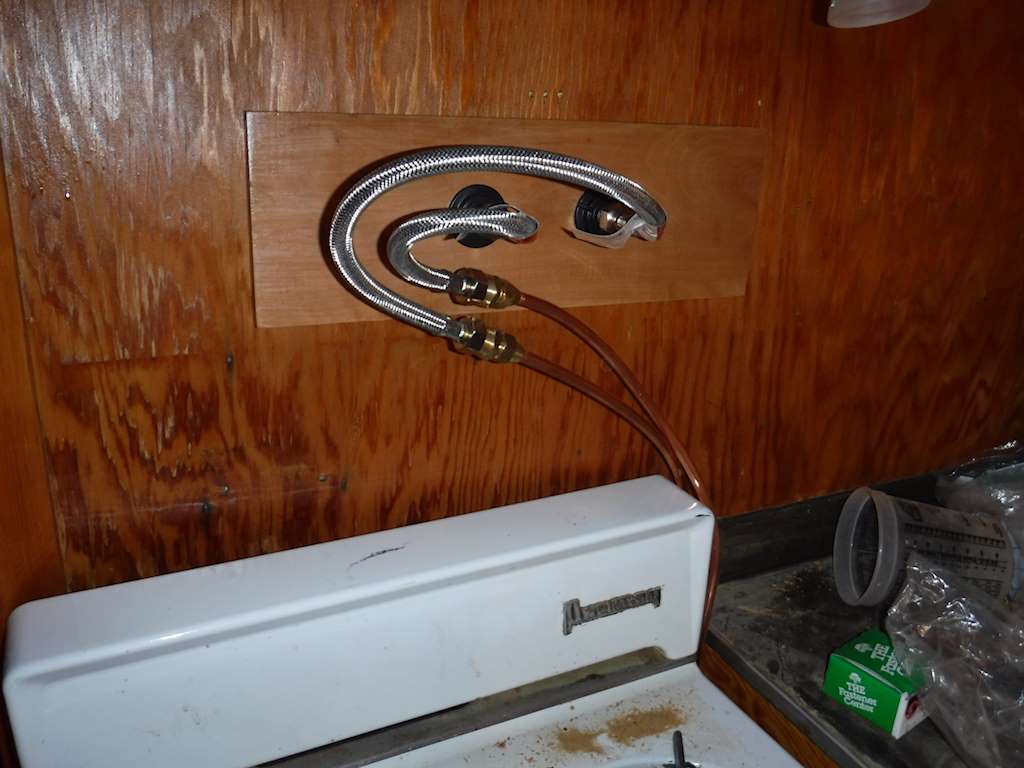
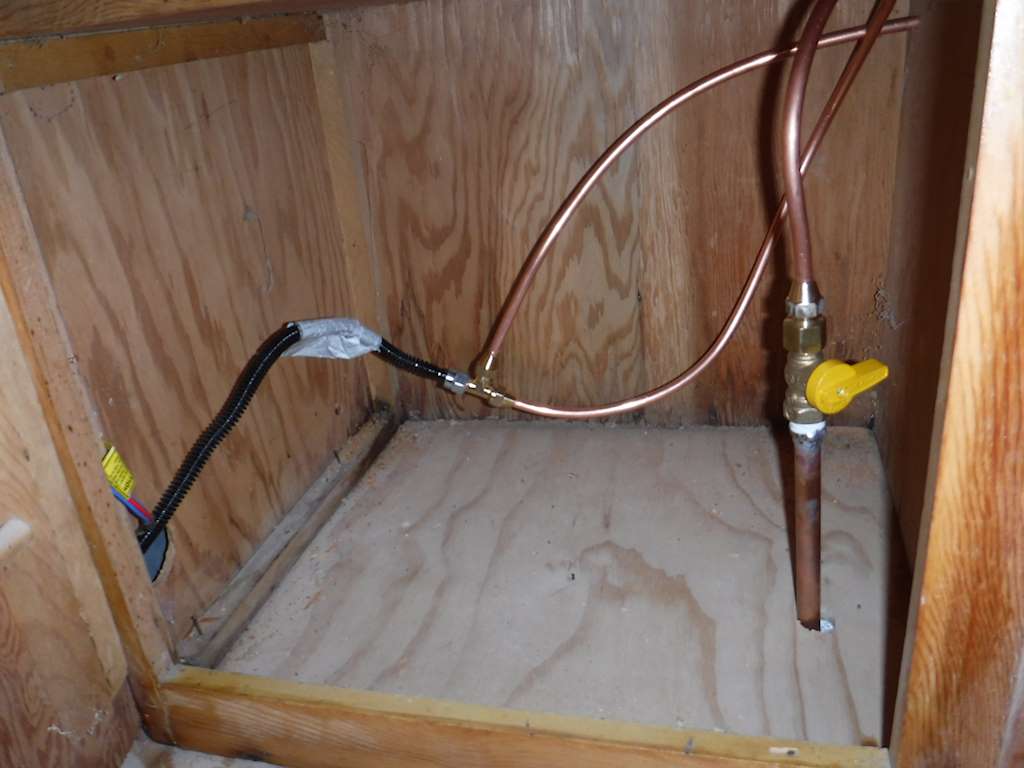
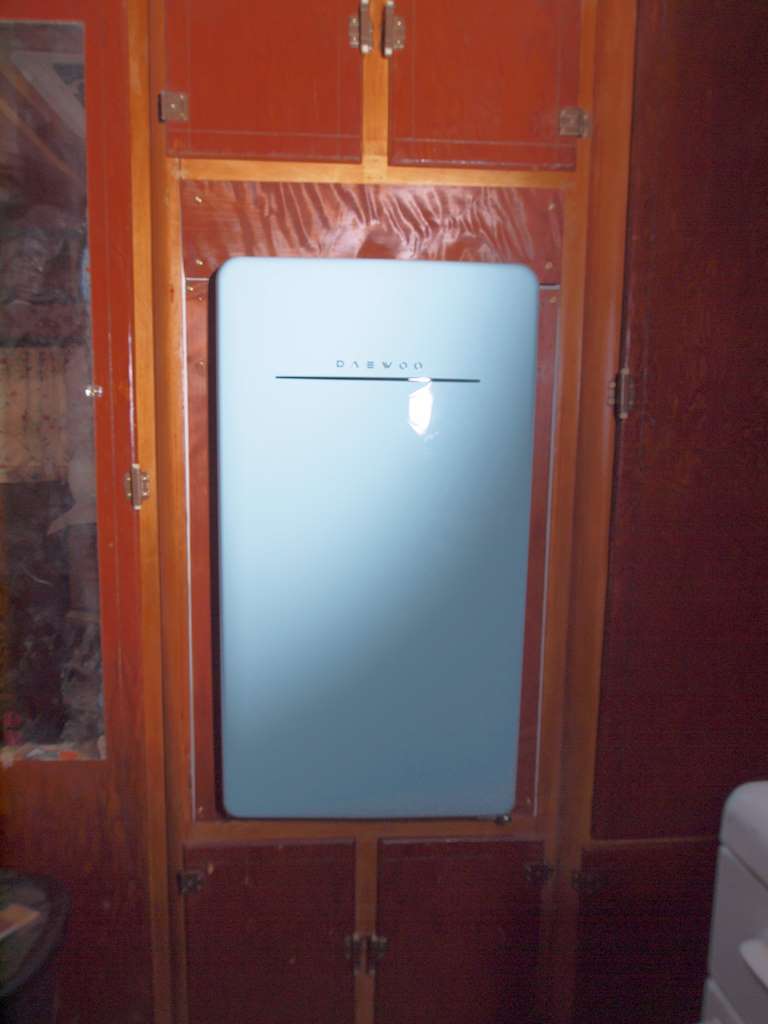
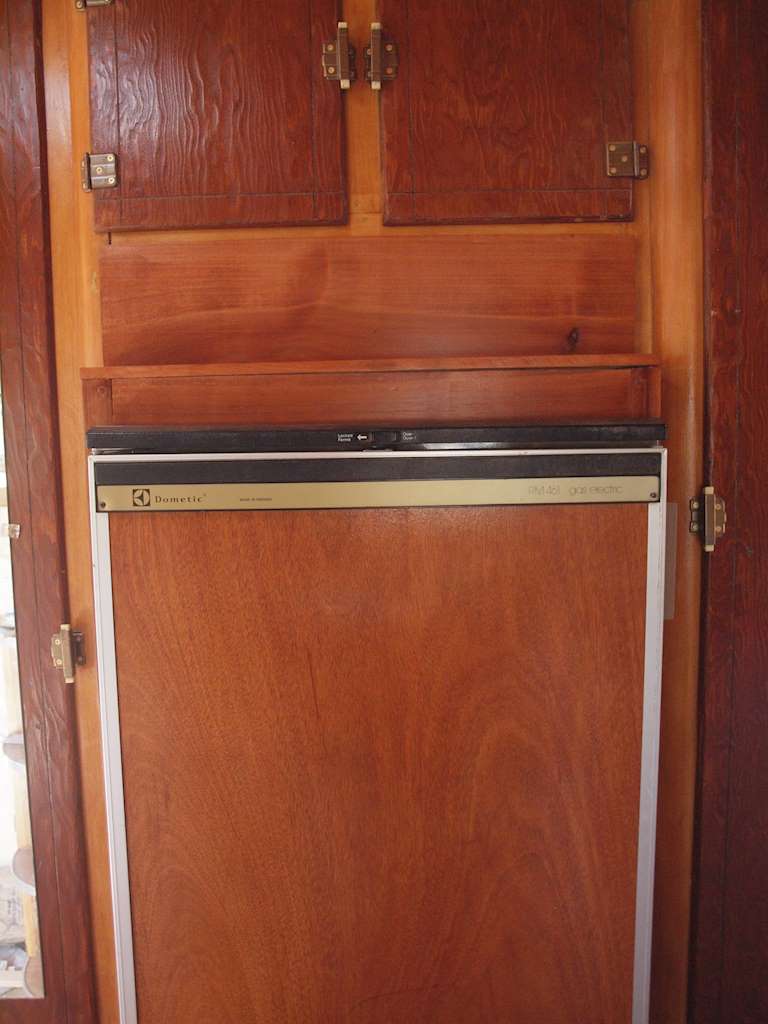
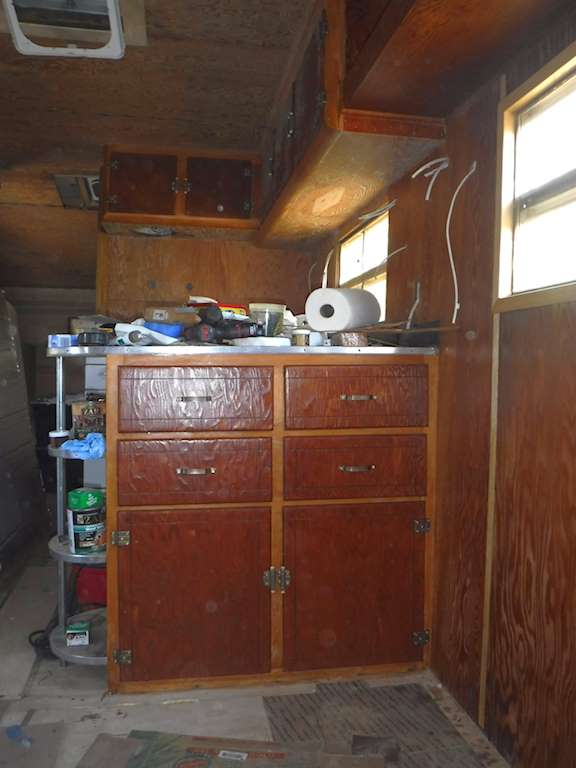
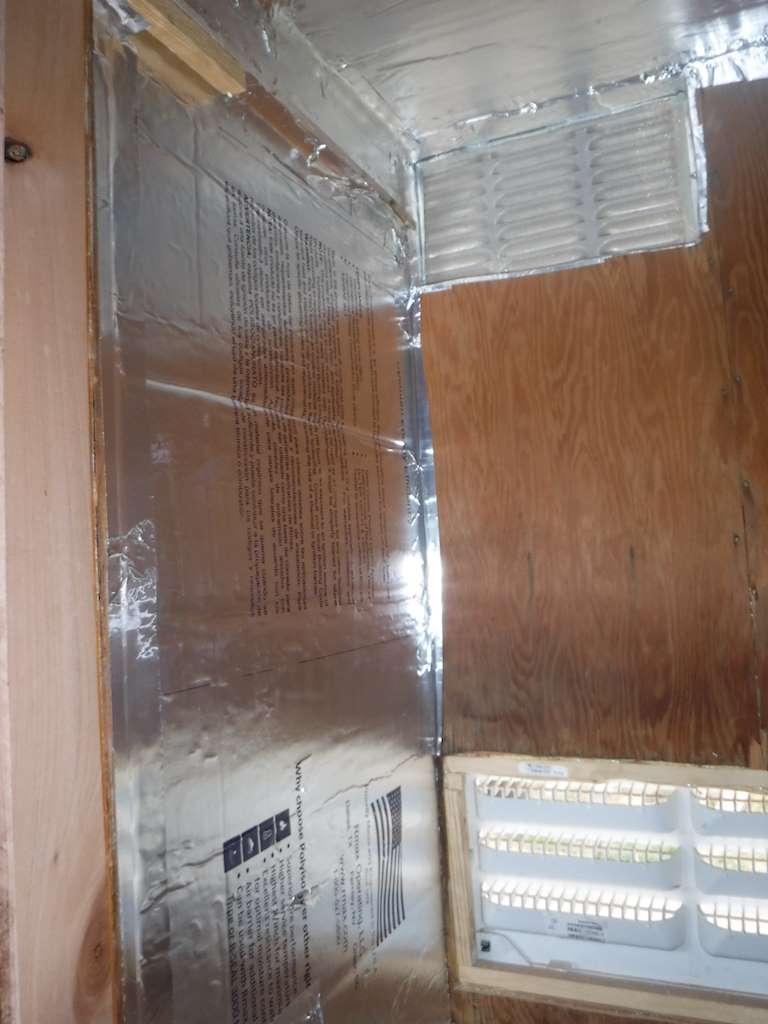
The old refrigerator had only one vent, at the bottom.  Strange.  I used the old one at the top, and got a new one for the bottom. That way I have some access to the area around the burner. My local quality lumberyard had something they called half inch drawer stock. Untrimmed edges and lots of cracks and splits, so I could only use about half of it. But nice wood. Now it looks like this.
p8075221 p8075222
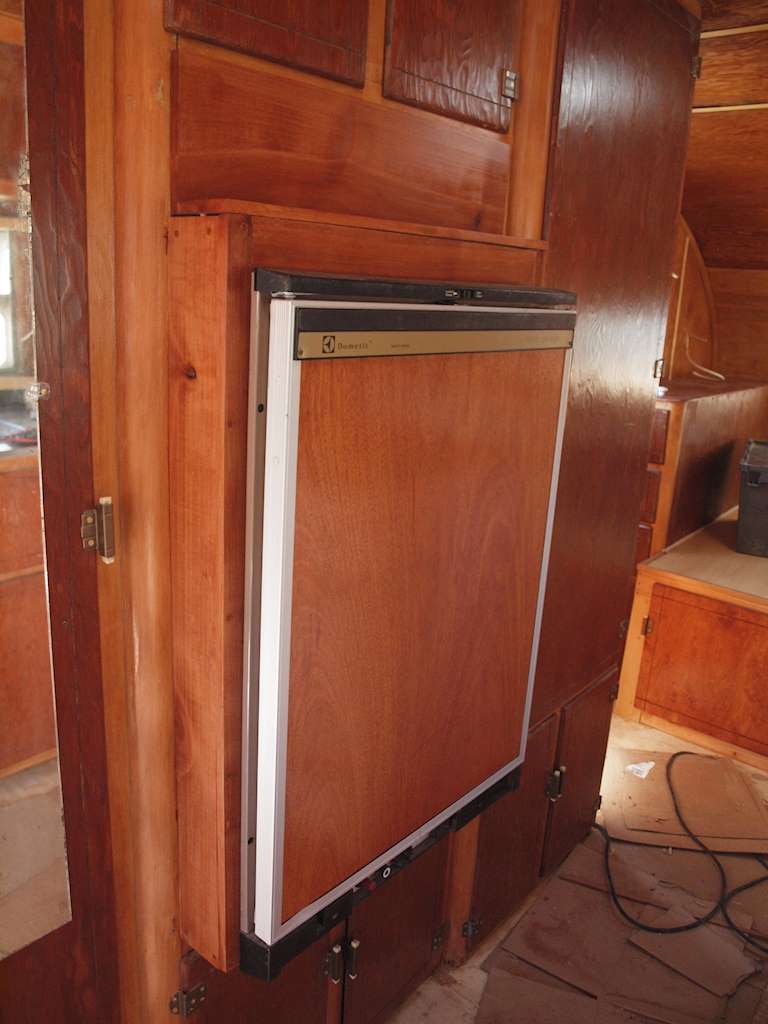
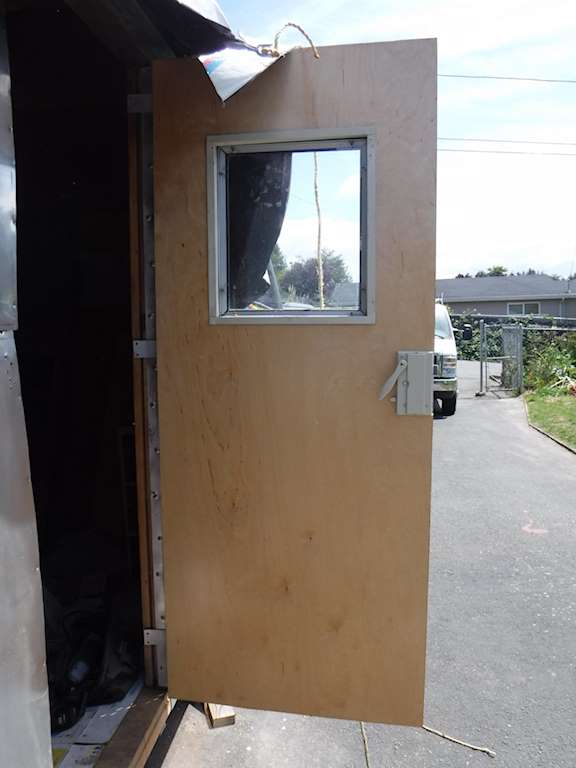
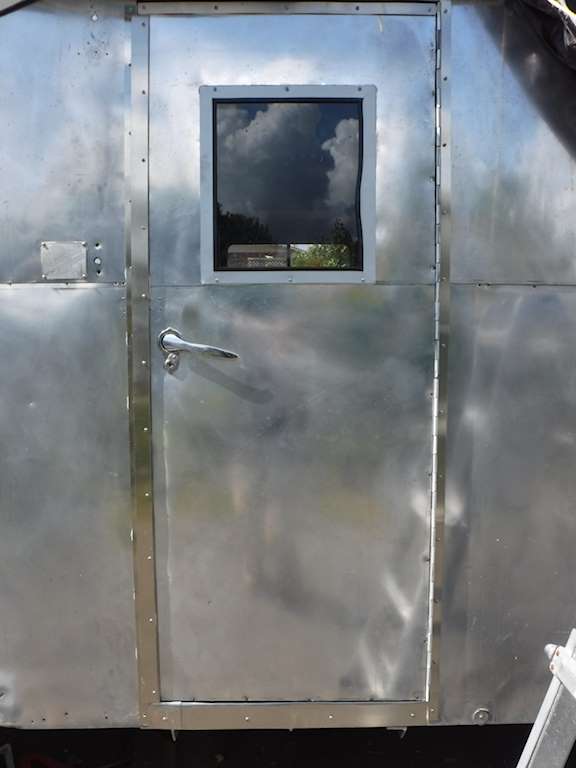
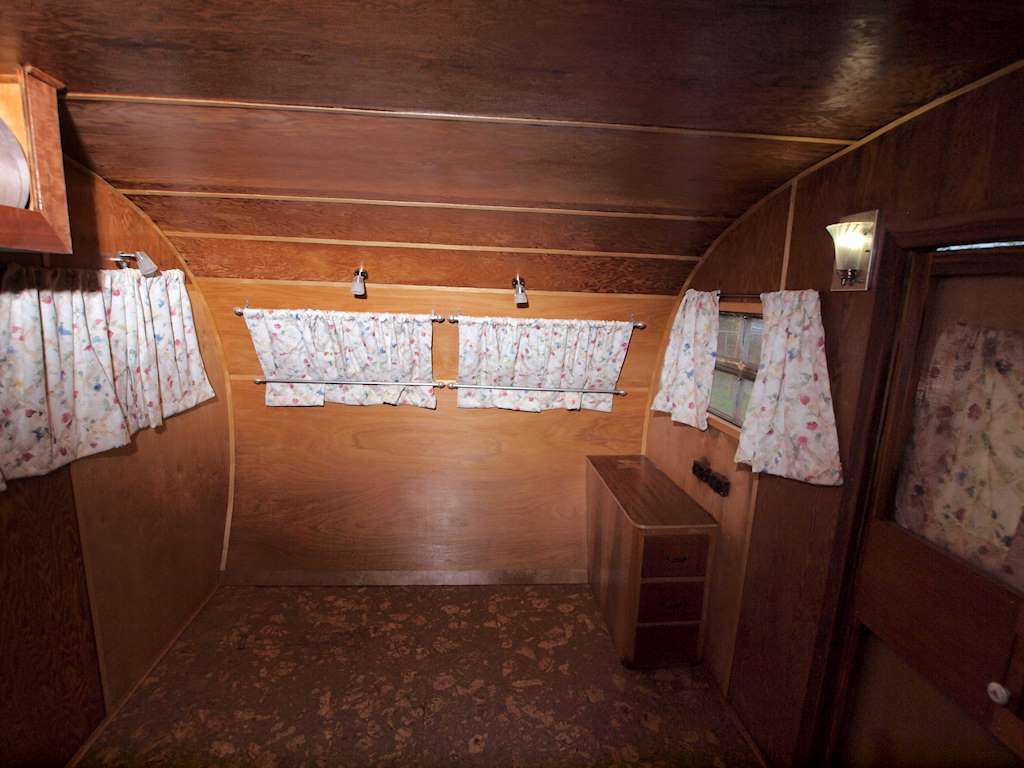
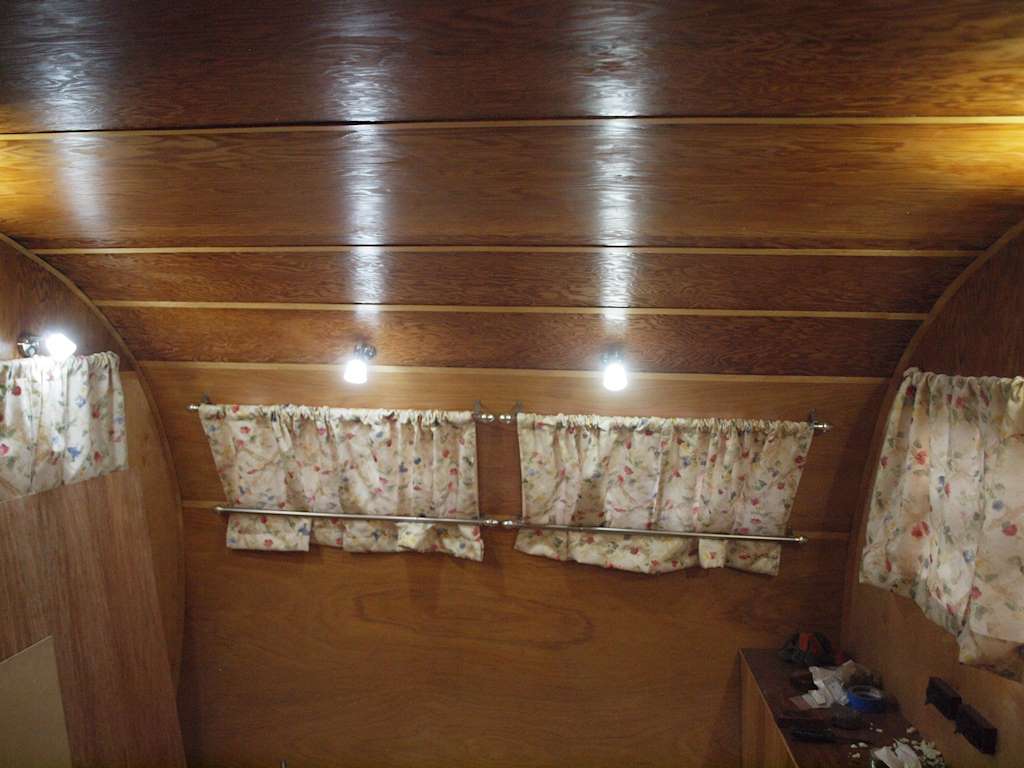
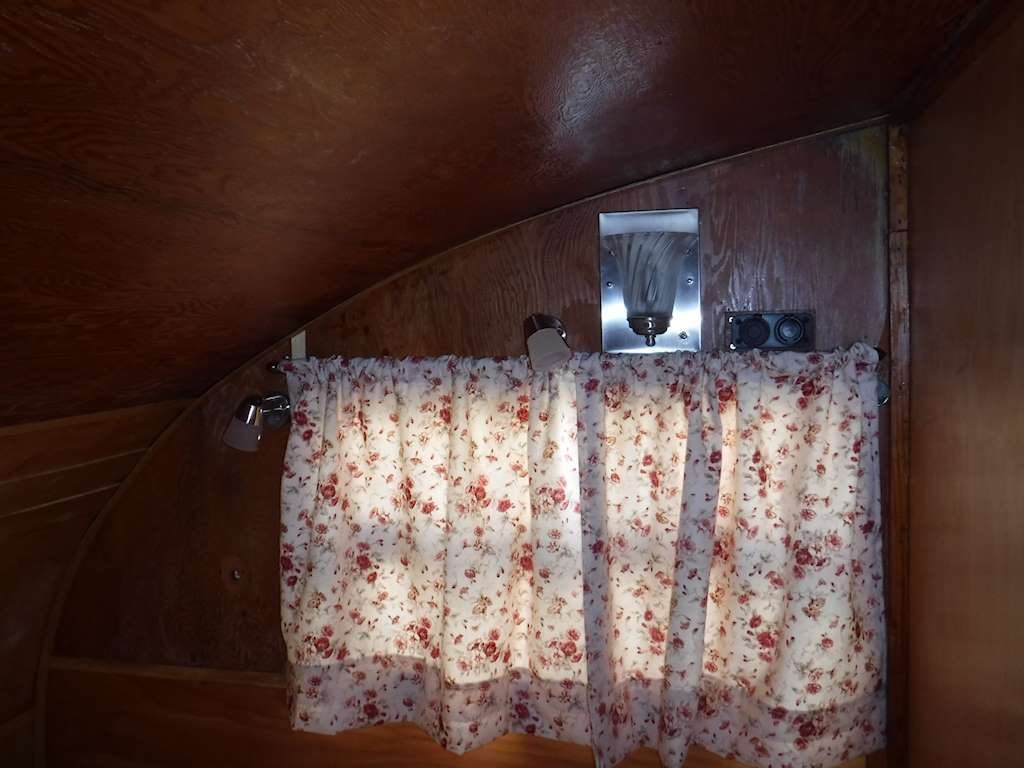
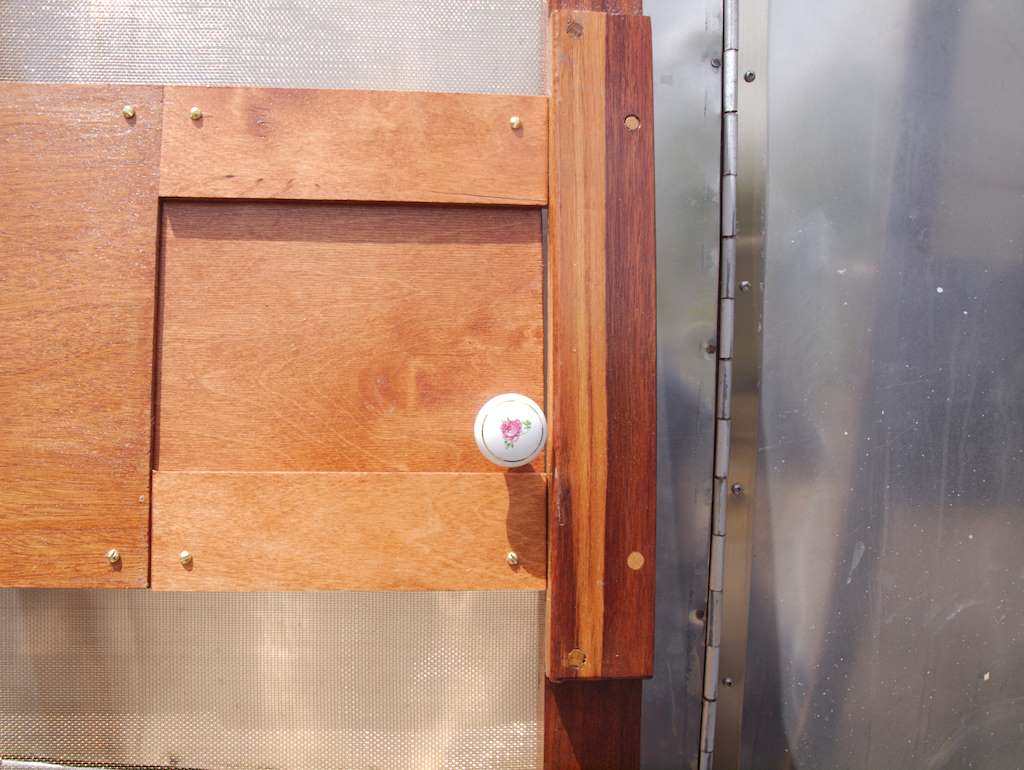
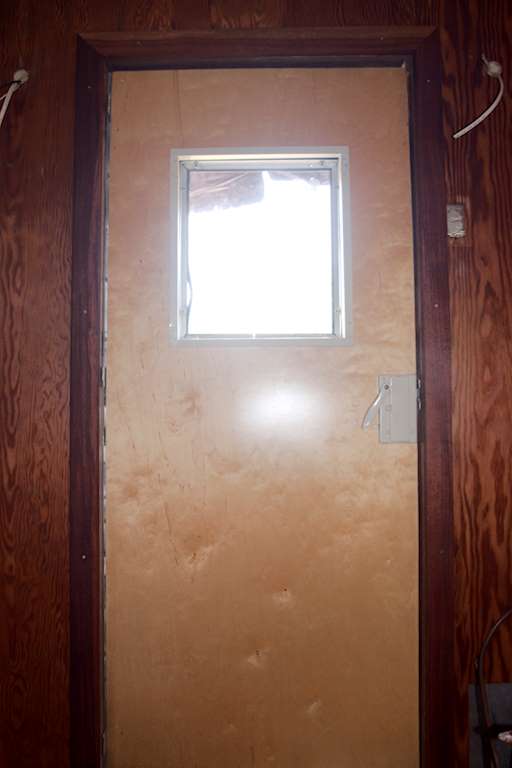
Next I worked on the exterior.  I had gotten some corner molding I like and I finished off the outside. I no longer need a tarp.
dscf0162
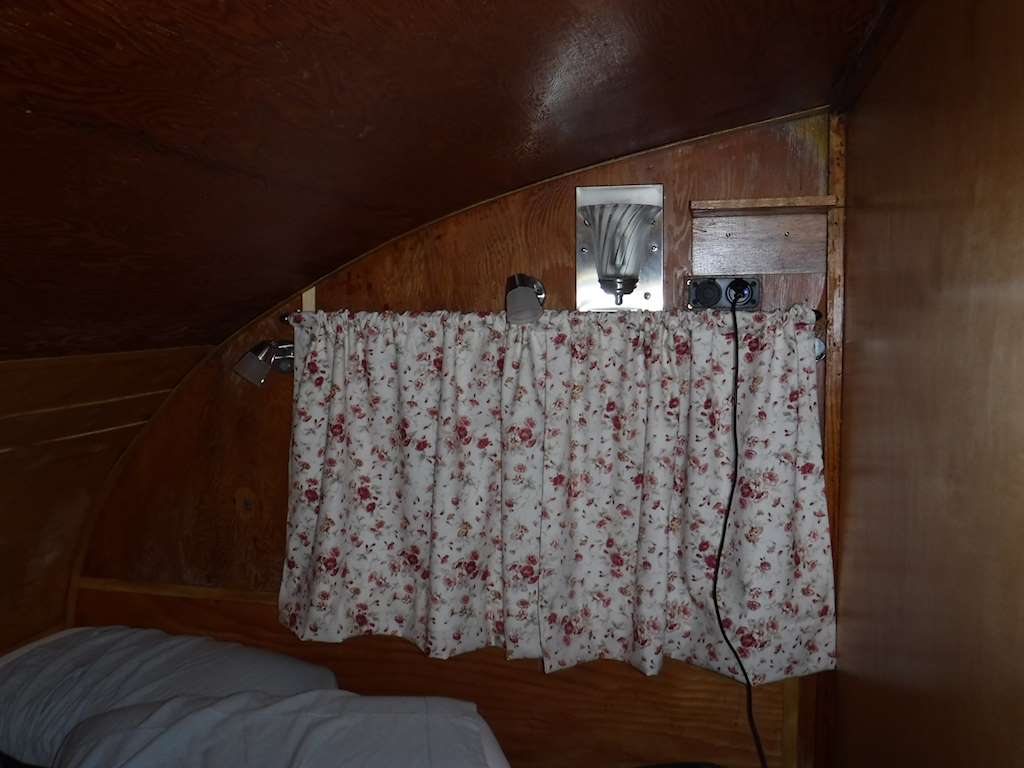
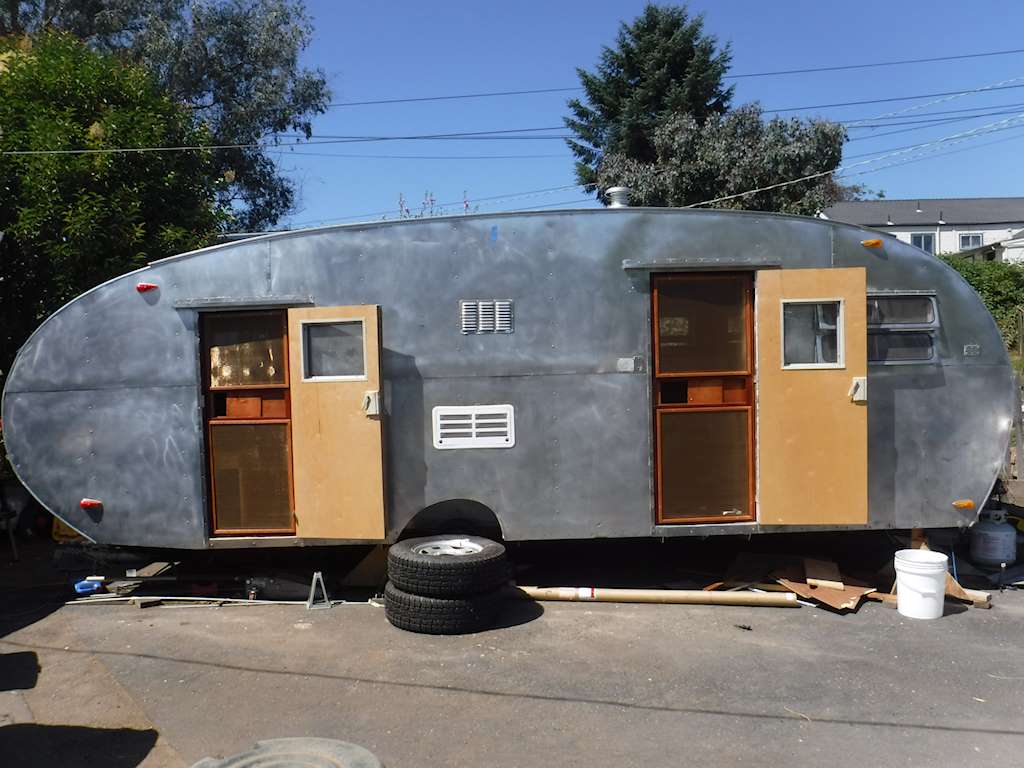
I also made some curtains.
p9255224 p9255225
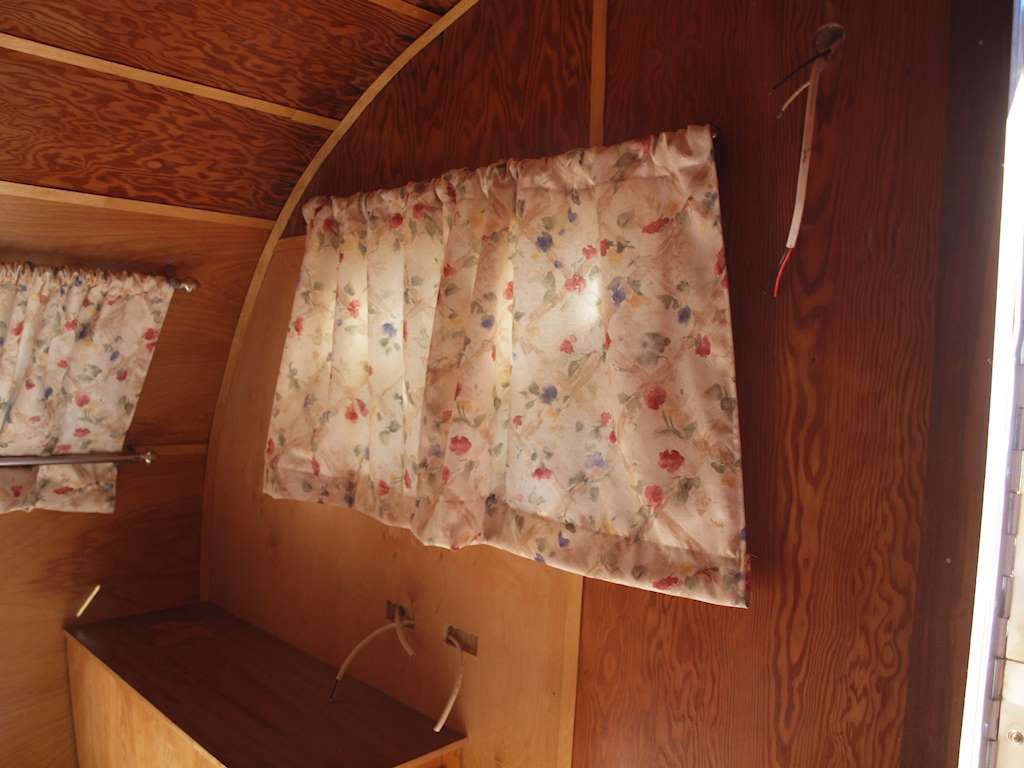
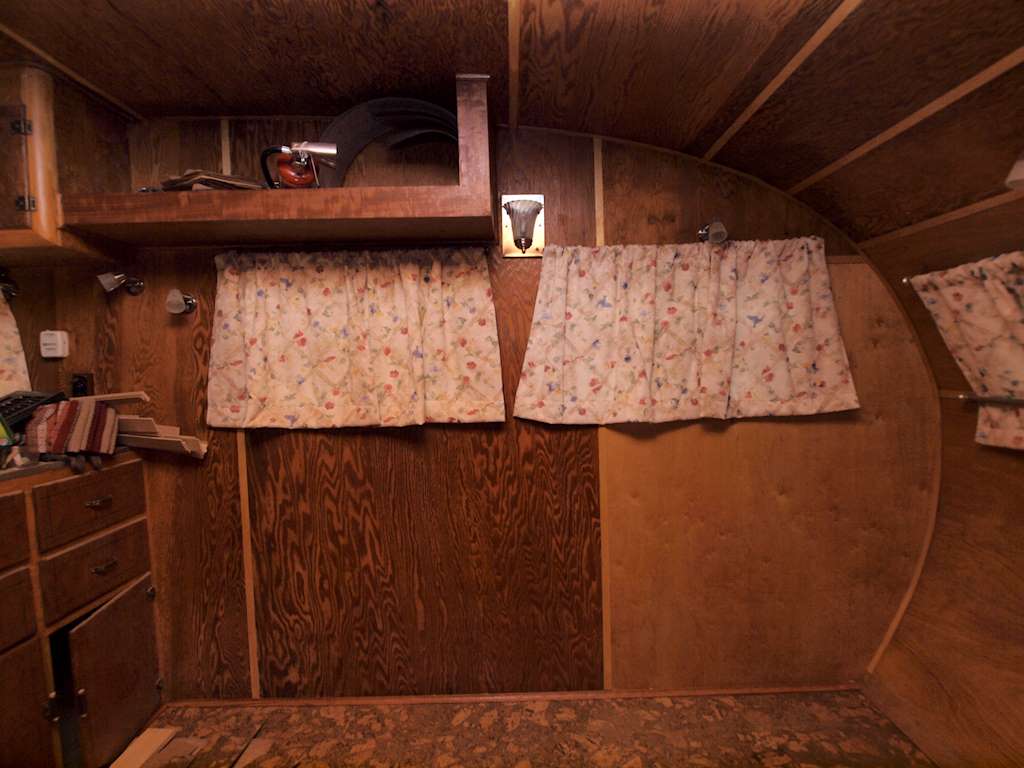
The front curtain would hang against several inches from the wall, so I had to add a second rod across the bottom.  I think that will work and look fine.
In the kitchen I had an interesting minor issue. I don’t know if this is standard or an original Coastbilt idea.  There is not what I normally think of as a backsplash on the counter- just a strip of formica.  The Formica is actually in decent shape so I’m not changing anything, but after 66 years the larger piece came loose.  I just cleaned it off and put it back, with rubber cement.
p9255229The window molding goes over this, so once that was done I could put on the window molding, curtain rod, and curtain.

p9255231
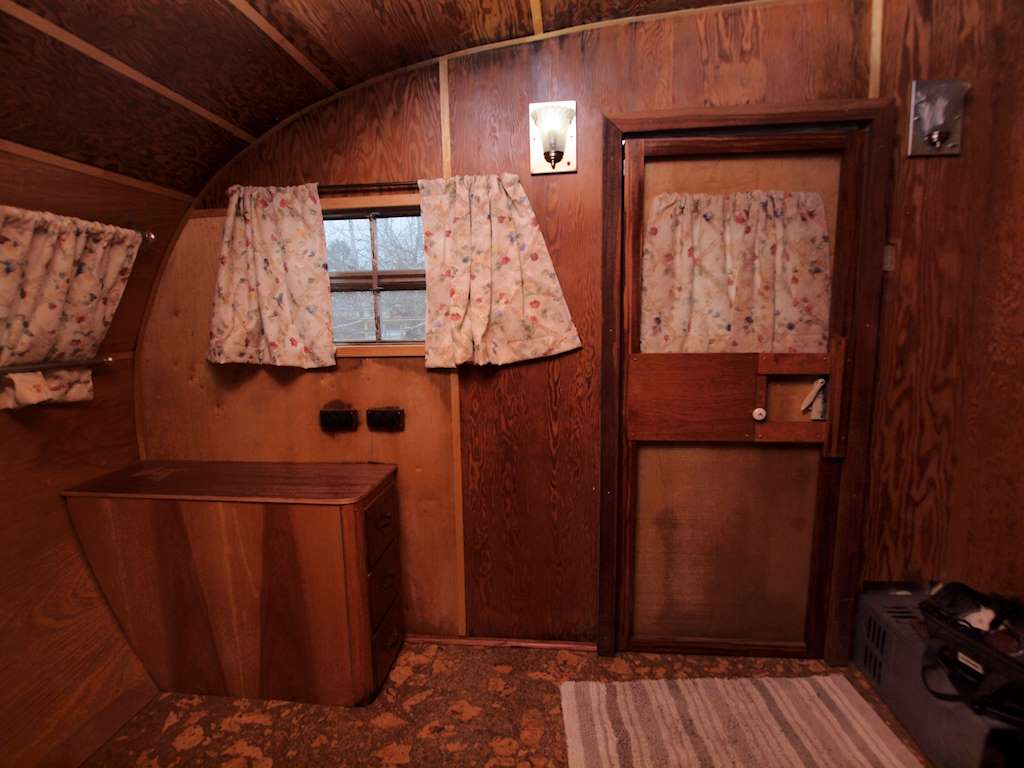
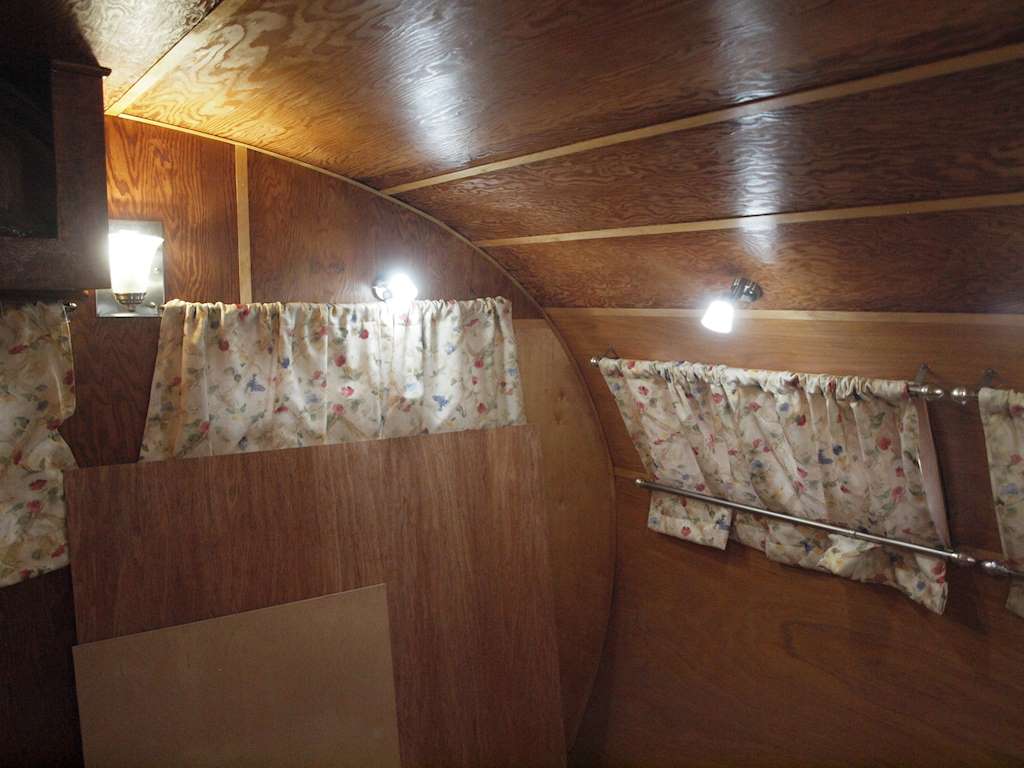
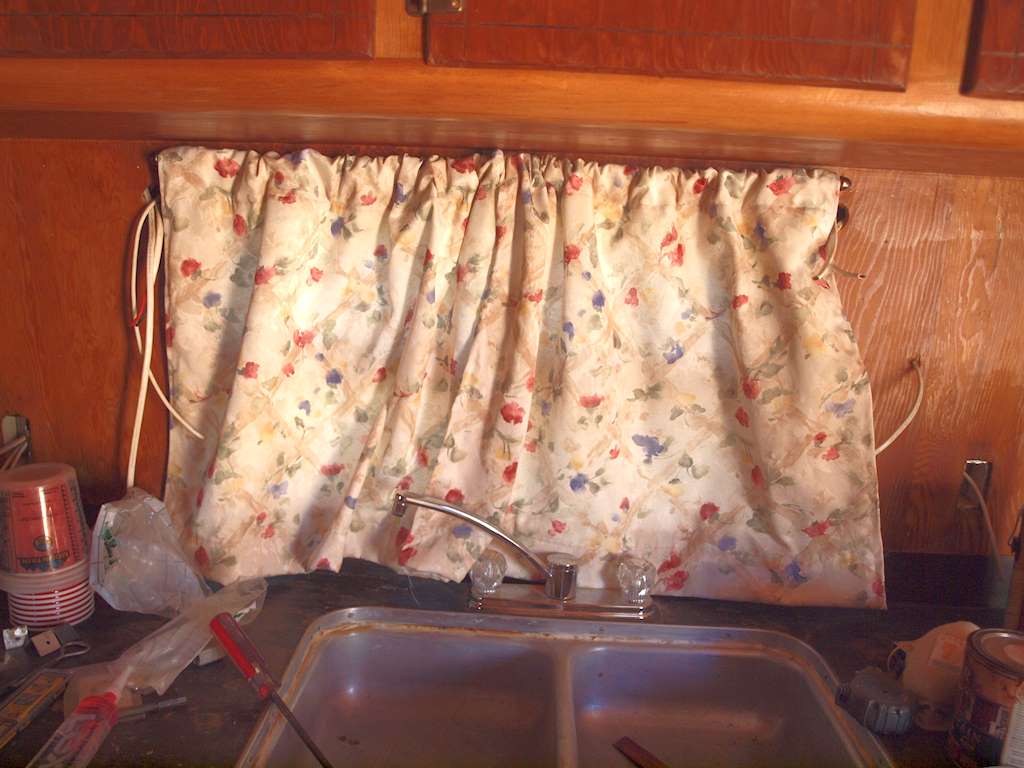
I’ve made the curtains for the doors but haven’t mounted them. I was going to use a 3/8 oak dowel for a rod, but even that is a bit thick.  So I got some brass wire and I’m going to see how that looks.  Should be O.K.  I’ve made a support tray for the water tank that I think will work, but I need to put several coat of polyurethane on it, to preserve it and in case it gets a little water.

July 7, 2016

I’ve been working on the bed and the doors.  First I put two layers of epoxy on the floor on the left side (facing forward) under the bed, and in the bathroom. The part under the bed will be accessible from the outside, and water can get in there.  I want that compartment to be air-tight sealed from the rest of the interior, so if there is something smelly in there it won’t affect the rest of the trailer.  So I caulked around the joints there.  All the rest of the interior of that section has two layers of polyurethane. I mounted the lock for the access door, and made a recess for the lock tongue.  I also put on a steel striker plate to add strength.

P6245161 P6245162 P6245166
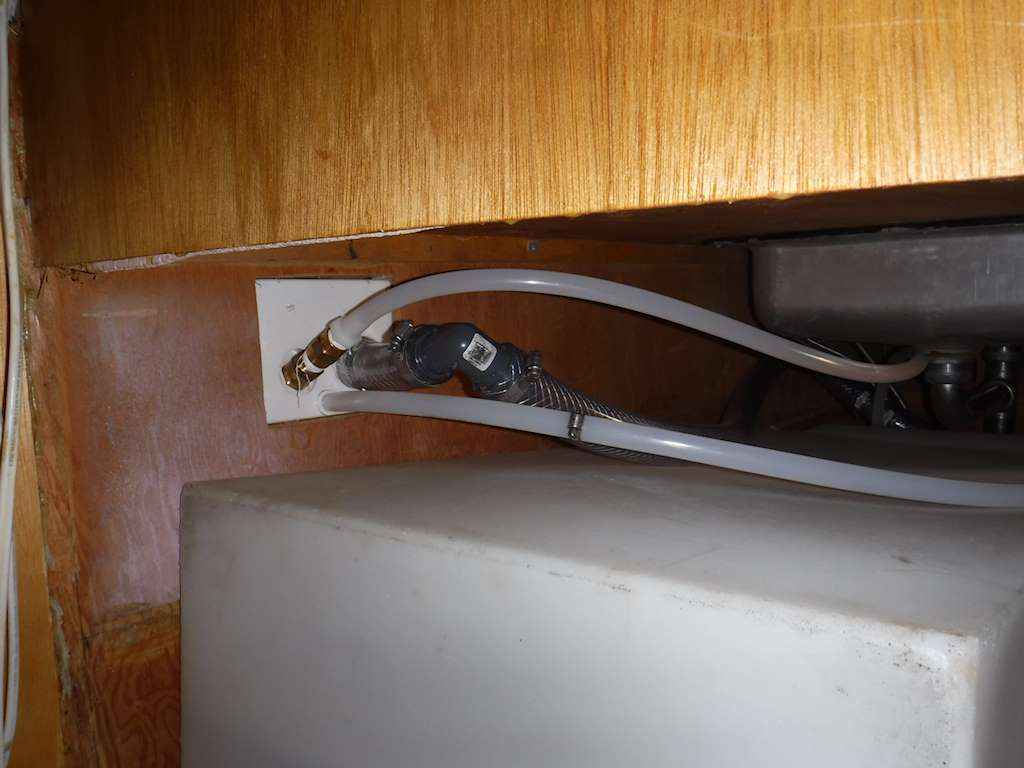
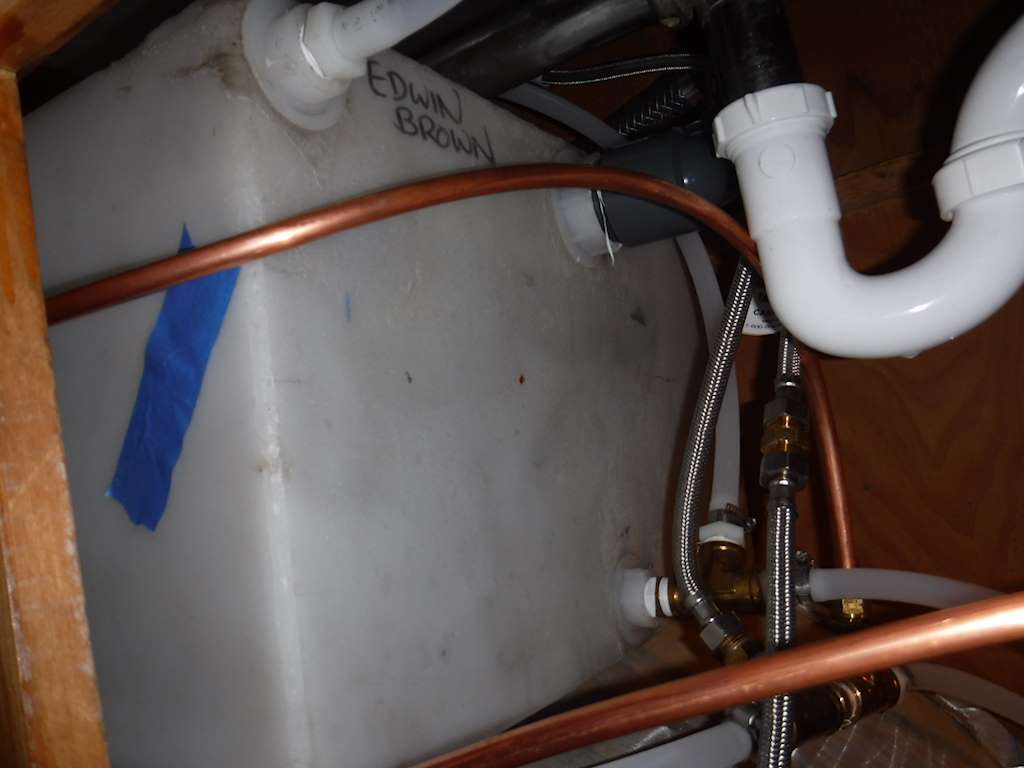
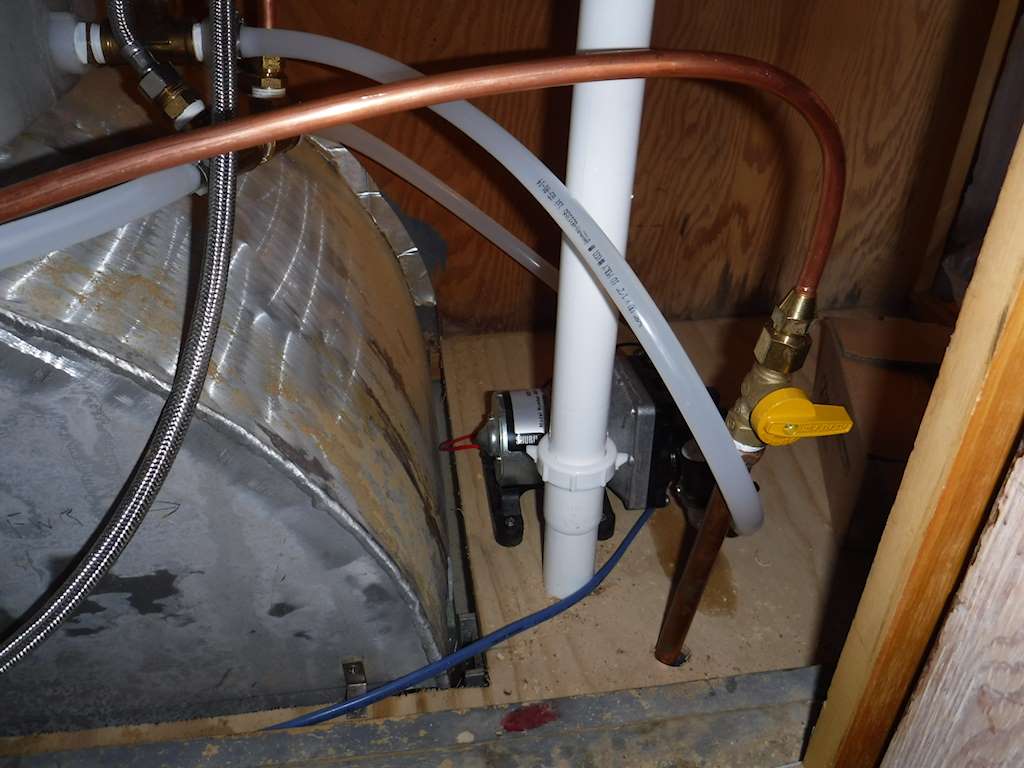
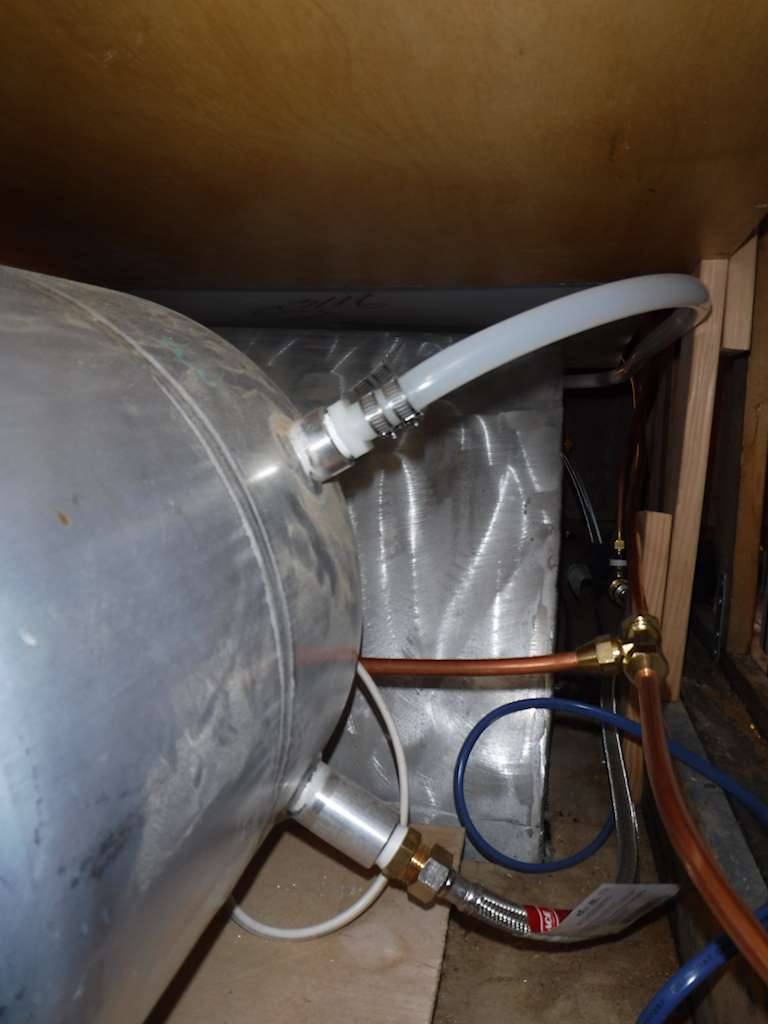
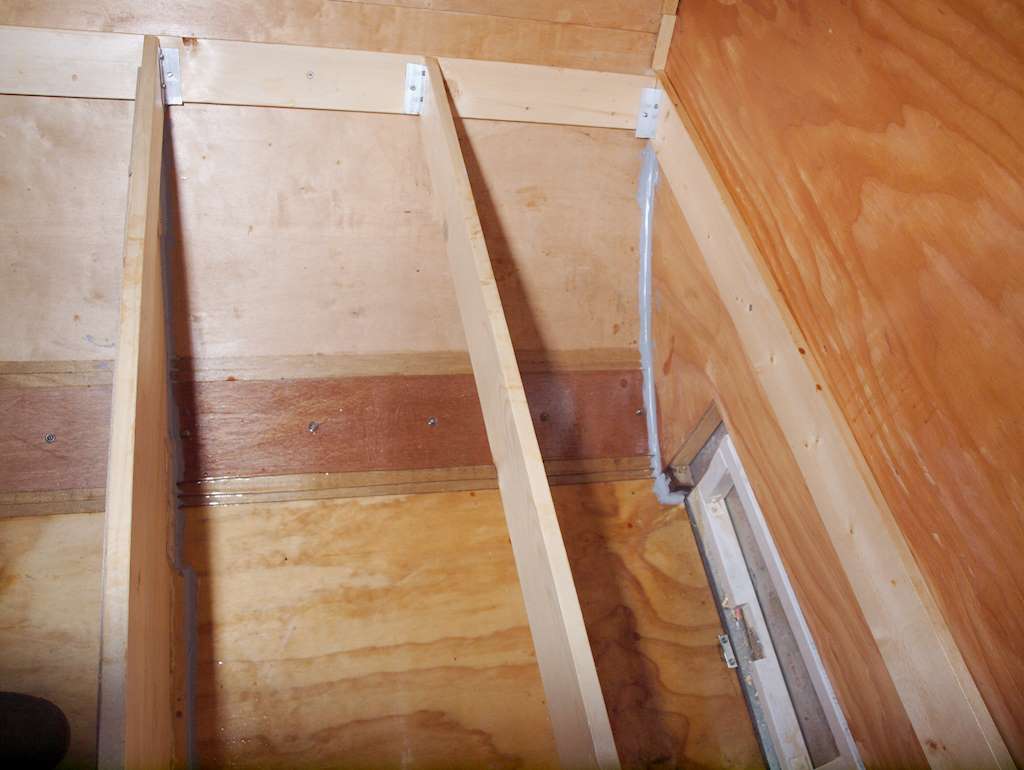
I added a panel under the bed, and caulked around that.P6245163

I polyurethaned that on both sides, two coats.  The bed floor had to be in two parts.  The opening is too small to get a double bed sized panel in.  So of course there’s a butt joint with a doubler. P6245169P6245179

The section on the left is storage for lightweight stuff. We’ll probably carry some spare linens and a couple inflatable mattresses and sleeping bags in case we have guests. I made a new door for that and added some molding and polyurethaned it on both sides. I still need to caulk the seams here to make the exterior access panel waterproof, but here’s what it looks like now. Because the original had two doors here (one of which wasnt’ actually usable), I still have one extra set of door hardware.

P7085205 P7085207


I put in an 15 amp electrical plug.  That goes into a duplex GFI outlet, one outlet of which goes to a power strip inside the back door. I will tie down those wires- I just couldn’t find my wire clamps when I did that. When we have shore power that will charge the house battery (which I expect to keep in that compartment, and things like laptops and electric toothbrushes.  I’ll have a small inverter but want to use that as little as possible.P7095211 P7095214

Then I did the screen doors.  The originals were nasty. For those who haven’t seen this, the screen doors on a travel trailer are different from a house.  In most houses, the front door opens in and the screen door in on the outside, opening out. On a travel trailer the door opens out, so the screen door has to be on the inside.  The thickness of the wall is only an inch and three quarters, and the entry door is the same thickness as the wall.  So the screen door has to be thin.  To have a flat screen door we’d have to move it in over an inch to miss the lock parts on the inside.  Instead the frame has a one inch step, and a sliding panel. The door hinge segments to hold both the entry and screen door in one hinge, which avoids a lot of complexity.  But it does mean the new screen door has to be pretty identical to the old one.

I used several different woods here.  I put the frames together using glued dowels and no metal fasteners, but it has to be possible to remove the sliding bits and the screens in case something is damaged. Screens are particularly susceptible.  So a little gluing and routing, and I had the screen door frames.  I cut the molding that covers the screen edges and staples- except that I needed about a foot more than I bought.  The hardware store was out when I went to get more, so when I get that I have one more piece to buy.  I sanded, stained, and polyurethaned everything.  Then I clamped the screen molding in place.

P7075189
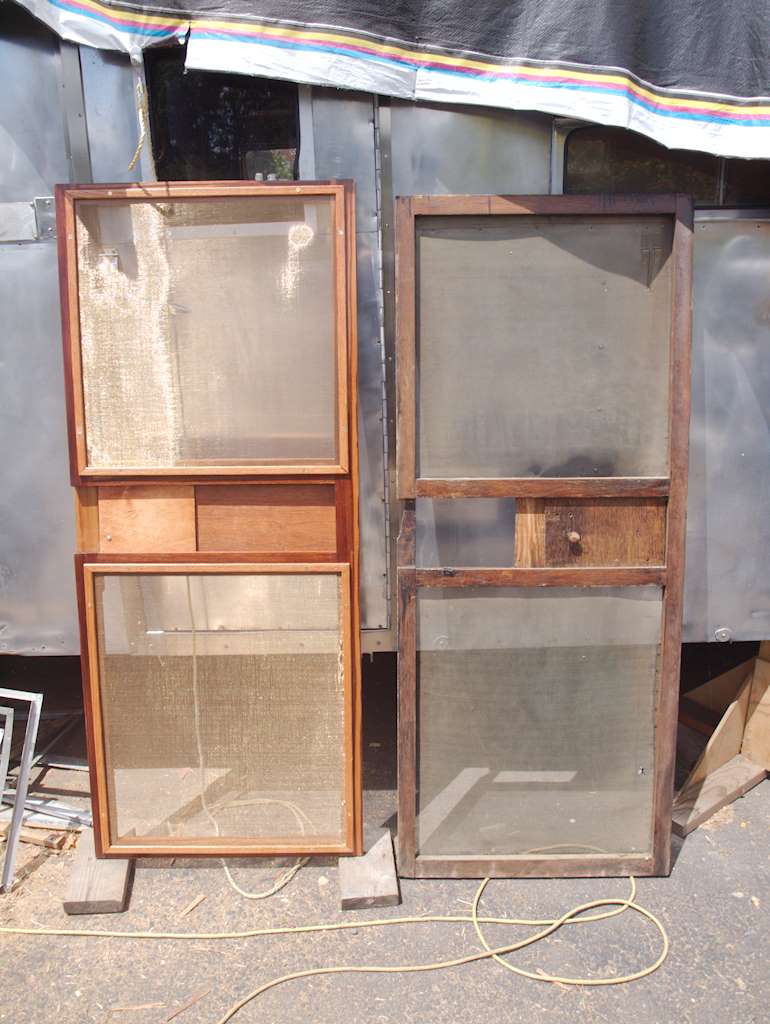
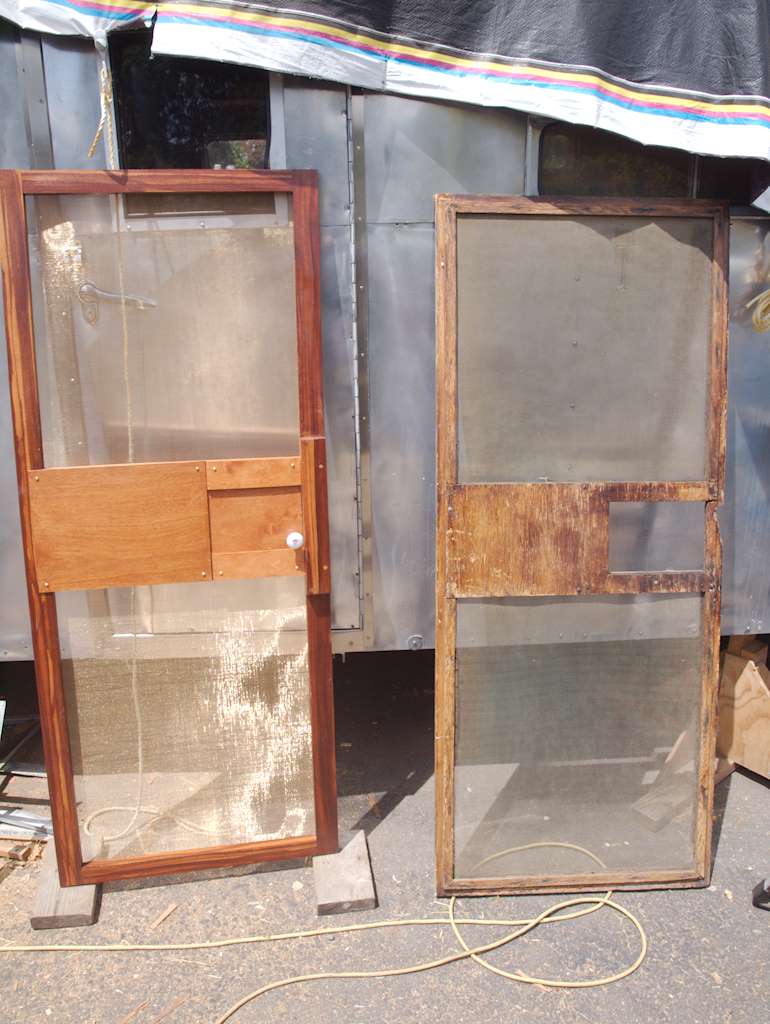
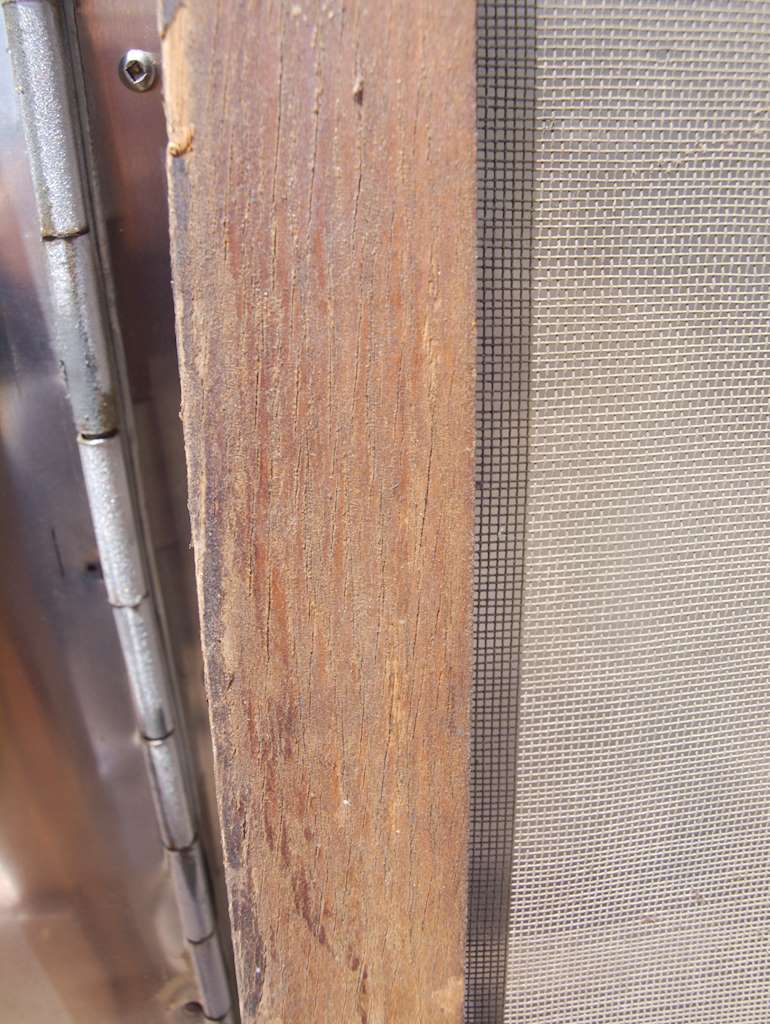
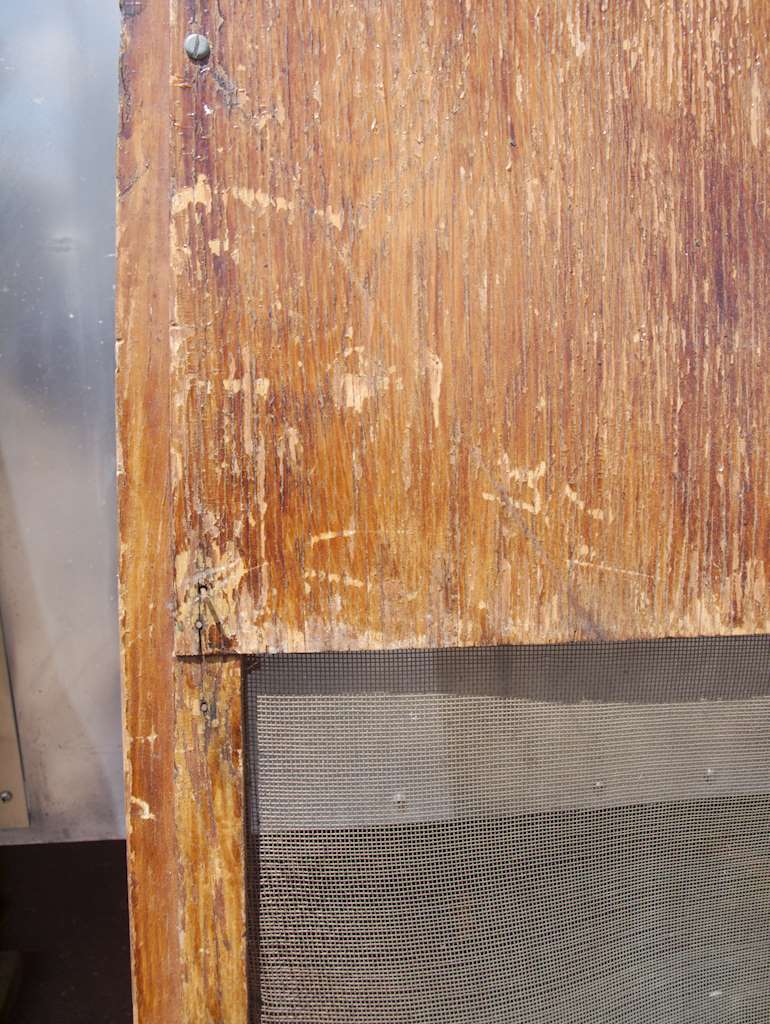
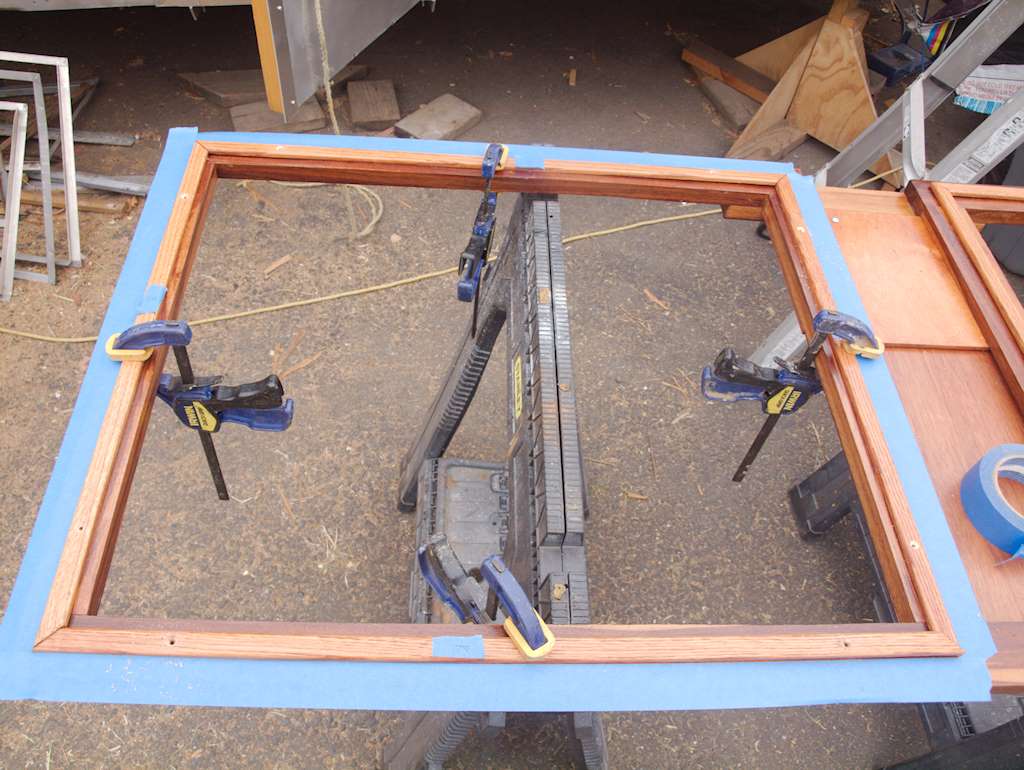
Marked the pieces so I could put them into the same location, drilled the holes, and taped to mark the outer edges.  Then I removed the molding and cut and stapled the screen. All the screens are bronze, so if people don’t push on them they should last forever.

P7075191
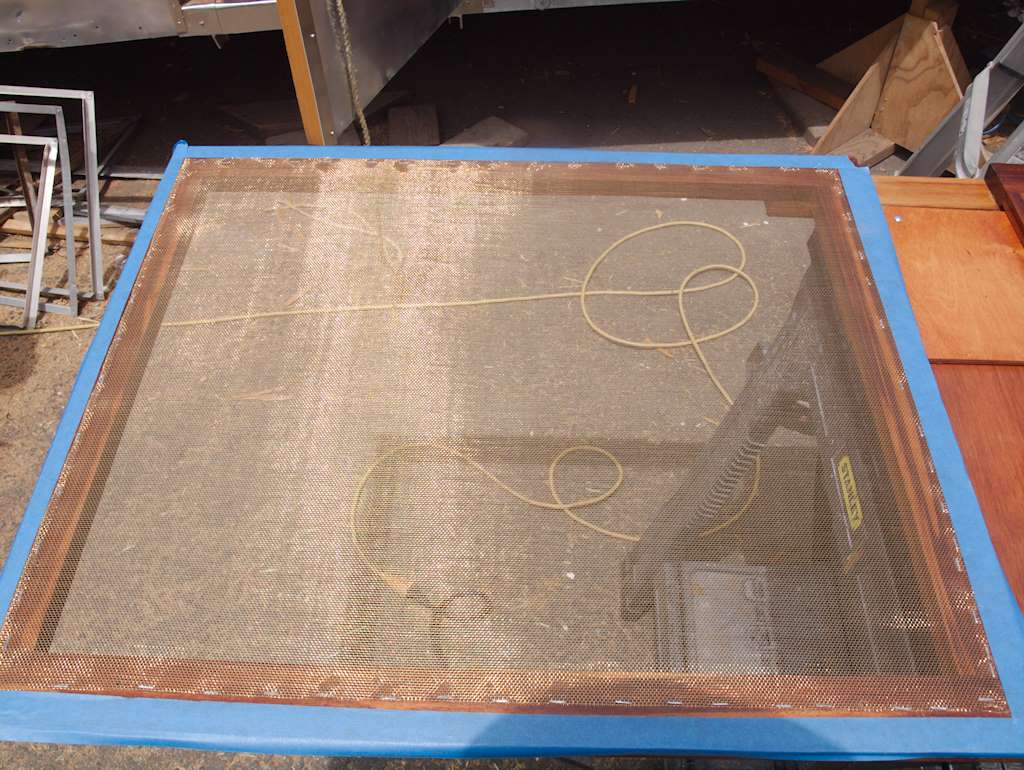
Then removed the tape and screwed on the moldings.P7075193

I like the way it came out.  Here’s old and new. The old is a lot nastier than the pictures show. These are all the front door.  The back door is similar but smaller, and has one of the molding missing on the upper section.

P7075194 P7075197P7075195 P7075196P7075199

These last pictures show the sliding panel- open on the old door, closed on the new one.P7075200 P7075201
The next tasks I think are supporting the water tank, and fitting for the refrigerator.  The opening for the refrigerator isn’t right for any modern propane refrigerator I can find, but with some adaptation I can use one I found locally at a good price.  I’m hoping to eventually replace it with highly efficient dorm-type refrigerator, but I don’t have enough confidence in the availability of solar.  For now I’m going to adapt what I have.

June 14, 2016

I haven’t posted for a couple weeks.  I’ve been doing a number of non-trailer activities.  But still making some progress.

I did some work underneath the trailer to stabilize the floor.  In the center there are three places where angle iron runs from one side to another. Then there’s a 2×3 running down the center of the trailer. Originally there was a bit of wood at each of the three crossings. One of the angles I’m going to have replaced with a channel, but I fixed the other two. Originally there was a half in plywood plus a half inch of that pressed wood stuff. I didn’t use the pressed wood, so the new spacer needed to be an inch thicker.  Instead of a piece of flimsy wood, I used a larger piece of plywood with a quarter inch of HDPE.  That stuff is slick and wears like iron, so the wood wants to rub against the iron slightly it will affect nothing.  The original is on the right below, and what I did is on the left.

0005

And here’s what it looks like in place.0006

But mostly I worked inside, on the back end.  I had removed the old bed, and the wall between the “bathroom” and the bed. The old bed was something like 49 inches wide, and very low to the ground. I determined that if I moved the bed higher off the floor I could make it the regulation 54 inches wide for a double bed. The original bathroom looked like this:
0020 0021
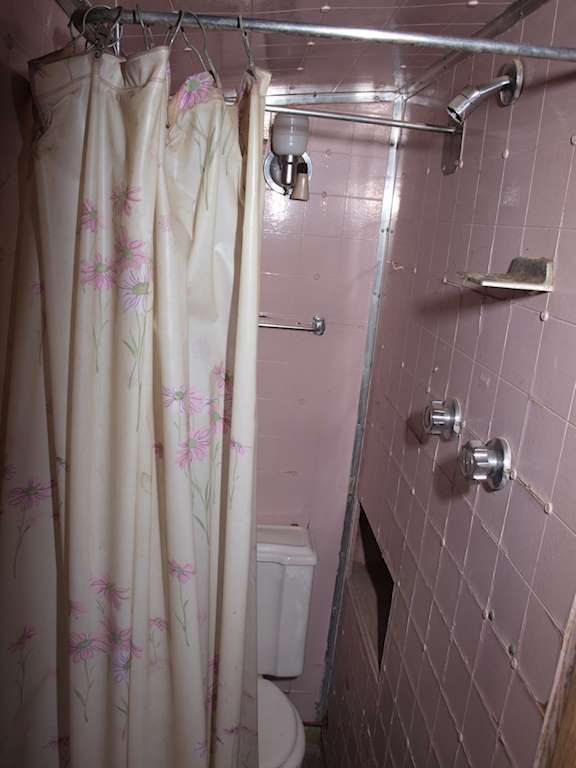
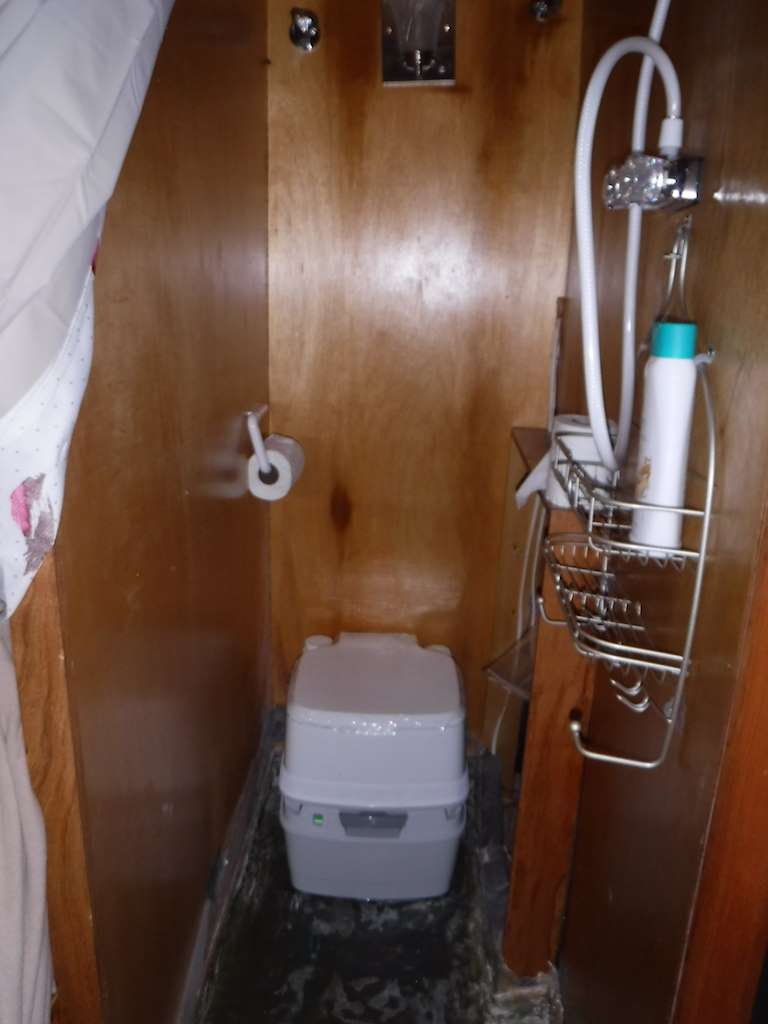
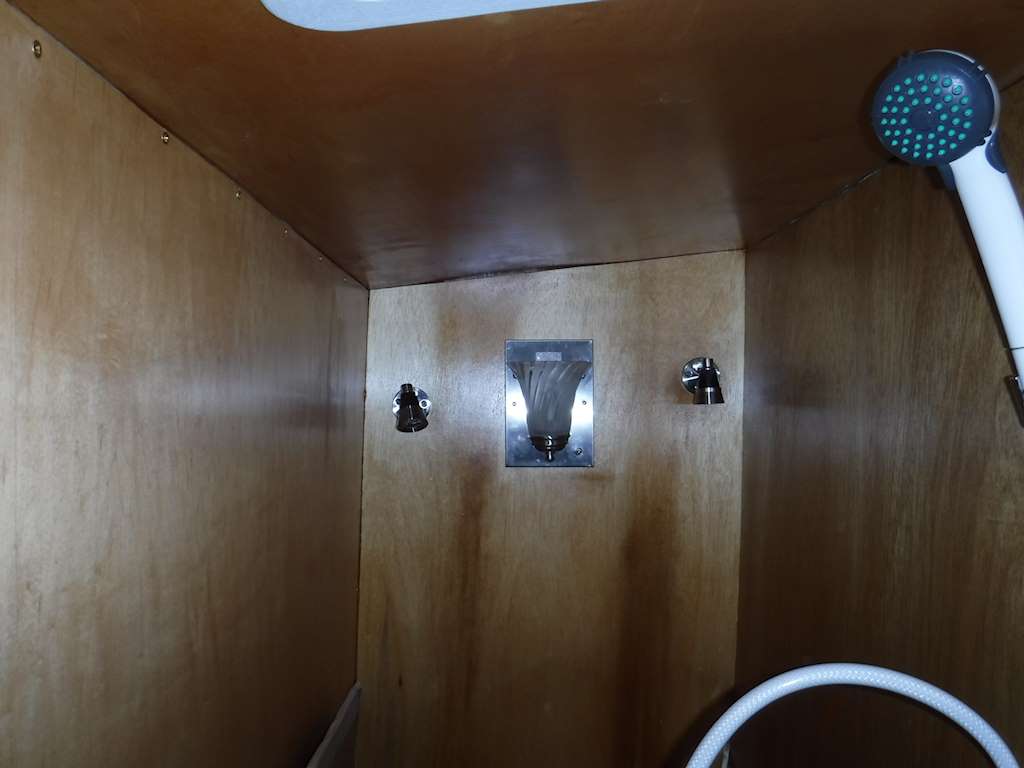
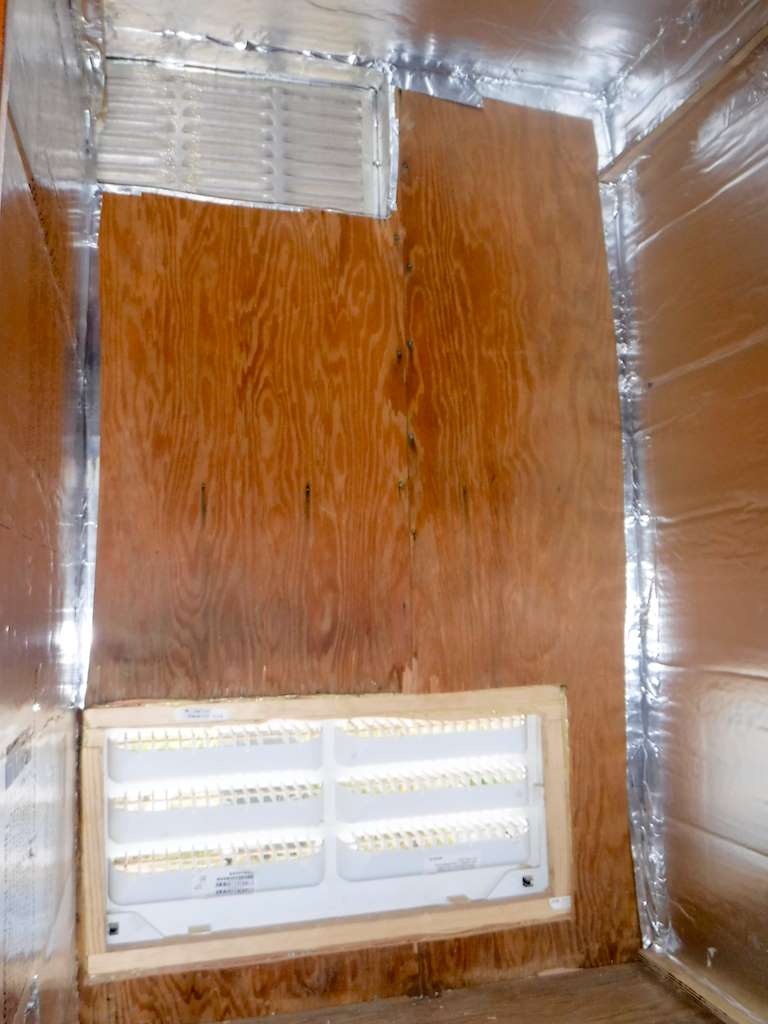
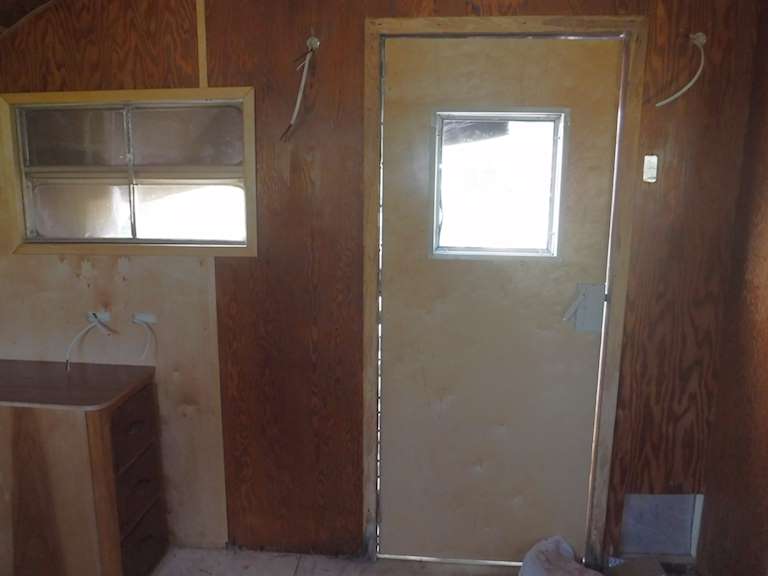
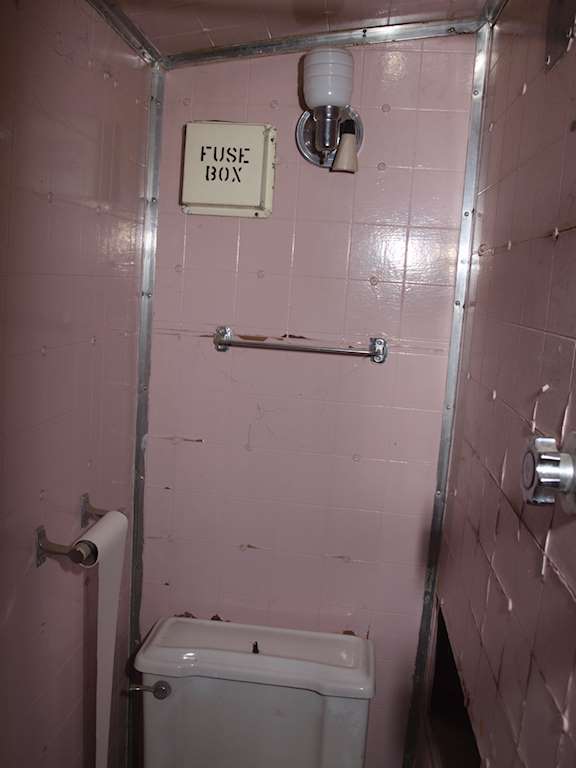
I always thought it fairly silly to put a fuse box that close to a shower, but never mind.  The picture can’t capture just how nasty the walls were, with peeling cheap pink paint. I managed to get all the paneling off, and sanded the walls and ceiling with a belt sander.  At that point it looked like this:0007


There will be wall sconce light in the center, and a reading light left and right. I left a cutout in the wall on the right of that picture so I can access that side of the water heater. The roof vent is at the front of the “bathroom”, and the wood around it was rotten. So I cut away all the bad wood.0008

At this point you can see I had glued a strip of quarter inch plywood over the cutout to give a flat surface. The shiny stuff is the polyiso insulation.

Then I put up a half inch plywood wall, in the original location. It’s screwed in place- no glue. The exposed edge has a strip of oak 1×2, rabbetted to make an attractive and rigid edge. If I ever need to replace the water tank I can remove that wall and the tank will slide out through that cutout.  Later I’ll make a nice removeable cover for it. I’m going to put four or five layers of polyurethane on it, but that’s all.  No waterproof paneling. This will be a boondocking trailer. Only the wall under the shower nozzle will get wet, and that only a little. New quarter inch plywood overhead, and 1/8 ply sheets on the other two sides.  So now it looks like this:
00150017
Here’s overhead.0014

In the back I made In the back I had not tied the back wall to the floor.  That’s important for structural integrity.  I cut three strips of 1/8 inch ply to different widths and the length to fit across the exposed back. Using epoxy I laminated them in place, using screws across the center into the 2×2 to pull them down into a nice curve.  In the picture below I’ve put a coat of polyurethane  on the left side.  Tomorrow I’ll put a coat of epoxy on the floor on the right side. Later I’ll put a bulkhead across, at the location where the polyurethane ends. 0010

0011
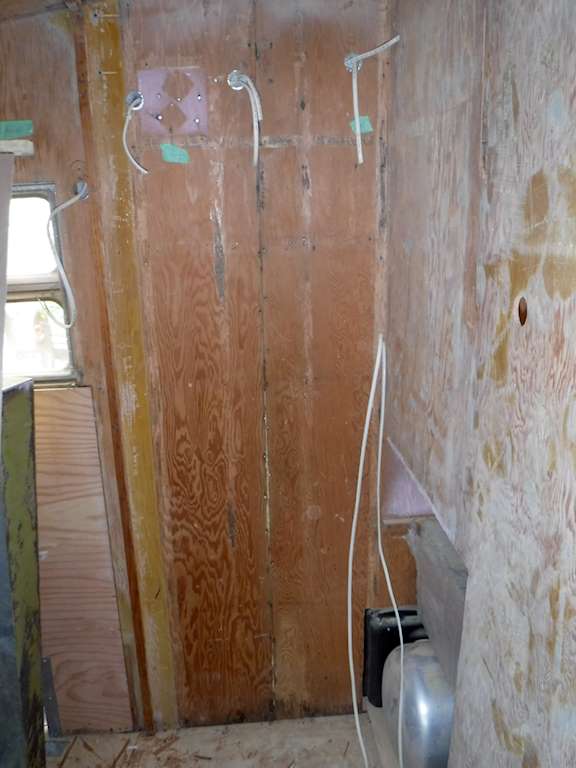
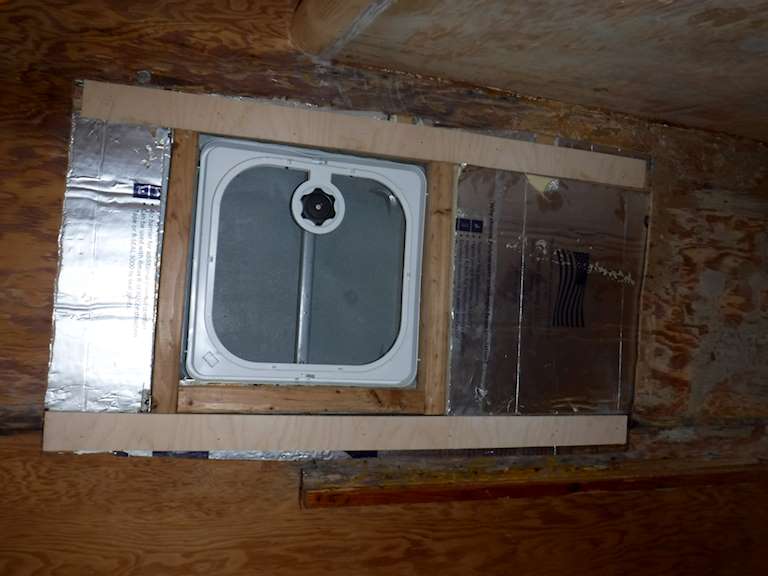
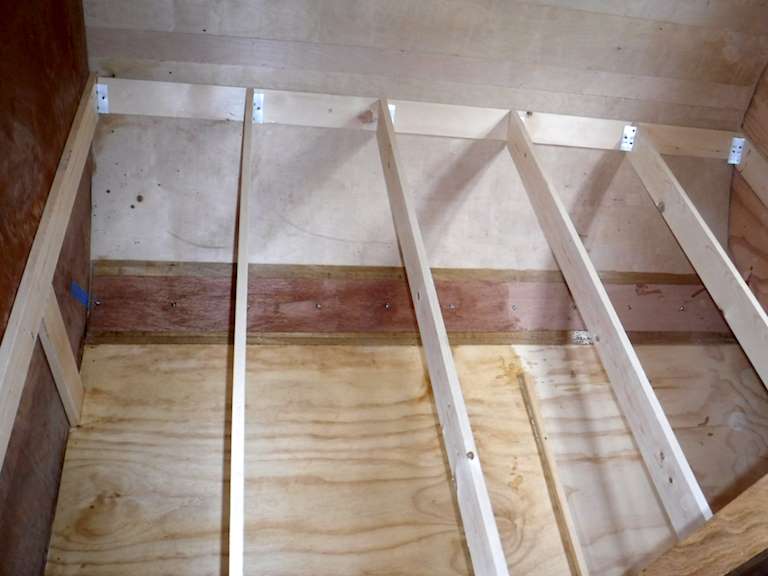
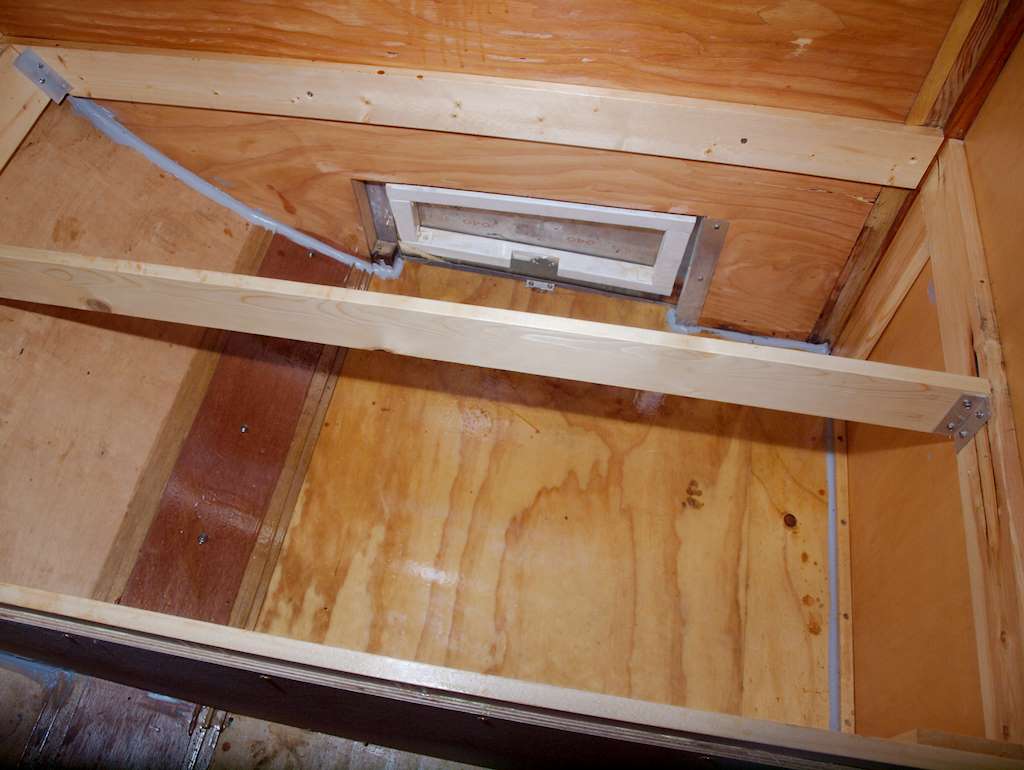
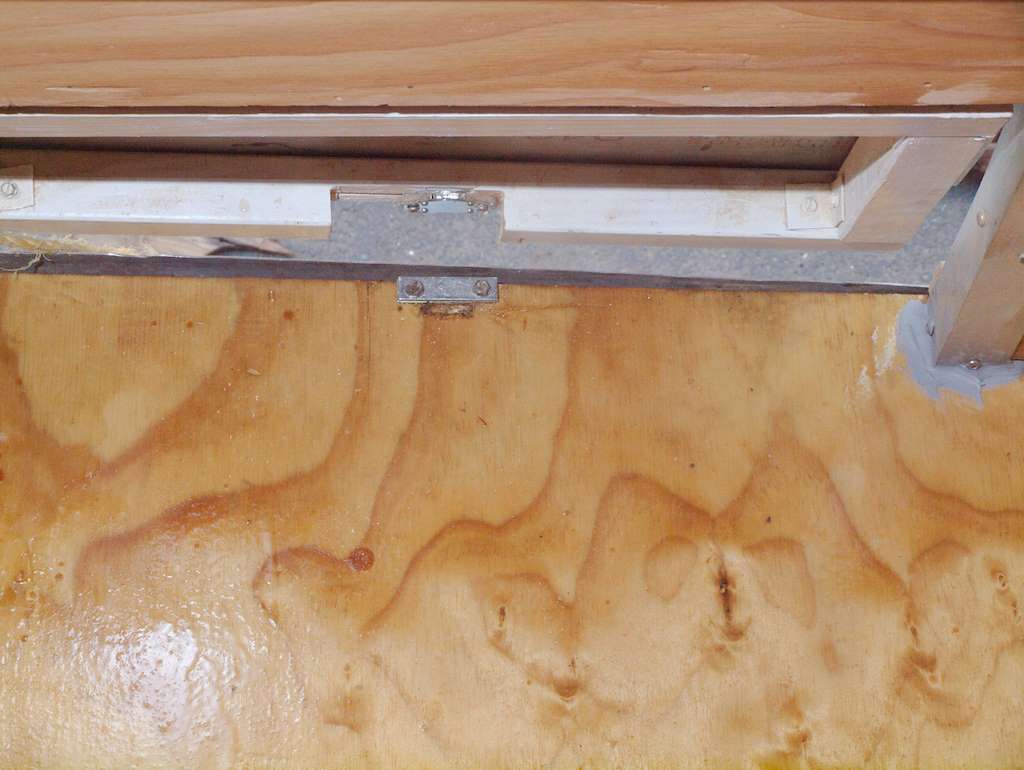
As  you can see, the right side is the externally accessible storage.  I’ll caulk all the seams, and the right side will be relatively waterproof, and if there are any unpleasant odors they won’t be exposed inside the trailer.

I also did some more work on the back of the trailer. I added the strips running across the back. As I showed several months back when I was doing this, the plywood I used for the back was WAY stiff, and the only way I could make it work was to slit it.  0013

The right side plywood is not interior grade. It was a mistake to use it, but with the mattress and pillows it will never been seen. For comparison, here’s a picture looking from the front into the bedroom.  The cabinet on the left is actually done, but it’s dusty from the sanding I’ve been doing. The vent in the upper center of the photo is over the front of the bathroom.

0019


One more thing- the front door.  I live about twenty minutes drive from a really good lumber store.  Ahlmquist Lumber They always have some really exotic wood in off-standard sizes, and I always keep some of this around for miscellaneous small projects.  So I have no idea what this stuff is, but I like it. I fastened it with dowels and glue instead of screws.  Just because I felt like it.

0022 0023
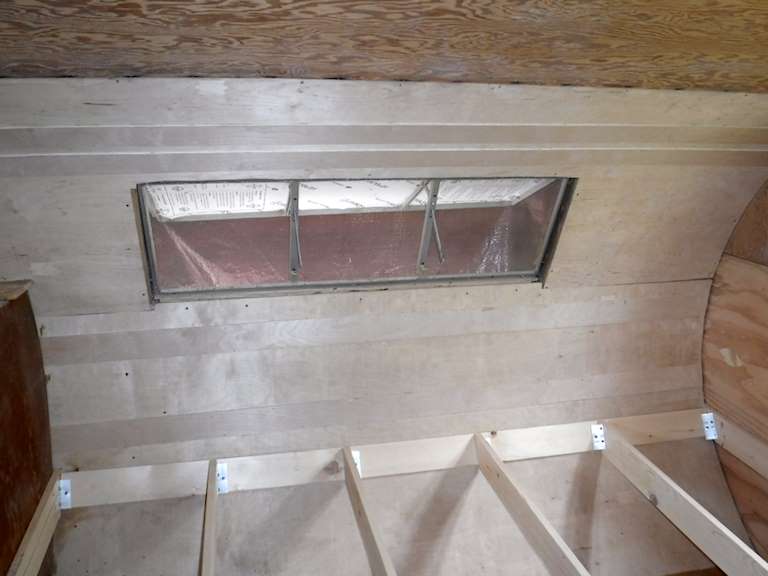
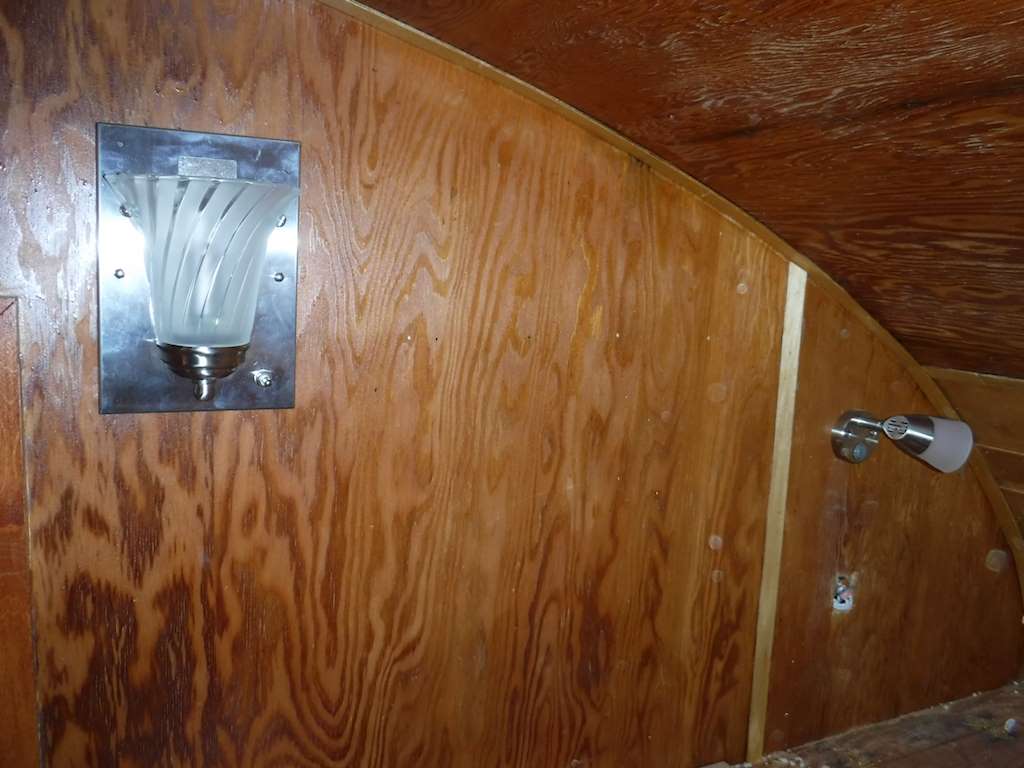
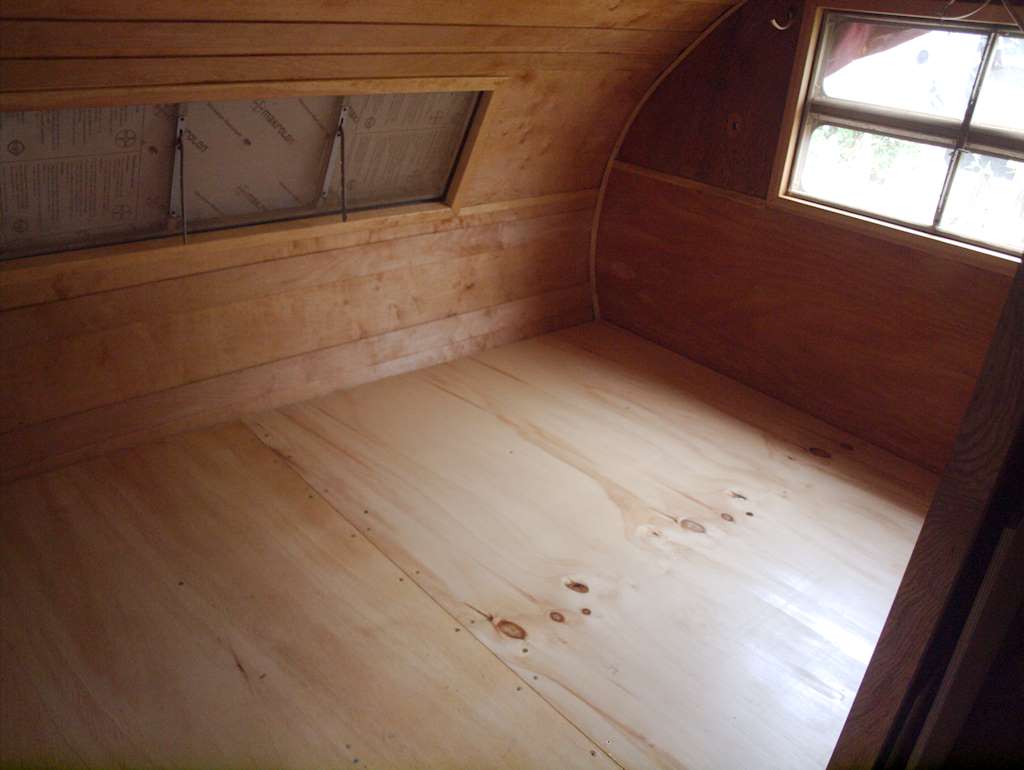
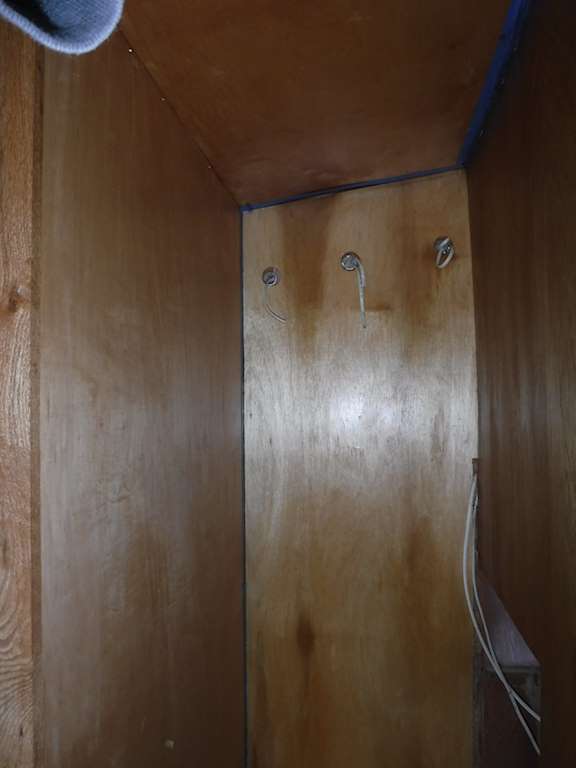
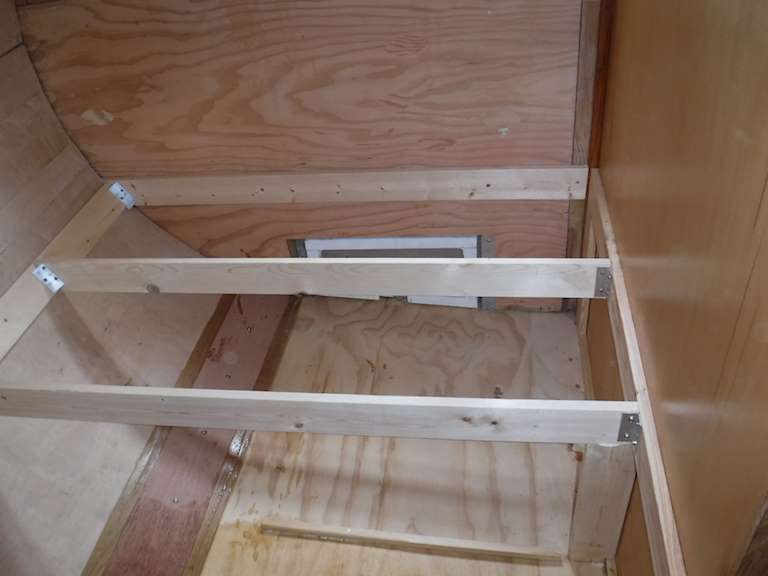
The only visual theme for the interior is “as many different woods as I can find”.

May 31, 2016

I’ve slacked off just a bit, but I’ve still been making some progress. Mostly nothing worth photographing, but today there is. I’ve finished the front of the trailer, down to the floor and less the wiring. Here’s looking from the kitchen to the living room.
0060


Here’s what you see when you step in through the front door.

0065

And from the living room looking right toward the front door.0061


And from the living room looking toward the kitchen.  Yes, the kitchen is currently full of stuff.  Every flat surface has something on it.  I don’t have many work surfaces.0064

I continue to play with veneer.  The cabinet in the living room is mostly covered with veneer, except the drawers.  I did this on top:

0011

I also put those door retainers, front and rear. The ones I bought don’t work properly.  I had to trim the clip part of them.

0063


0062
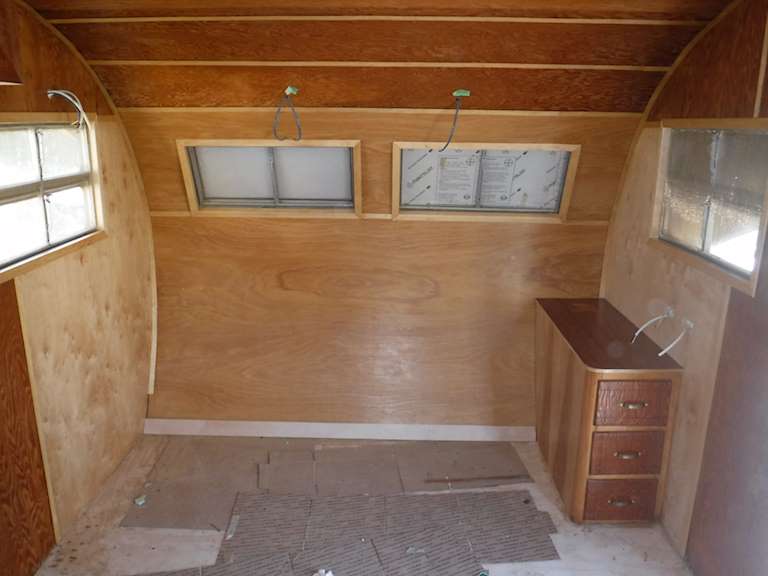
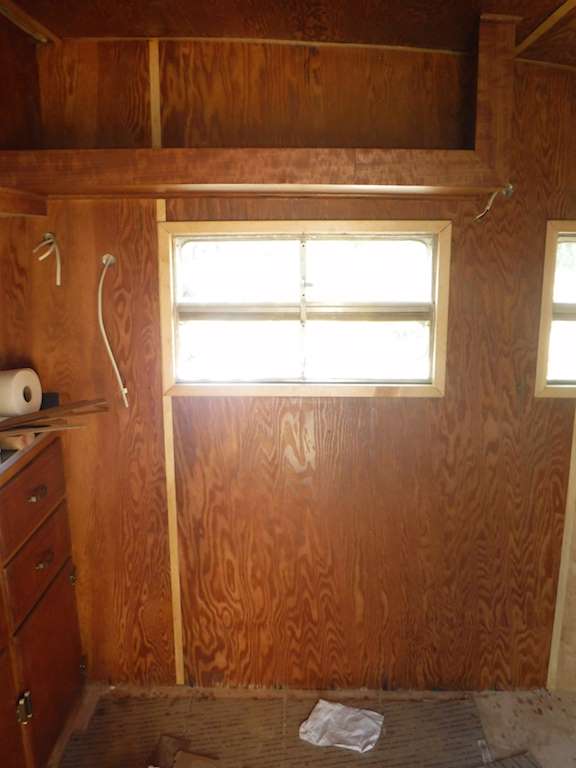
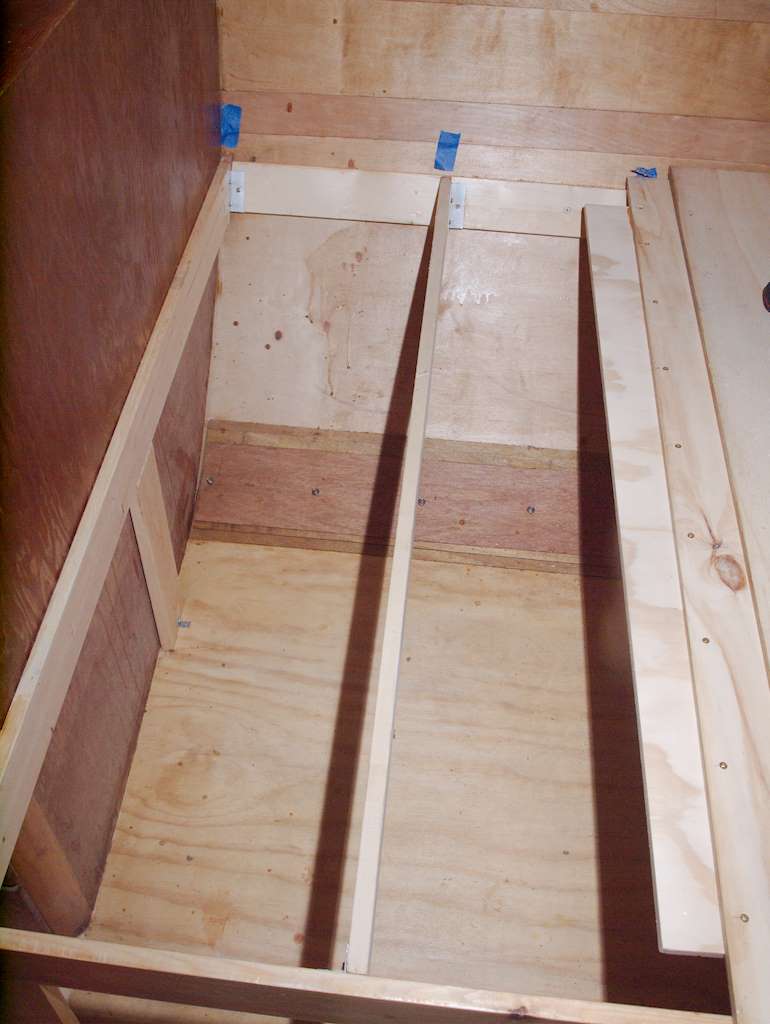
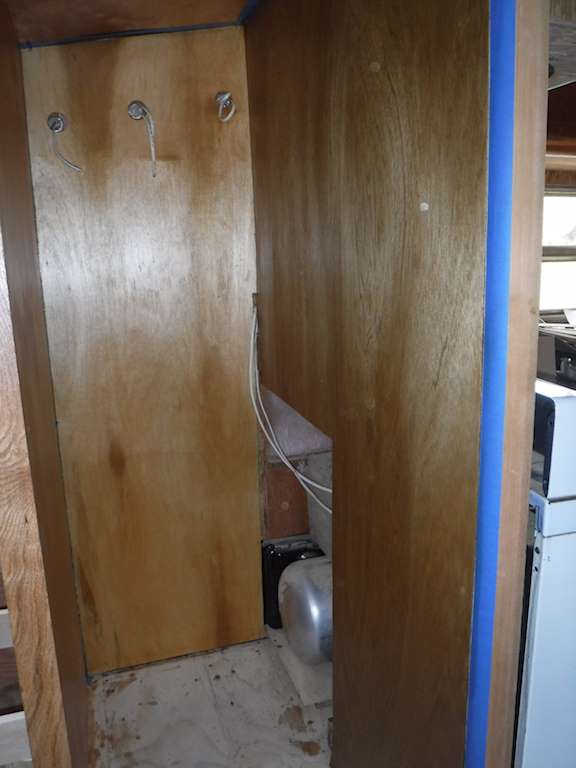
Note that the left and right sides are different in that last picture.

I started to put on the external corner moldings, where the vertical walls meet horizontal roof/end.  But the molding is pretty marginal in size.  It’s about .9 wide by a scant half inch tall. I’m going to buy some a bit larger. I found some that’s an inch and an eight by 5/8 inch that I think will do better. So I have to leave that for a few days.  I think I’ll continue on the interior.  Probably do the bathroom to the point where I can construct the bed.

May 21

I’ve slacked off just a little in the last week or so.  I’ve been doing some work inside the trailer. Removing tannic acid stains, sanding and staining and applying polyurethane, etc.  I finally got my locks back from the locksmith. The lock from the front door was fine, and the locksmith was able to make me keys. But the back door cylinder was non-functional. Vintage Trailer Supply sells a replacement (sort of) cylinder. I bought one.

The locksmith was able to get it in, and it is able to lock and unlock the rear door. But if the cylinder is connected to the interior mechanism, you can only lock and unlock it from the outside with the key. So I disconnected the cylinder. The front door locks from inside and outside, and the rear door locks and unlocks from inside only now. So sometimes I’ll have to walk another twelve feet or so. I think I can live with that. I sandblasted the interior pieces and painted them a tan or beige which I think goes better with the new Birch plywood. So before I started working on the doors they looked like this:

0025

0026
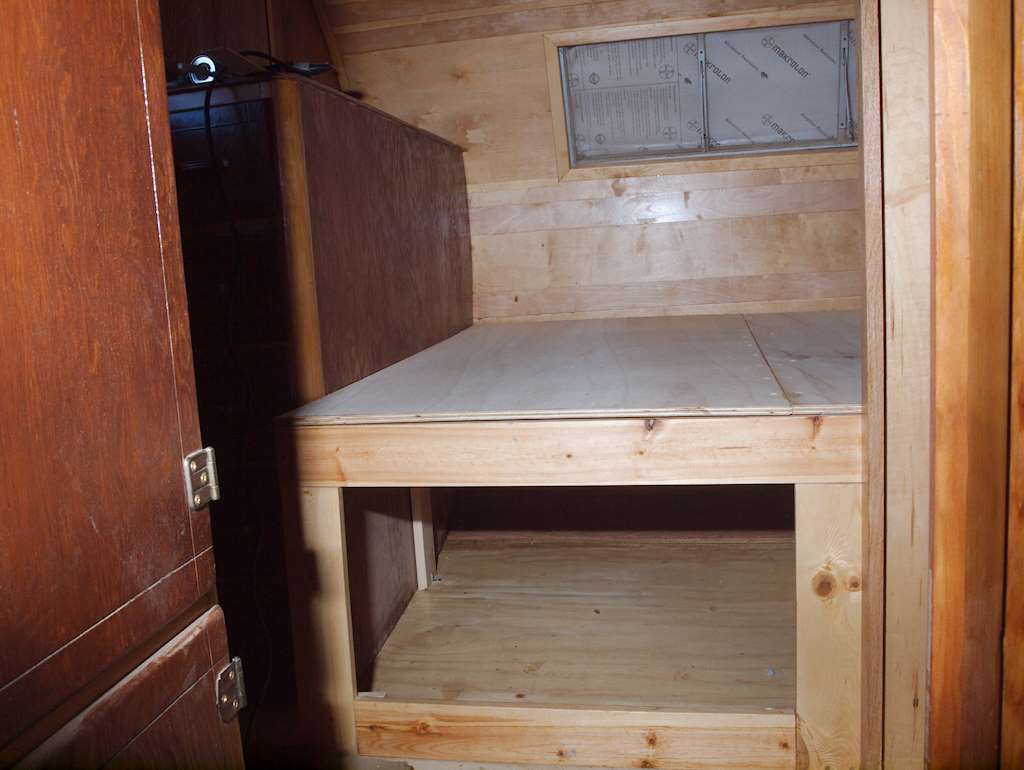
And now they look like this:

0001_1 0002_1

I can’t find one of the strike plates. This is what they look like:0003_1
But I had some HDPE about the right thickness and made this:0004

Which should work about as well. I still have a bunch of work to do around the door, but it’s usable now. And I think it’s a significant visual improvement.