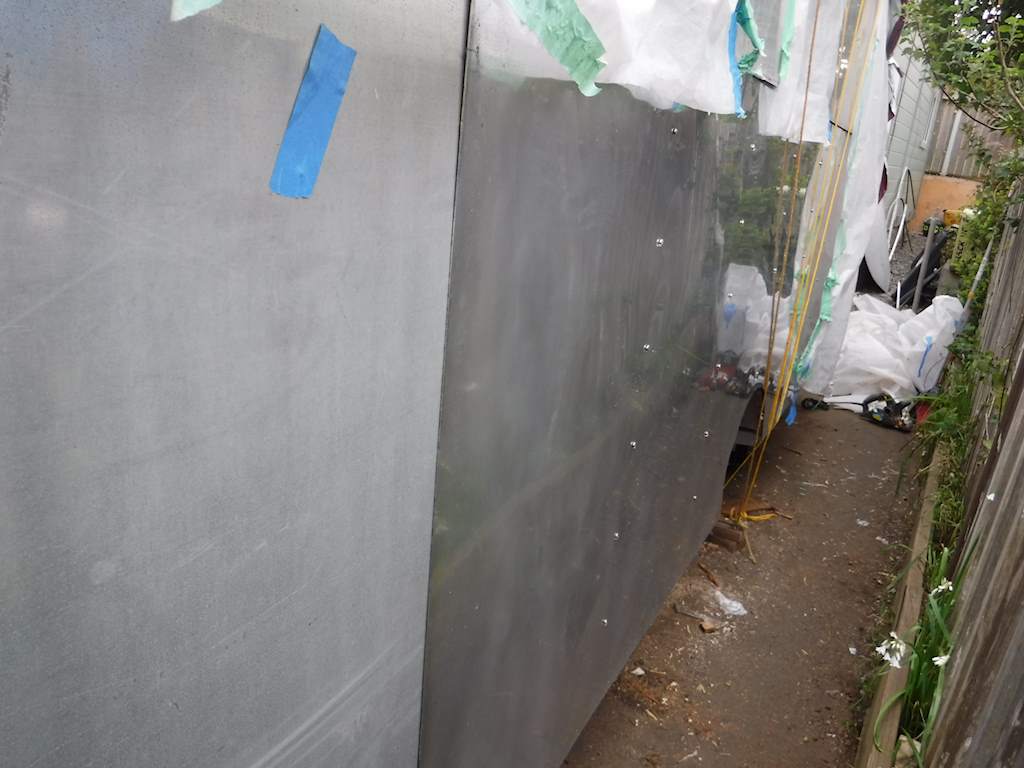
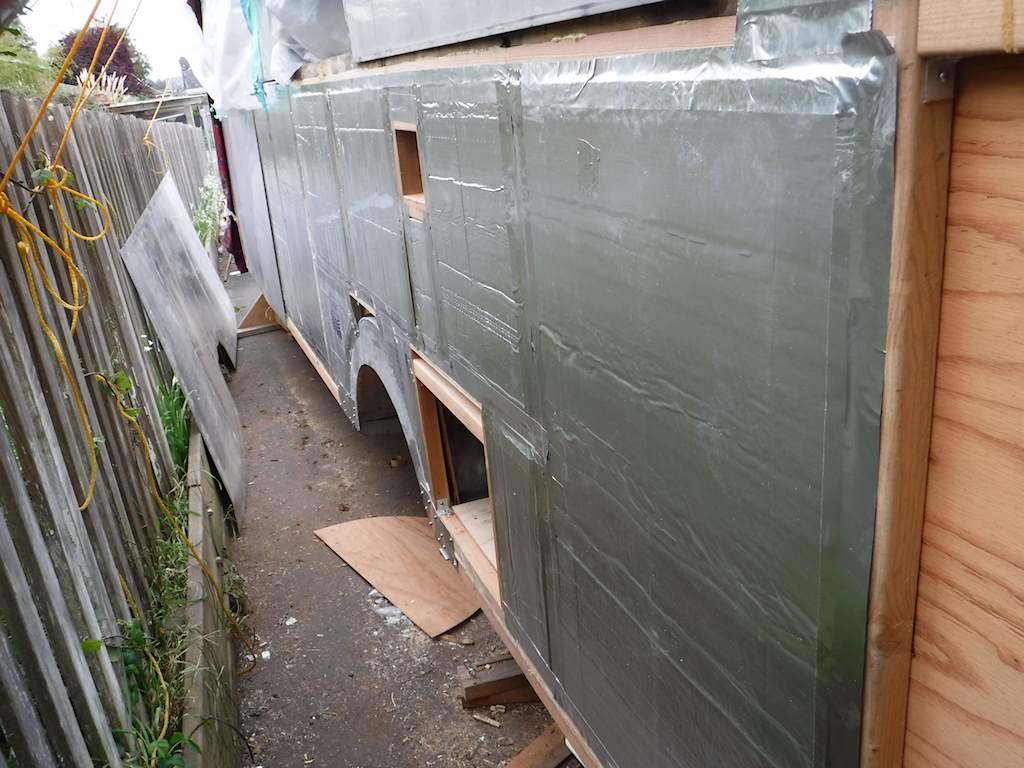
Today was a big day. I now have all the side panels on and all the windows.
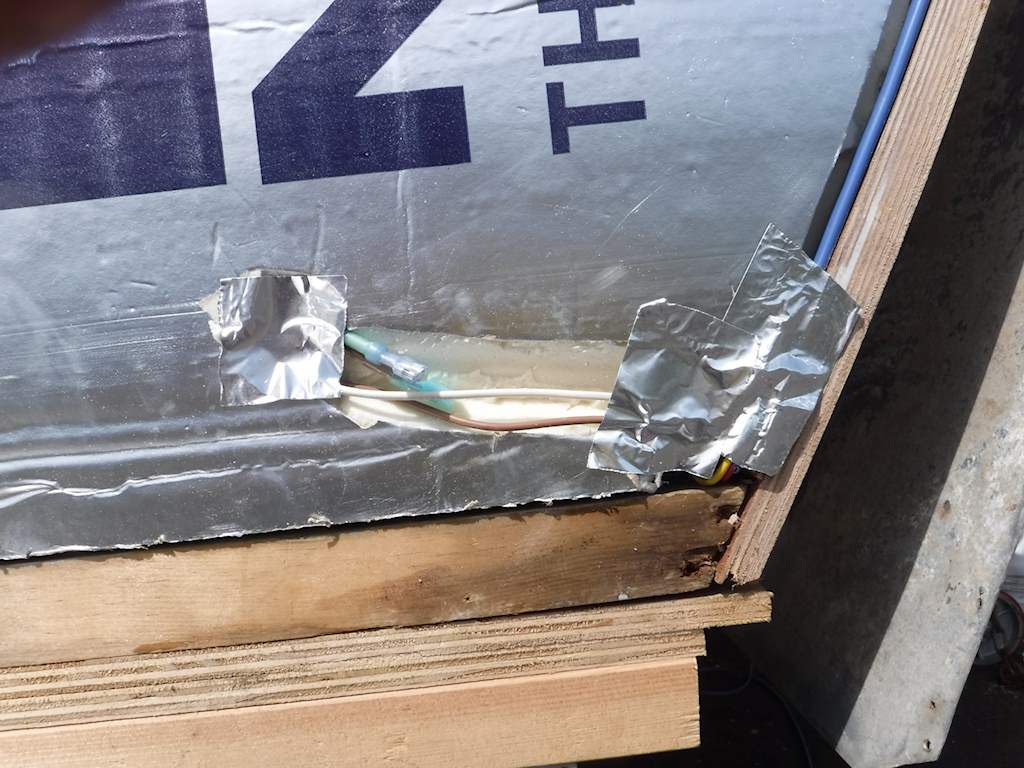
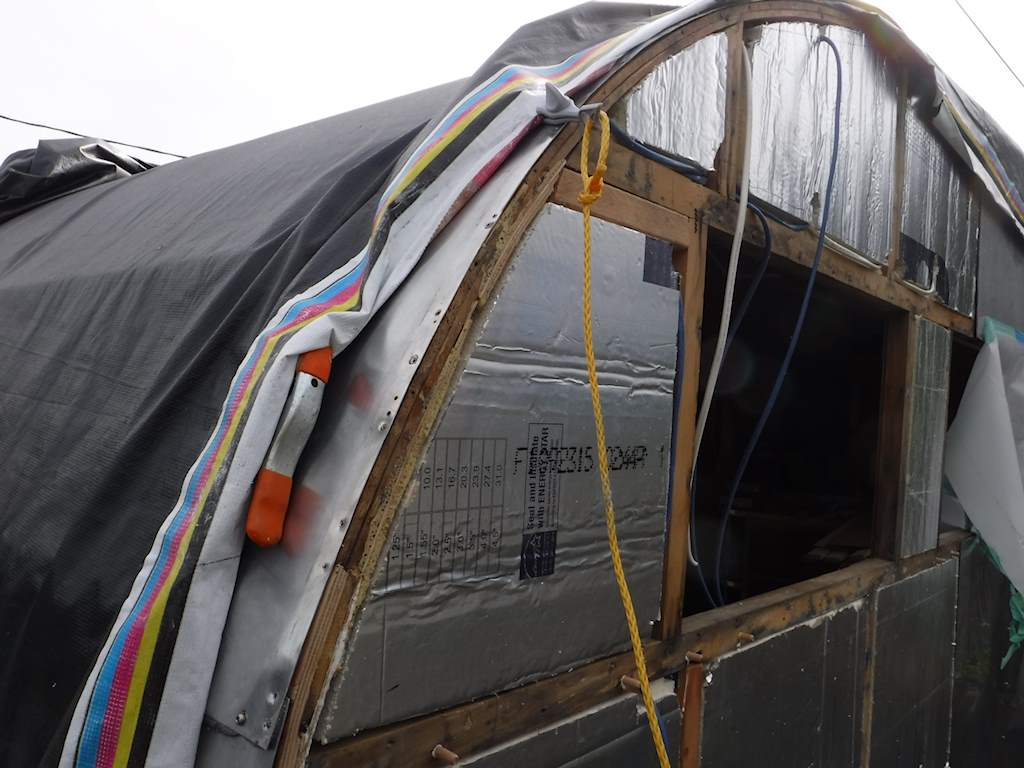
First the right rear. Here’s with all the insulation and the lower wiring.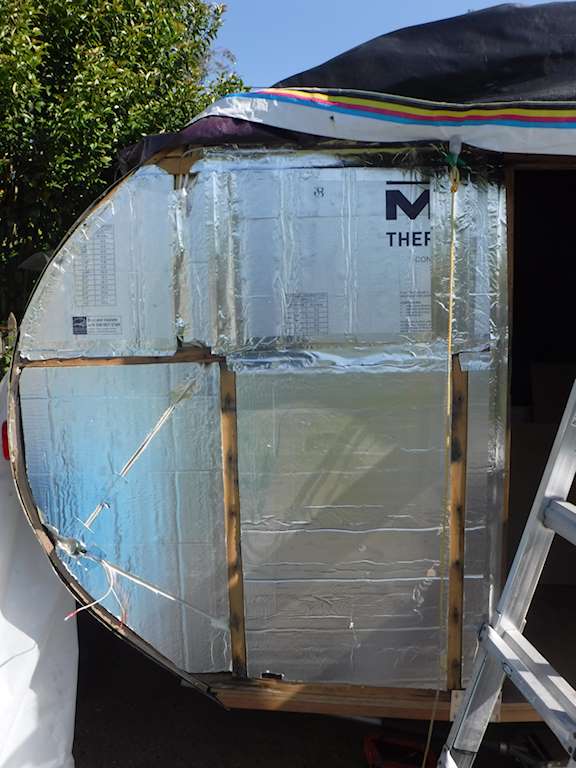 At this point I realize I had no more inline connectors. I bought more locally. These are marine grade but don’t have the adhesive heat shrink. Fortunately I had some, so I added at the back.
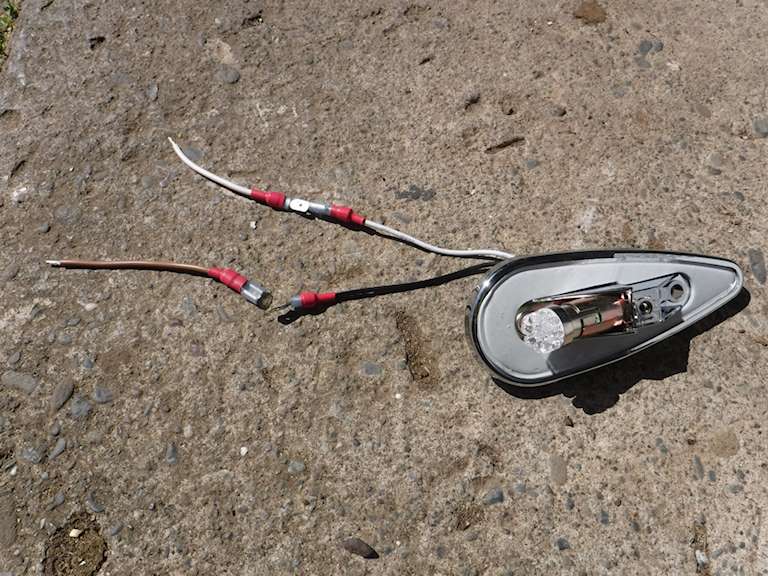
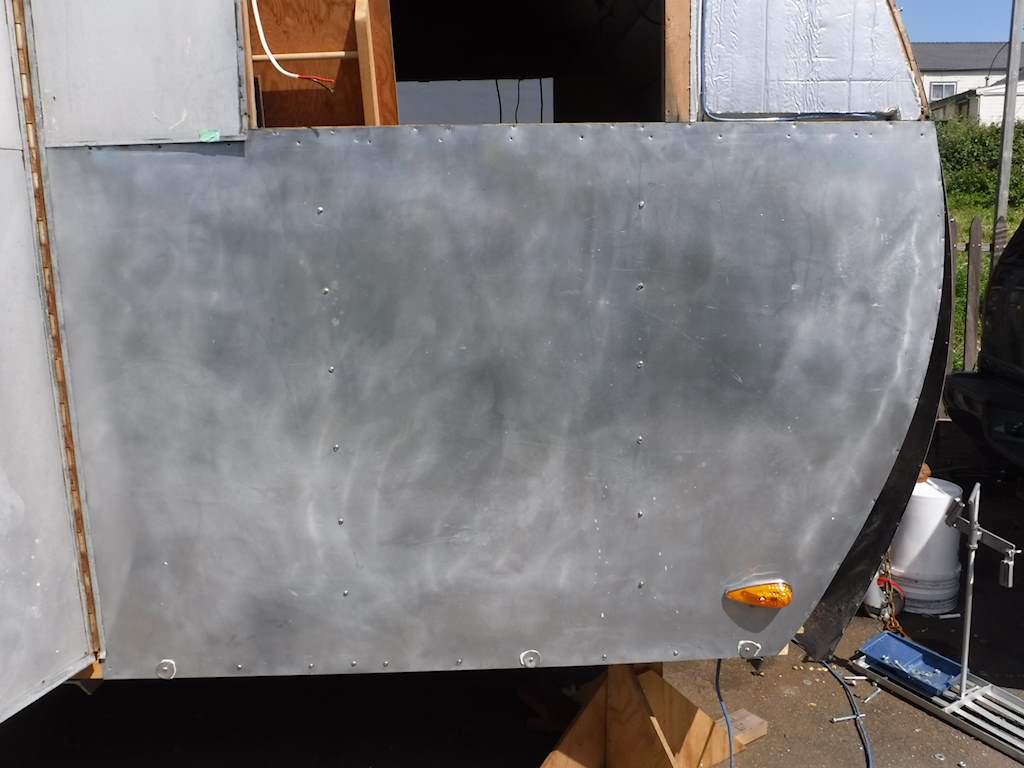
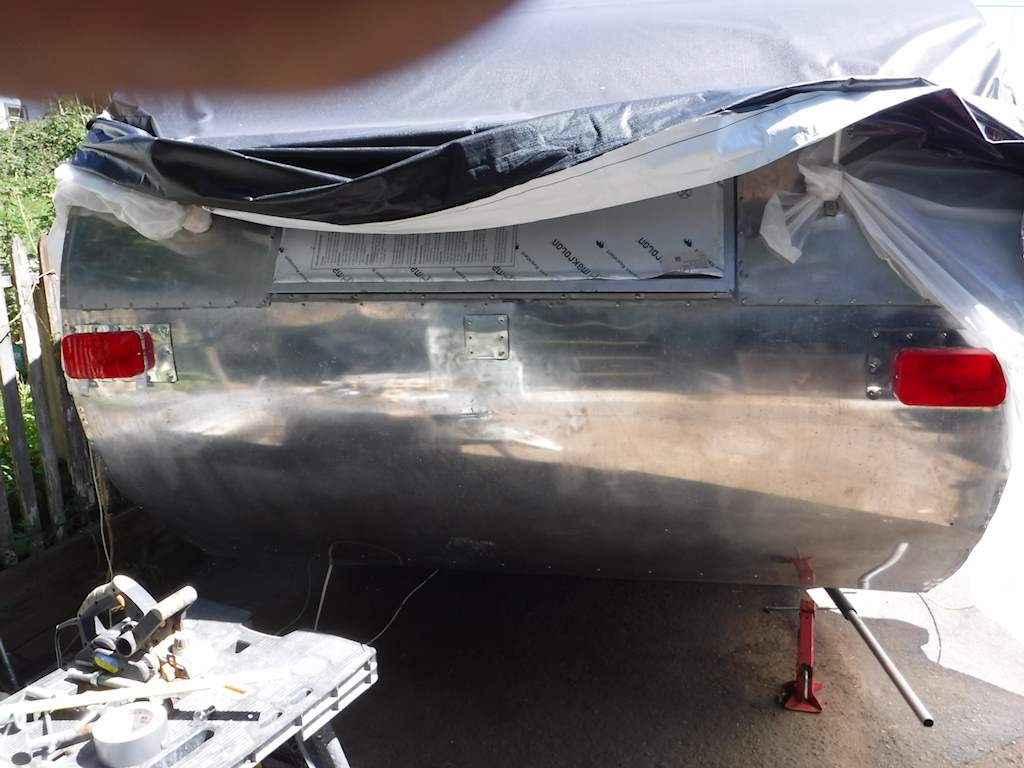
The actual connection of course has the dielectric grease, so they should be safely water-tight. And of course there should never be any water there anyway. Here’s with the right rear panels complete.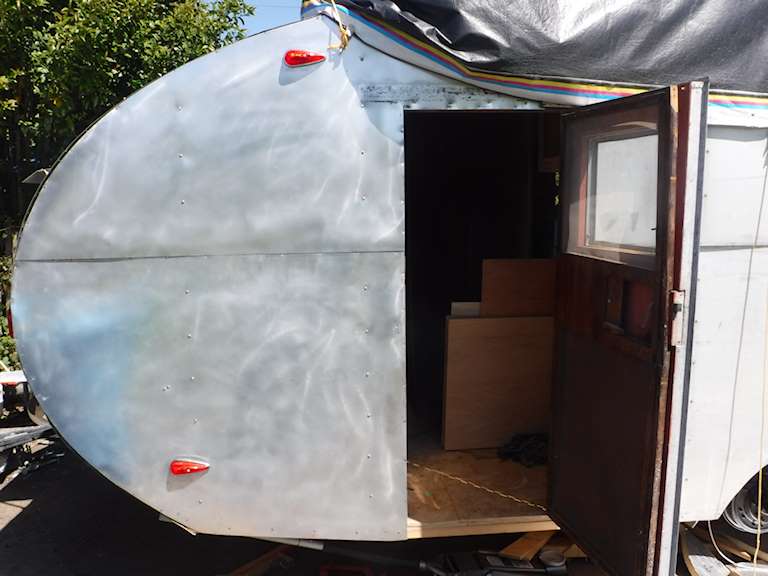
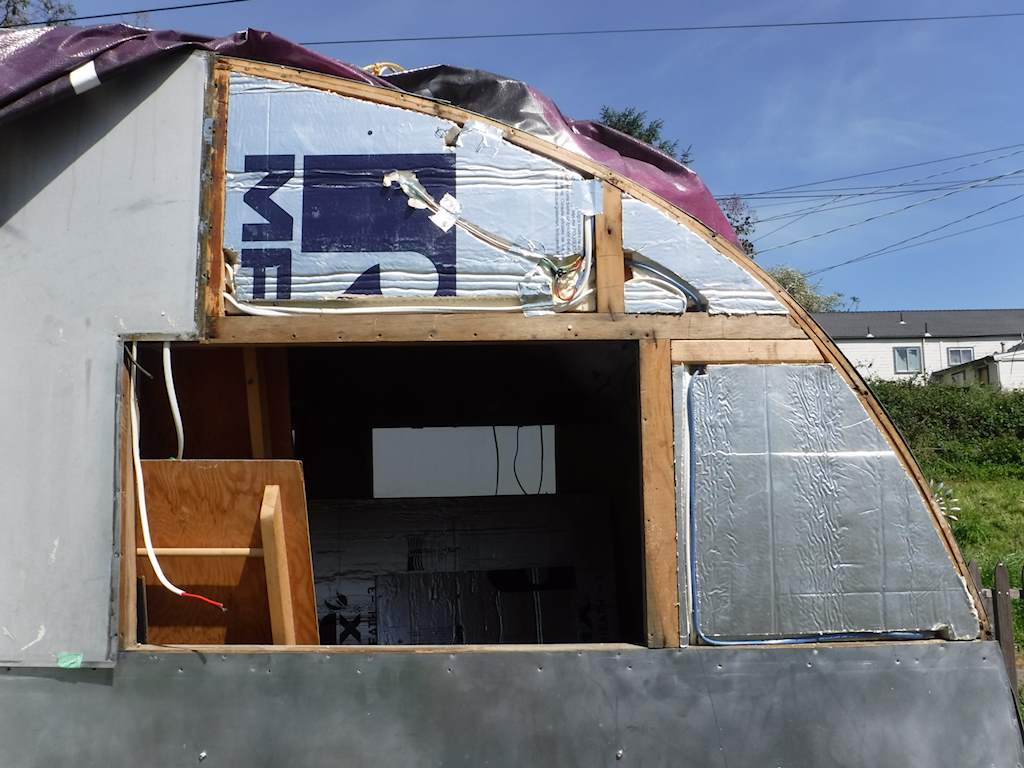
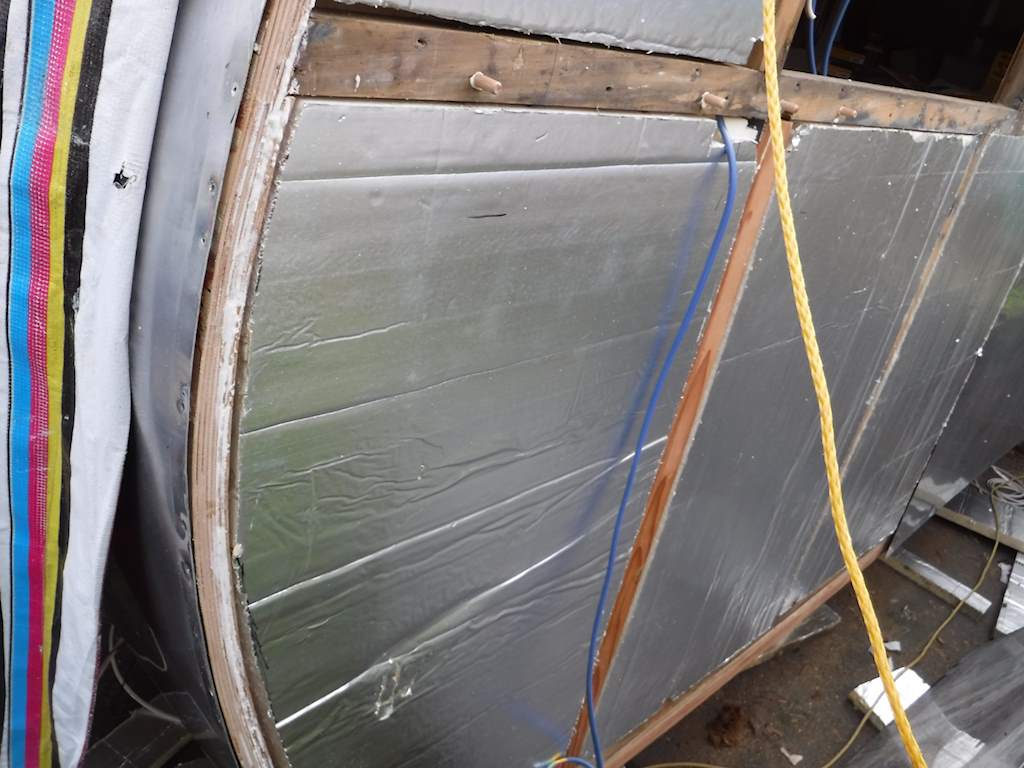
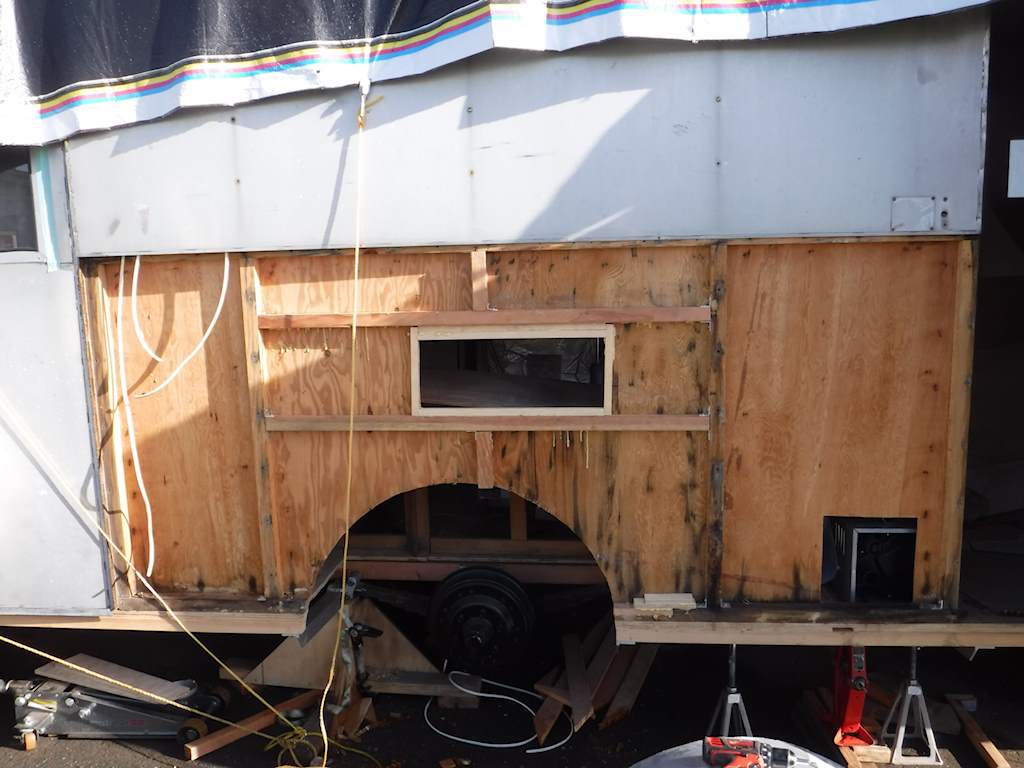
I tested all the external lights, and they work. Note that this meets the modern requirements. It has the three ID lights across the top, and the marker lights front and back because it’s over 80 inches wide. I have the side reflectors but haven’t put them on yet. I haven’t seen at night. Will be interesting to see how bright it all is. Here’s with the center panels off and the lower insulation on.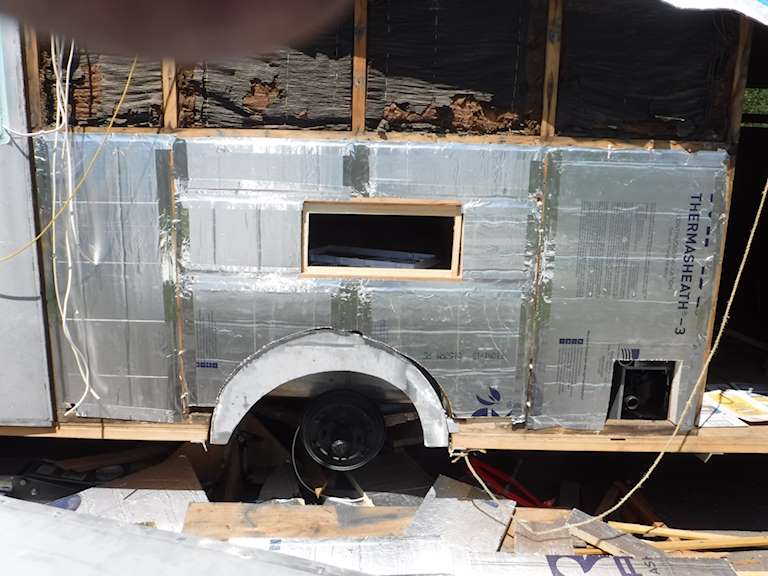
No wiring here. The center hole is for the lower refrigerator vent. The lower right is for the heater. Next is with the lower center panel on and the upper insulation and wiring.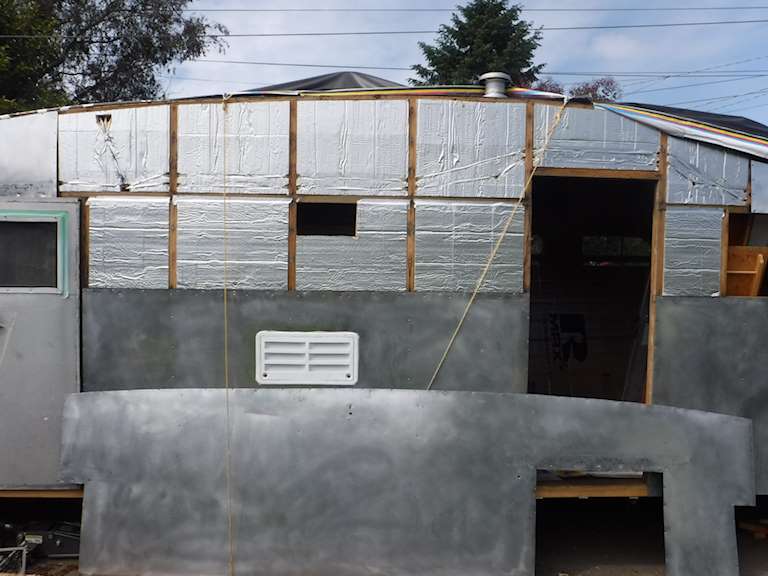
Here we have the upper panel on. I haven’t cut the upper vent hole in the skin panel yet, but as you can see the hole is in the wall and insulation. When I bought the trailer there was an electric refrigerator, and a lower vent but no upper. A bit strange. I’m going to use the old vent as the new upper vent. There’s advantage in being able to access the rear of the refrigerator around the controls and to clean that area, but the upper seems less important to me.
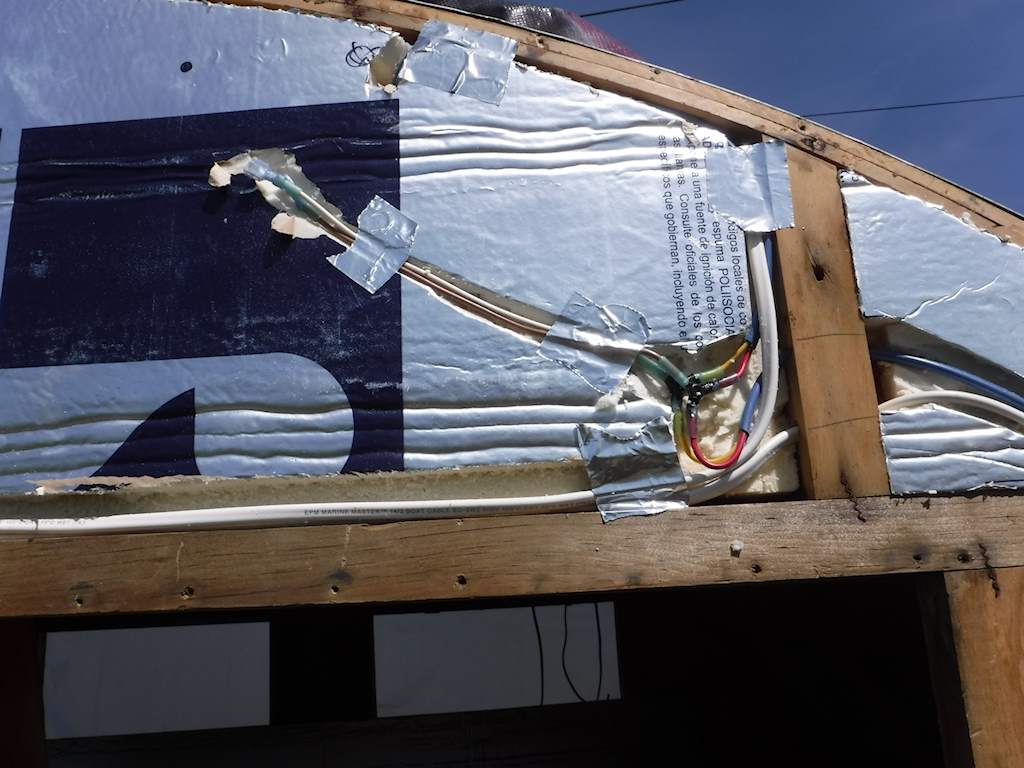
There are six wires going into the hole on the upper left in that picture:
- Bedroom lights and USB charger
- Bathroom lights
- Kitchen lights and USB charger
- Water pump
- Living room lights
- Dedicated charger in living room. That’s in case somebody wants to use something that draws more than a couple amps.
Each of the USB chargers is actually two USB ports and a cigarette lighter receptacle. All the wires are 14 gauge marine wire, so voltage drop should be very small. The distribution panel and controls with be just inside the rear door, where there’s a closet.
Here’s with that upper panel on. I’ve removed the front door so I can work on it. The lower refrigerator vent is in, as you can see, but I haven’t cut the upper vent hole or the holes for the heater. Which would be just left of the door.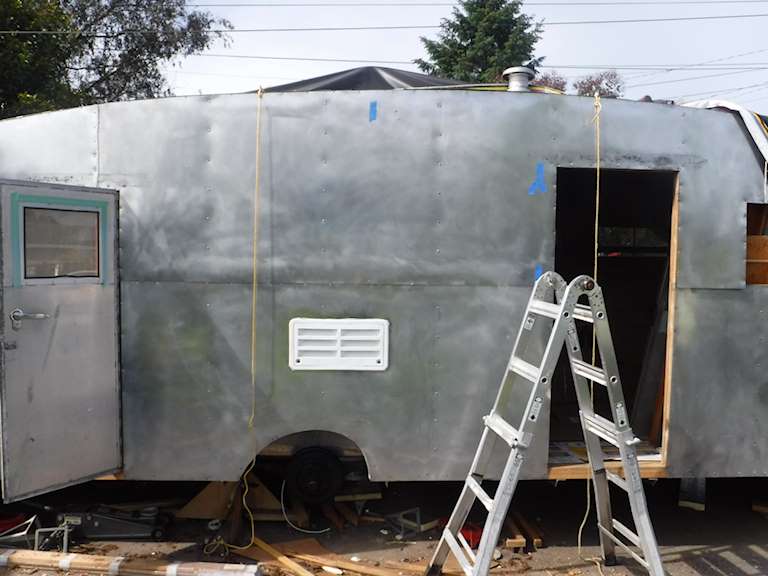
And the front window on.
Next I will probably work on doors.
 Note that on the side panel screws where there isn’t any butyl tape I’ve been putting some silicon on the screw before I torque it. Like this:
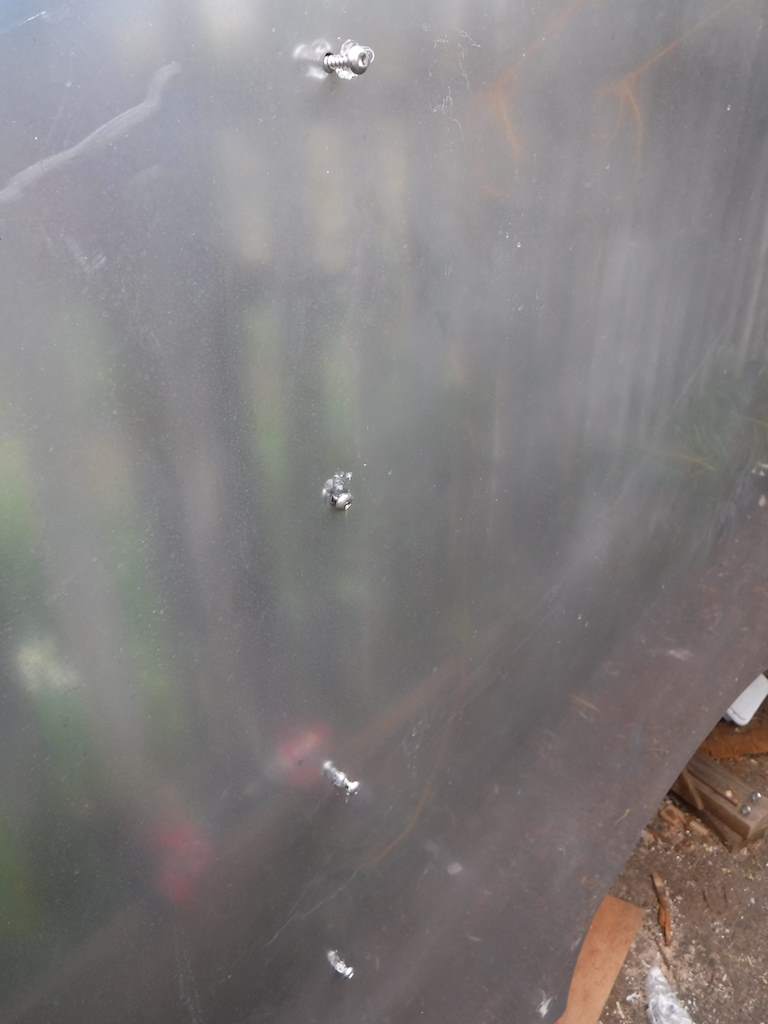
 Here we have the three-way crimp connectors with a wire going over the roof to the left side lights, the connectors so the panel can be removed, and a white wire. That will bring power from the wall sconce light just inside the front door, which will be connected to the main panel (which isn’t there yet but will be off to the left in this picture), and runs to the other front lights. Also I like the idea of dielectric grease wherever there’s an open electrical connection. I found this stuff in my local hardware store. It pushes the grease down into the socket, as you can just see in the terminals and the bulb socket. I’ve done that for each of the connections and each of the bulbs.
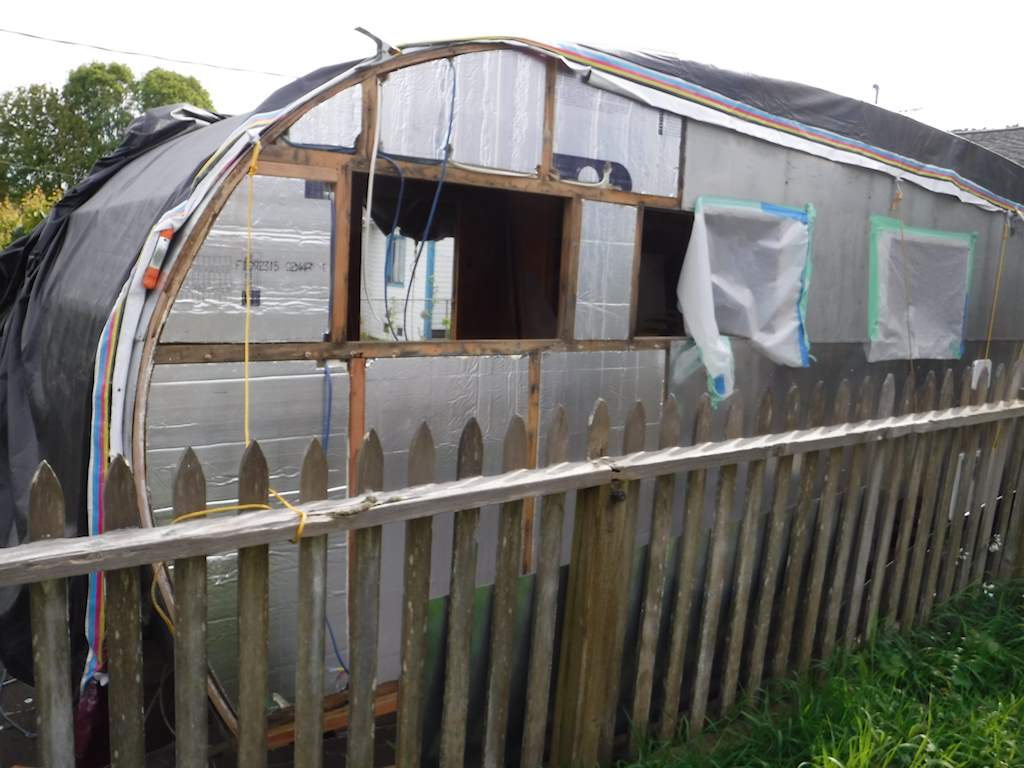 I didn’t get photos of the center upper with insulation and without the panel, but that has be far the most electrical connections. Something like eight or nine lights, the thermostat, water pump wire, and two USB/cigarette lighter socket charging stations. Here we are with all the left side panels in place.
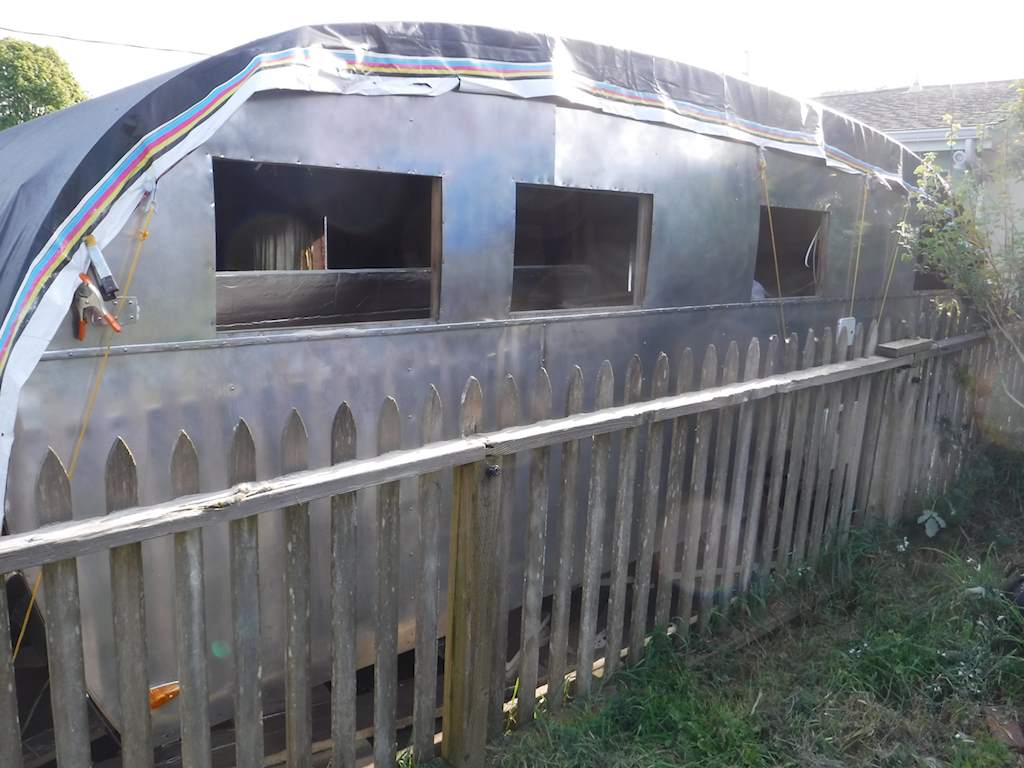
 In three places there was a nail hole within about a quarter-inch of a standard structural screw. I bought some aluminum circles off the web, and with some butyl tape they don’t really attract attention. In one place there’s an “extra” hole, but it’s almost in line with the others. Put in a screw and it looks normal.
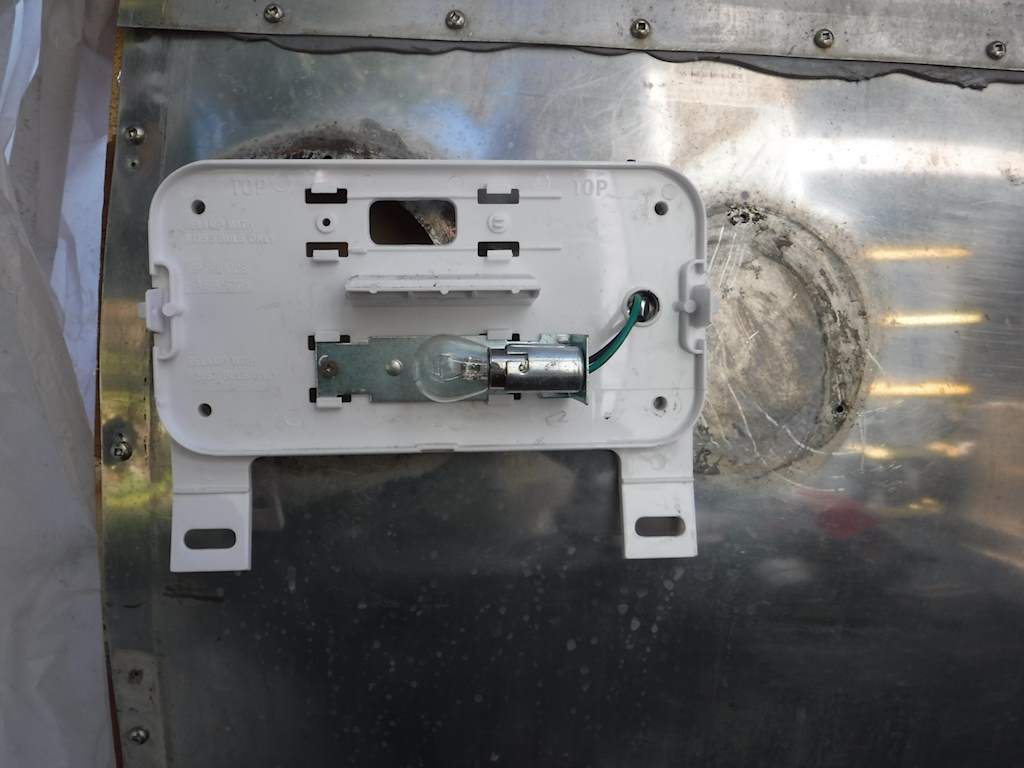
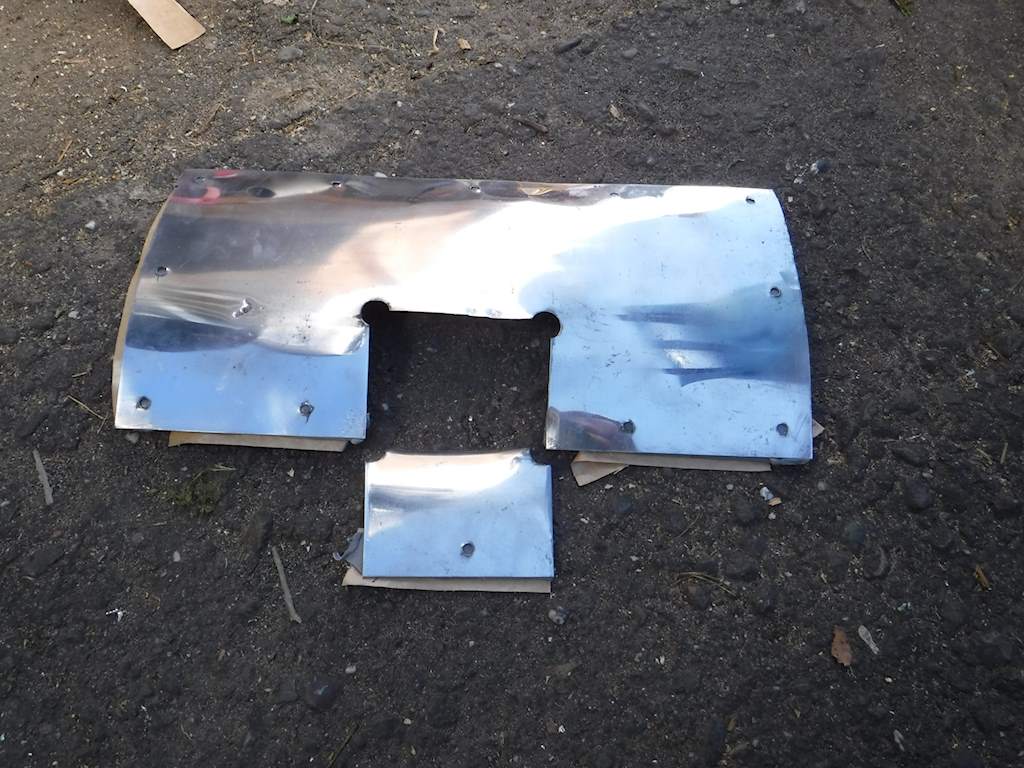
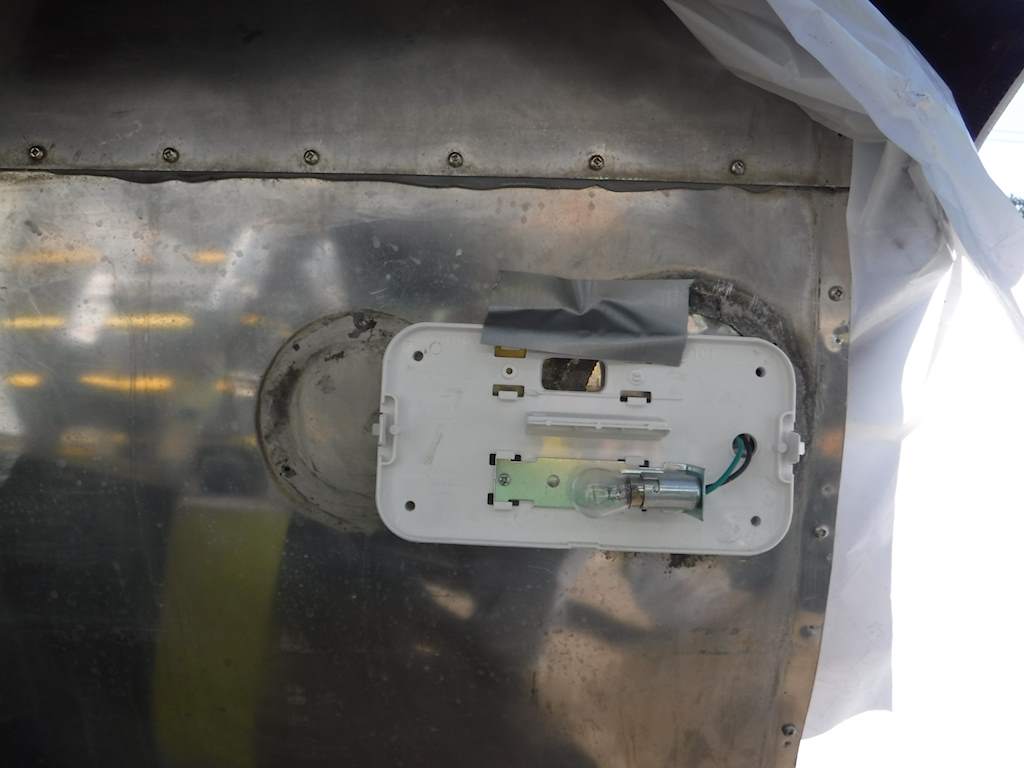 Not beautiful. Note also that the license plate light is integral with the left taillight, so there was a hole in the center. So I needed some aluminum sheet to cover the holes.
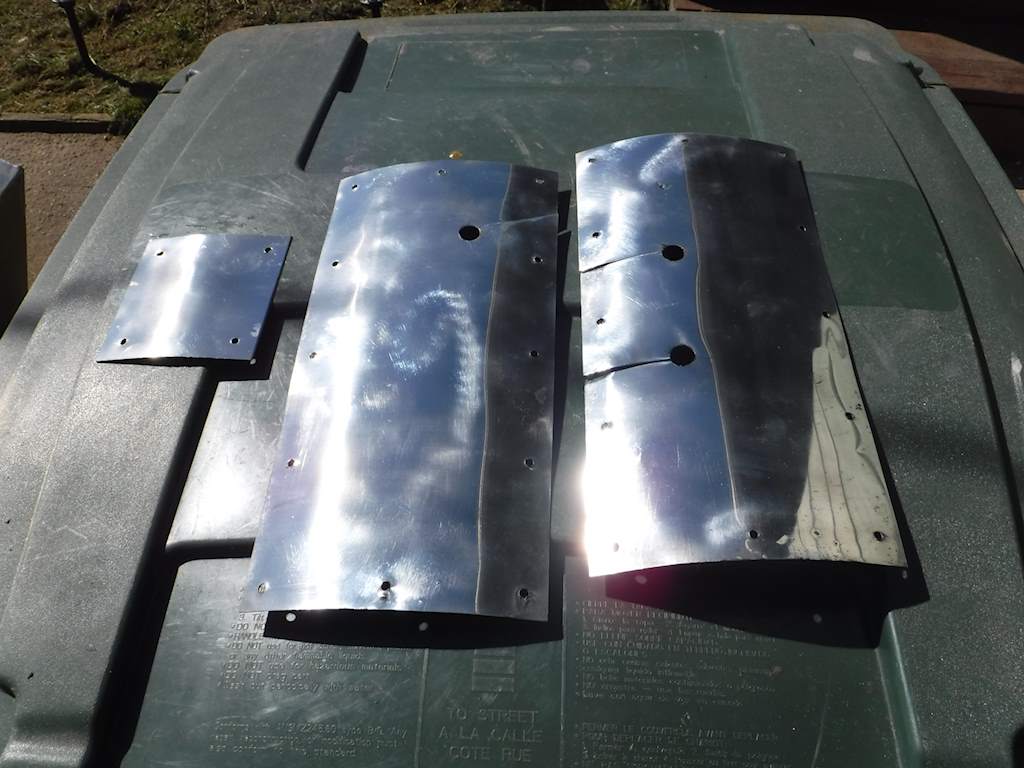
 The I did the framing on the left, in the kitchen. There is a hole at the bottom for the water heater, and another above it for the water inlet.
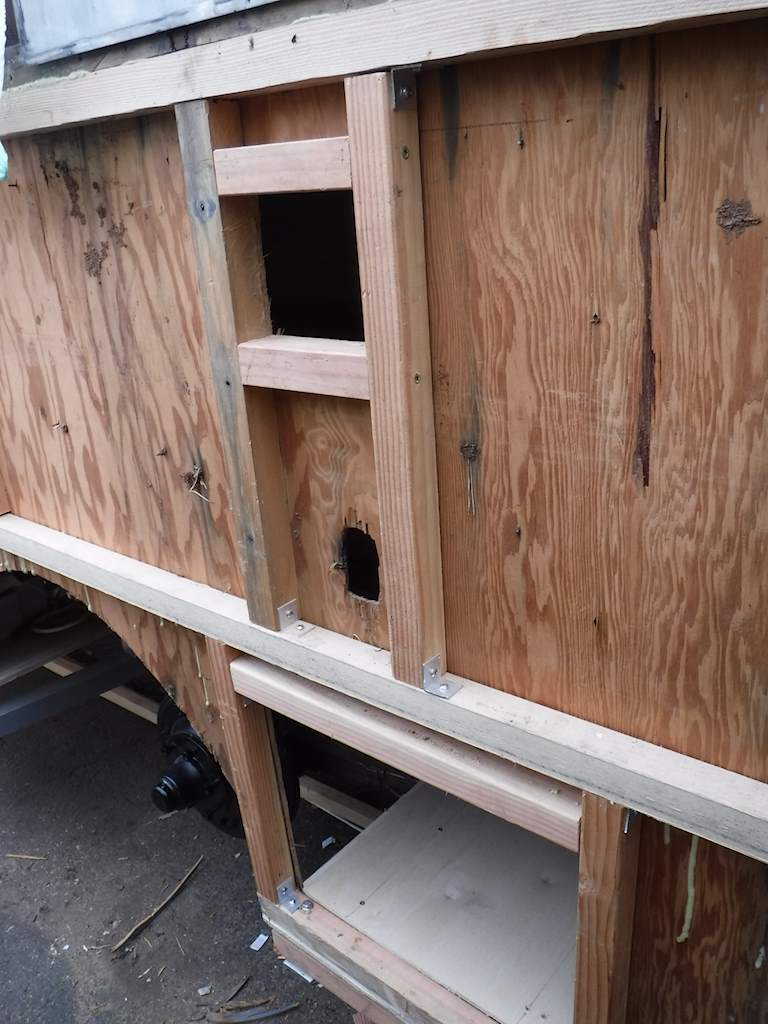

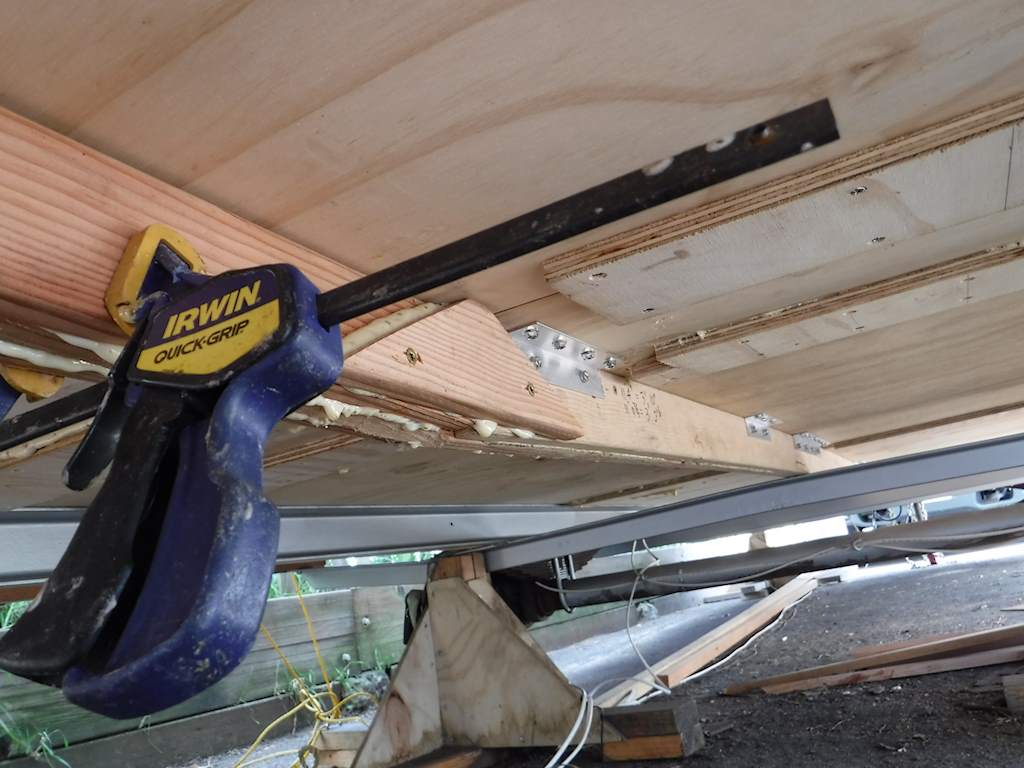
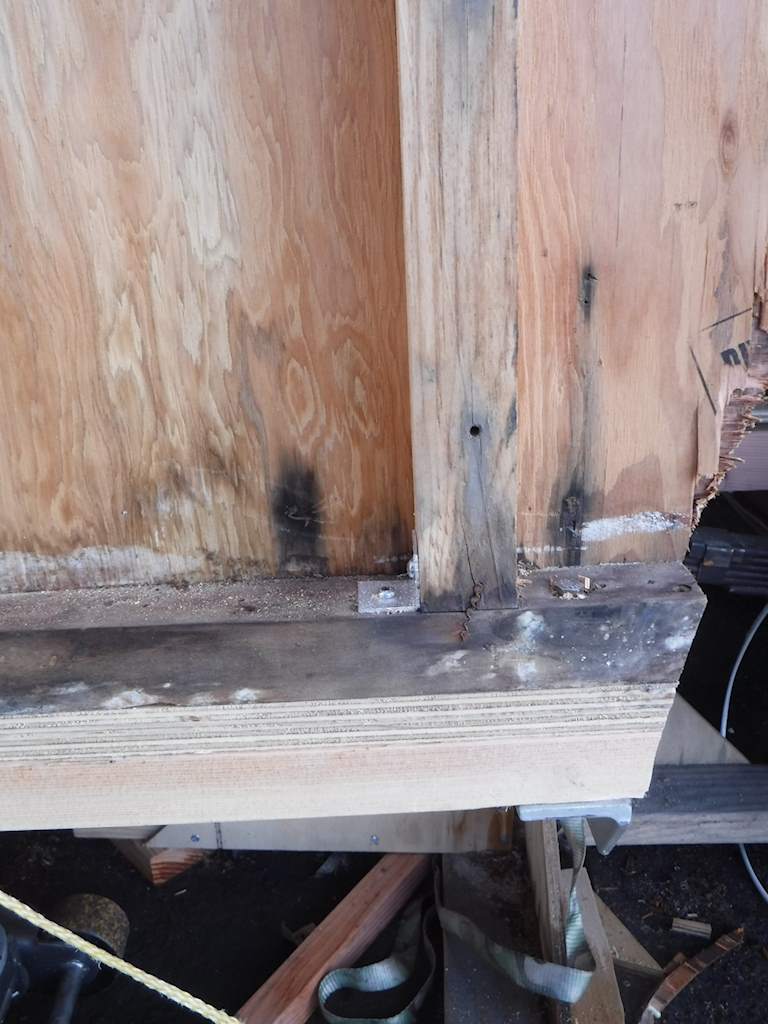
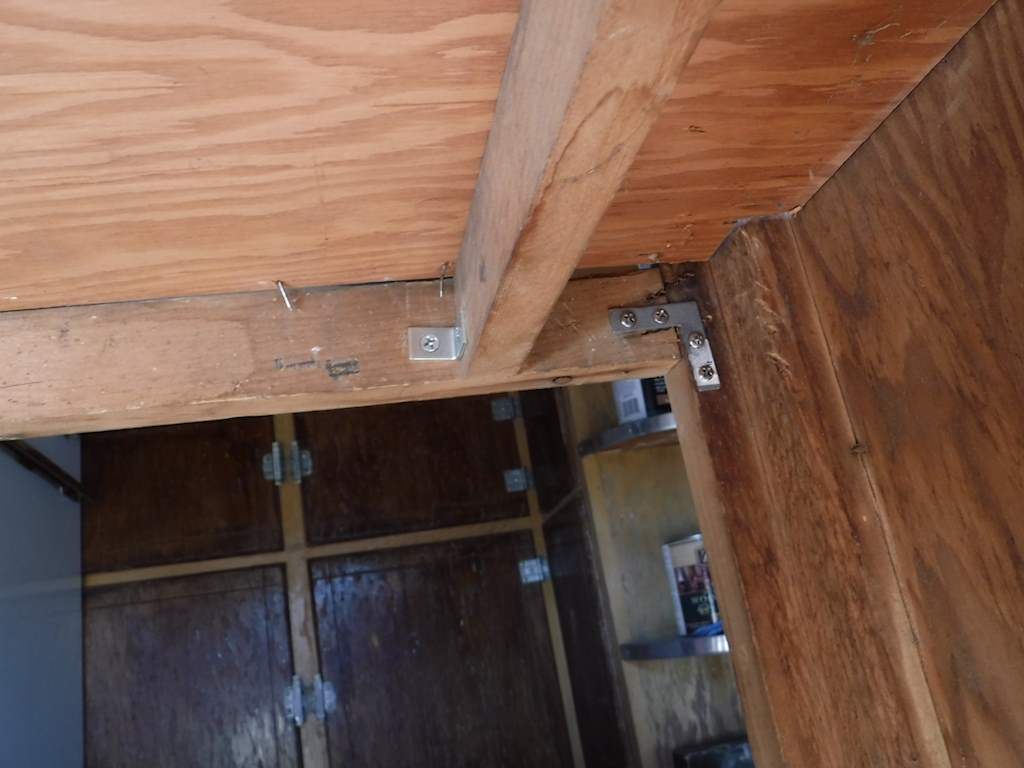
 I needed to cut a hole in the wall between the kitchen cabinet and the bathroom. The water tank will sit just over the wheel well. You can see it in the background of the picture above. The water tank, heater, pump, and accumulator will take up almost all of the cabinet. While I was working in this area I added some reinforcement to the cabinet. Like the one on the right side, it was assembled using those corrugated fasteners, which had rusted badly.
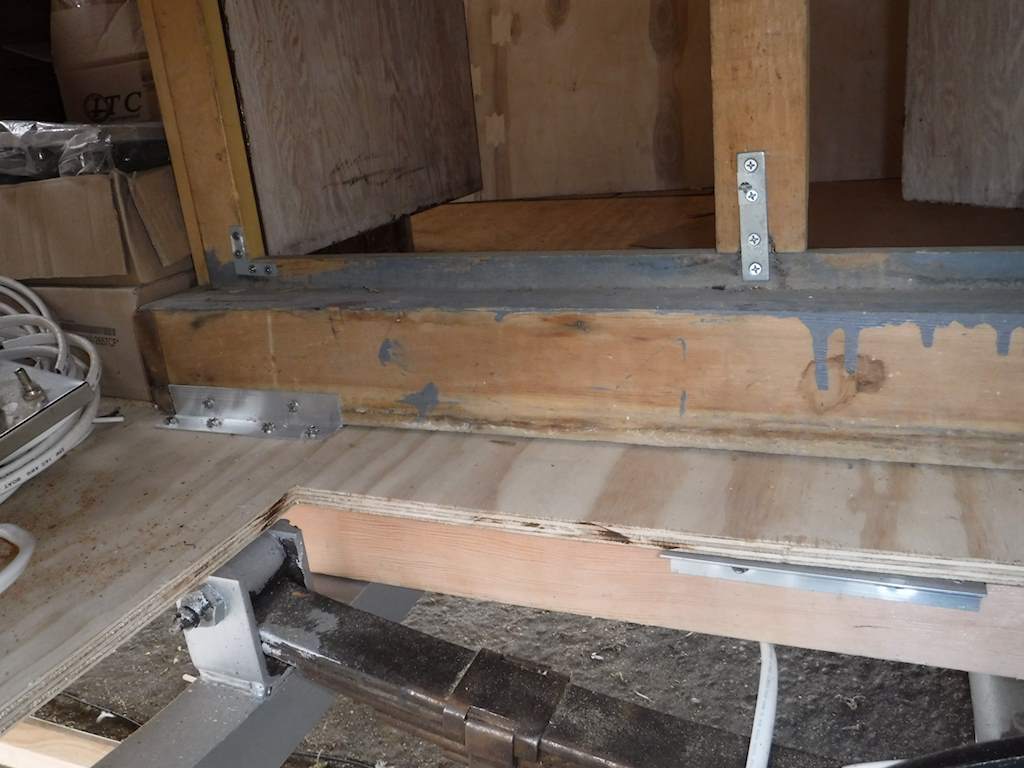
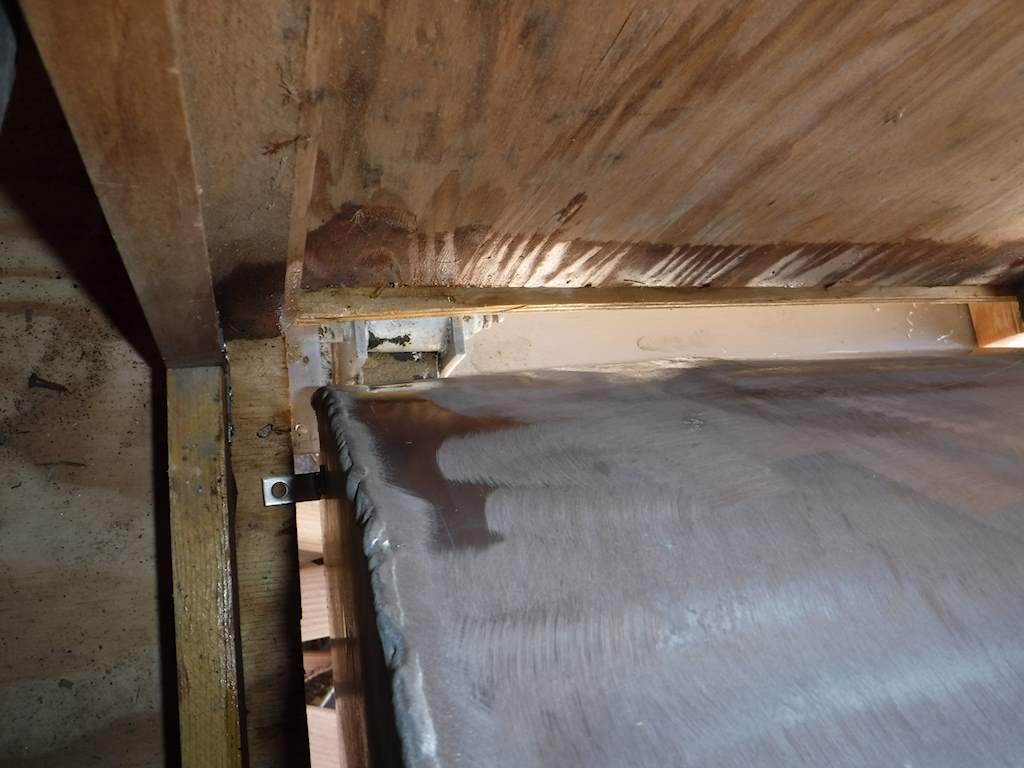
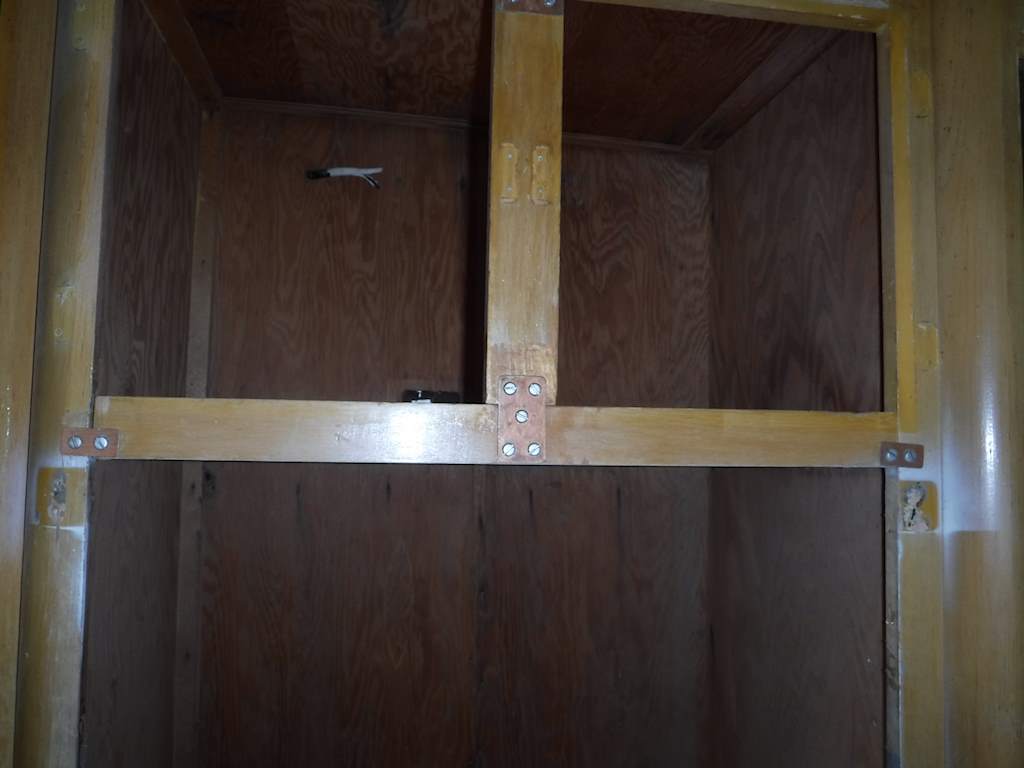
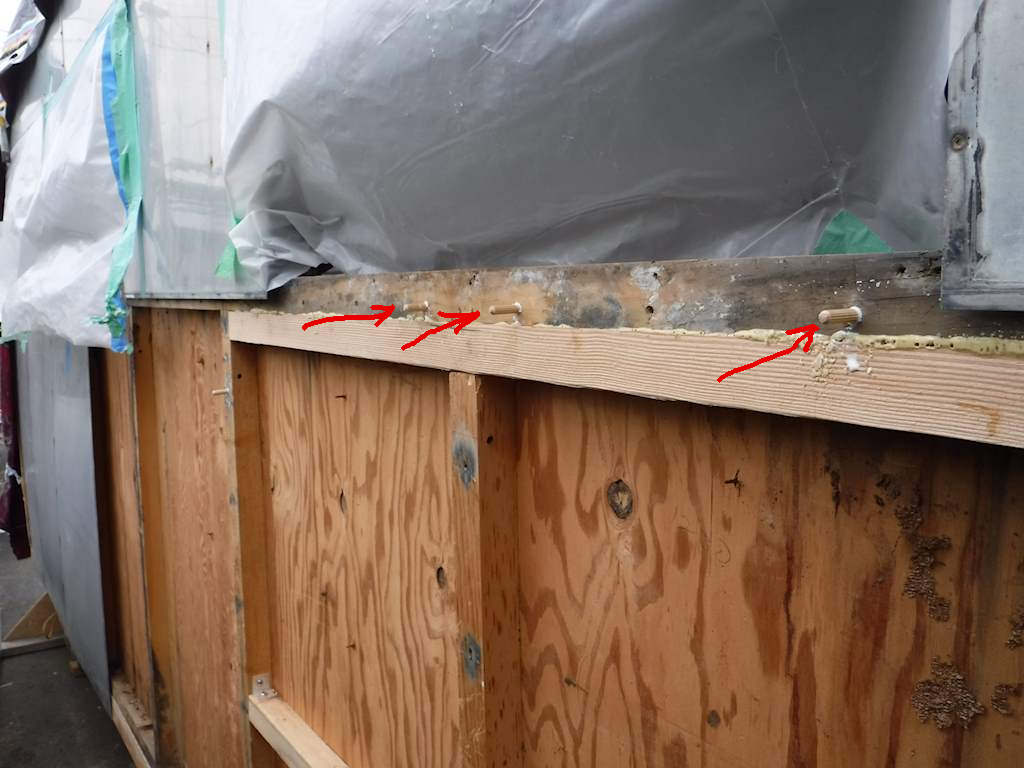 Then later cut the dowels flush. The joint between the center lower exterior panel and the front wasn’t at a 2×2, so I added another vertical to give the joint support.
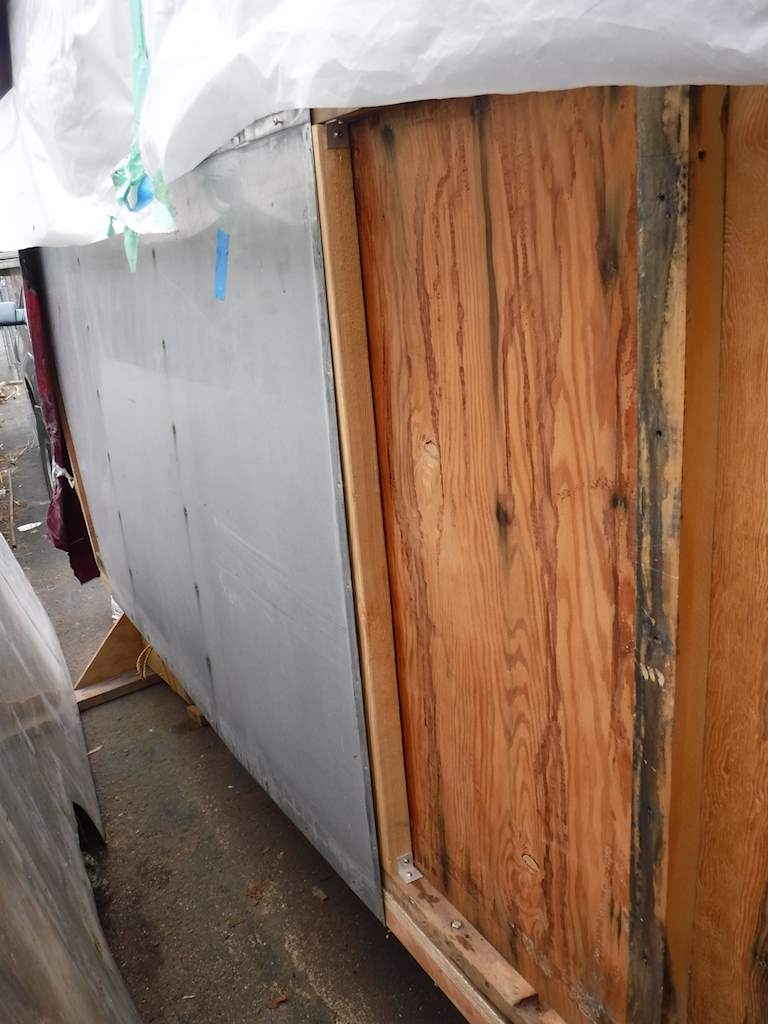


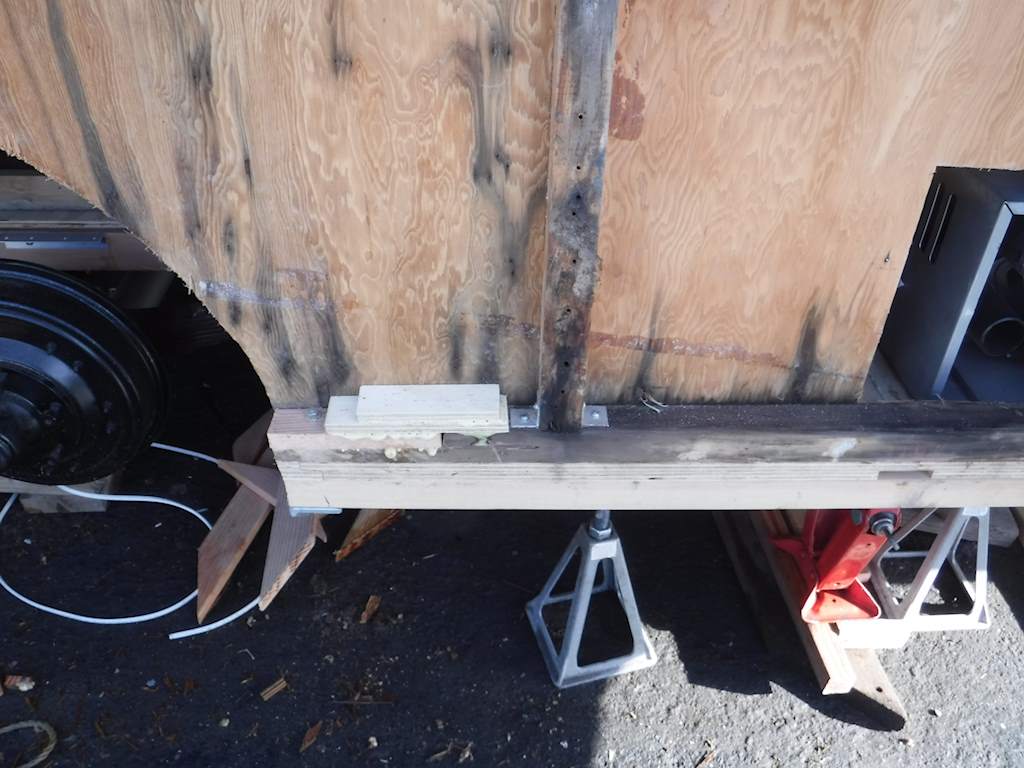
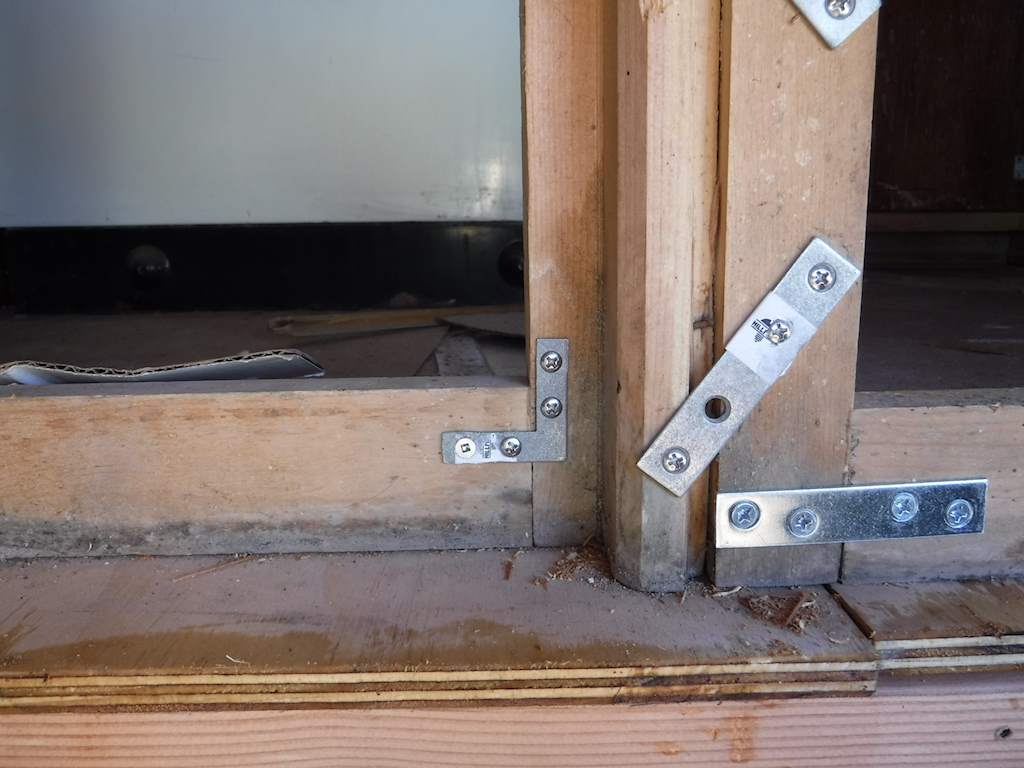


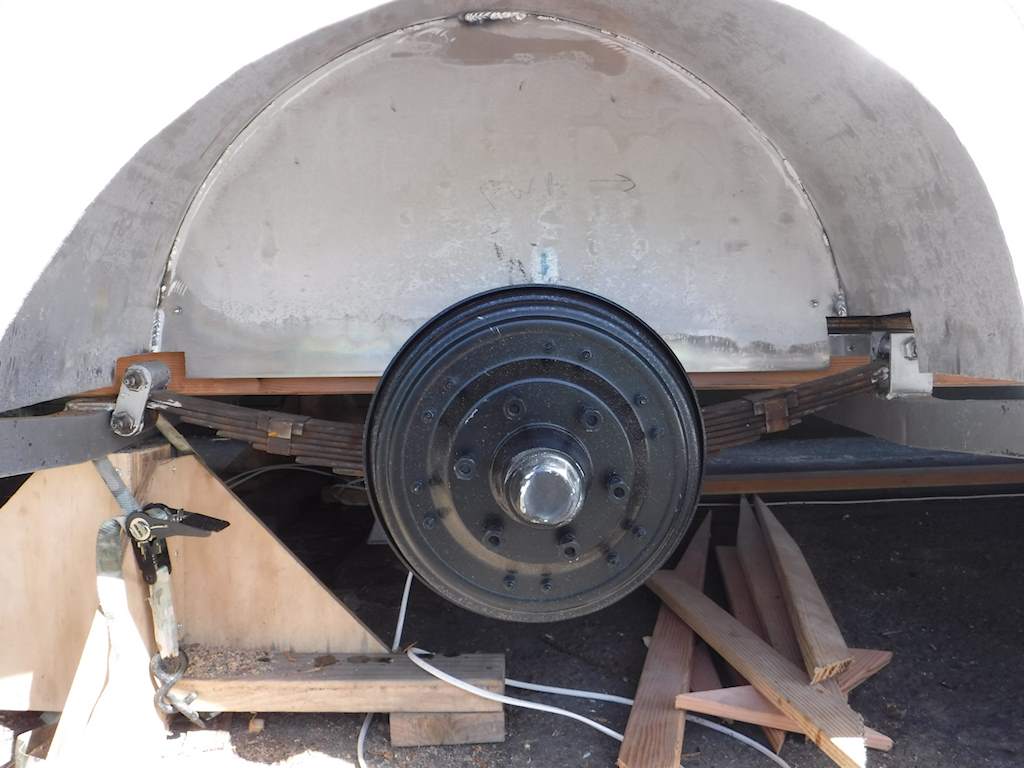
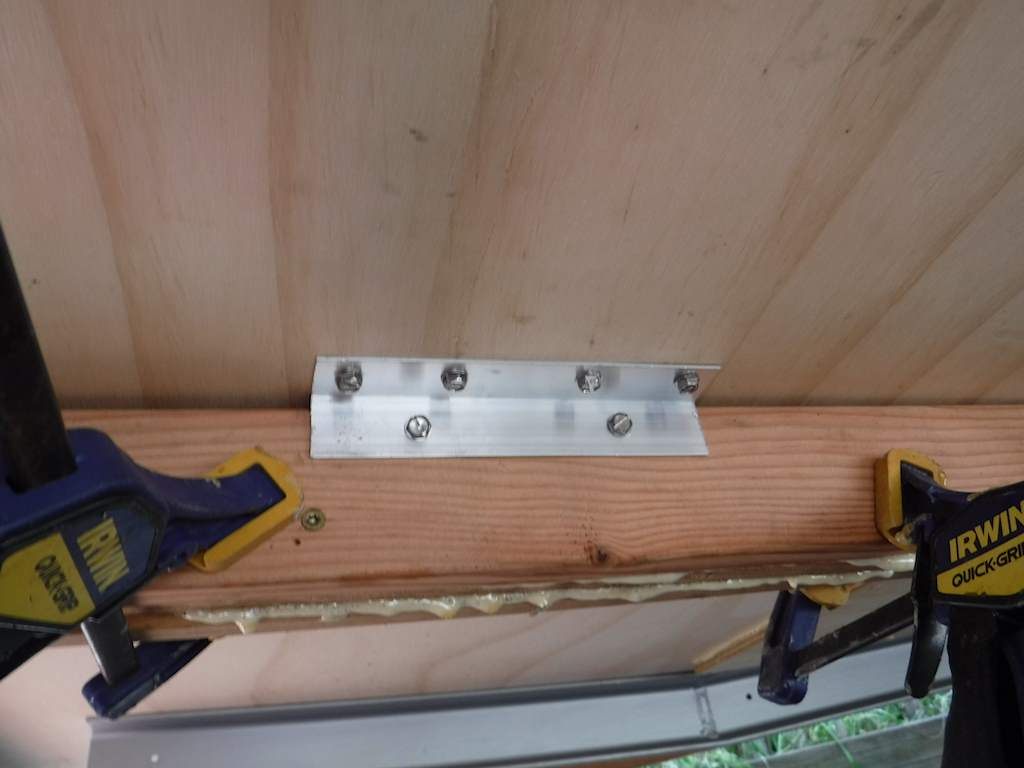
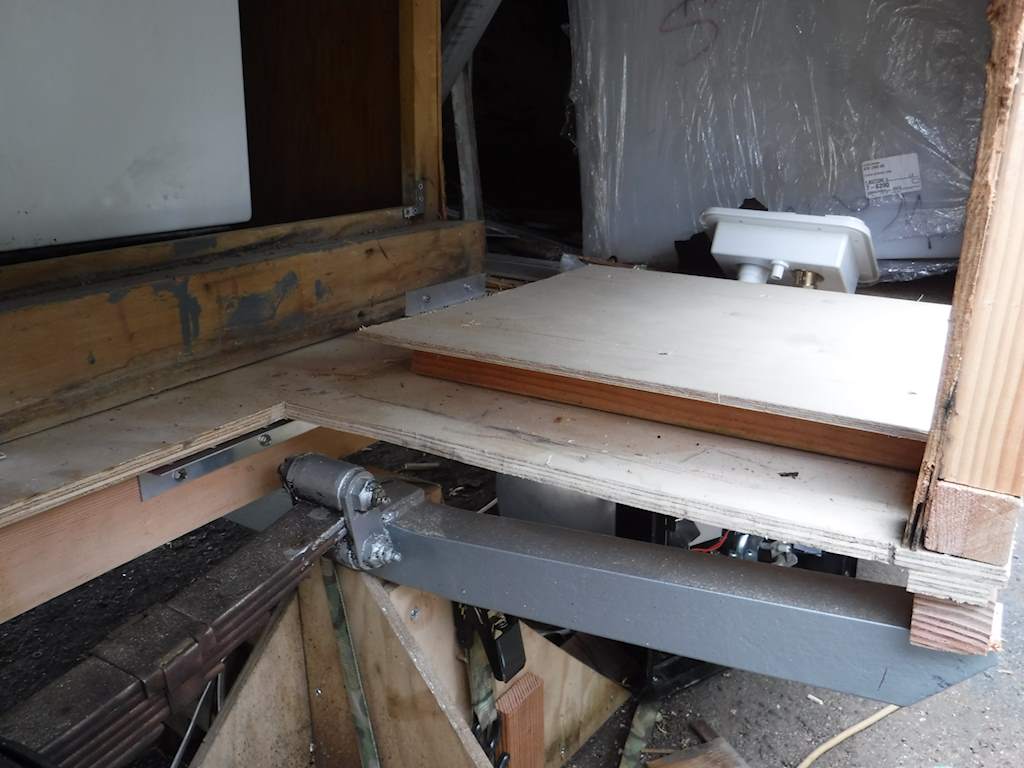
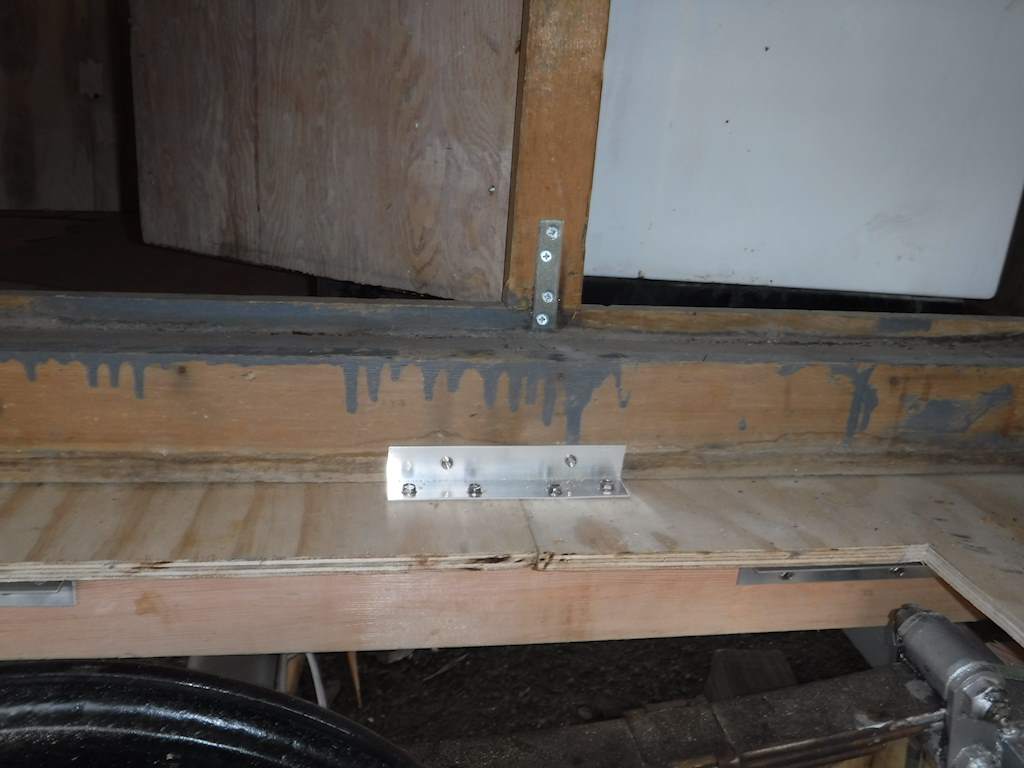
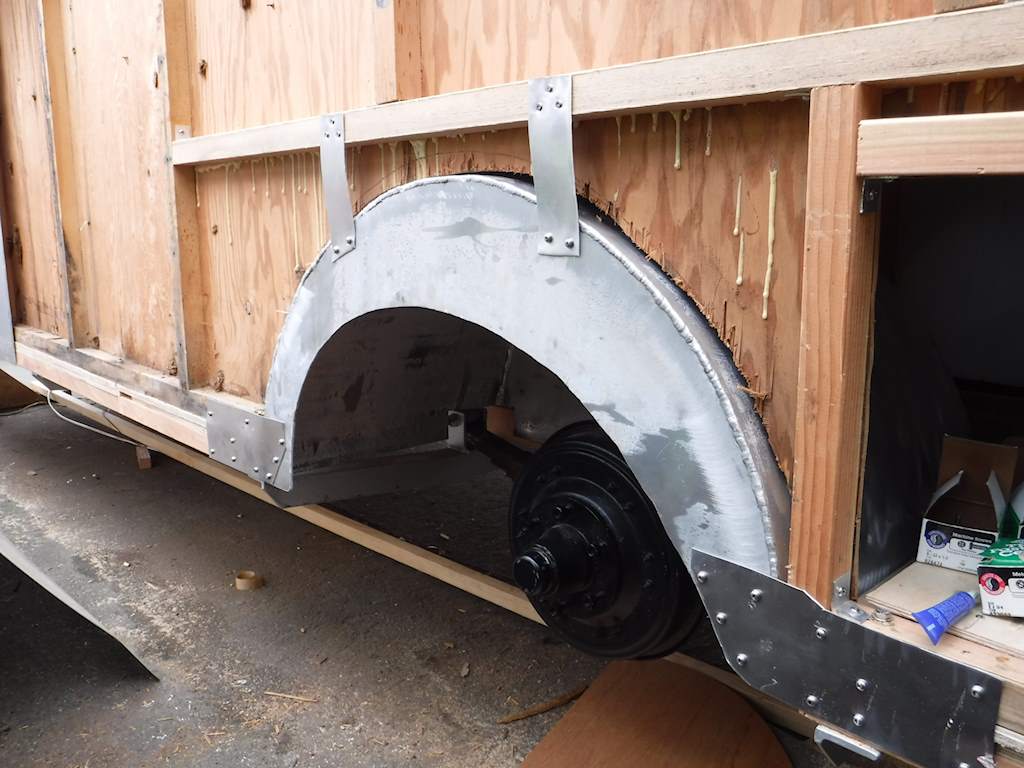
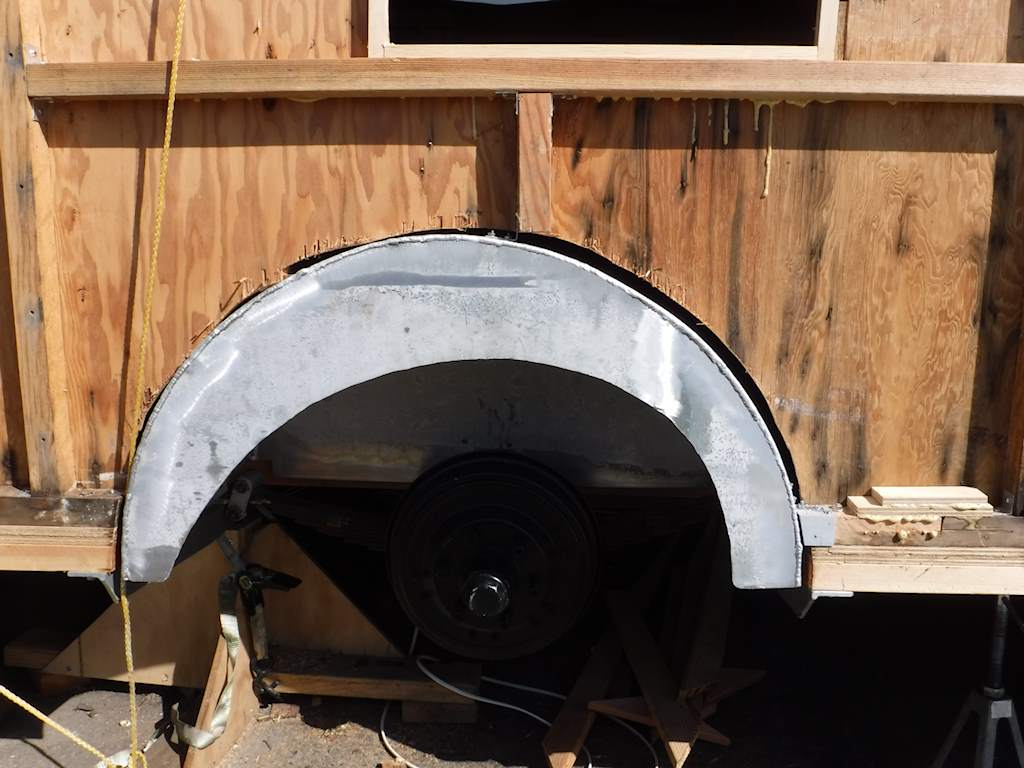 There’s a clip at the top attaching the wheel well to the vertical 2×2, and another at the left side. At the right I trimmed the floor beams back about 3/4 inch farther than I should have, so I added a section of aluminum angle to support that side clip properly. This is all very solid now. After this I put the insulation on this section of the right side, but I forgot to take a picture. I’ll do that later. I put the skin panel back on temporarily. The cutout in the skin matches the cutout in the wheel well, and I can enlarge both if I feel it necessary.