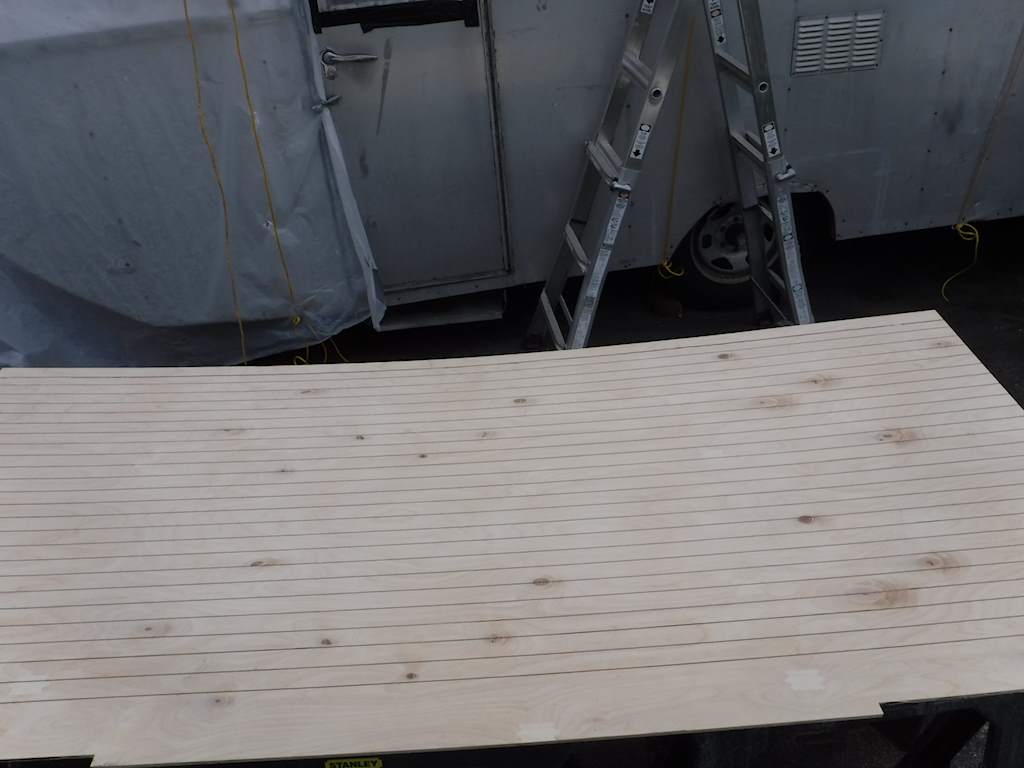
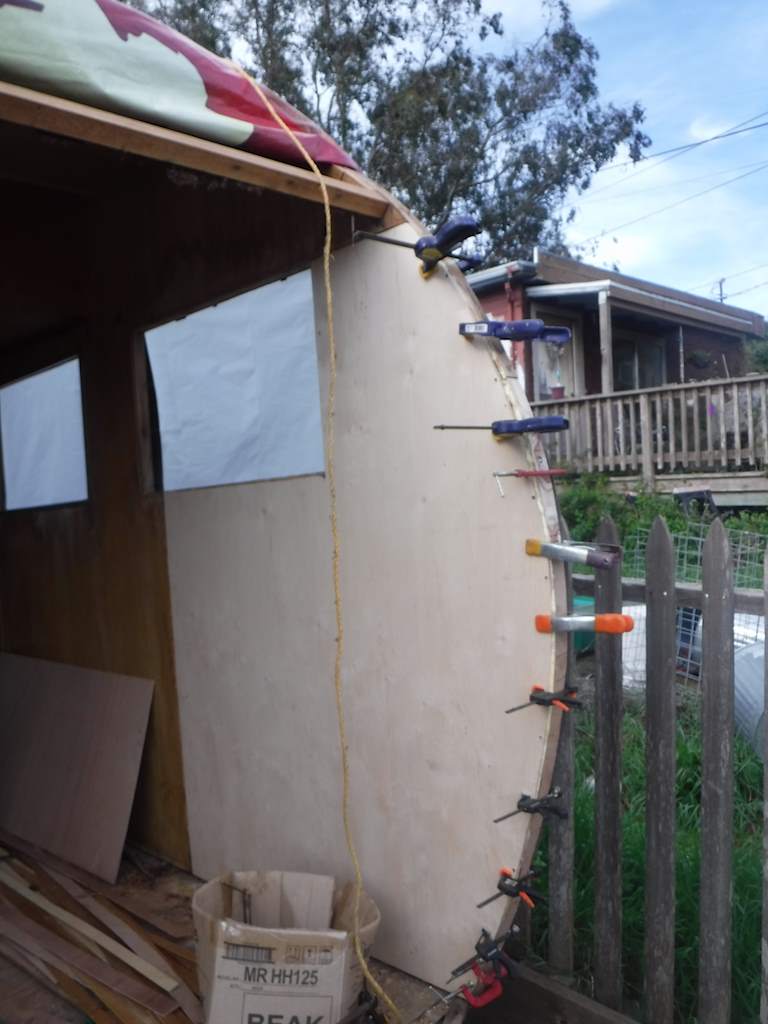
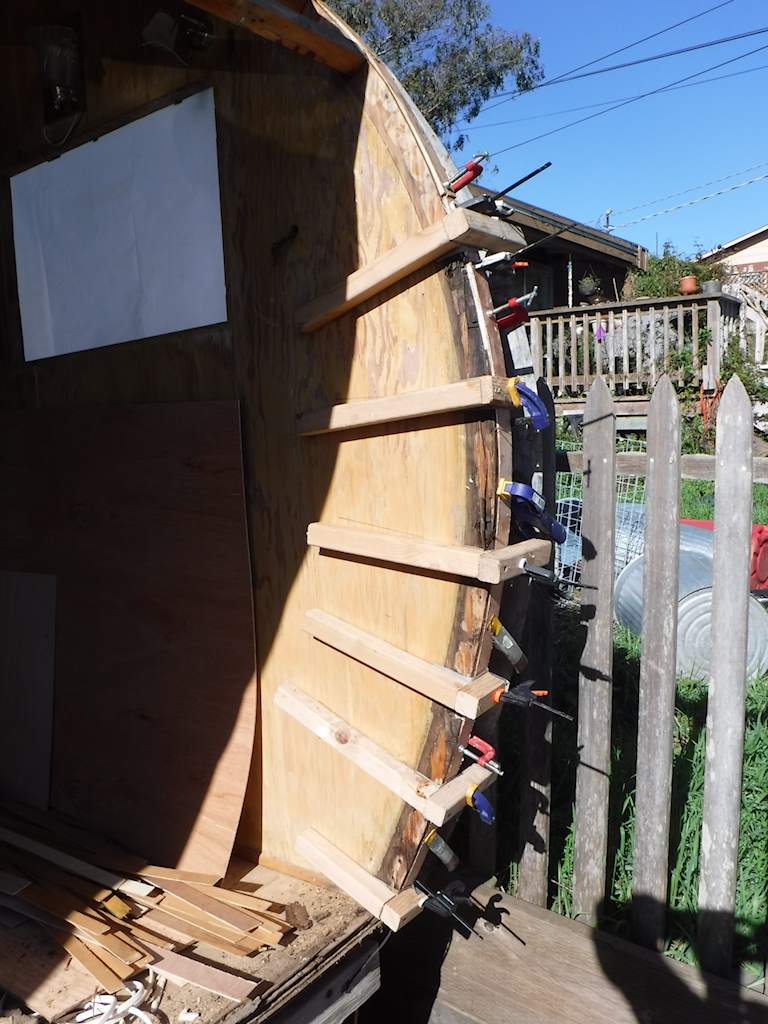
Finishing off the back of the trailer has been about twenty times larger project than I thought. As I mentioned in my last post, I got this really nice Baltic birch plywood for the back. It was really good, but stiff. Very, very stiff. To get it to form the curve at the back I had to slit it through about half the thickness on the outside. Like this:
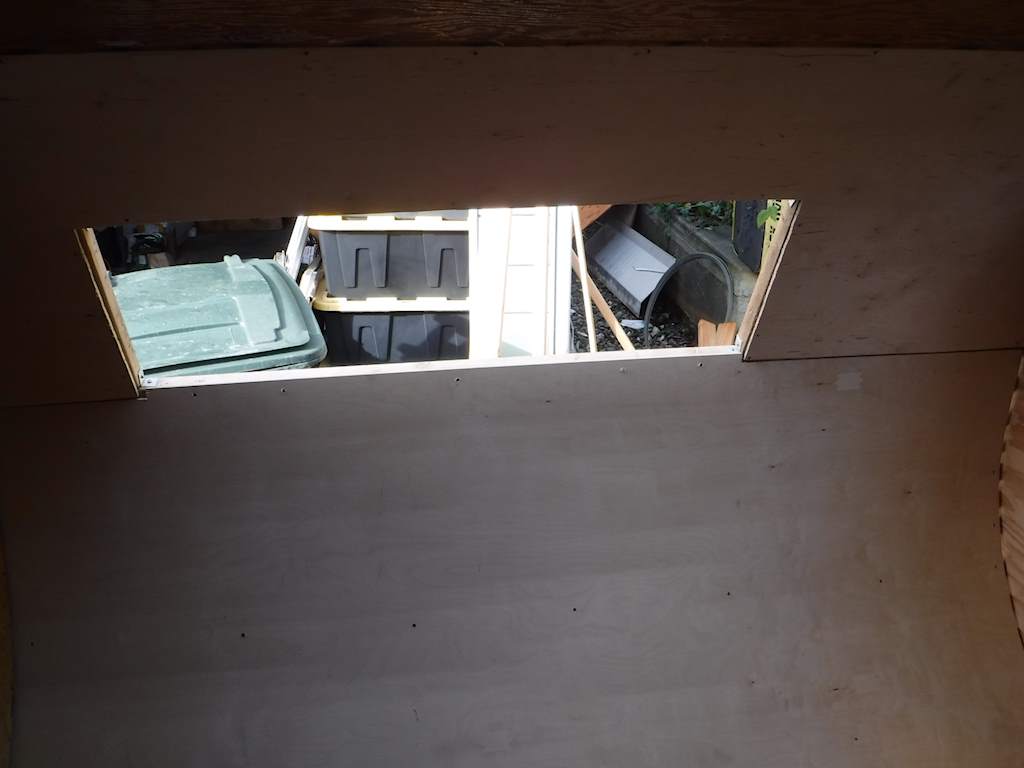
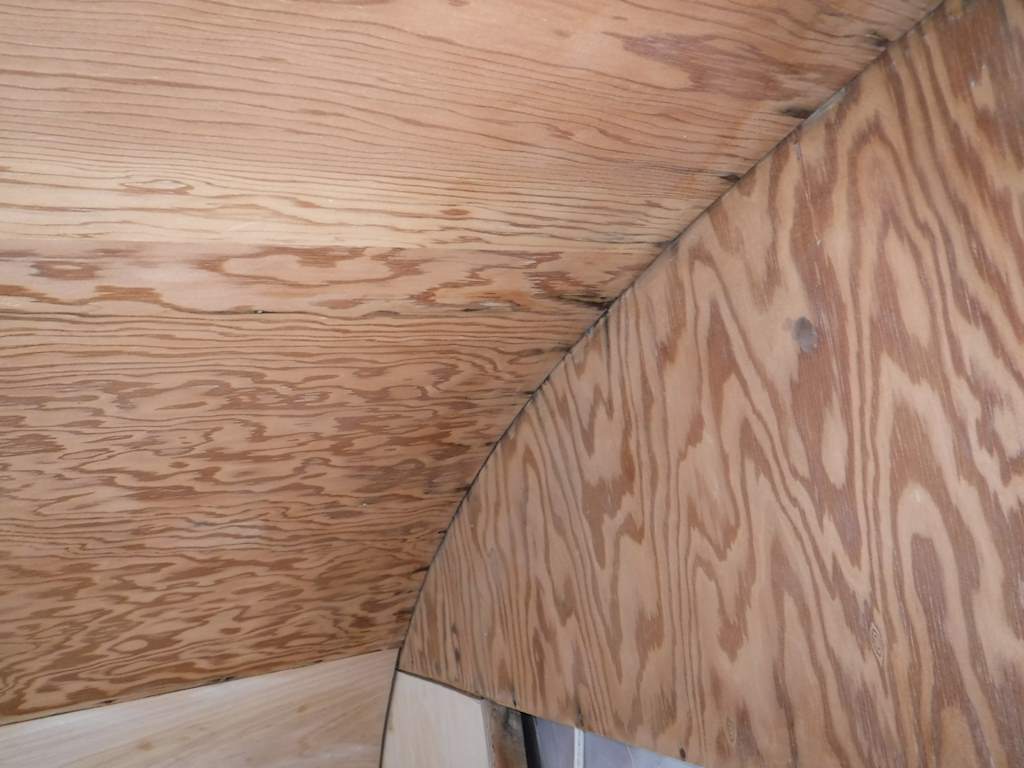
And with that I was able to make the curve. It looked like this on the inside:
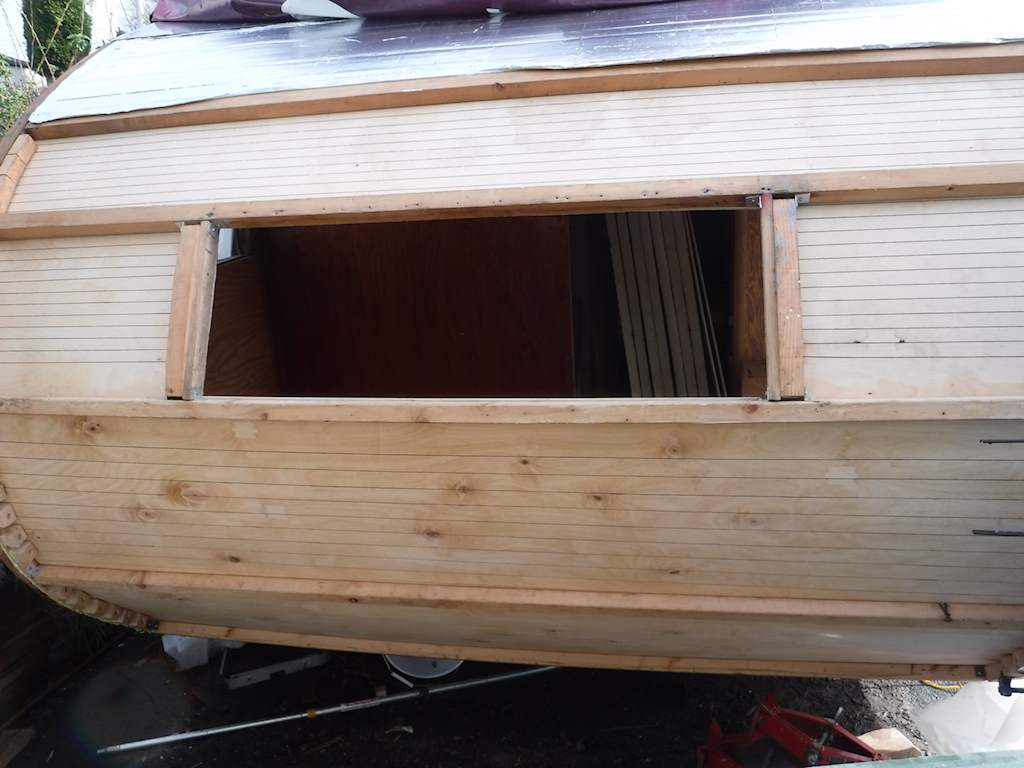
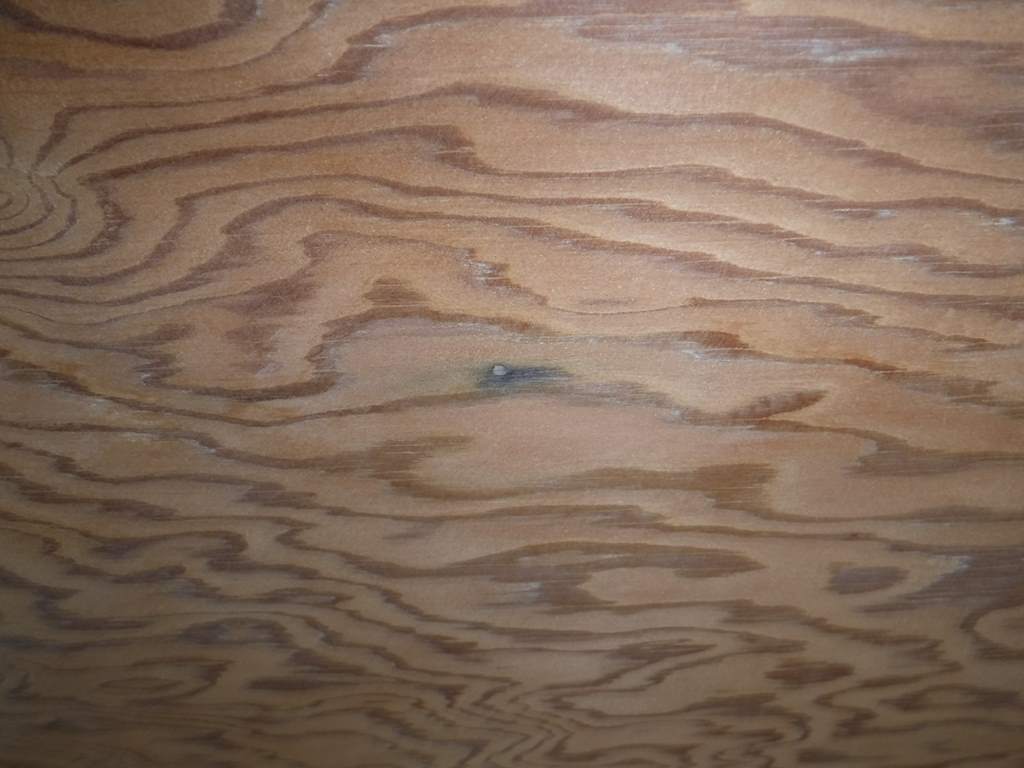
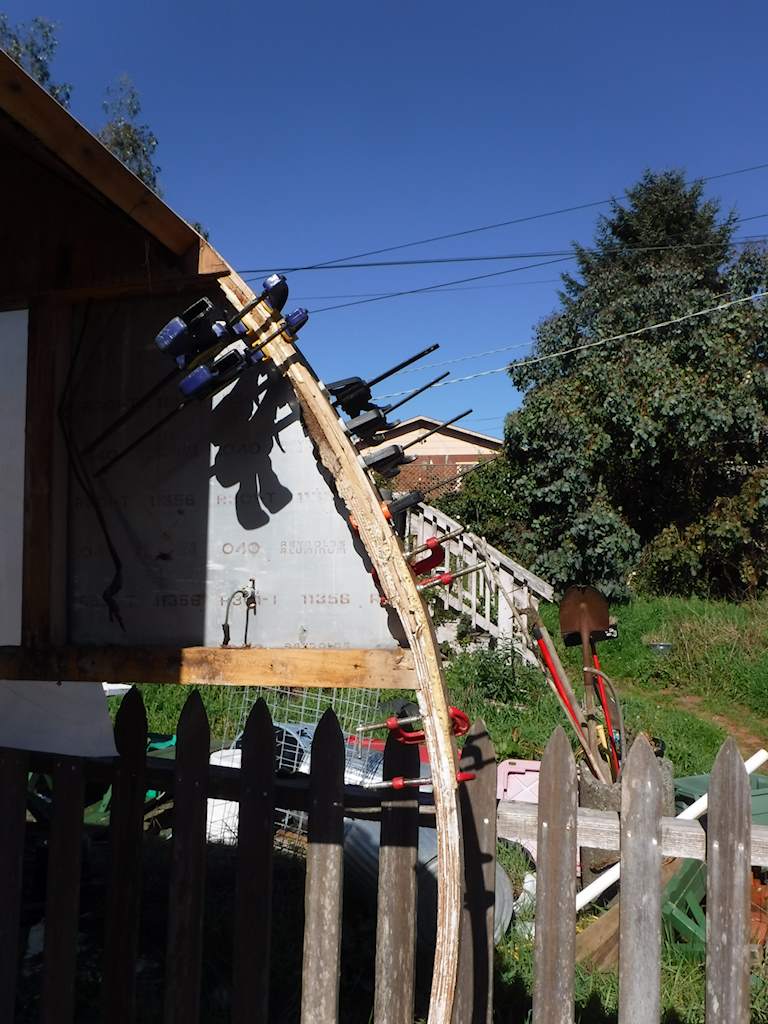
And this on the outside:
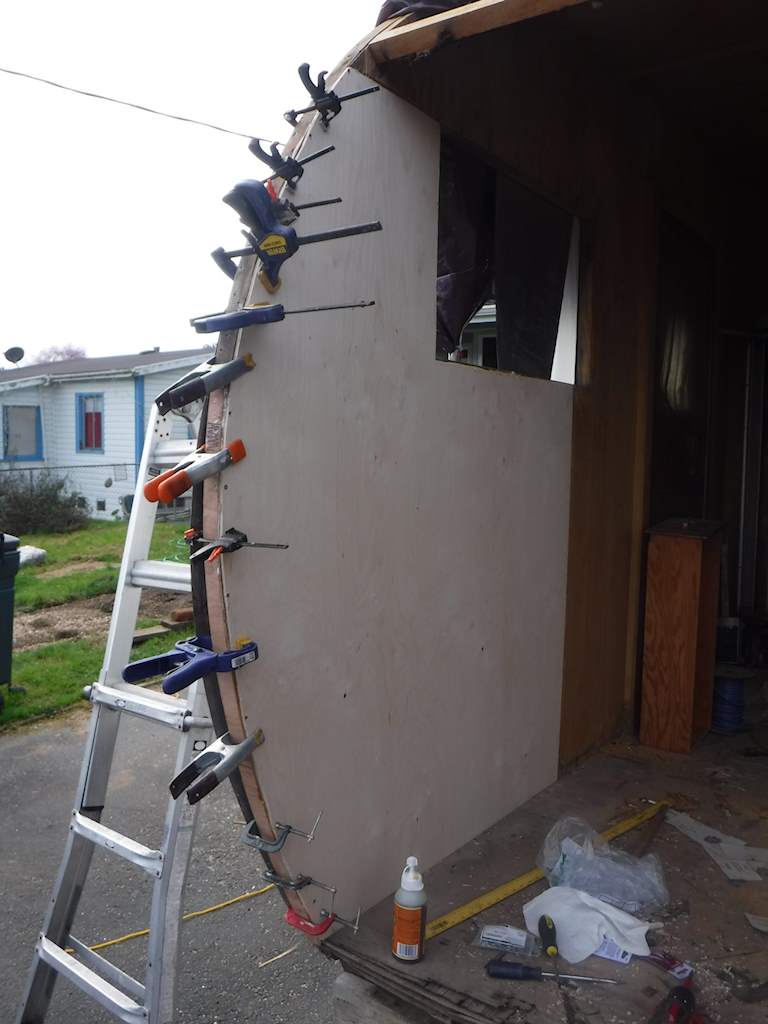
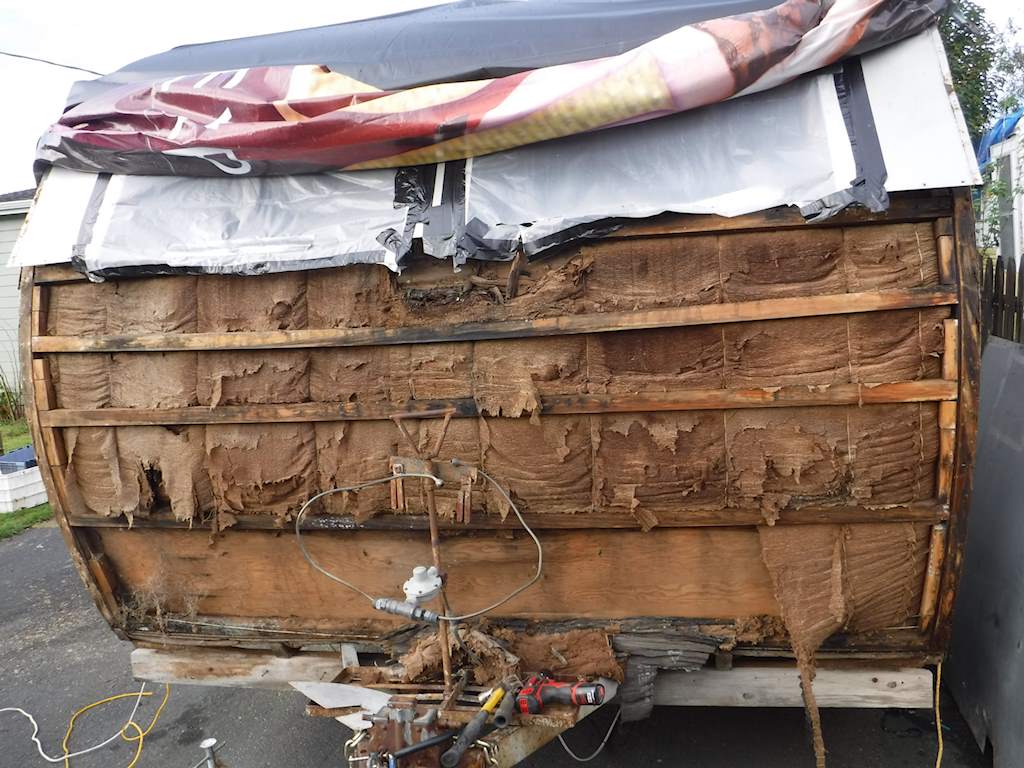
After slitting and forming the insulation I tried to get the panel on, but it just didn’t fit. Turns out there were two problem. The 2×2 running across just below the window was almost an inch out of straight, pointing out. And there was so much force required to pull the plywood in the right curve that it was even worse. So I replaced the 2×2 with one closer to straight, and I slit the plywood completely through. I’ll have to cover those slits with doorskin, but that I can do later.
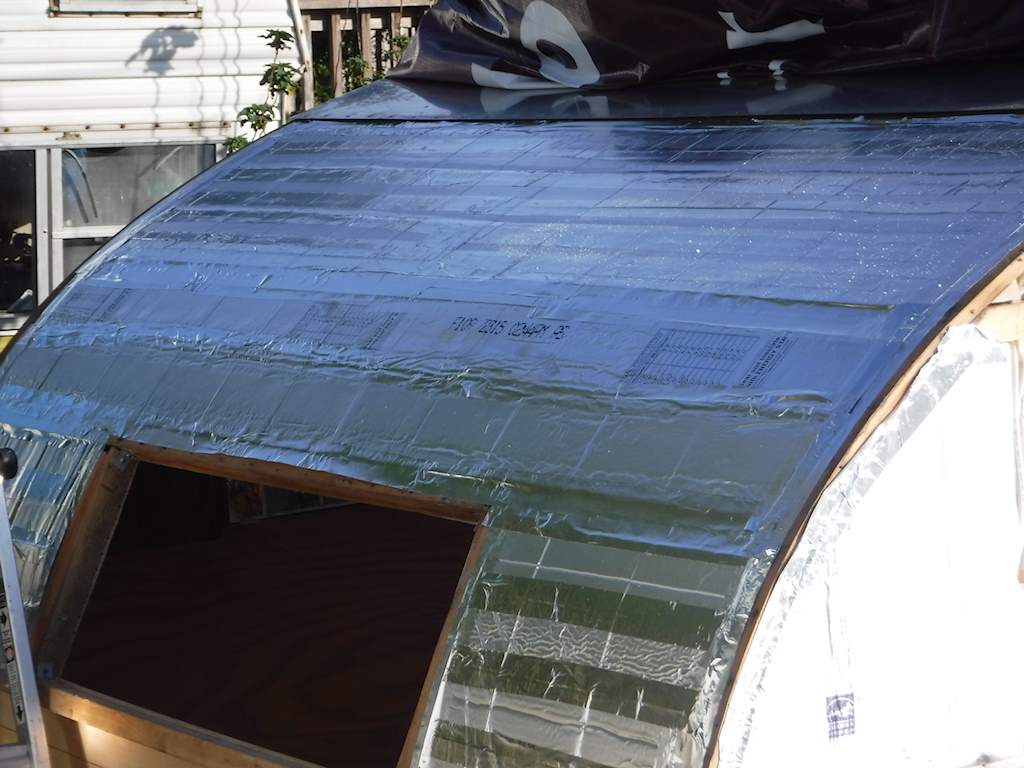
With a little cutting here and a little planing there, and some pushing and tugging and some straps to help form the curve I was able to get everything to fit. It’s not perfect, but it’s close. Here’s with the upper insulation on:
And before I closed up the back I tested the lights. One of the wires had pulled off the left taillight, and there’s no good way to replace it. I decided to get new lights. I wasn’t quite sure how to wire it up, since some of the wire color coding was off. Since the wiring was a bit strange and the wires were very old, I decided to run new wires. And the ID lights didn’t work- one of the connectors had pulled loose, and I had to partially remove that panel. Each panel with trailer lights has connectors so it can be removed and replaced with having to cut and splice.
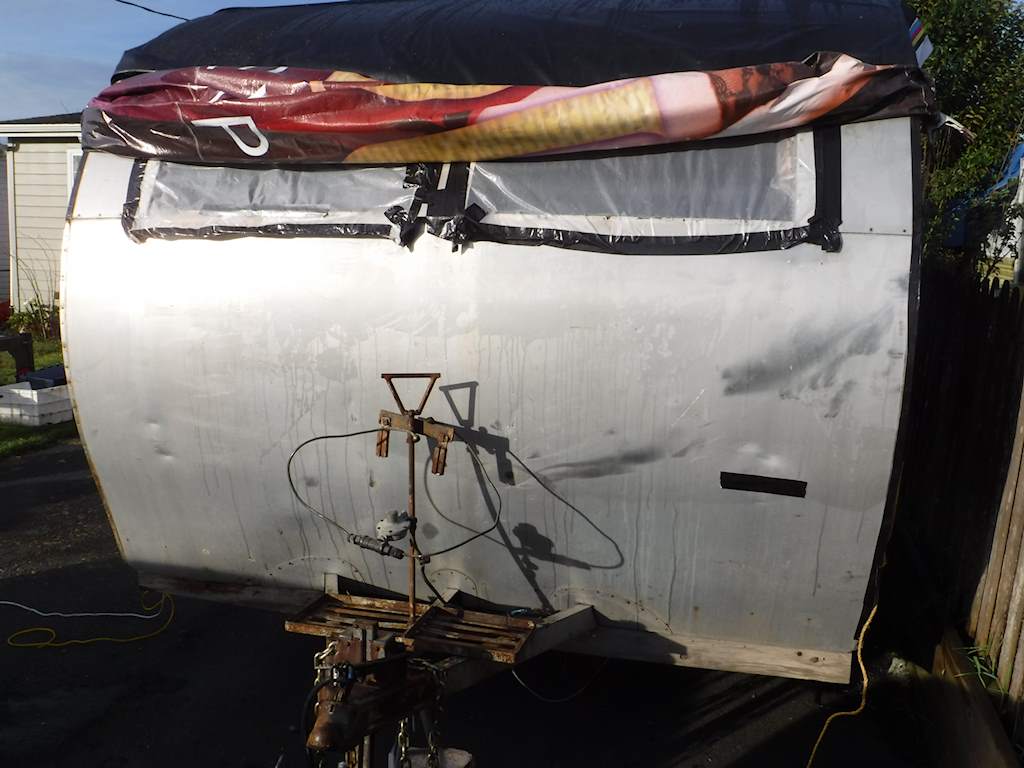
I think there were four days of good weather when I started in the morning thinking I would close that day, and didn’t. But finally all that was done. The panels were polished. And now the back looks like this:
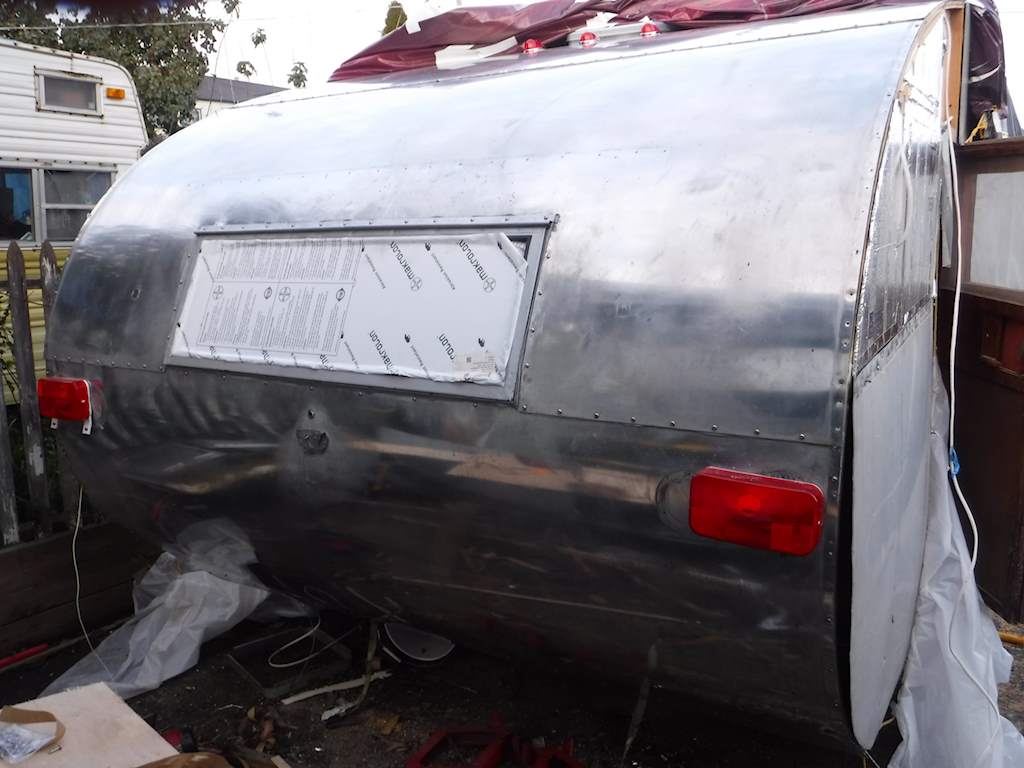 All overlaps sealed with butyl tape of course. The left and right sides along the window have a hand-formed aluminum piece to cover the wood. Any competent metalworker would sneer at what I did, but it fits fairly well and the wood won’t rot there like the original did.
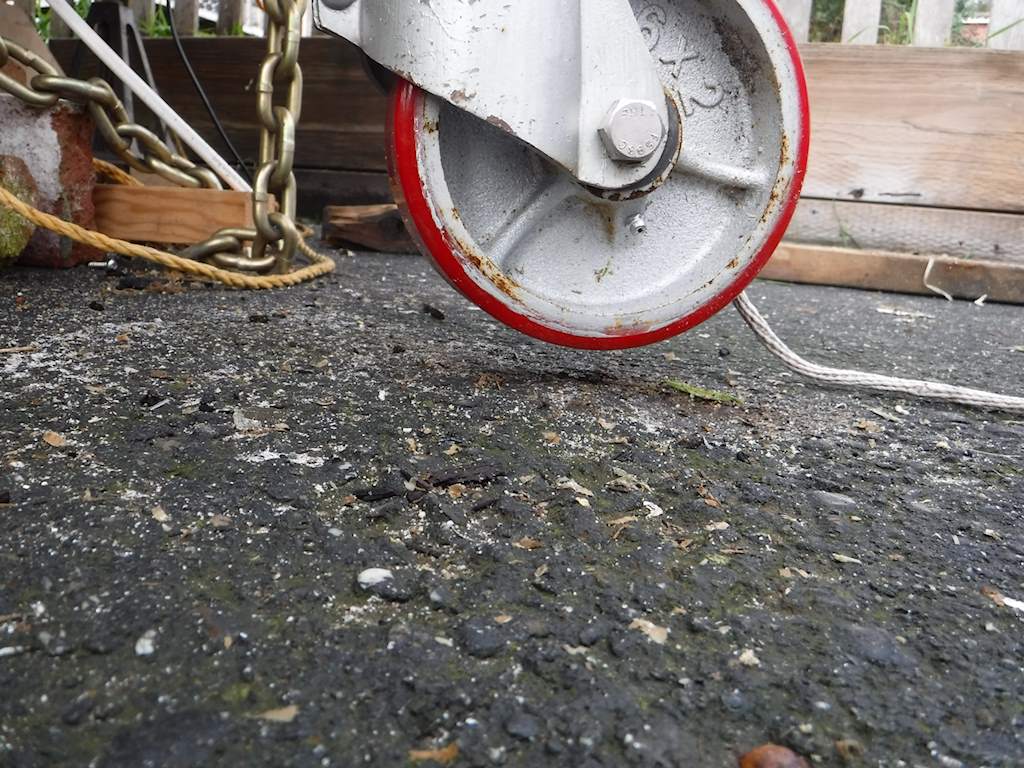 and the other jacks that were supporting it are also free. Like this:
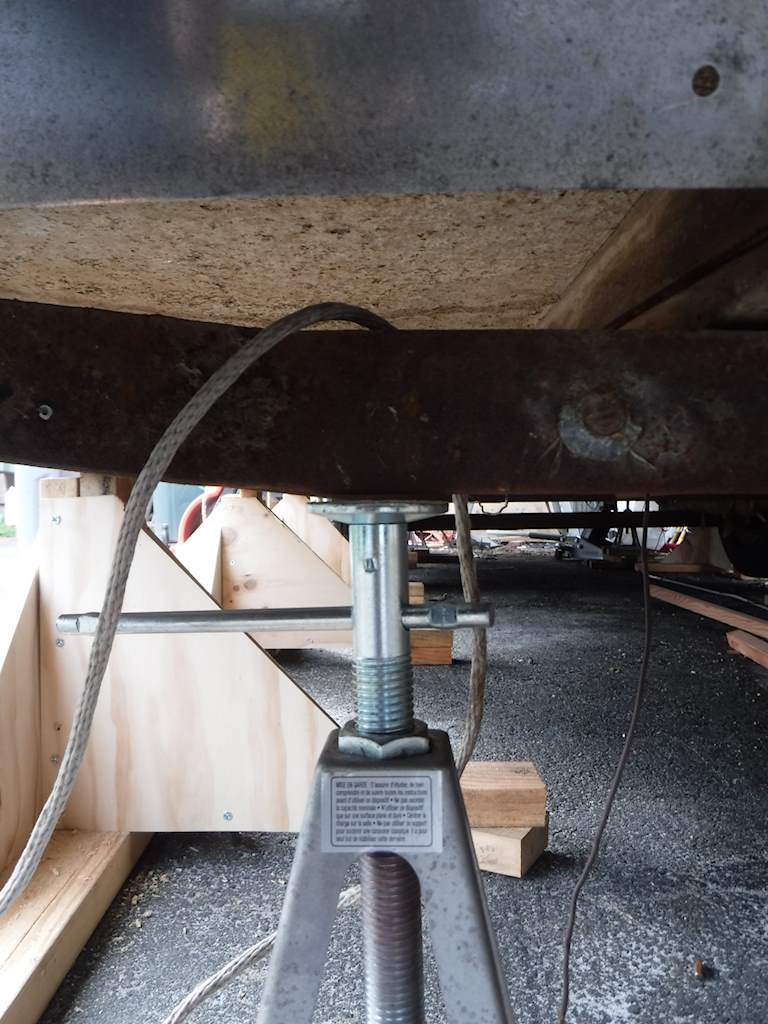
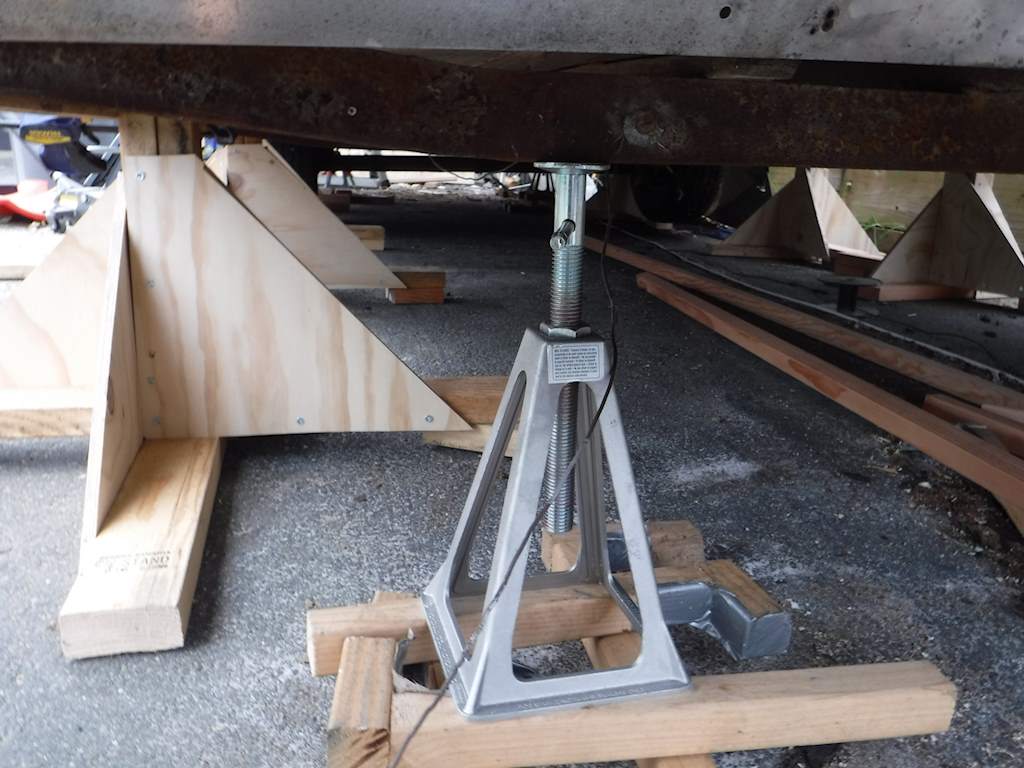 Note that this is NOT SAFE. I would be taking my life in my hands if I went under it while it was supported like this. The frame and body are still connected, and the tires are still on. The left wheel is just up in the air, and it’s easy to lift the right one up. If something happens and these jacks collapsed or fell over sideways, ABSOLUTELY NOTHING BAD WOULD HAPPEN.
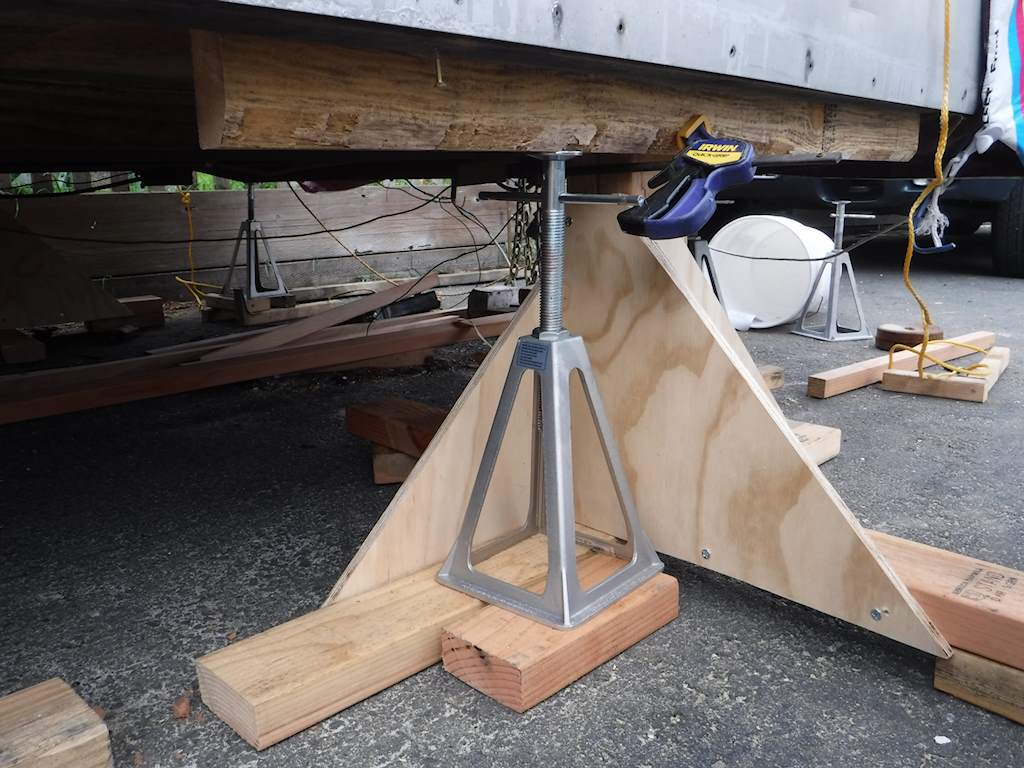 Now I can drill a couple holes and bolt those together. If I do that for all eight supports, the trailer will be well and SAFELY supported. I’m guessing the full-up trailer will be around 4,000 pounds. Maybe a bit higher. Dry and empty and with no batteries it should be slightly less. Without the frame it should be under 3,000. Any one of those supports with two 3/8’s bolts should be able to carry that much weight with a little spare strength. I’ll never go underneath the trailer unless it’s supported on at least six.
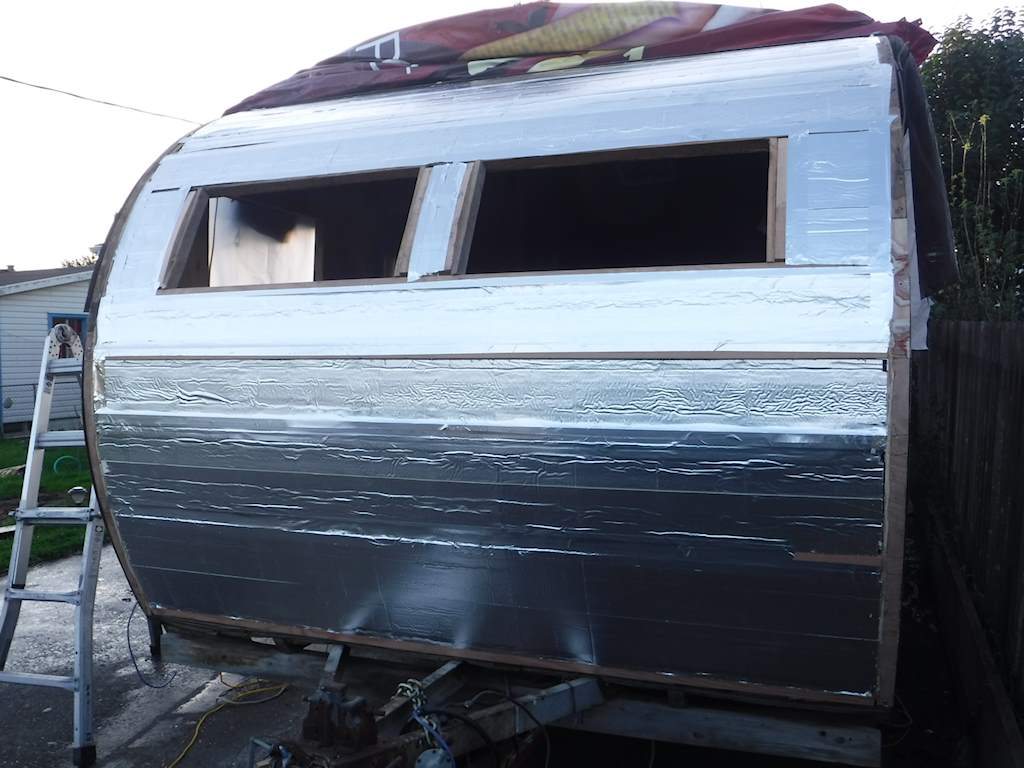
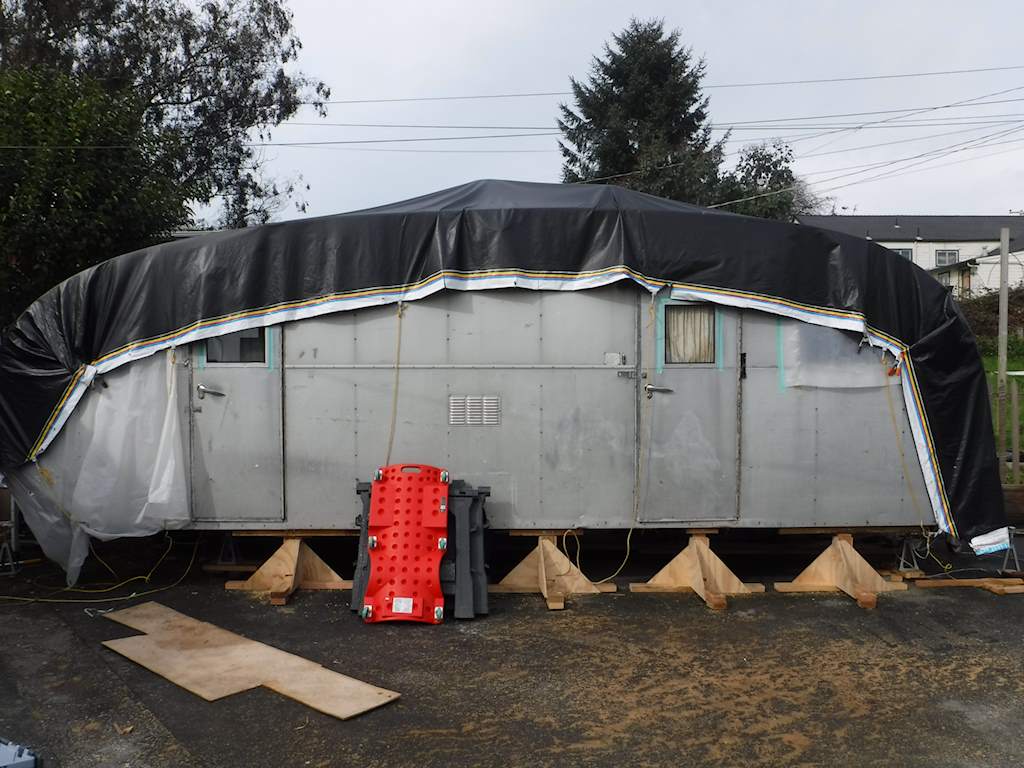
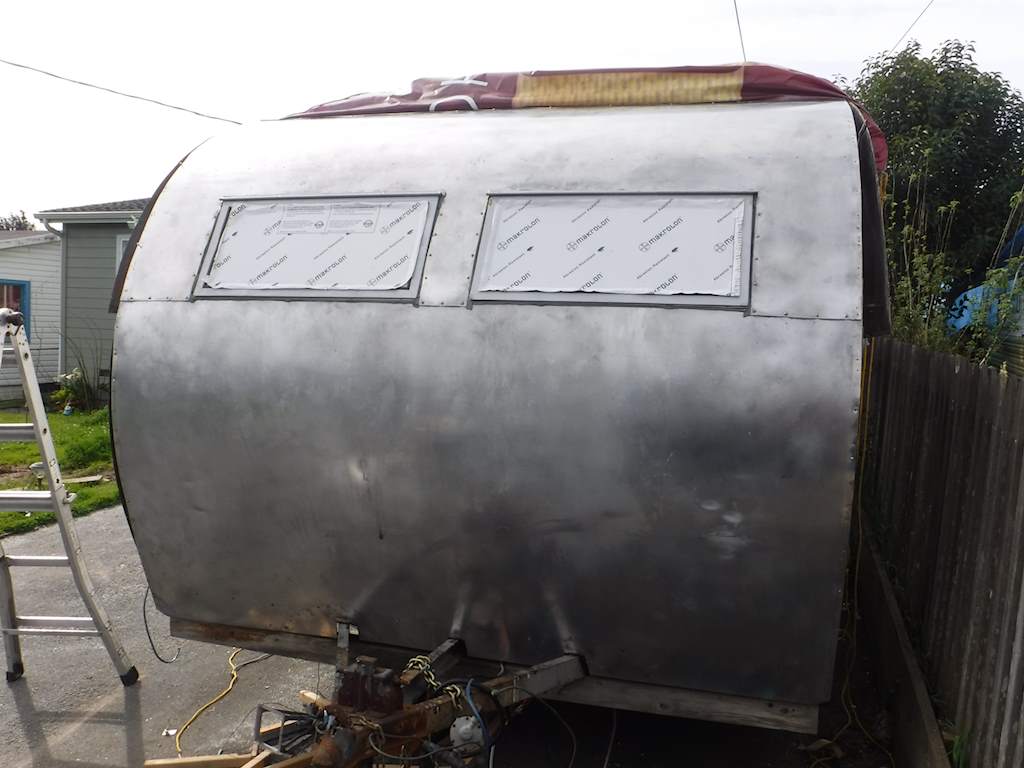 Those aren’t glass. They use polycarbonate with anti-scratch coating. The white is the covering on the polycarbonate. I’ll take that off when all the work is done. There are aluminum awnings over the front windows, but I’ve only polished one of those. Also I’m almost out of screws. After I polish the other awning and the screws come in I’ll reinstall both. I’ve used something like 500 screws so far. I have a couple hundred around and four hundred more on order. There is some damage on the front, and one place where the skin is torn through. I plan to put another layer on the very front, to cover these and to add some protection. It’s easier, cheaper, and faster to replace a strip across the front rather than the entire panel.
 and over an hour or so with periodic sponging it on, it went to
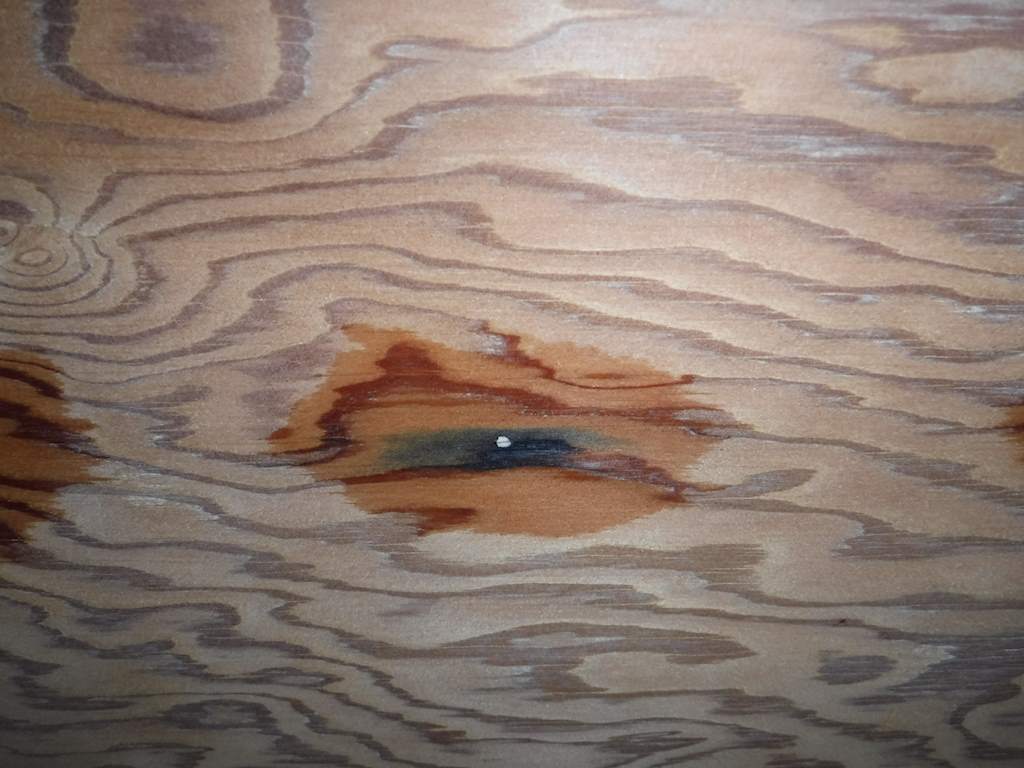
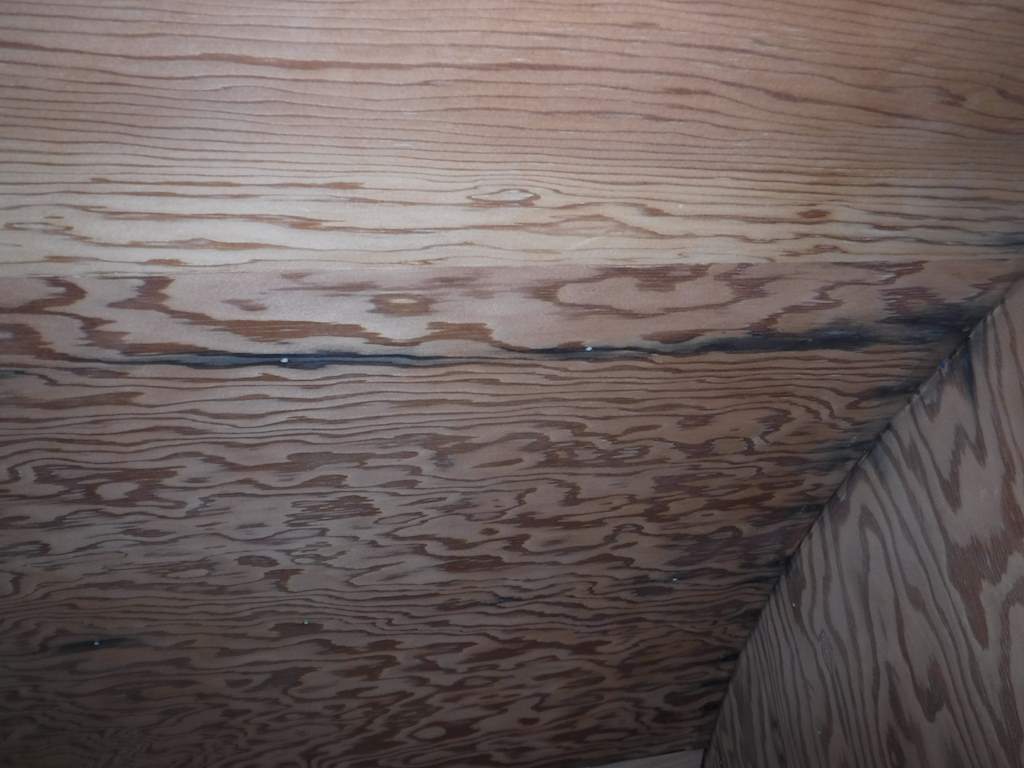
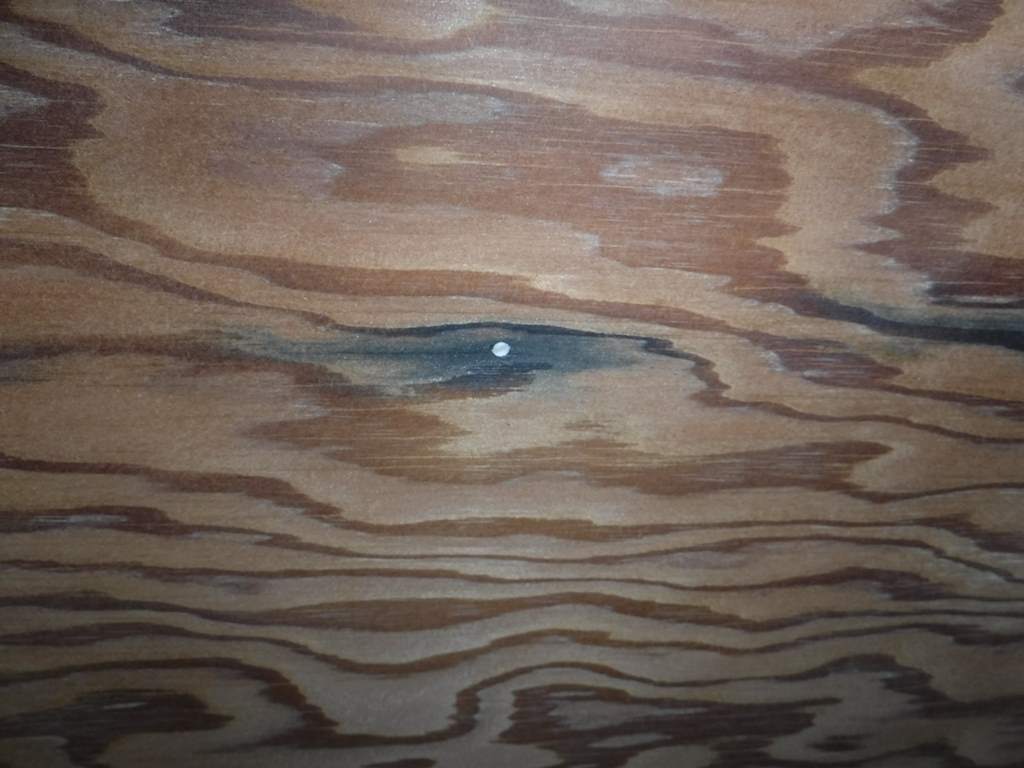
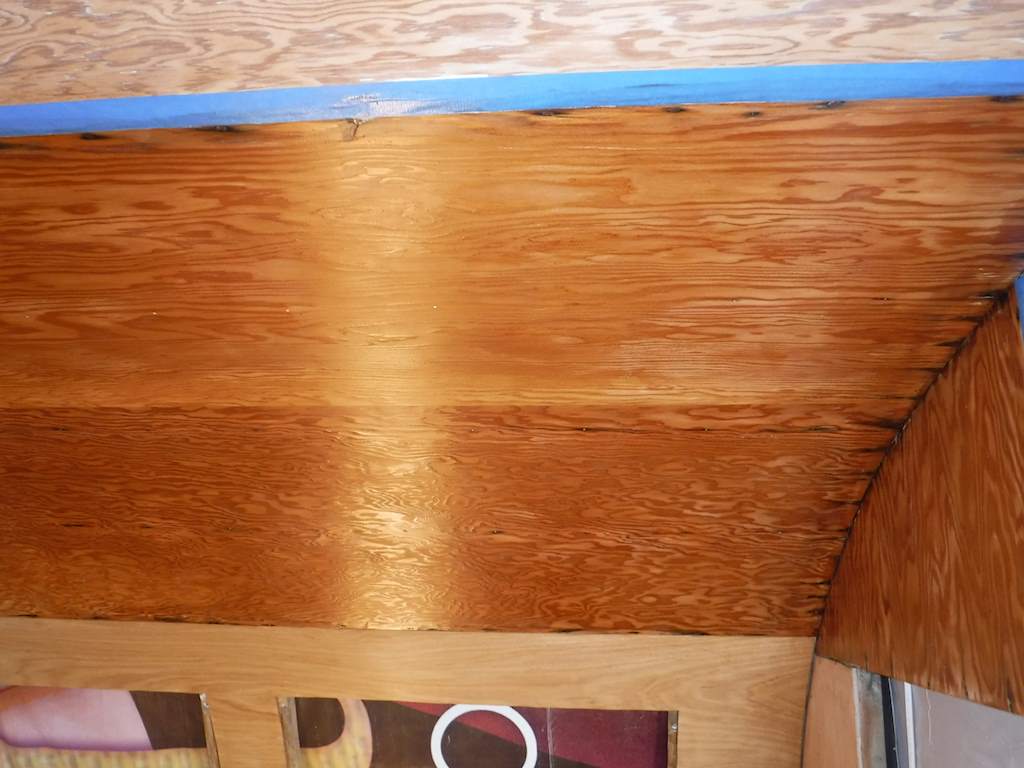
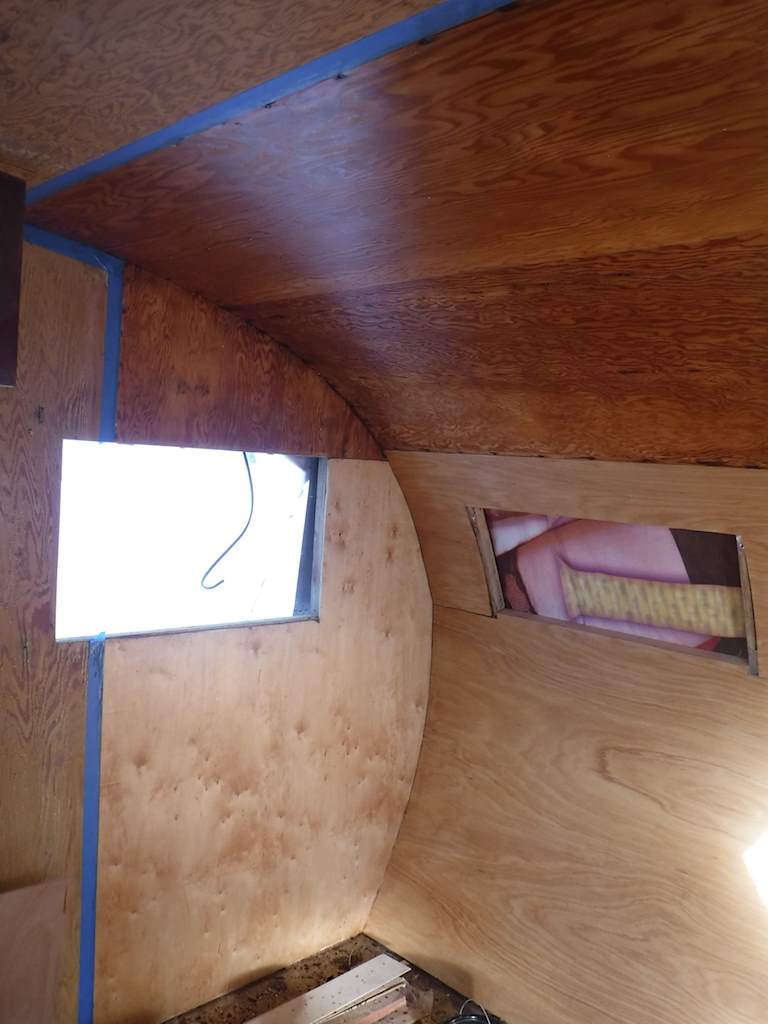
 I could have done a bit more, but I kind of wanted to see how this last bit would be. Most or all of what’s left will be covered with molding. After staining and one coat of polyurethane, the front interior looks like this:
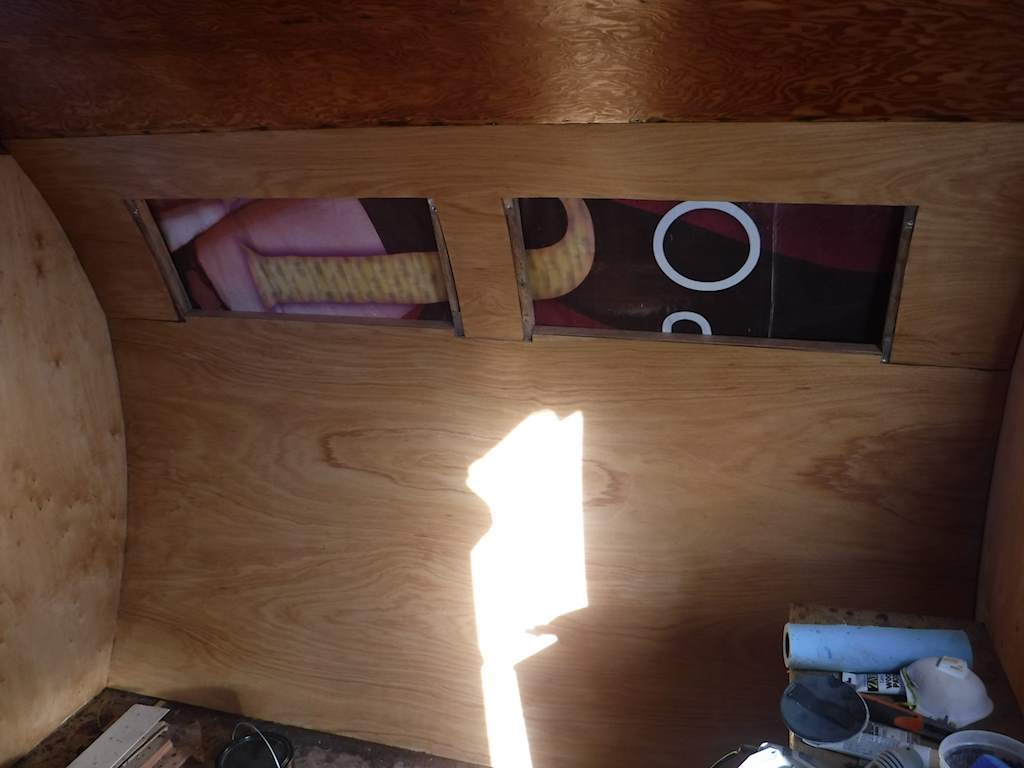
 Then replaced the cross supports.
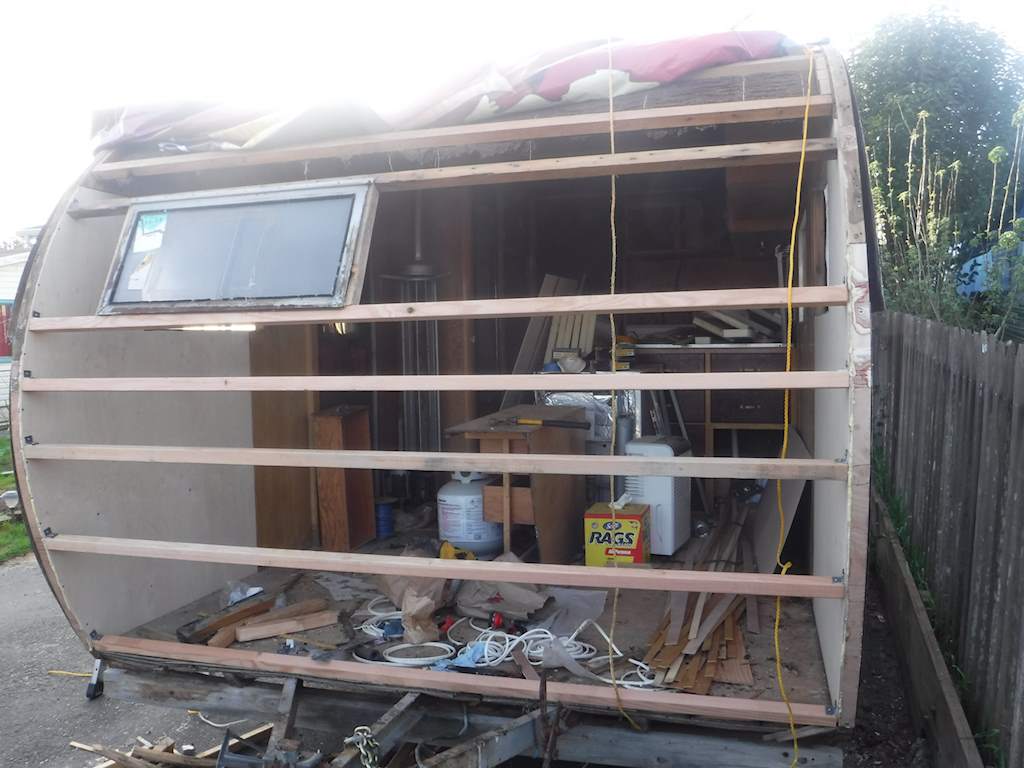
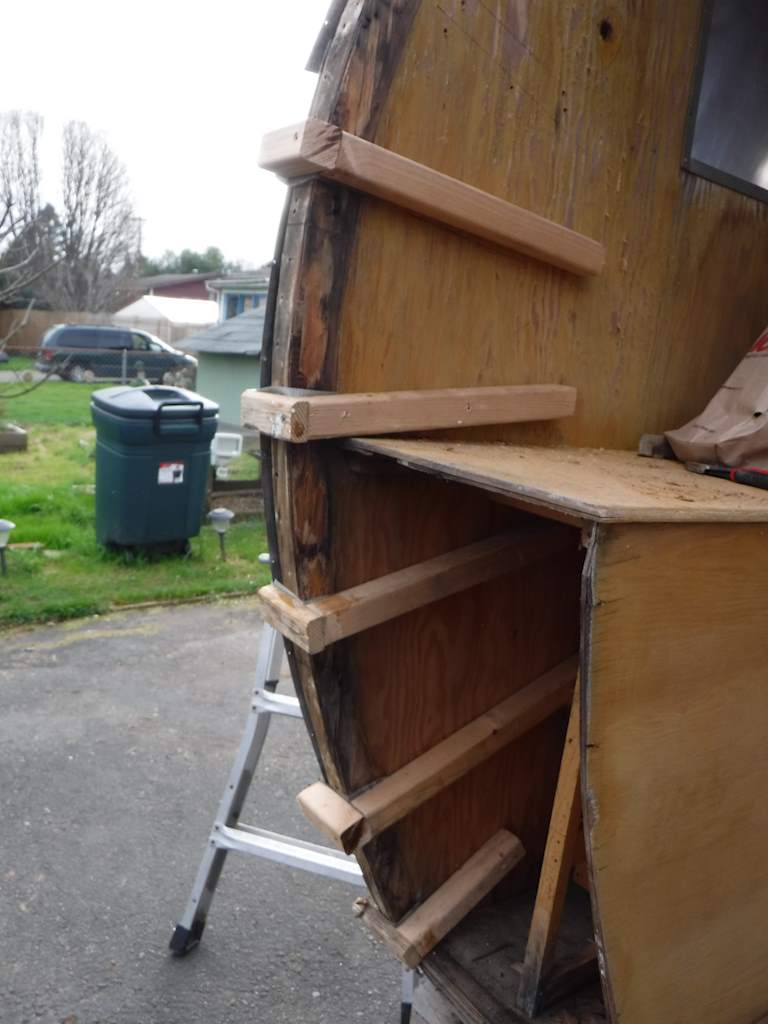
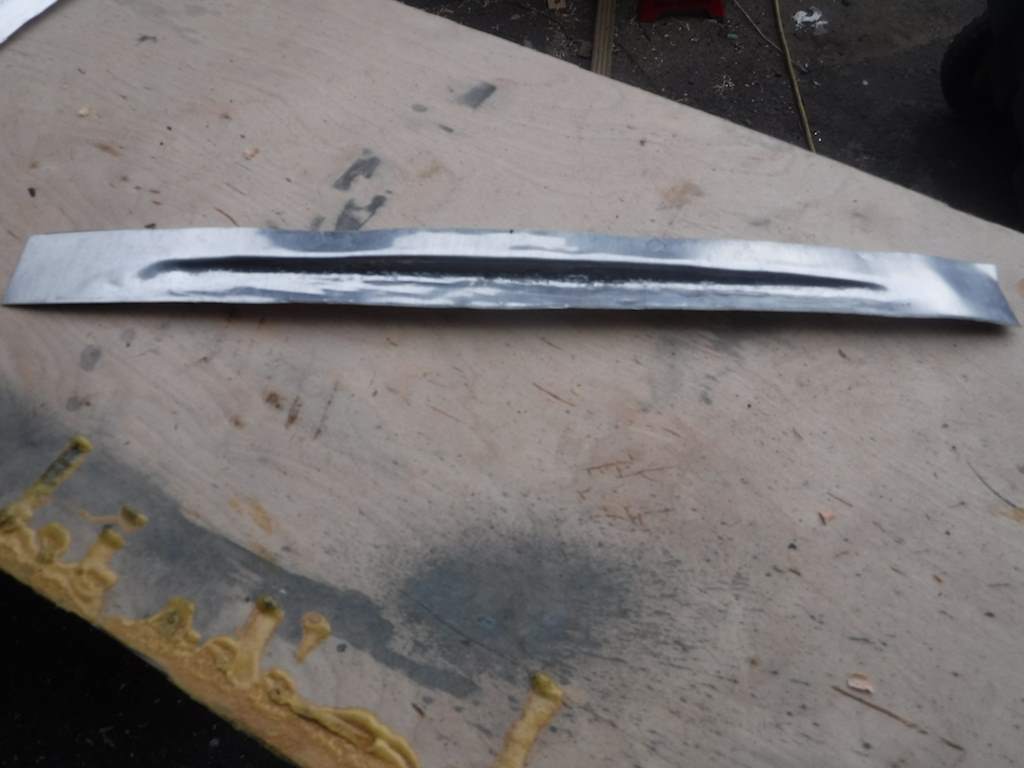
 That seems to hold it pretty well. Now for a more interesting bit of carpentry. There’s a challenge around the windows. The window wants a flat surface, but the shell is of course curved. That would imply the presence of something like this:
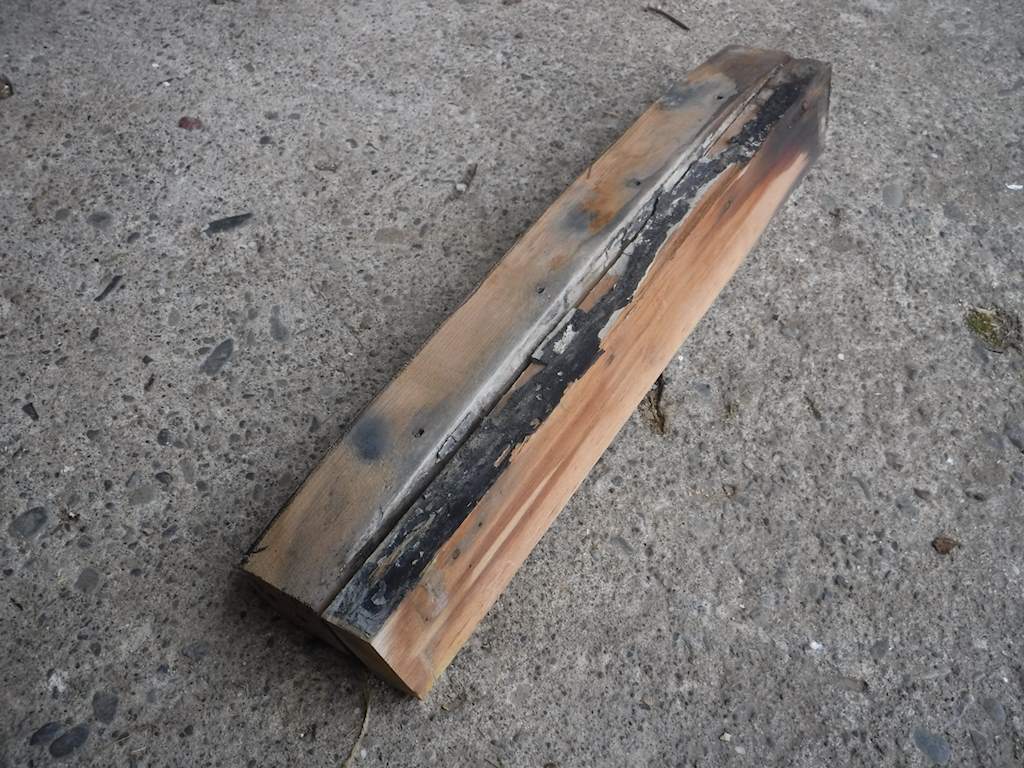
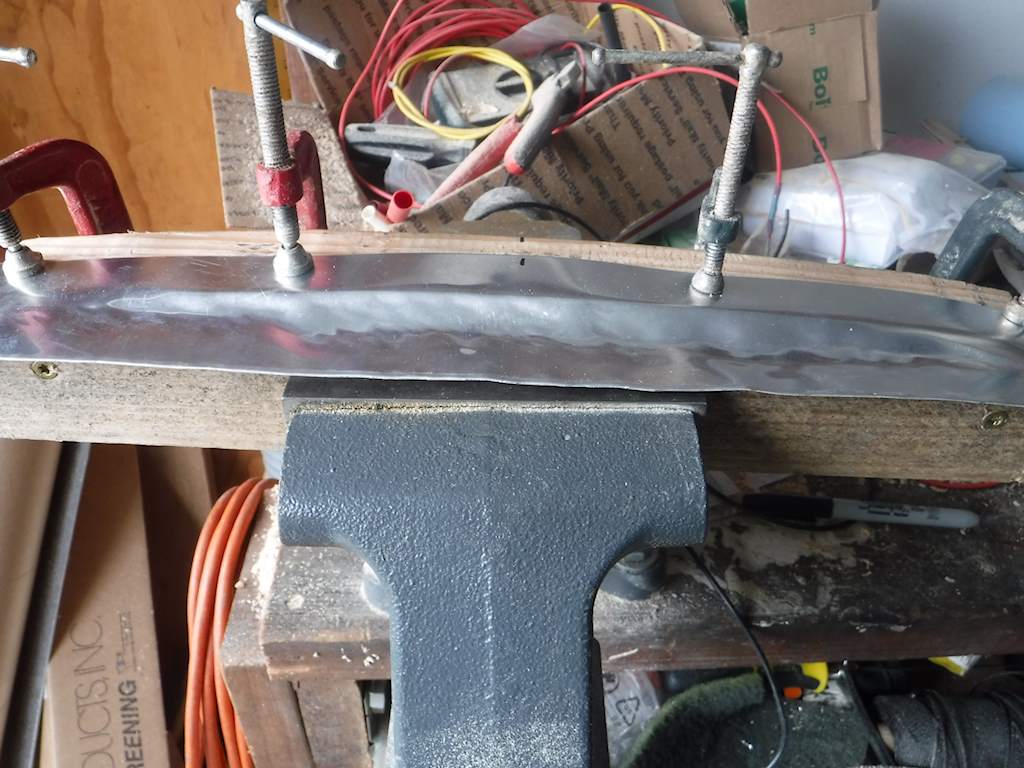
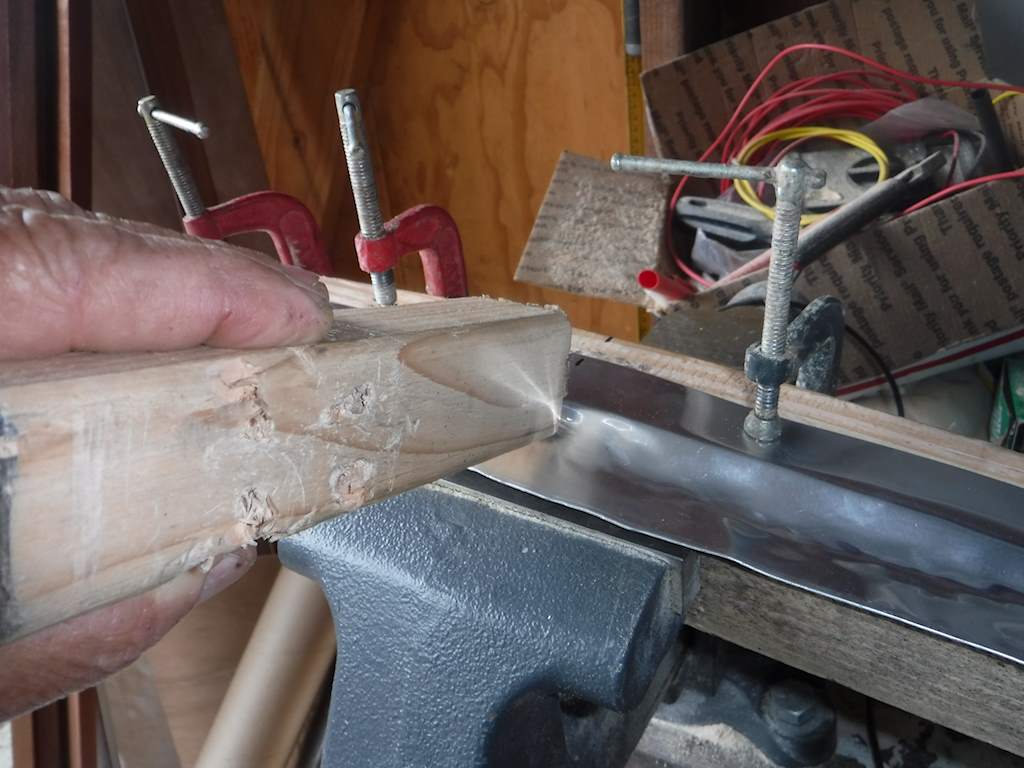
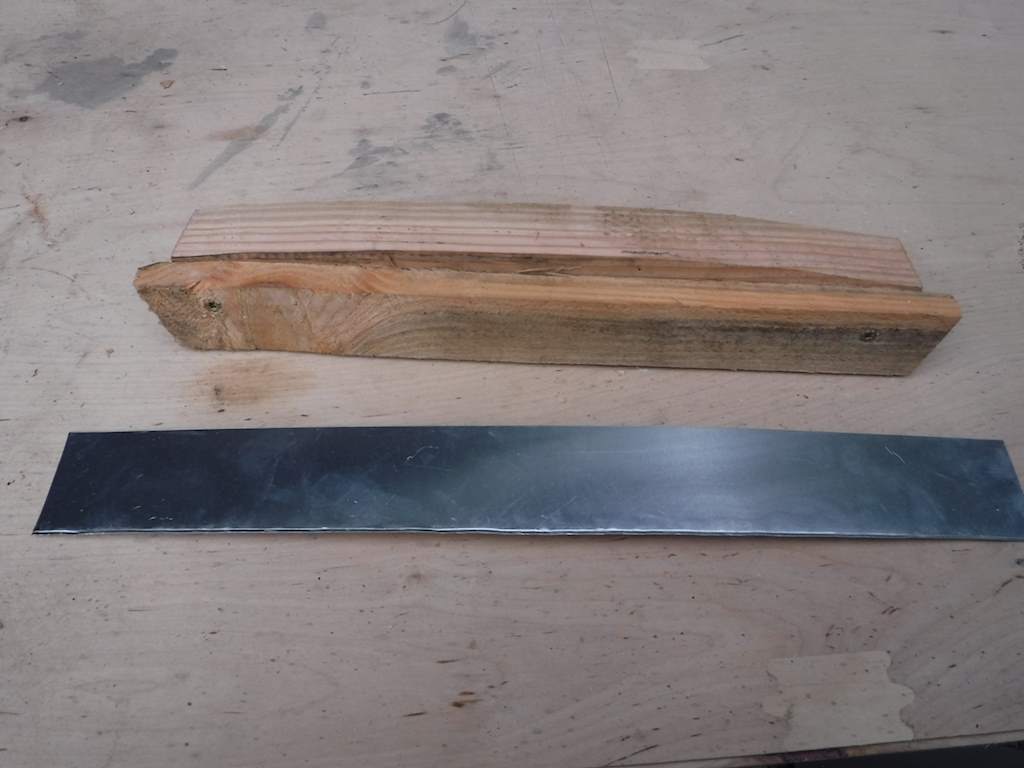 and cut some aluminum sheet. Clamped the wood into my vise, and clamped on the aluminum.
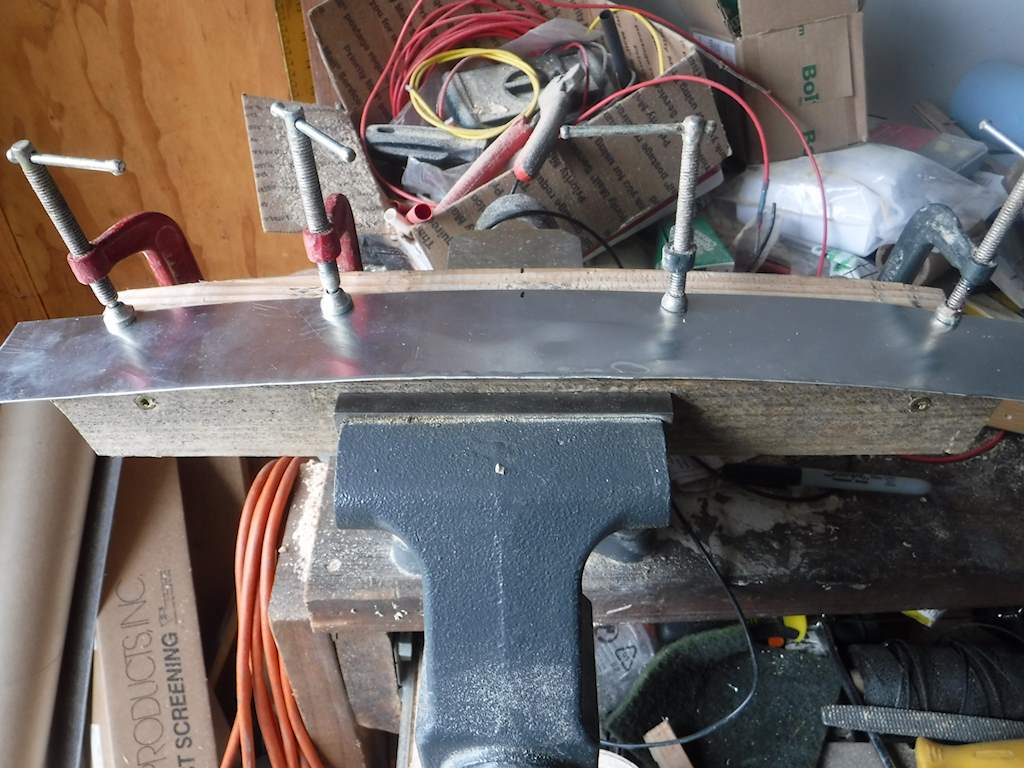
 s.
s.
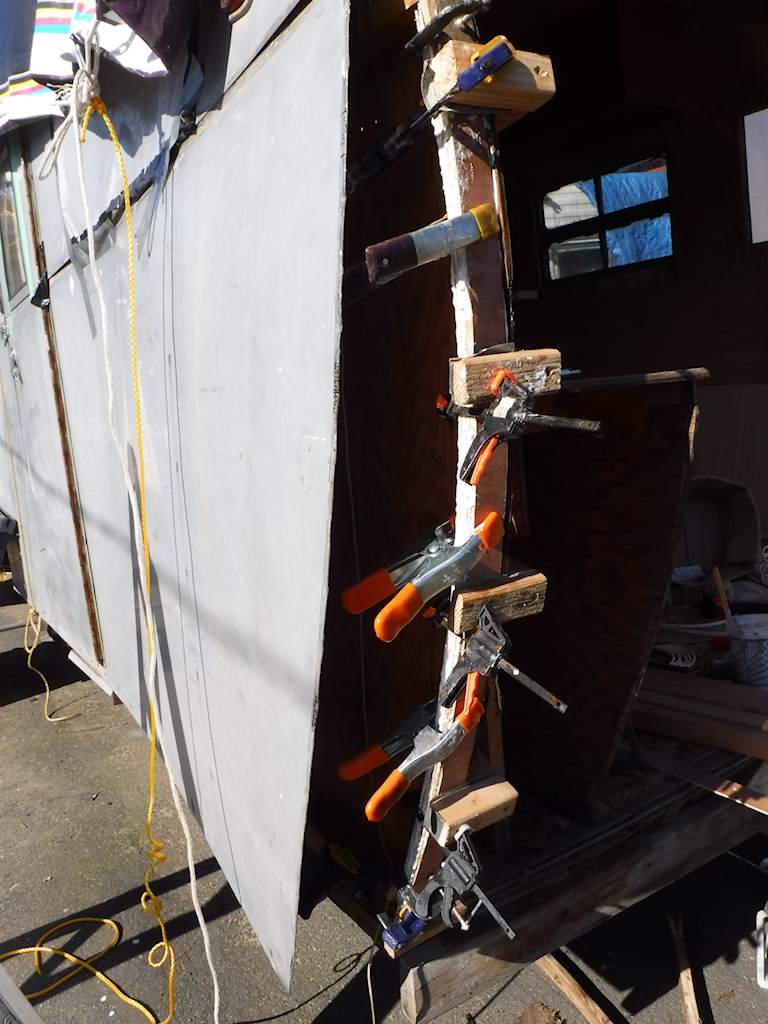
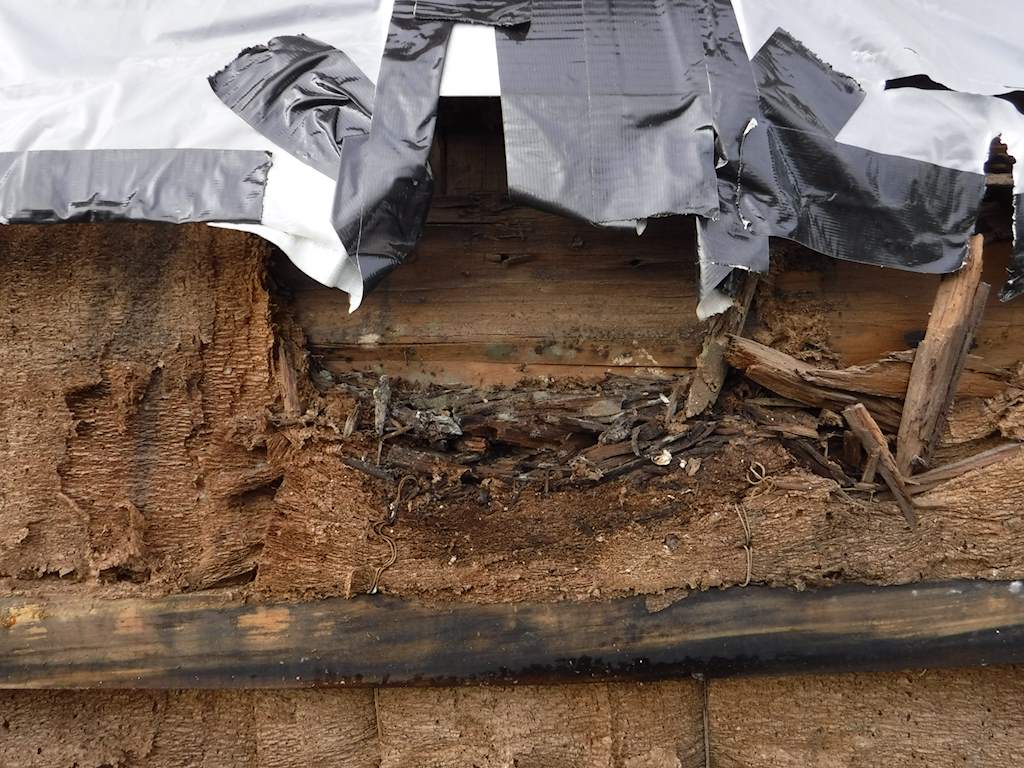
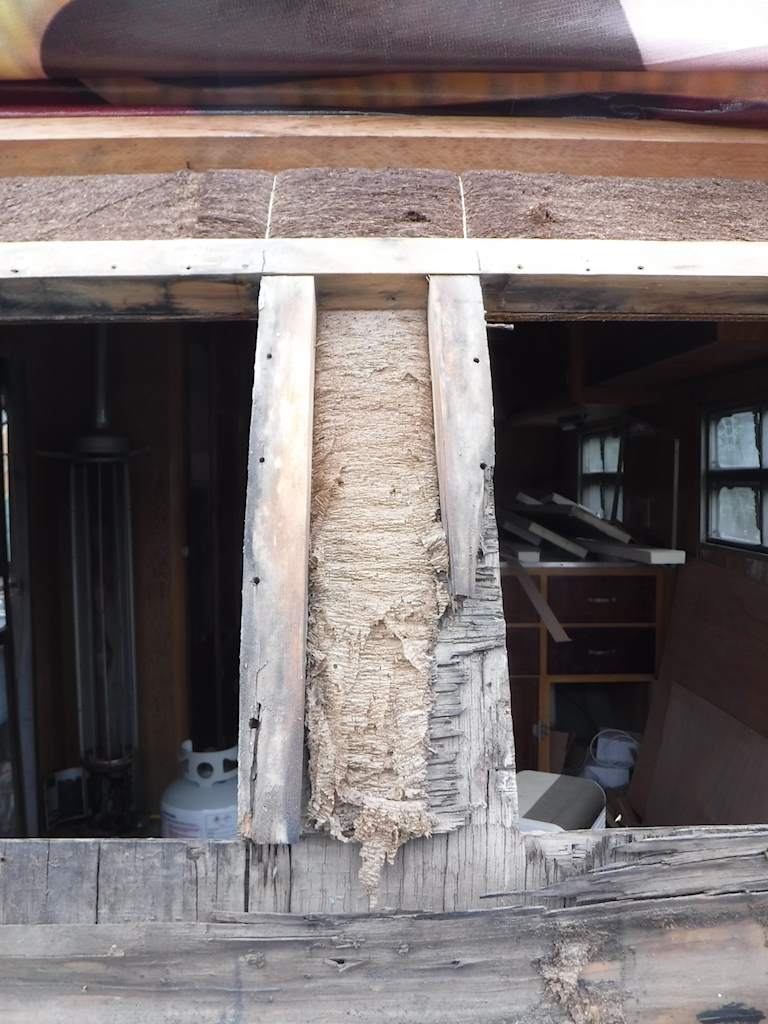
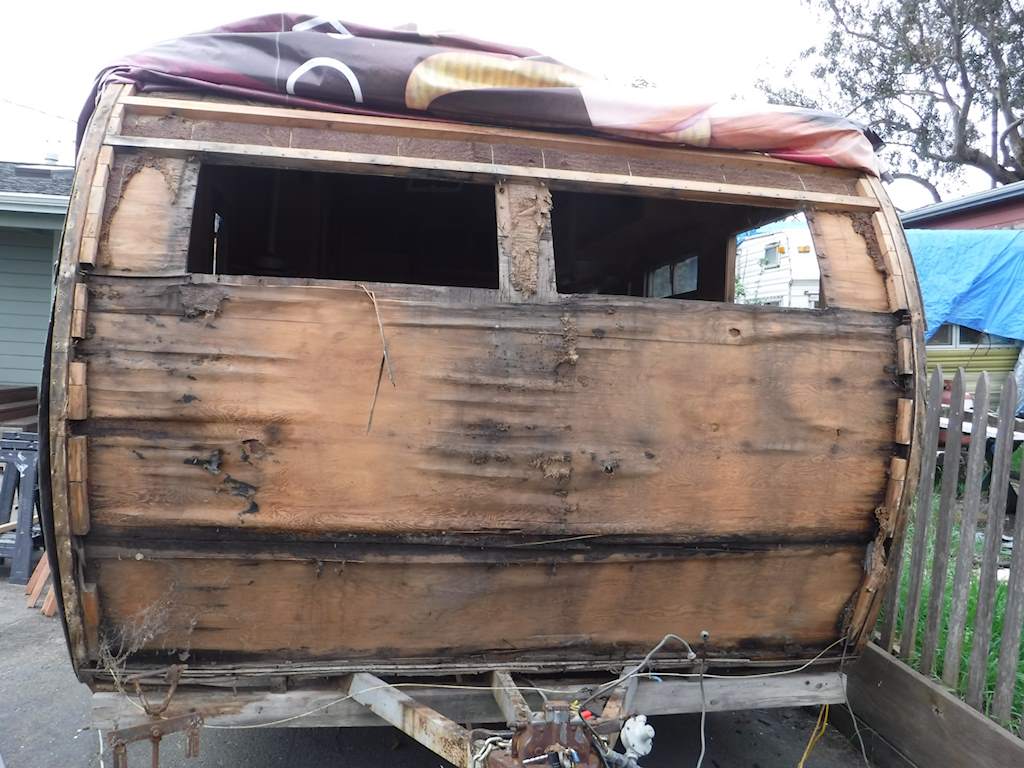
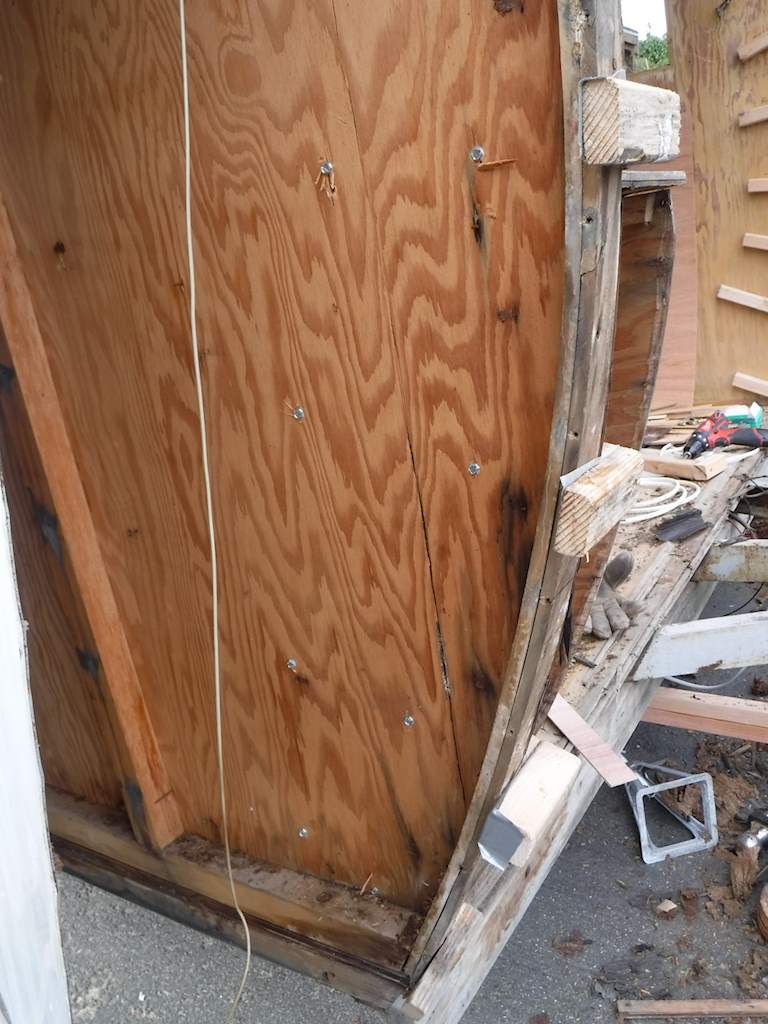
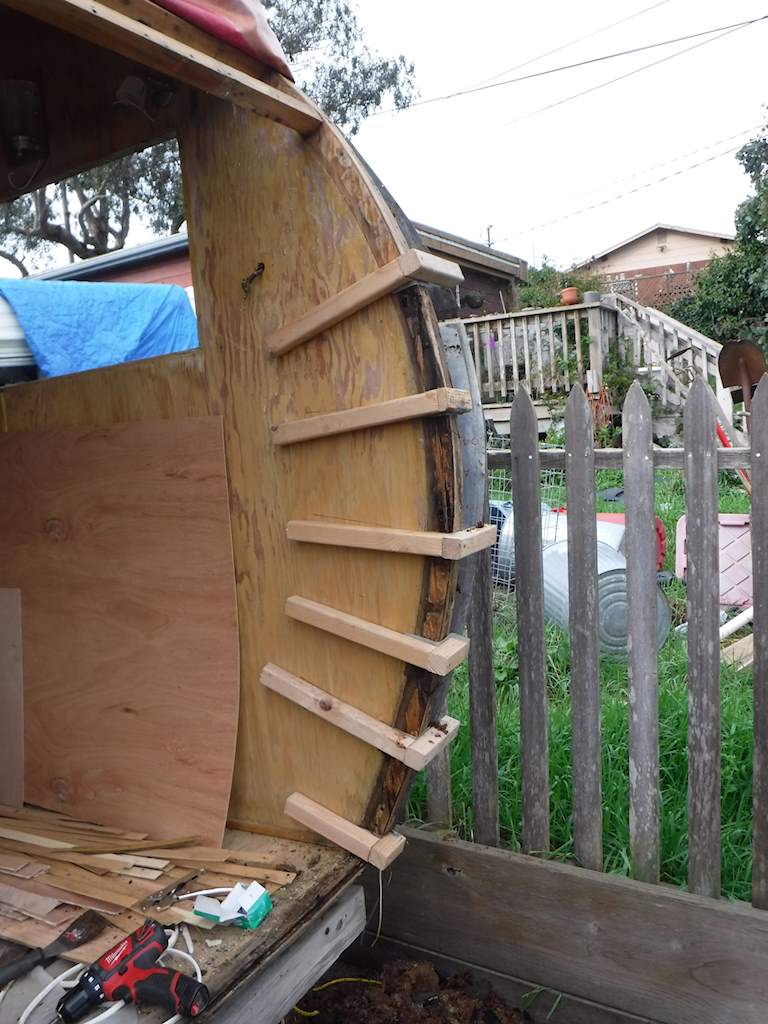
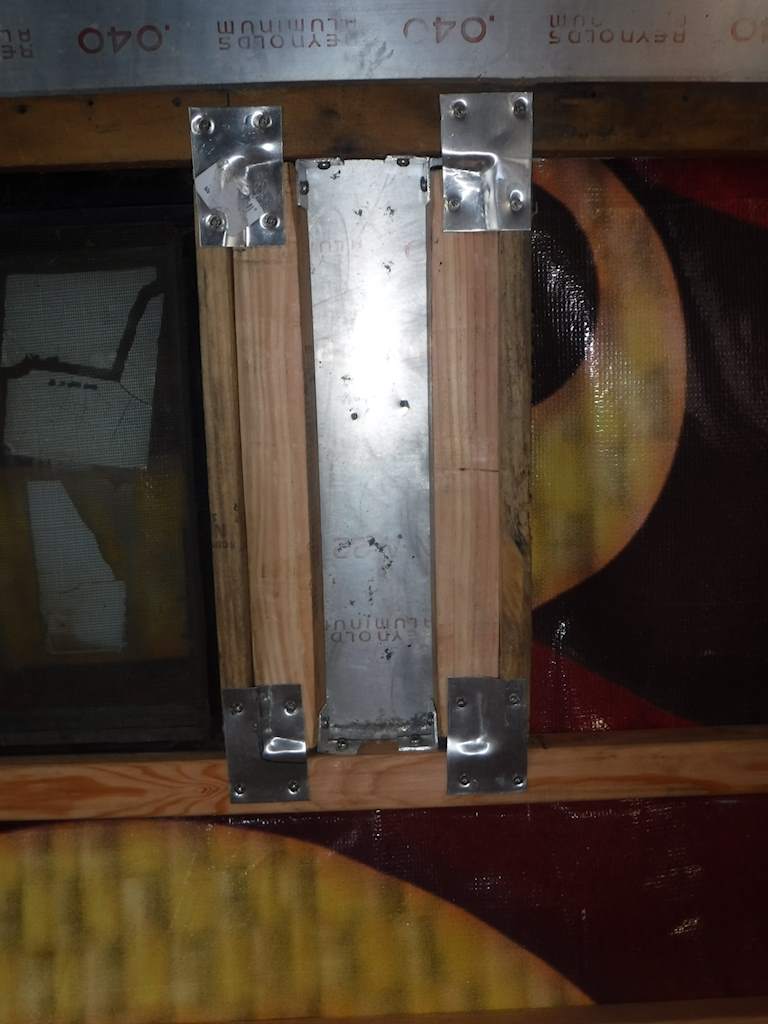
 After marking the locations of the 2×2’s and cutting the new horizontal supports I pulled off first two panels of the inner skin. The whole front of the trailer is now open. Then I made some rough L-brackets and attached them to the side panels so I can replace the lower part of the corner curved beams. I guess you’d call them beams, although they are pretty weak. Here’s the left side.