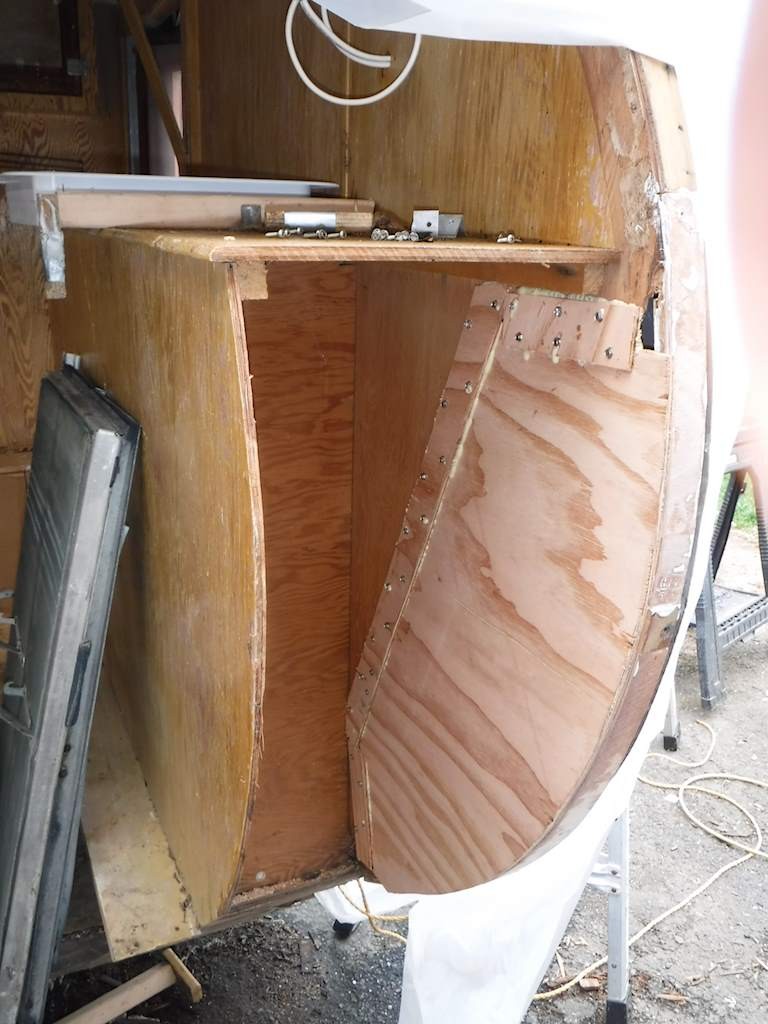
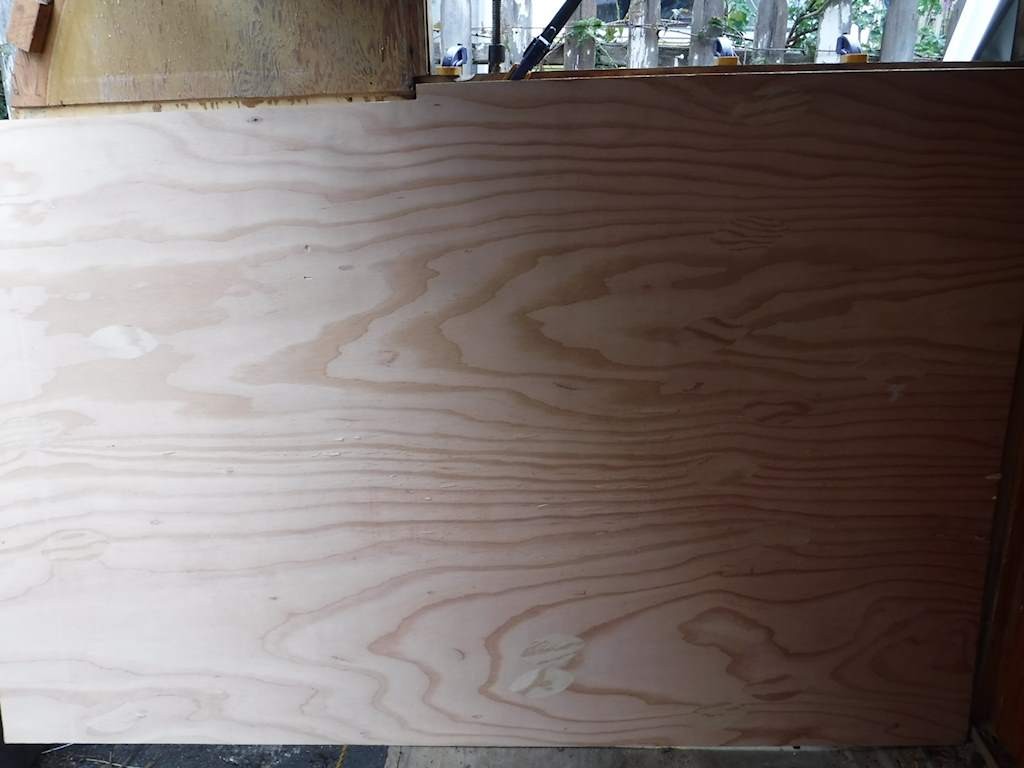
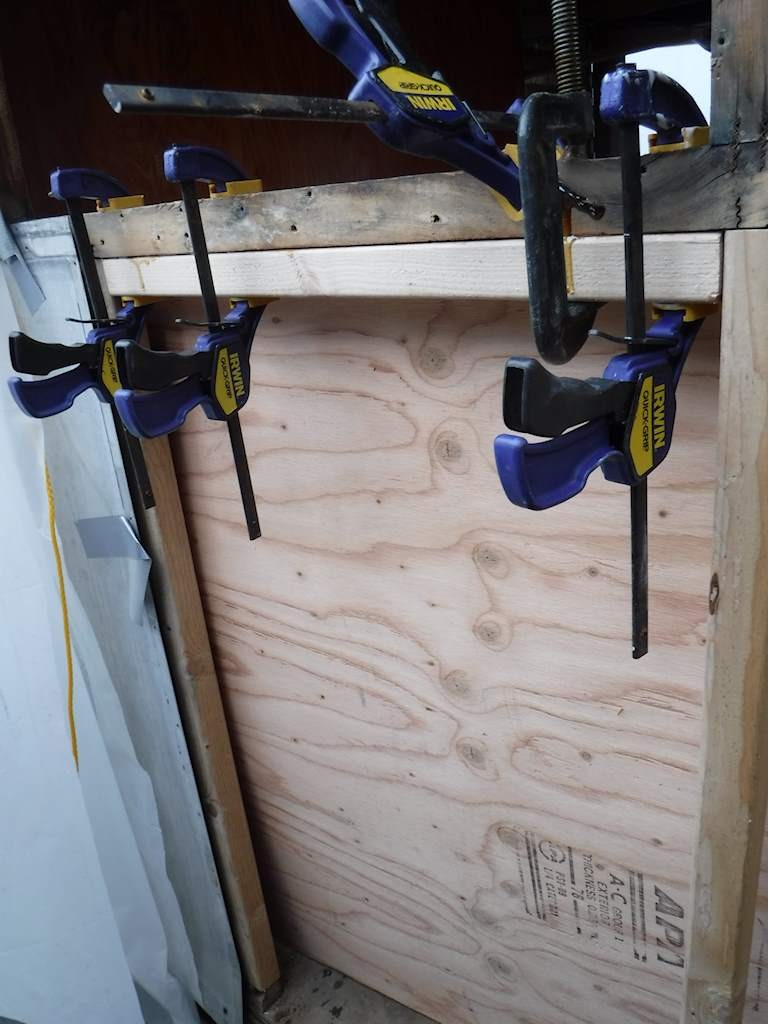
I spent some time yesterday working on the interior rear panel, with no success. I found some really nice baltic birch plywood with exterior glue line. It has five plys in a quarter inch, although more bow ties than I would like. The problem is that it’s too good- very stiff, and I can’t force it to the curve I need. I’ve removed it and I need to slice halfway through on the back side.
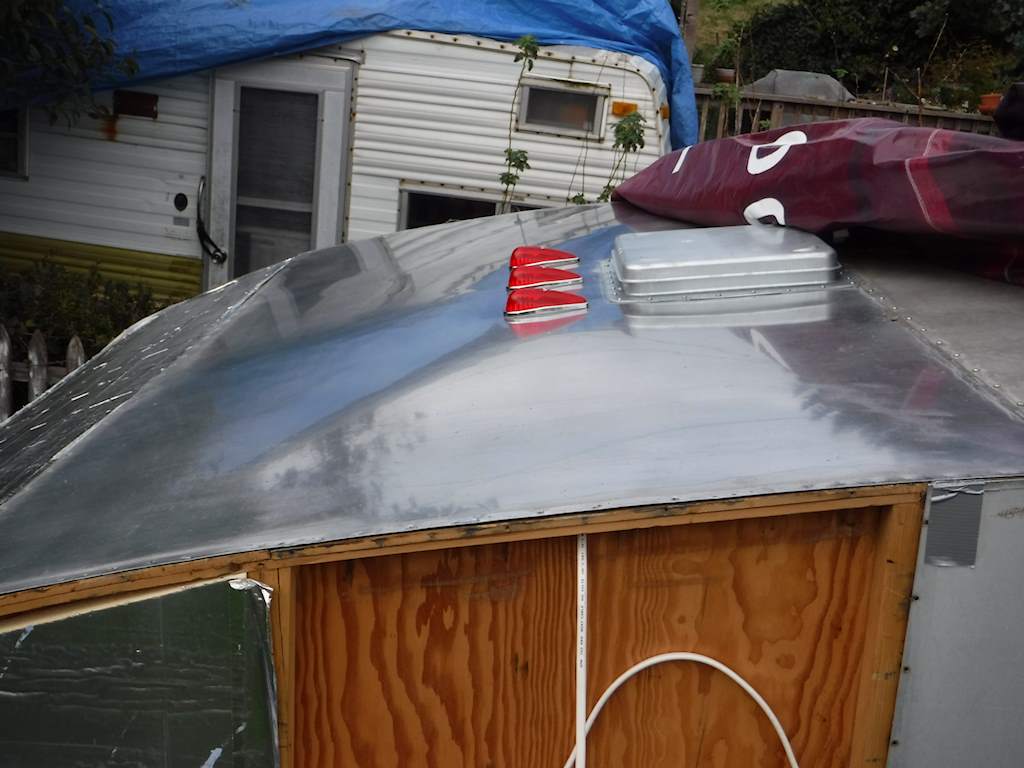
I did get the ID lights on top and the top panel reattached. Here’s the wiring:
Marine grade heat-shrink adhesive crimps with connectors on the end. That way if someone has to remove that panels they don’t have to cut wires. Since that’s the first panel I’ve reattached that is visible when on the ground, I had to polish it. I spent a couple hours experimenting. The metal polish I bought is a complete waste of time. But it seems to work pretty well to start with No. 7 rubbing compound, then polishing compound on a rubber pad, than polishing compound and a fleece pad.
Here’s my first test piece. Since it’s against the side of the trailer, that’s a before and after.
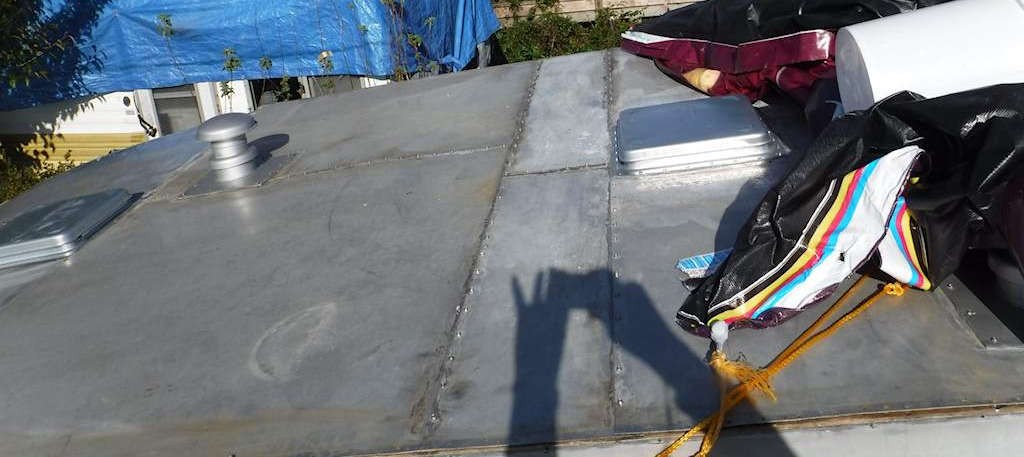
It’s not a perfect mirror finish, but it looks pretty good I think. After 65 years I think it deserves to have a few battle scars and imperfections. Here’s the rear roof panel, polished and with lights. Note you can start to see reflections.
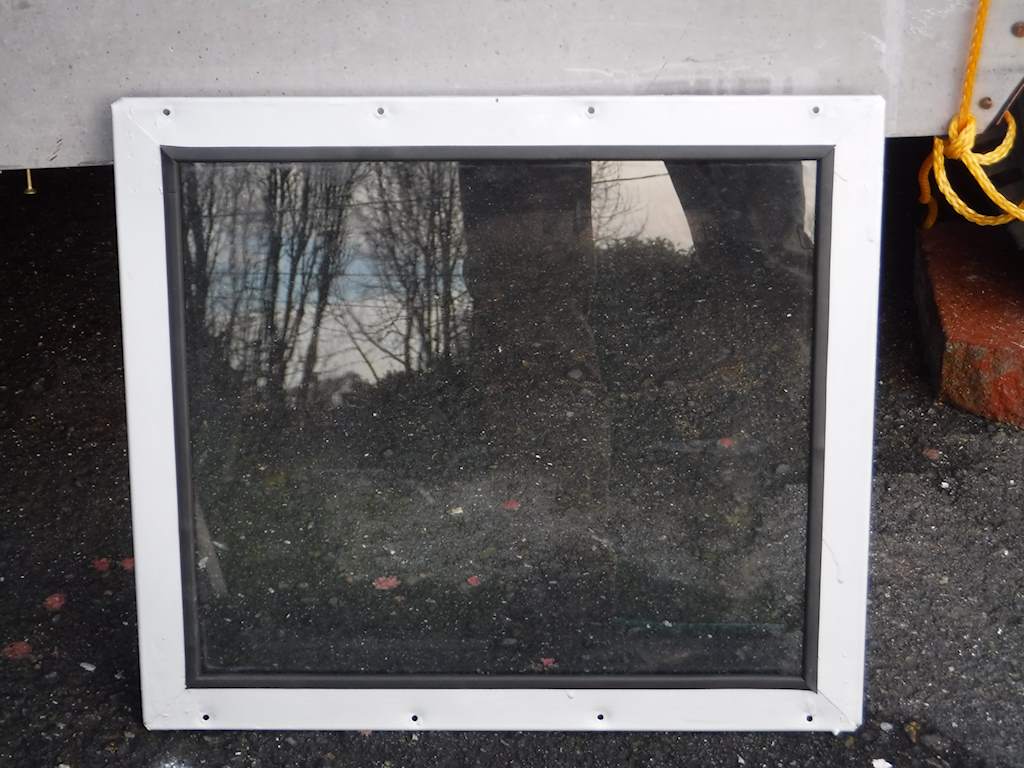
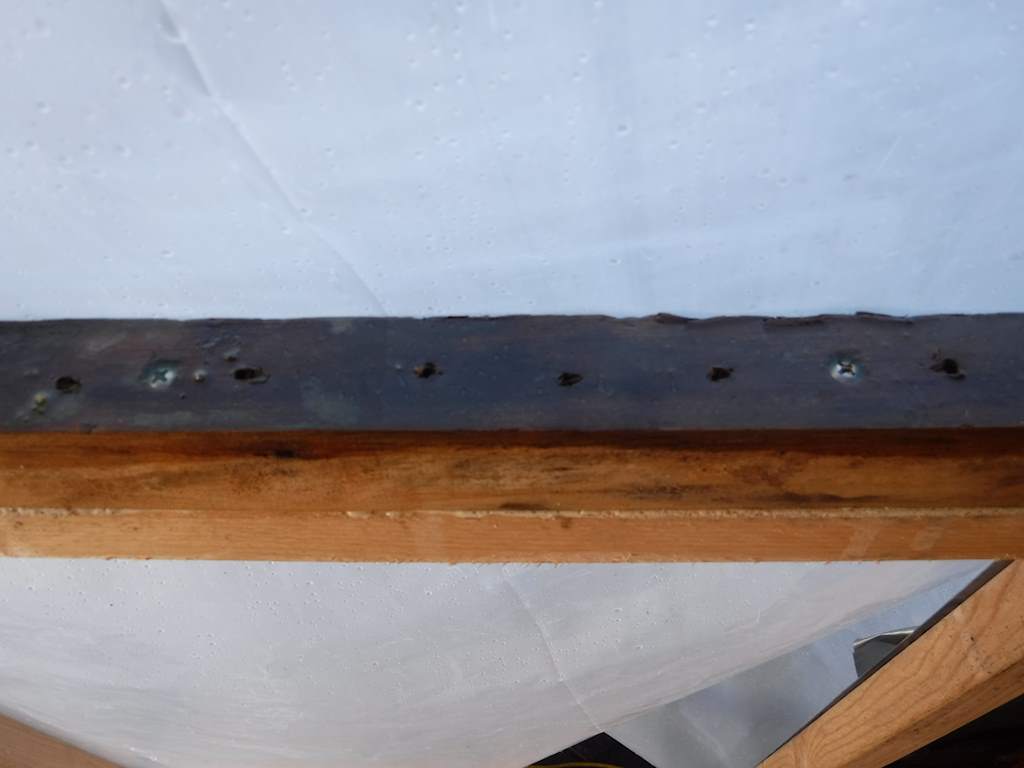
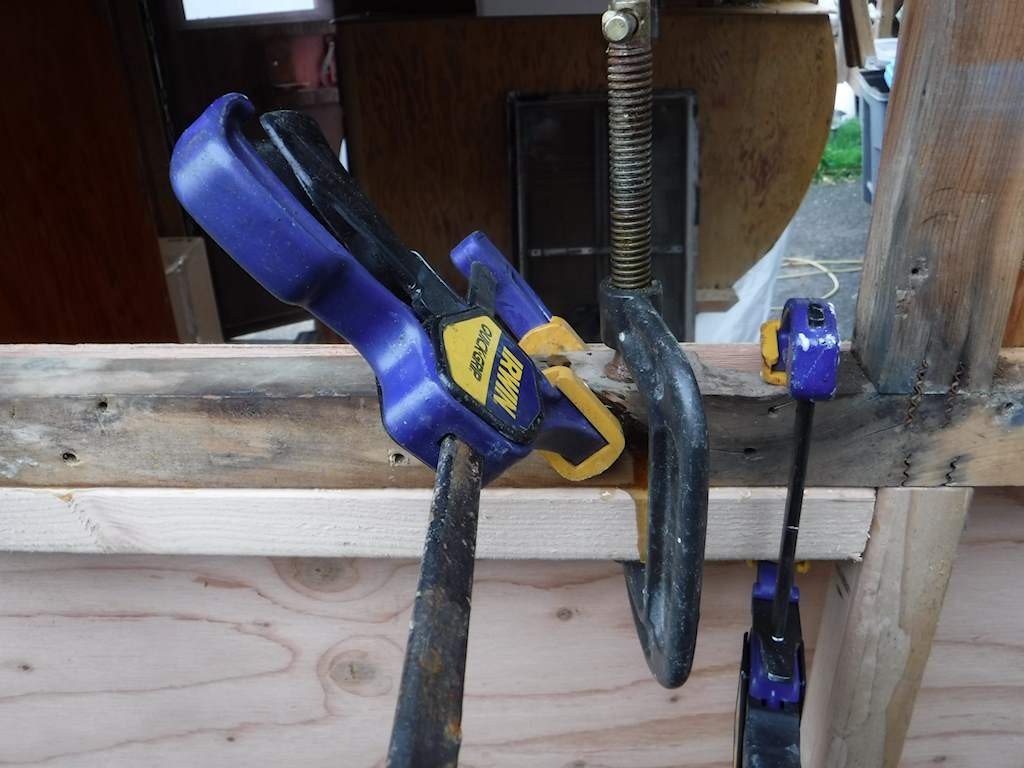
I also continue to work on windows as a fill-in project. They also don’t come out perfect, but I think reasonable. As an example, here’s one of the door windows. It started like this:
Outside:
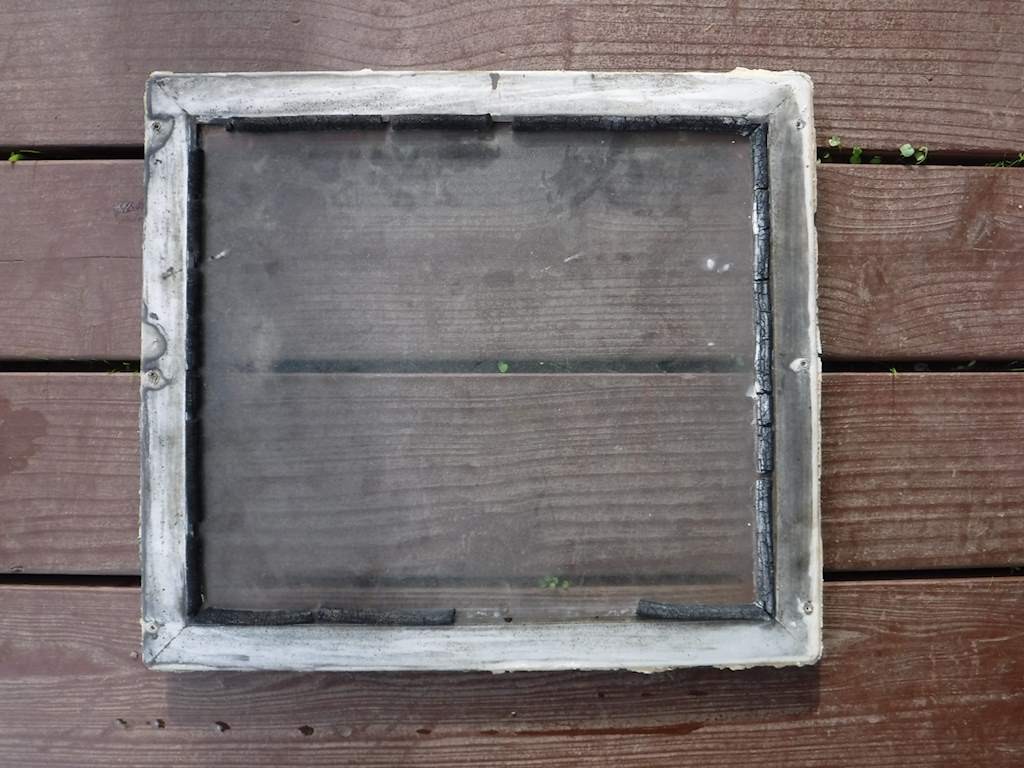
Inside:
 with (as mentioned previously) two different kinds of putty on that. Two completely useless attempts to stop leaks without doing it right. After scraping, wire brushing, and cleaning looked like this:
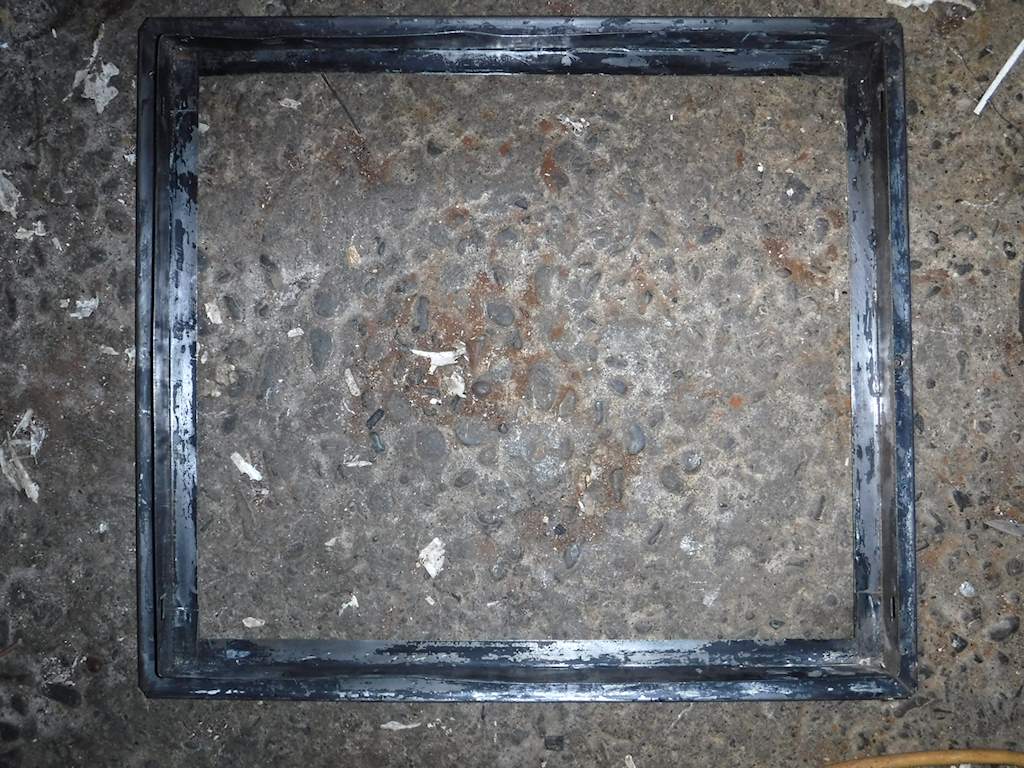
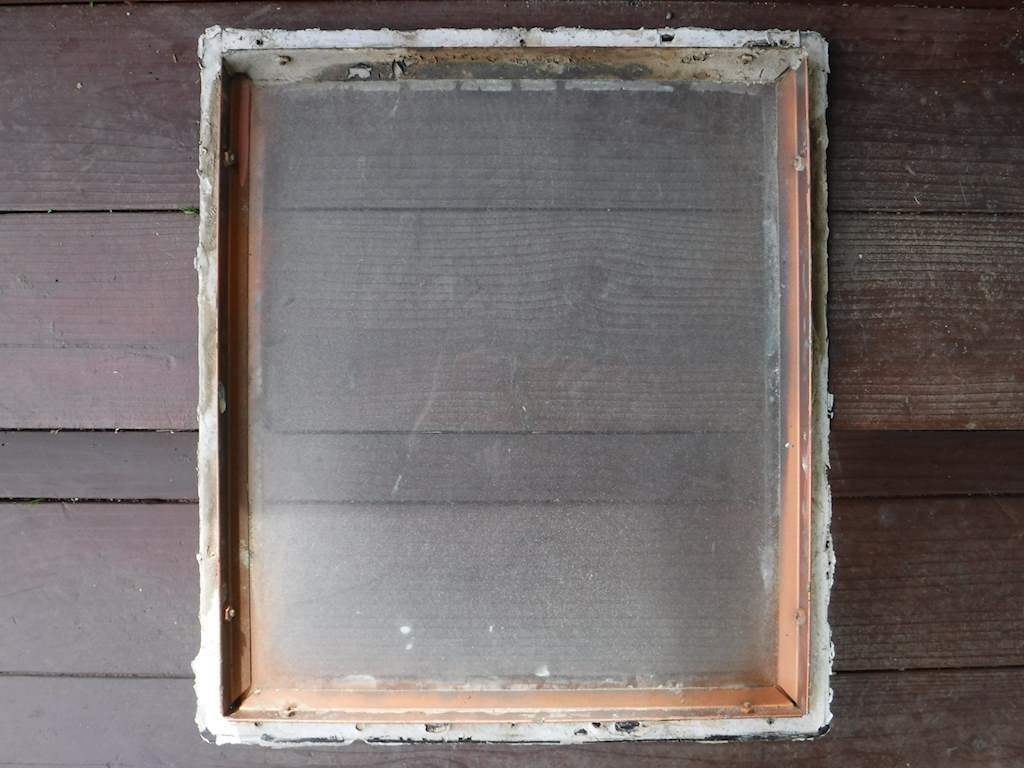
And after painting with alumathane and reassembly with new neoprene edge seal looks it like this:
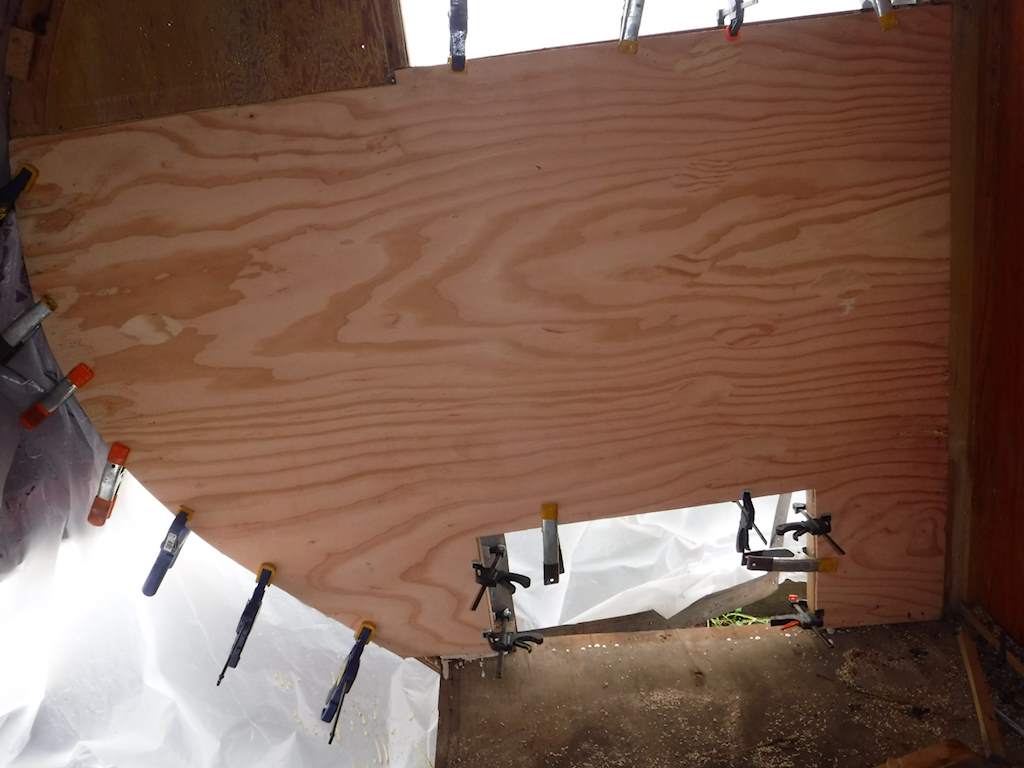
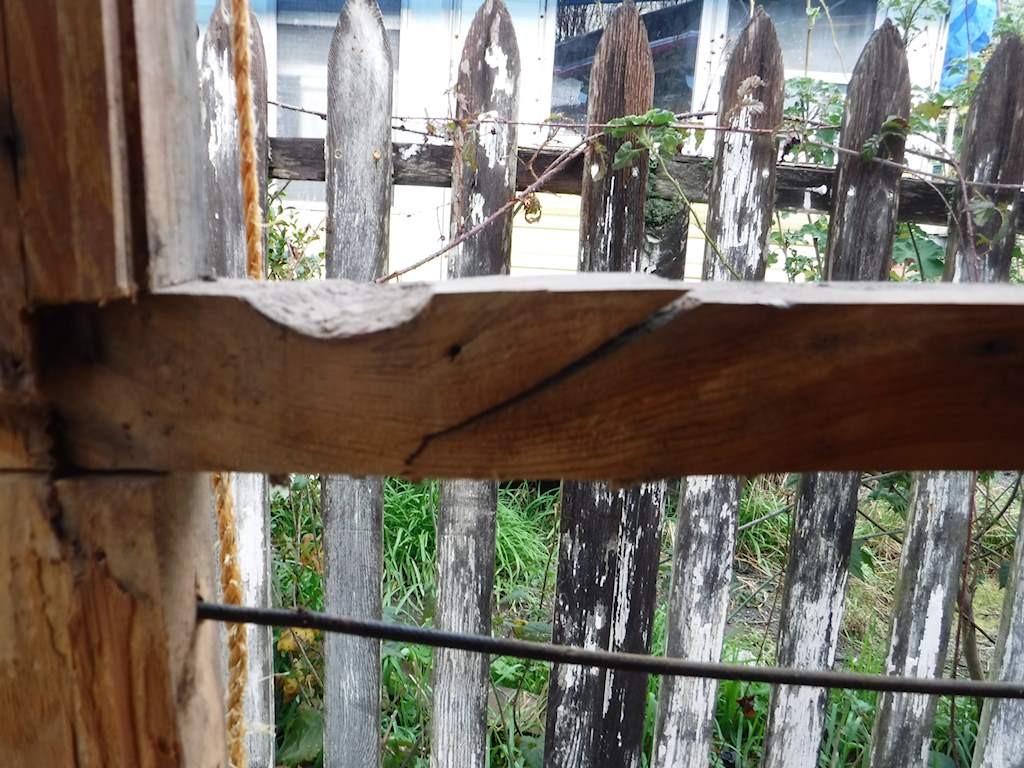

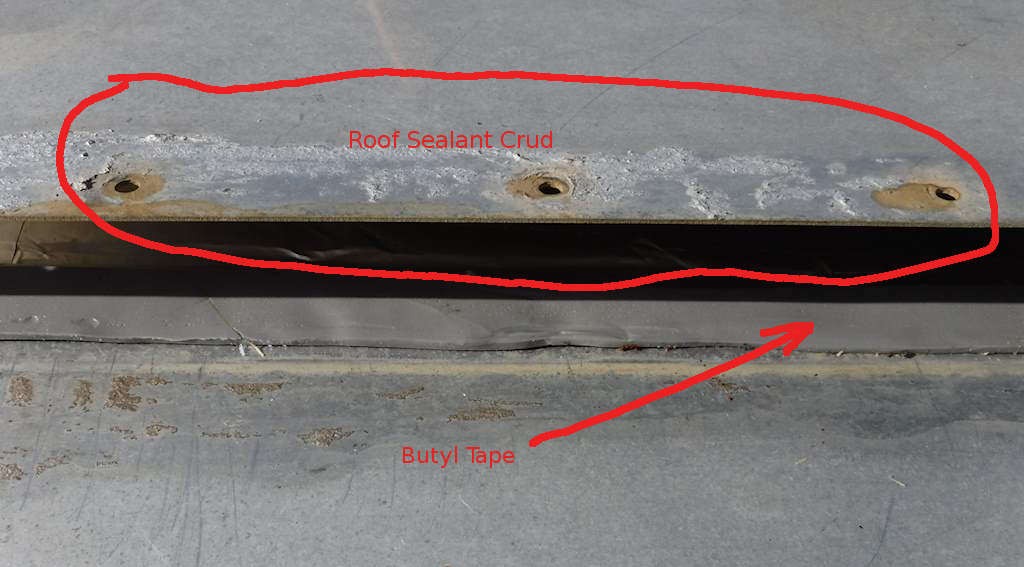
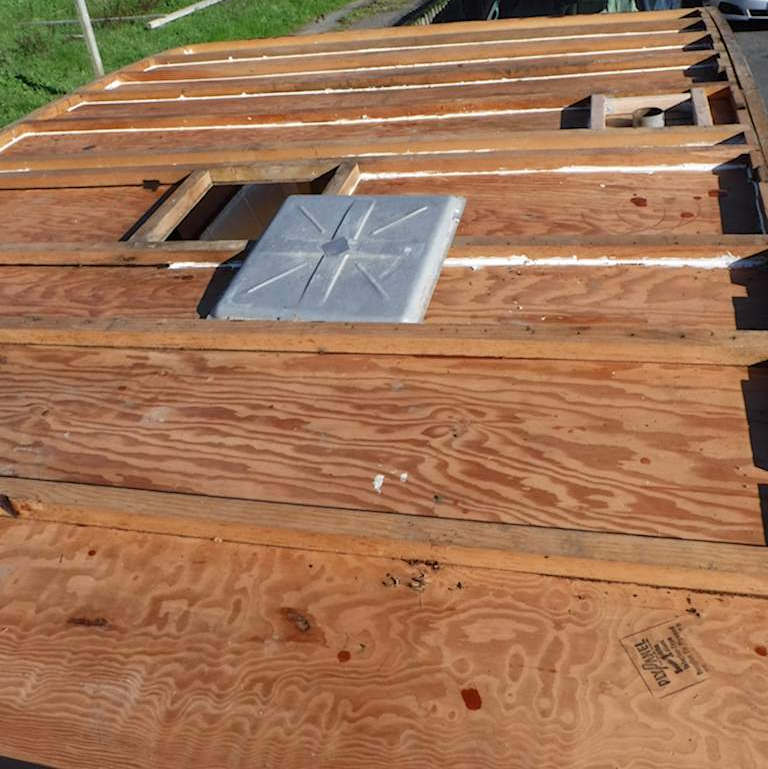
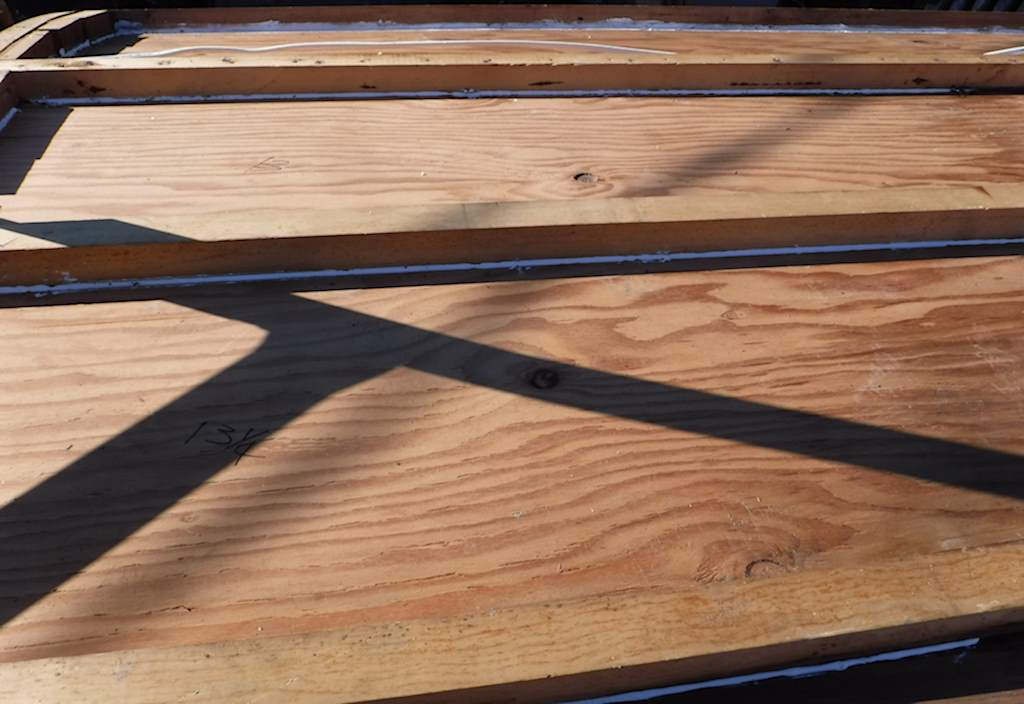
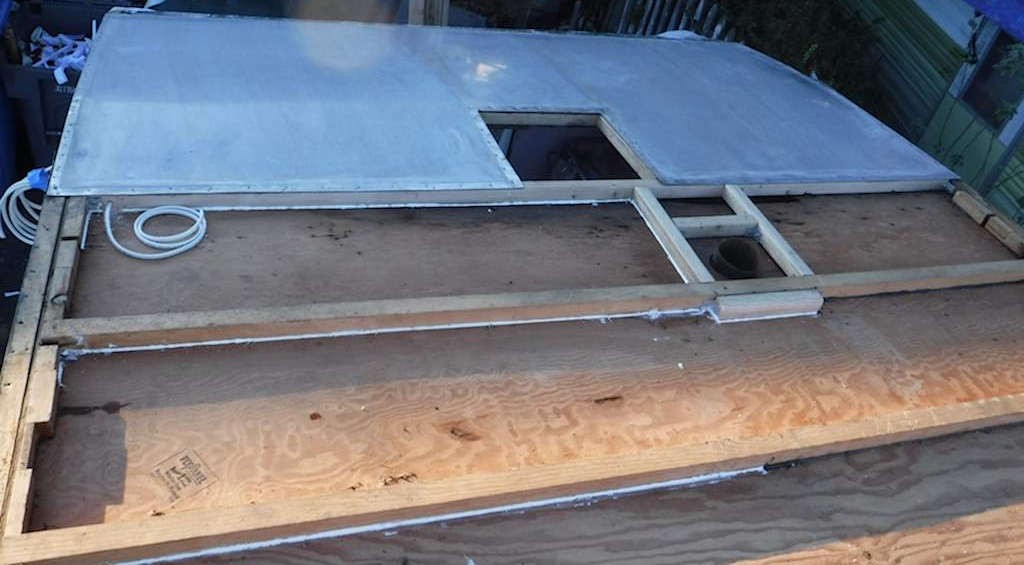
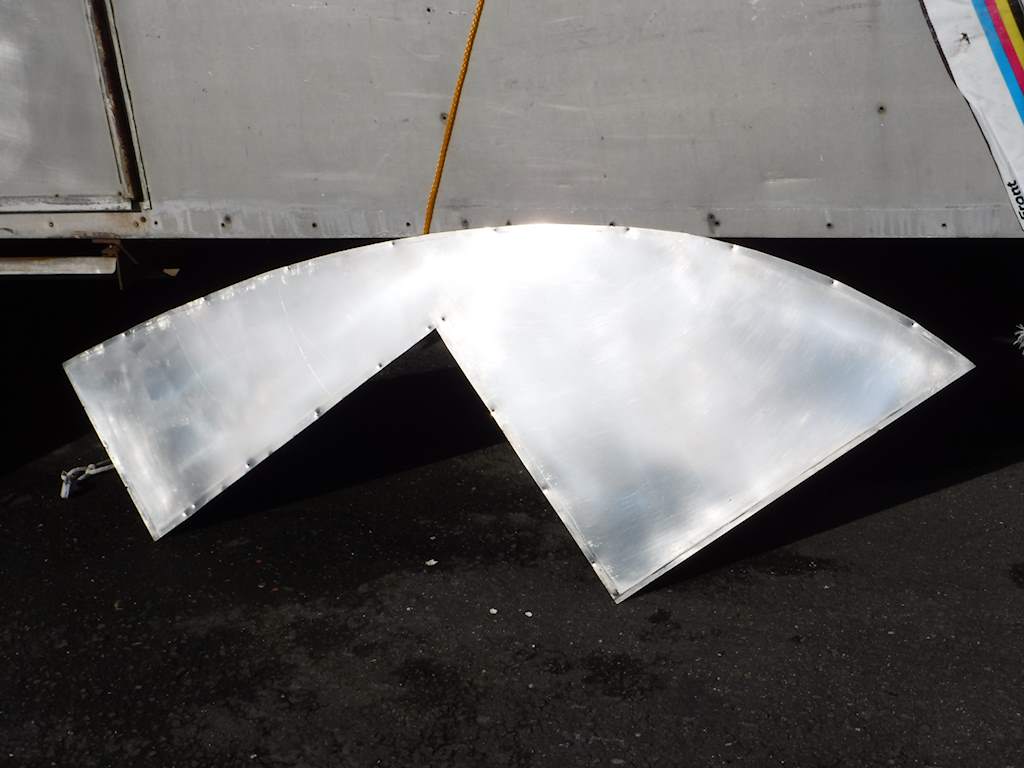
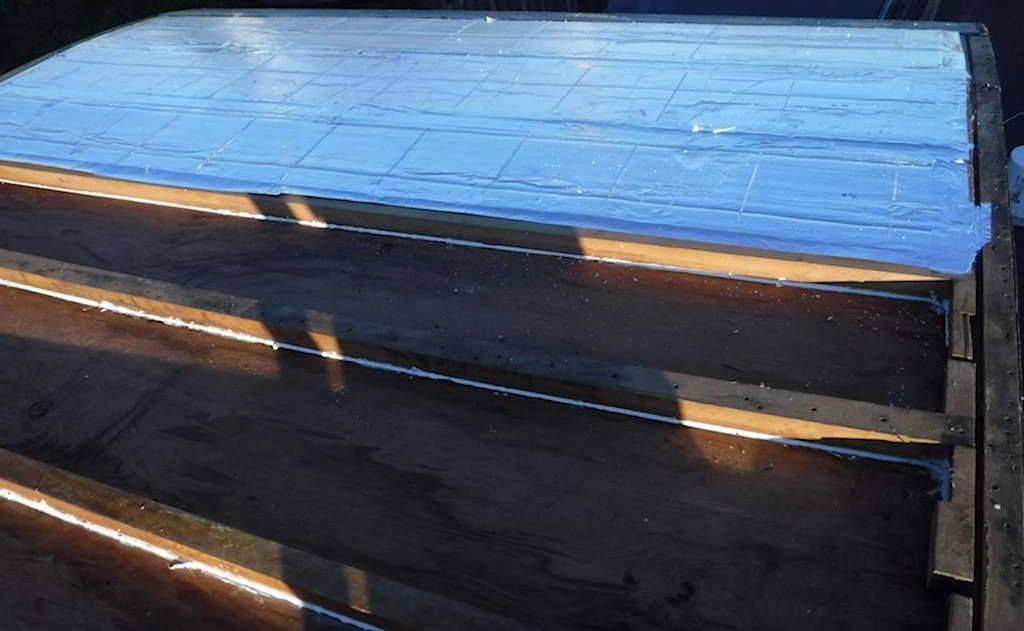 The panels across the top can just sit flat. Each gap appears to be unique, but they seem to average about a foot. On the rear just over the window there’s an sharp curve, so I slit the panel and taped over the seams as above.