December 30, 2015

Almost New Years!  I made a bit more progress today.

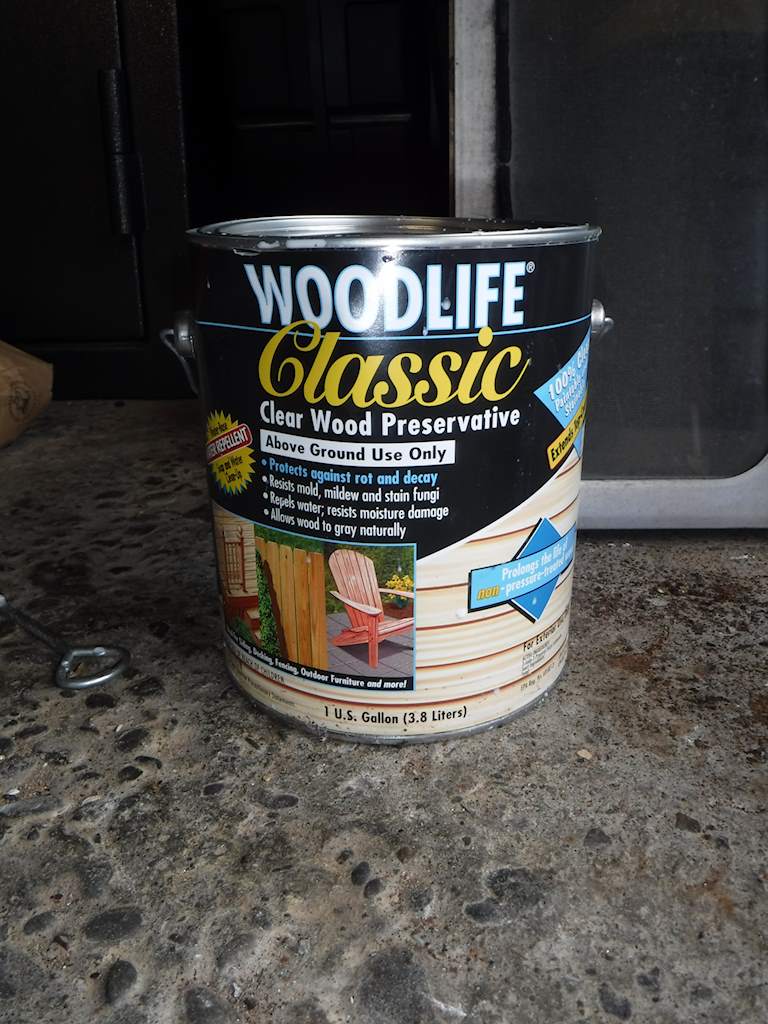
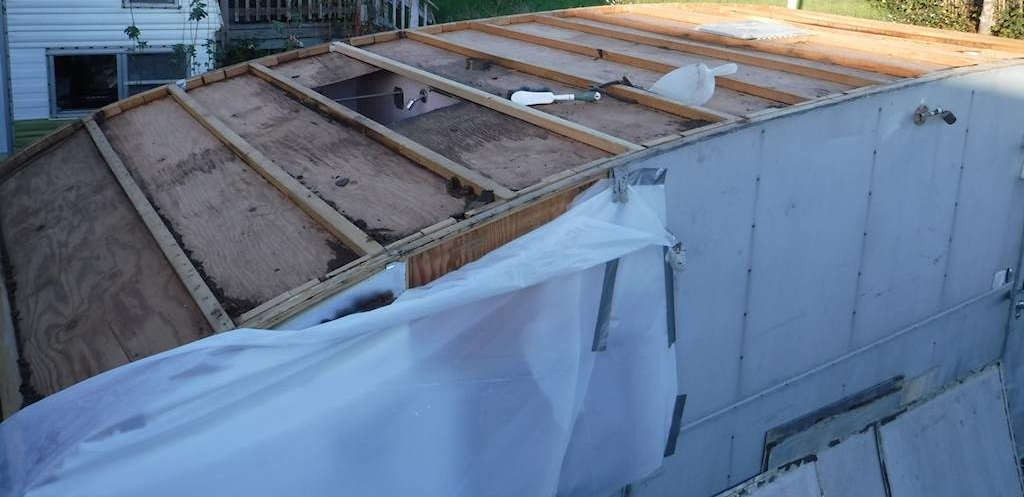
First I got a layer of that wood preservative on the entire roof.  Then I started working on cleaning off the old tar.  Scraping doesn’t work because it would damage the aluminum. Acetone will get it off but slowly. That tar just laughs at denatured alcohol, which is my preferred solvent.

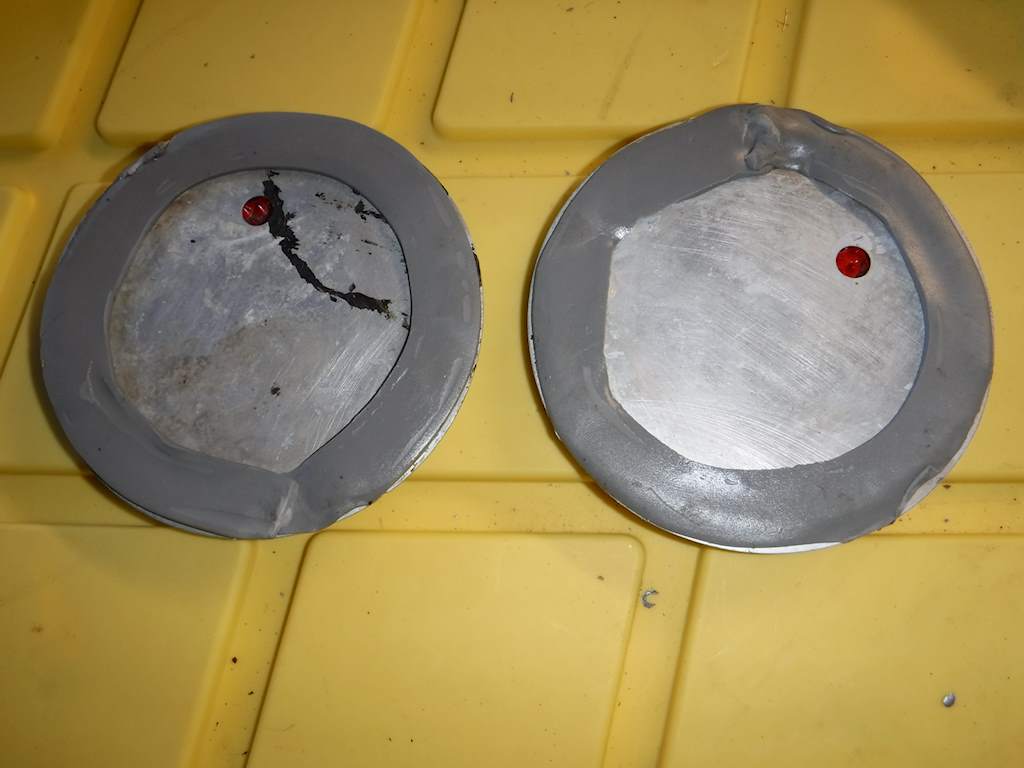
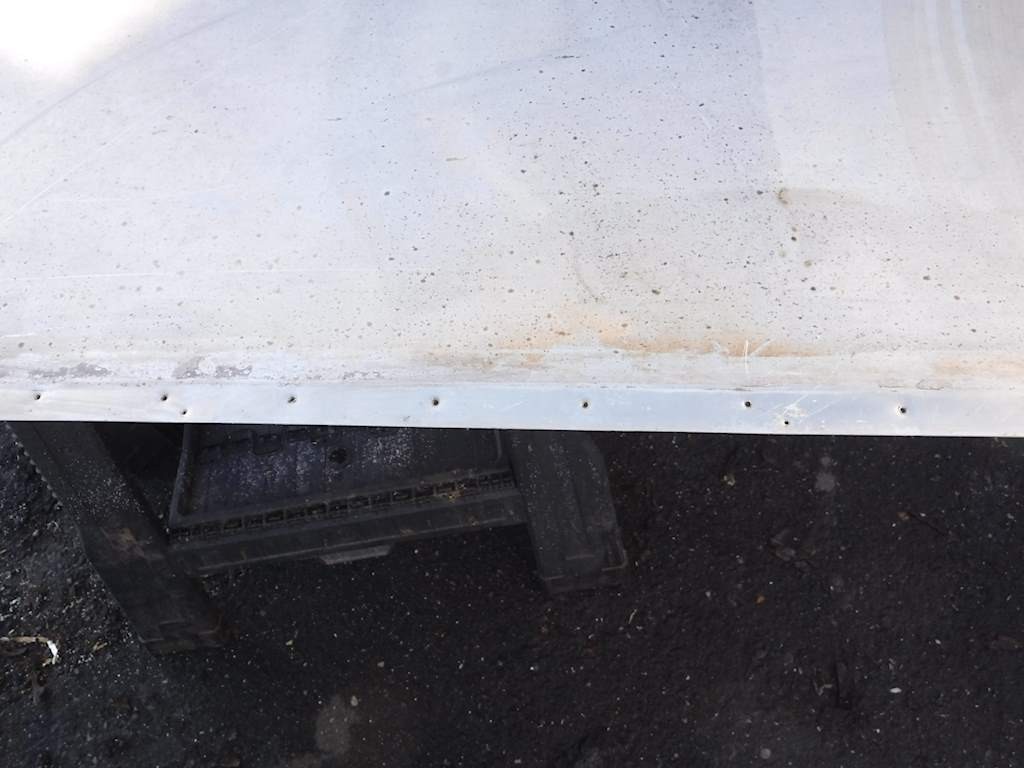
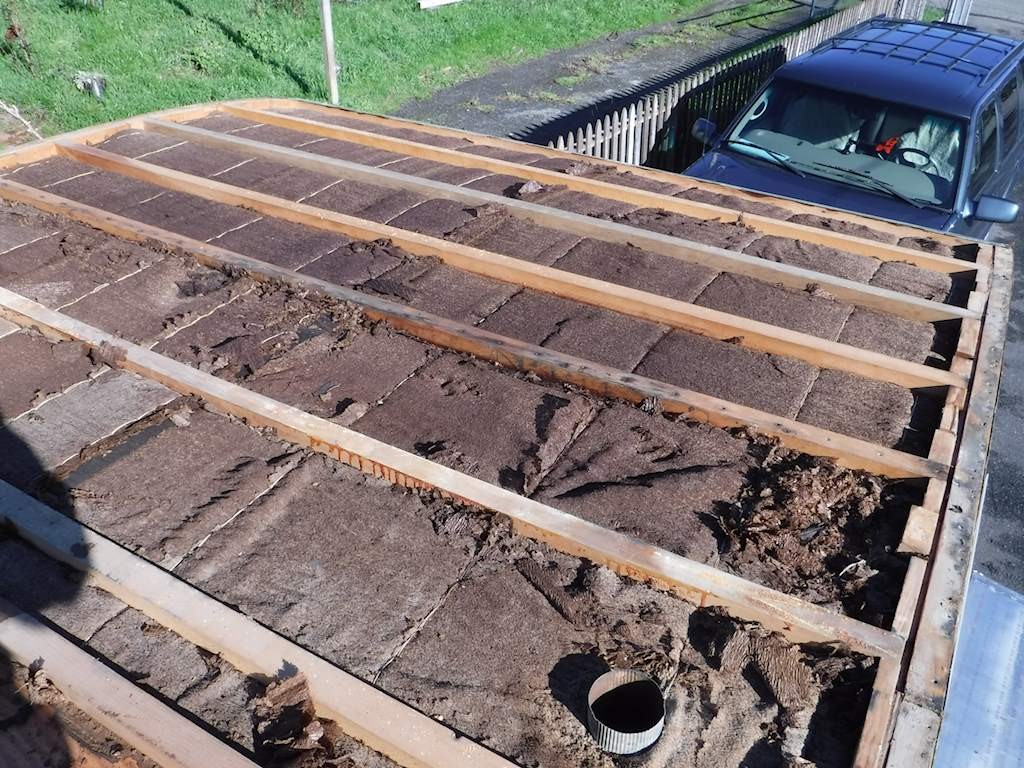
But heat does wonders. I should probably be using a heat gun, but I used my propane torch really low.  It melts the tar and with a putty knife it comes right off.  Then a little Goof-Off.  So I start with this:
DSCF0336
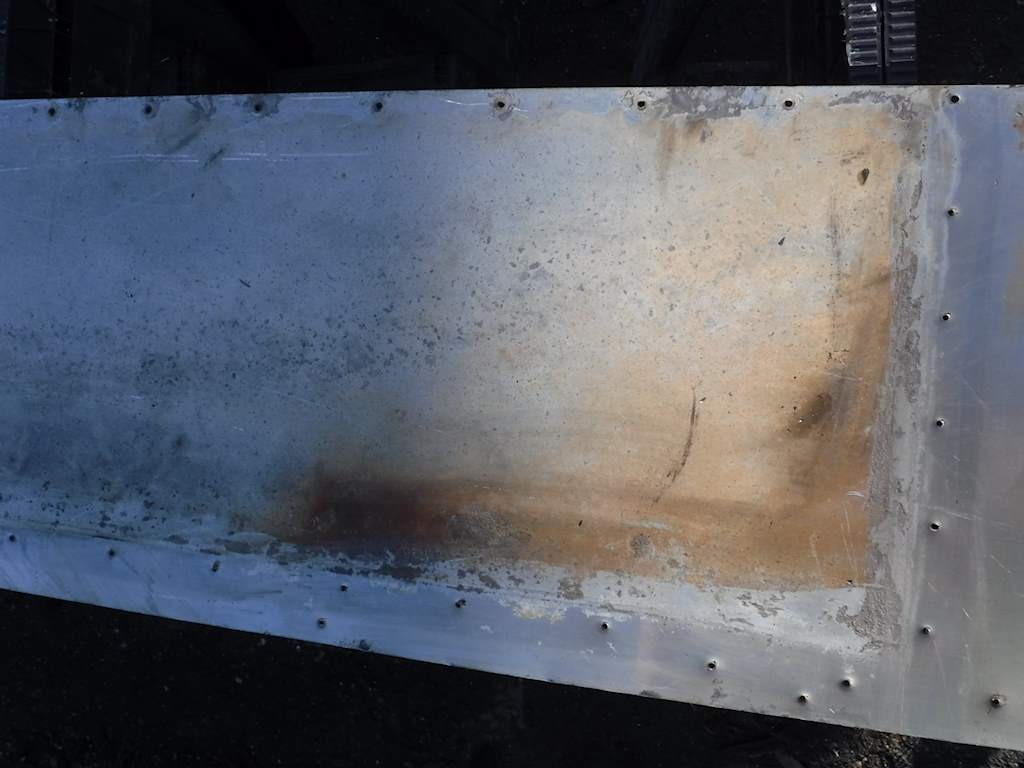
and wind up with this.
DSCF0340
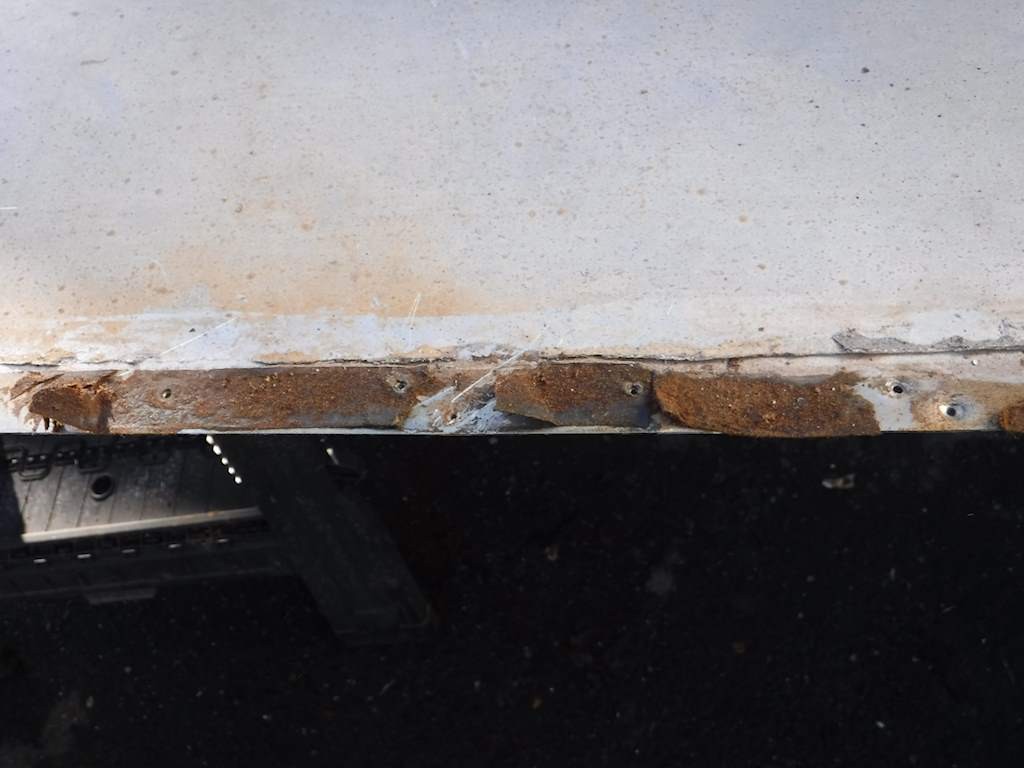
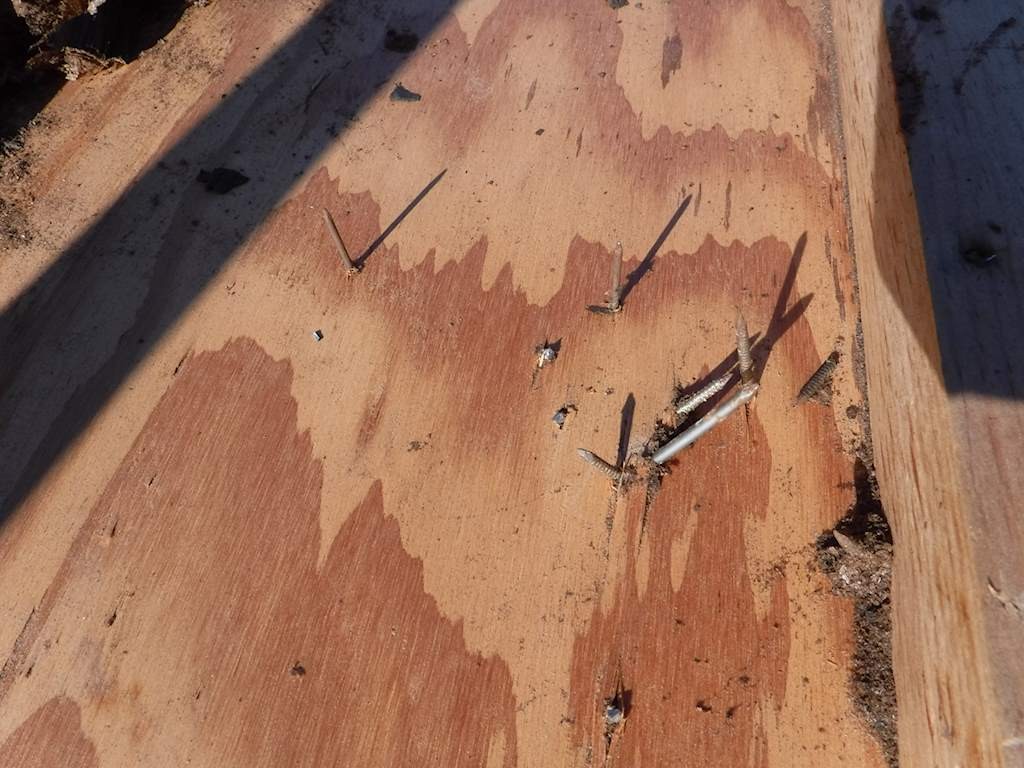
There are also some rust stains.  A little Naval Jelly and this:

DSCF0343

looks like this:

DSCF0345

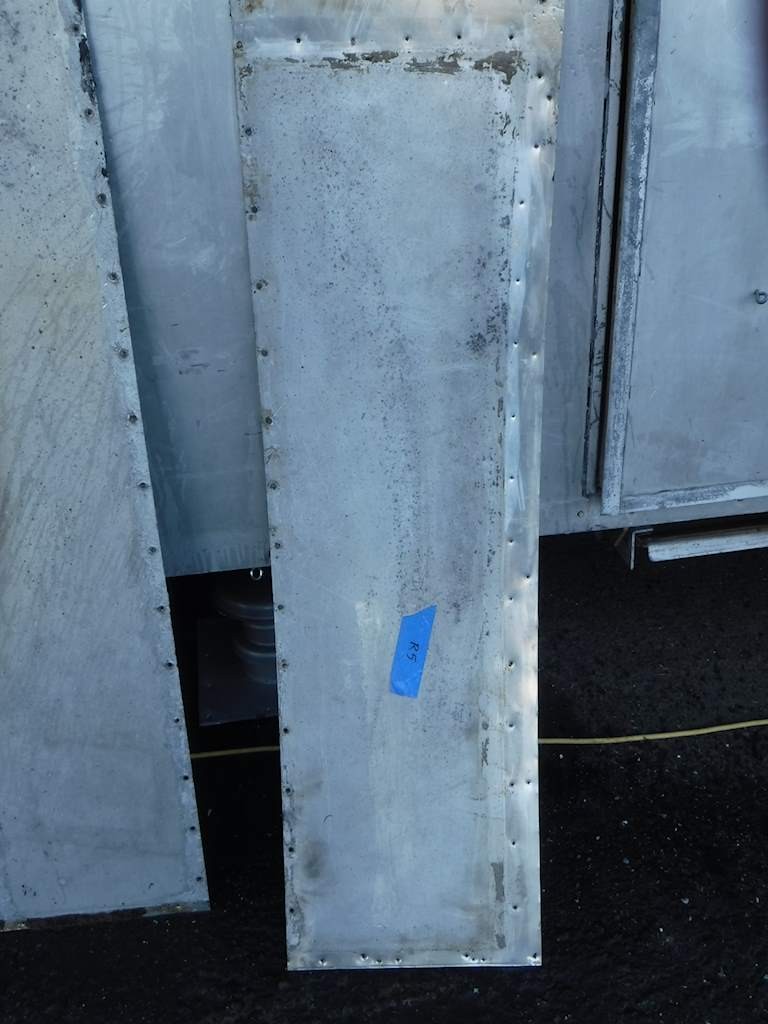
It’s the roof, so I’m not going to try to get it better than this.  No need to remove more material.  So I have most of the roof panels cleaned and ready to apply butyl tape.  Most of the roof panels are done, and the rest will go pretty quickly.

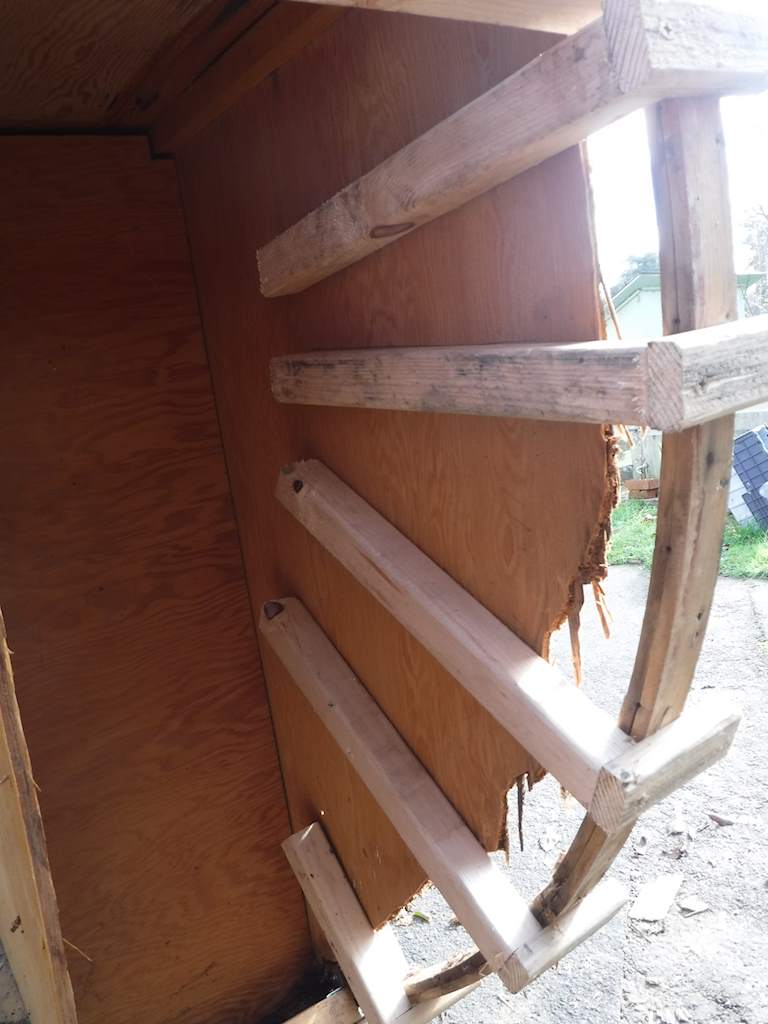
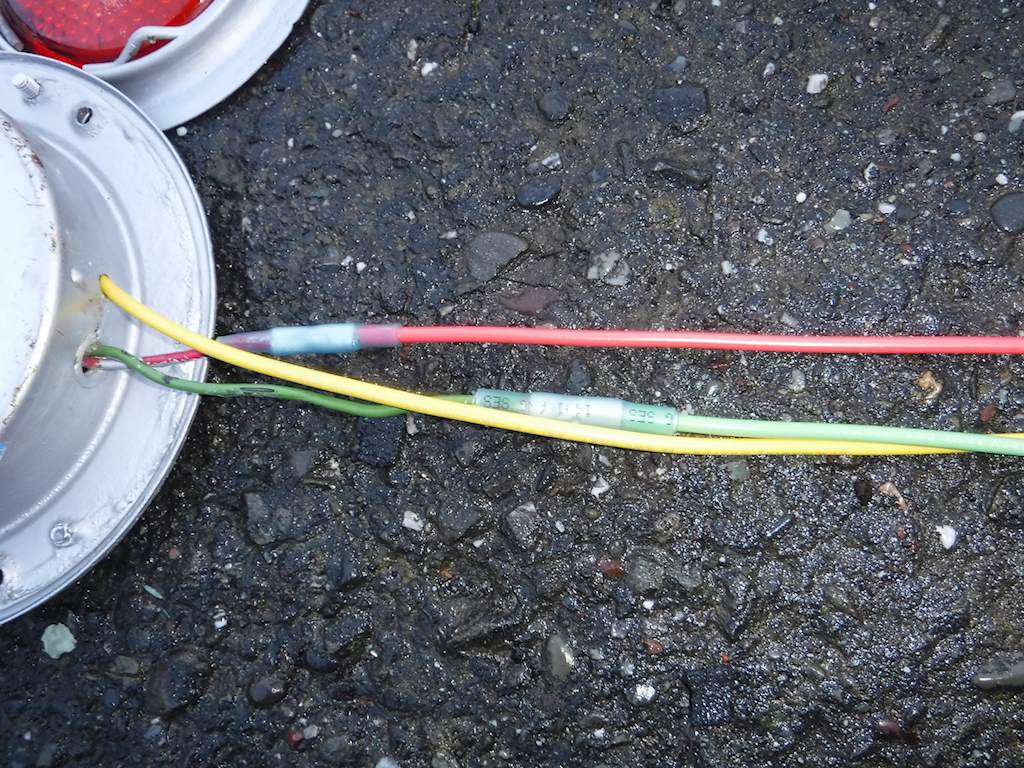
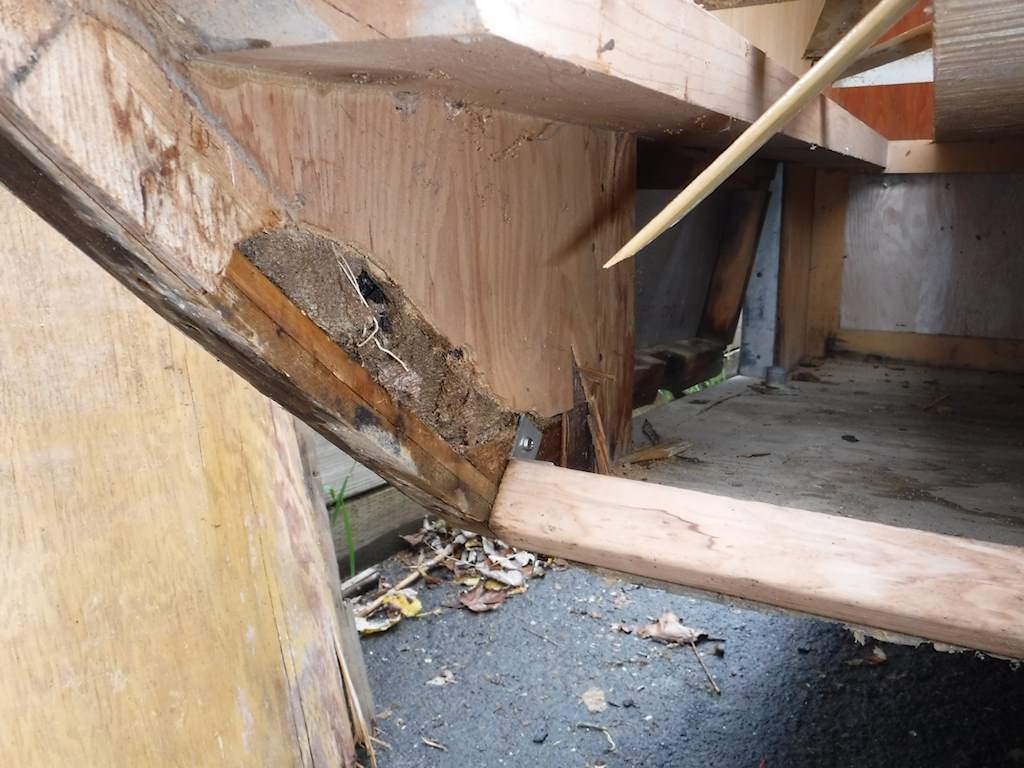
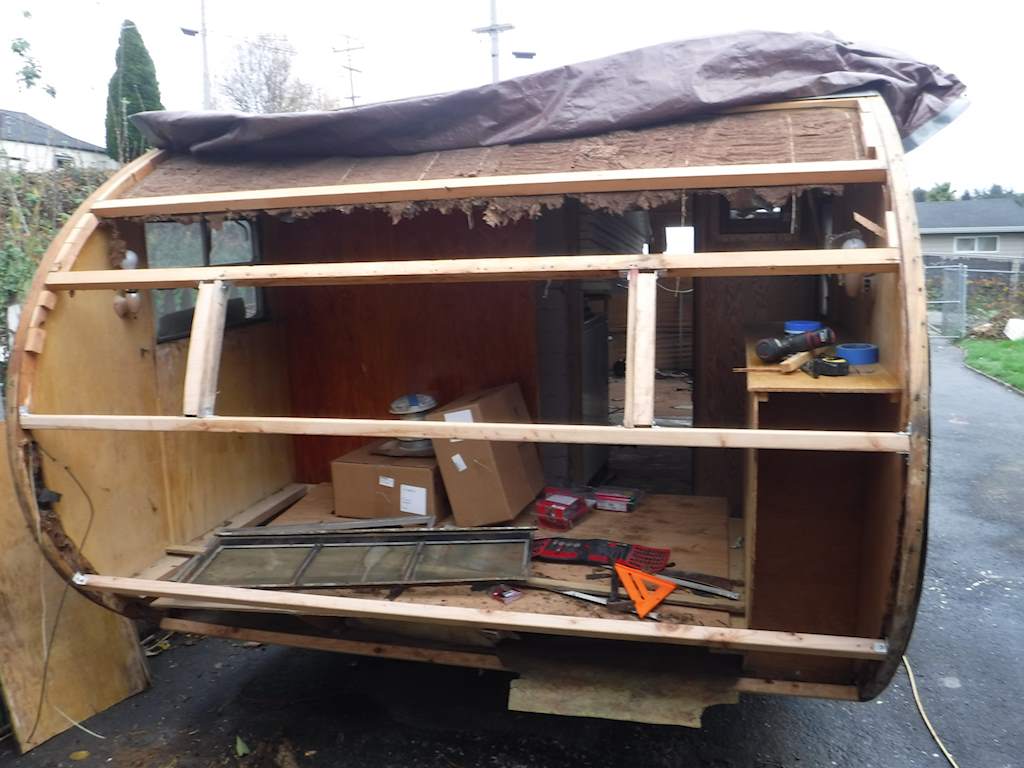
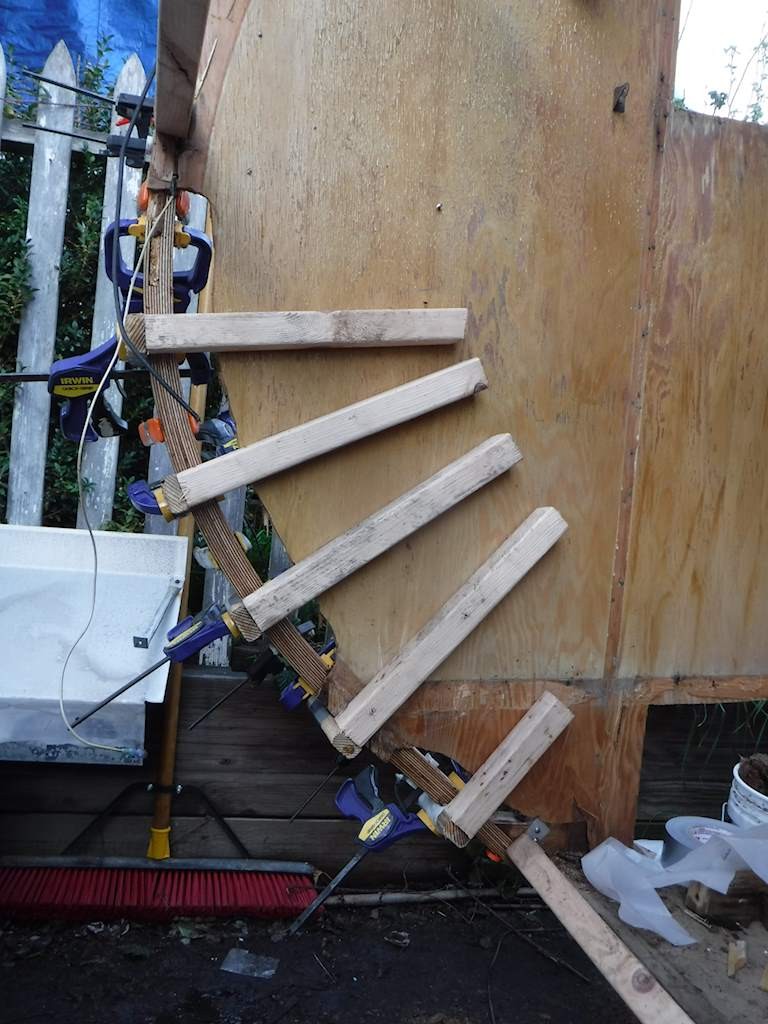
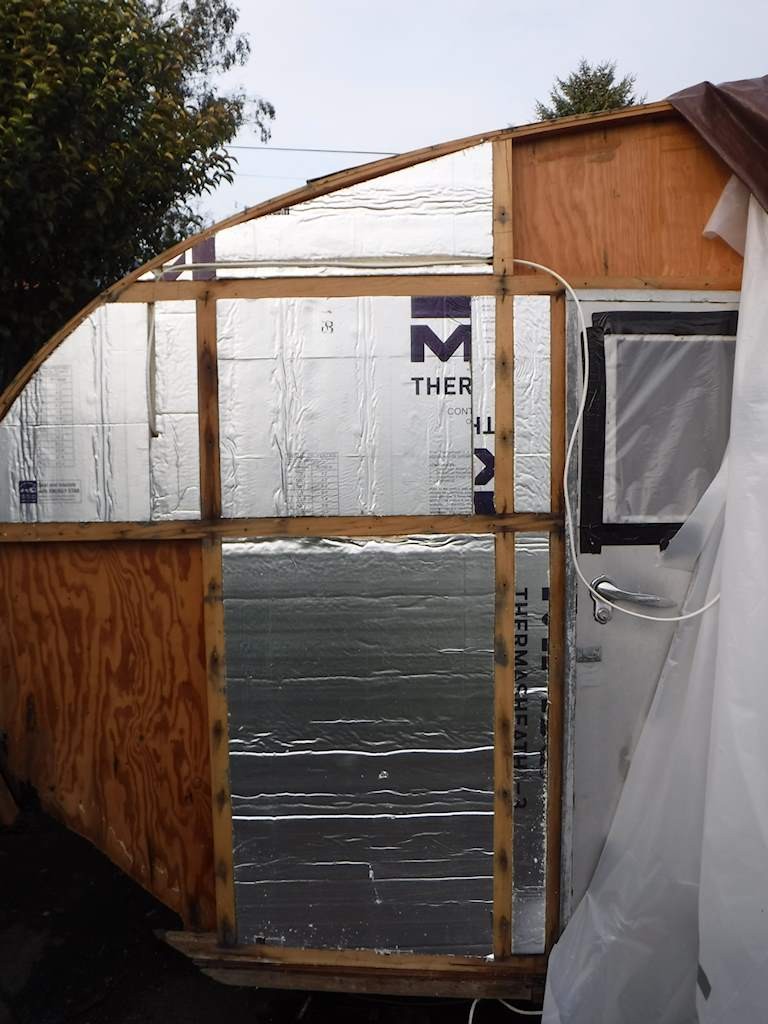
It bothers me that the stovepipe fittings just screw to the aluminum skin.  It needs some stiffness to support the butyl tape.  So I added some 2×2’s.  Like this.

DSCF0351

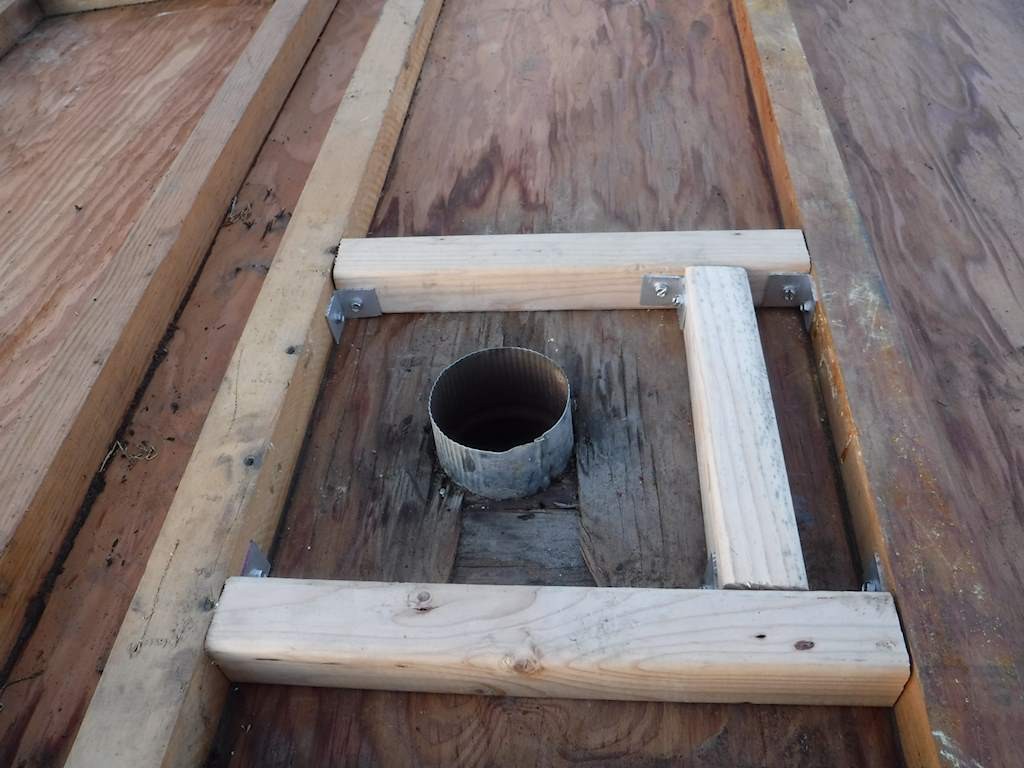
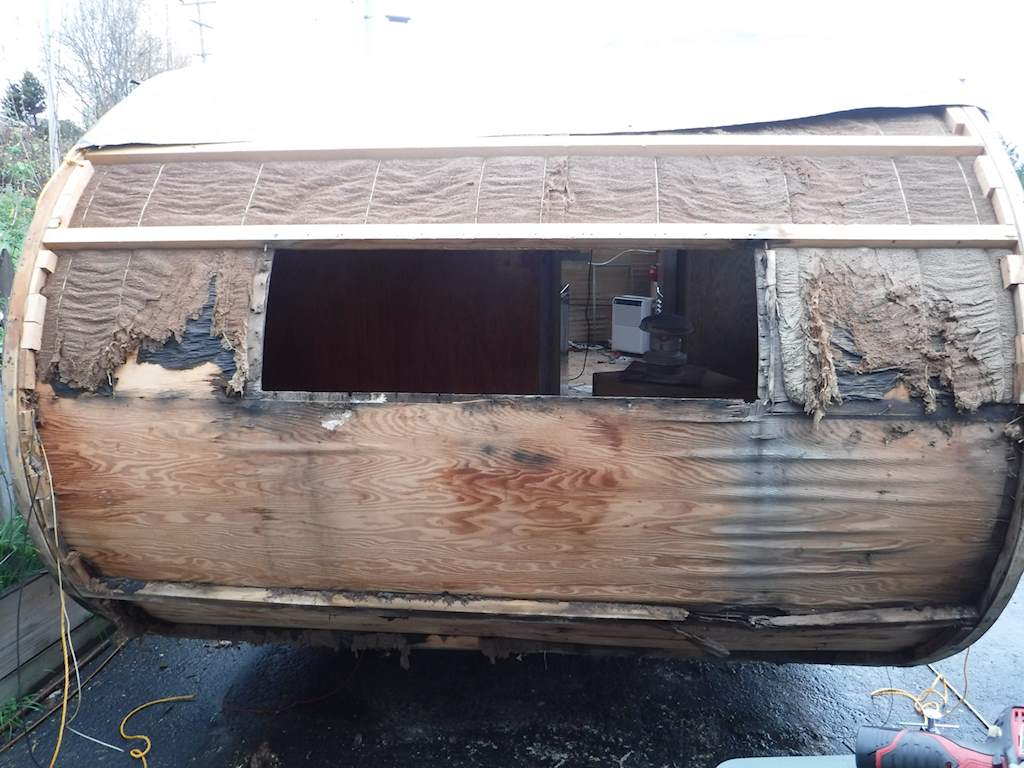
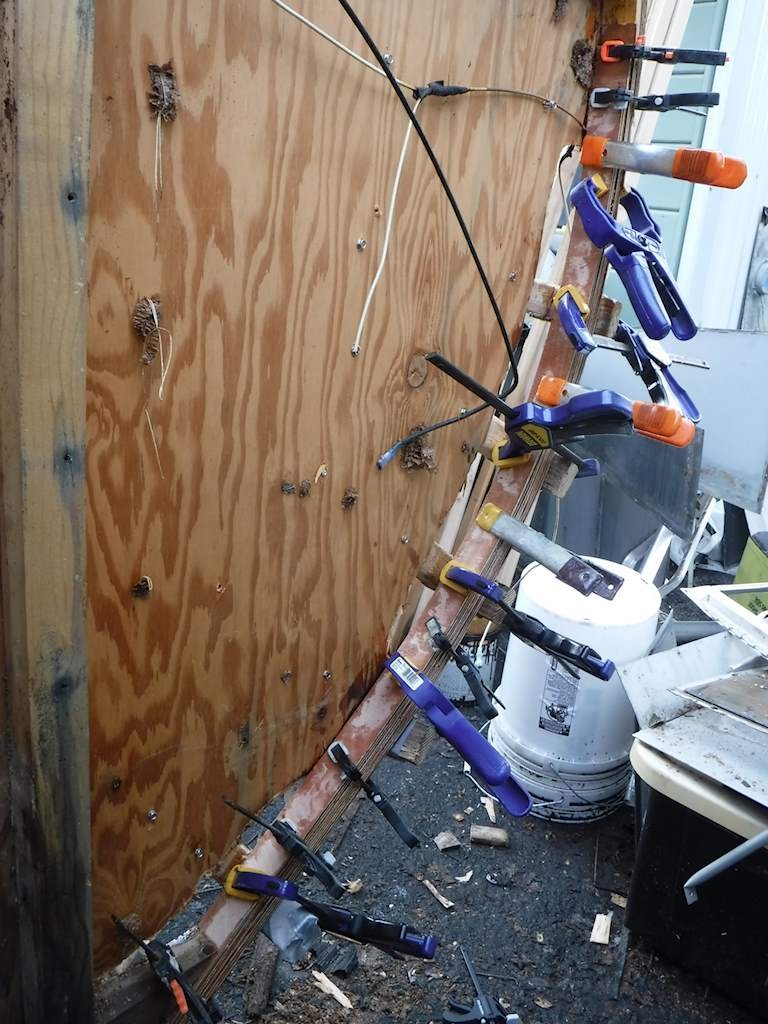
You can see plywood delamination around the stovepipe, but it’s heat- not rot.  That’s the heater pipe, and you’ll notice there’s no insulation. I’ll cut out a bunch of that and put some kind of metal cover from the inside.  Fortunately polyiso is good for 250 degrees F, so with an inch or two of clearance it should be fine.  I’ll put a thermometer in the gap to confirm, but that won’t be for several months.

December 28, 2015

Today we start a stretch of what’s supposed to be no rain.  Well, for a couple days, and then not much for some more days.

So I hope to get the roof complete.  Over the last couple weeks I bought new aluminum vents and cleaned, scrubbed, and painted the stovepipe covers. Today I pulled off the roof panels, so it looked like this:
DSCF0314

Then I got all that old insulation off. The stringers (is that the correct name?) and plywood is surprisingly good. There were dozens of nails sticking up, like this:DSCF0317

The ones that are angled would interfere a little with the insulation.  And moving around on the roof is dangerous with those.  So I got some diagonal pliers and cut them all, as short as possible.

Only around the rear vent and shower was there significant rot.  Very bad rot.

DSCF0319

So I pulled that off, and cut out the rotten plywood.  I’ll need to patch the hole in the ceiling, but I’ll figure out what to do later.  I got the cross stringer replaced, but I ran out of time to do the three smaller pieces. So now it looks like this:

Roof_nopanels

Right in the center is the new stringer and the hole where the vent will go.

I had an interesting observation.  Rather than an individual piece of that horrible crepe paper insulation in each bay, there is one stretch from the front to the back. That means it goes between each stringer and the plywood. There’s a solid mass of paper pulp under each stringer. I had previously noticed from the inside that there are a series of discolored lines in the plywood.  That’s why.  Any water that seeps through the roof will be caught by that awful insulation and some of it sucked into that gap.  Where it will almost never evaporate.

I can’t get that out.  The next best thing I can do is to calc each seam.  More to come.


December 26¸ 2015

Thanks to rain and Christmas, all I’ve been able to do is some work on the windows.  I have the first one almost done, and I think I know what I need to do now.  Yesterday and today we got clear skies, but I’m not working on the trailer on Christmas day!

But today I made a little progress.  I was able to get the left rear corner structural member done. Two more panels are off:

DSCF0308 DSCF0310

The whole interior panel needs to come off.  The stringer below the window is rough, but salvageable. View looking from outside rear left through where the window goes and into the bedroom.

DSCF0300

I plan to drill some small holes in wood like that and inject some ethylene glycol.  I.e. Antifreeze.  Then let it dry before sealing it up.

Below that is the side hatch for external storage access.  Similar problem.  In this case there is a cross-member and a vertical I can remove and replace.  The vertical in this picture will stay and get the ethylene glycol treatment.  The short piece at bottom right will go and be replaced as part of the floor replacement, when I get to that.
Side_access

And I started installing the side insulation. This is polyiso- the best insulation available. Look at the R-values!  I’m using 1.5 inch.

DSCF0312

I had to drill holes and notch for the wires.  I don’t like those hidden solder joints.  I’m doing this more like house wiring.  Wires should run from an accessible junction to an accessible junction.  You can see the old system used separate black/white wiring.  The new system will all be 14 gauge marine wire, in a jacketed 2-wire bundle.  Initially I’ll use wire nuts, but I can change to adhesive heat-shrink 3-way crimps if there’s any sign of corrosion or loosening.

DSCF0313

The bottom two are temporary. The nuts for the bolts from the frame stick up here, so I can’t close this up until I’ve redone the floor. All the seams will be sealed with aluminum tape to make a relatively moisture-proof layer.


December 16, 2015

More dodging the rain.  Yesterday and today (mostly) were rain-free.  Beautiful blue skies.  On Monday the 14th I got the trailer tail wired and temporarily back in shape to get it inspected and approved by the DMV, but didn’t fix anything beyond that. I’m working on the rear window. I disassembled and painted that, and am experimenting with the gasketing and screening.  The original screening was just pressed in place.  Since the screen was steel it was rigid enough to hold its shape.  I’m amazed it hadn’t disappeared from rust, but it was hardly rusty at all. These days screening is made from fiberglass or aluminum.  I chose to work with aluminum, but I’m still seeing what will work to hold the screen in place. Once I have that together the other windows should go a lot faster.

I decided to laminate new lower corner pieces.  So that was the main task today.  So here’s the right rear without the side panels:

DSCF0273

Strange thing becomes obvious without the side panels.  The last couple feet or so of the trailer are tilted up.

skewed_floor
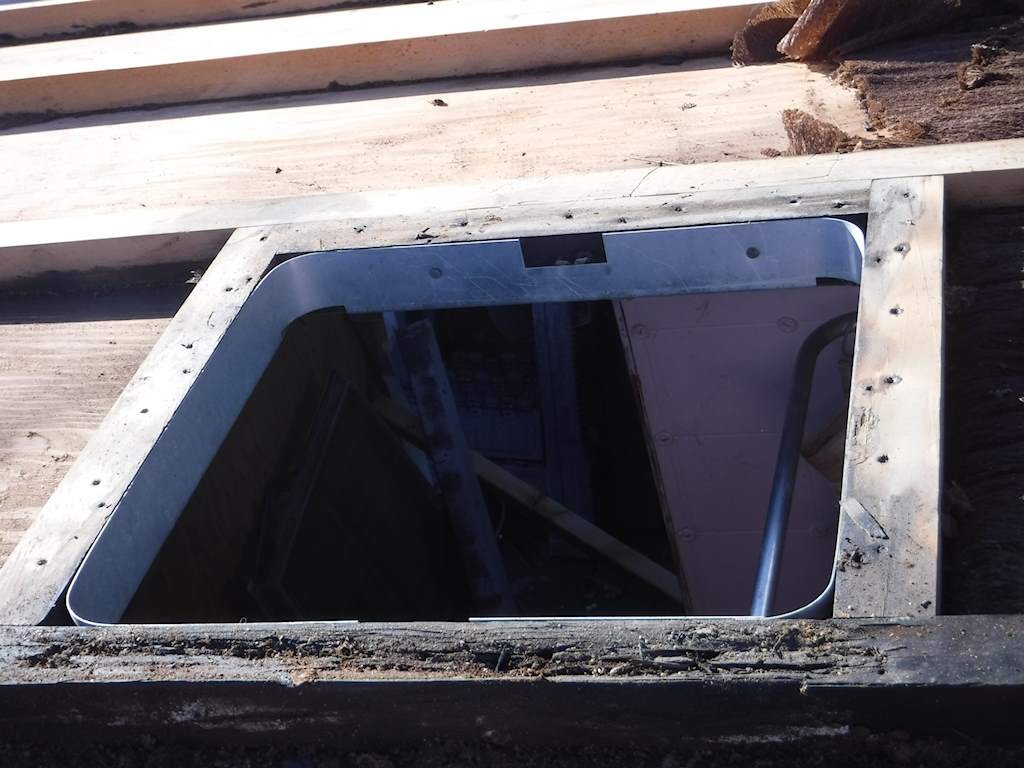
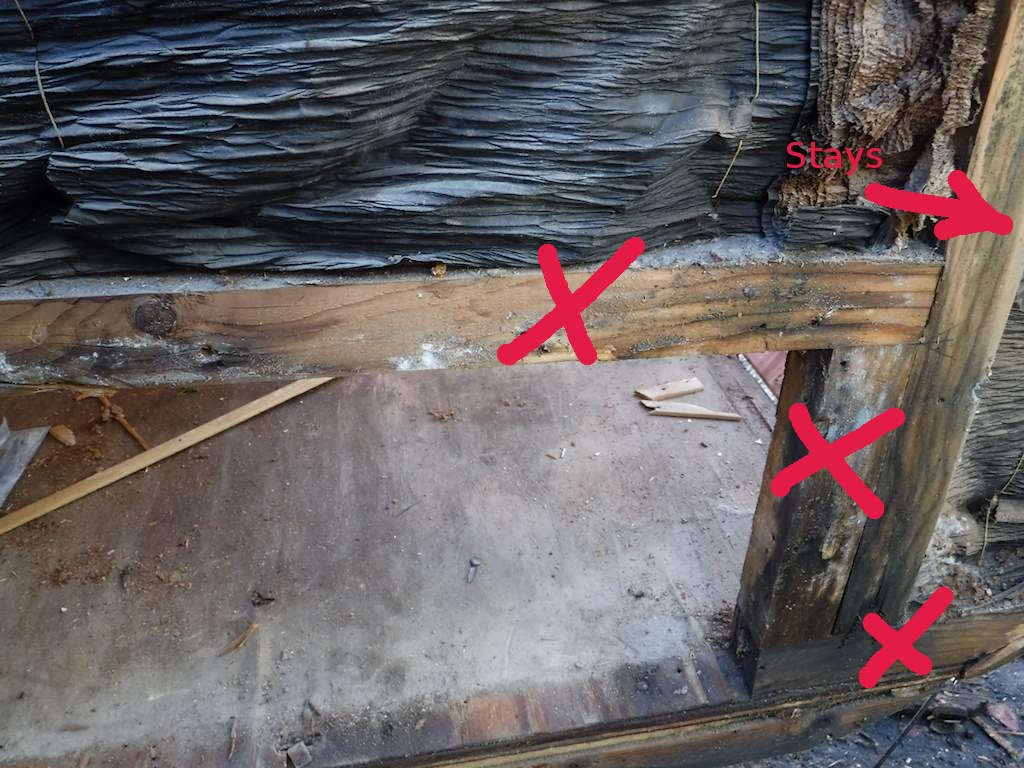
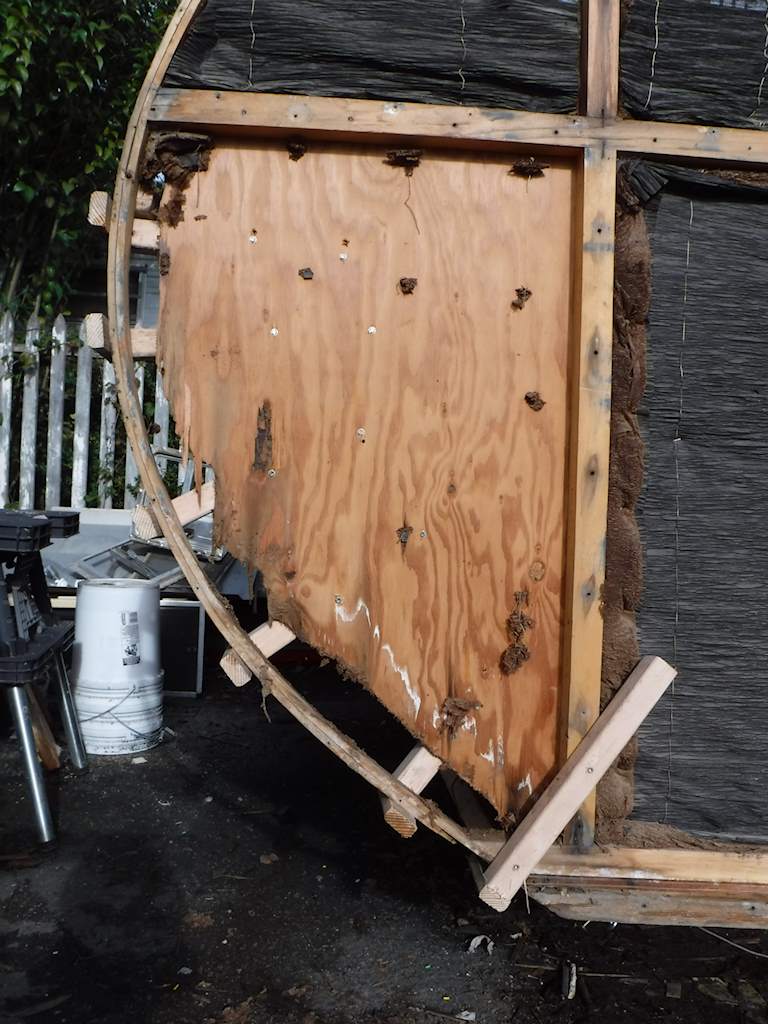
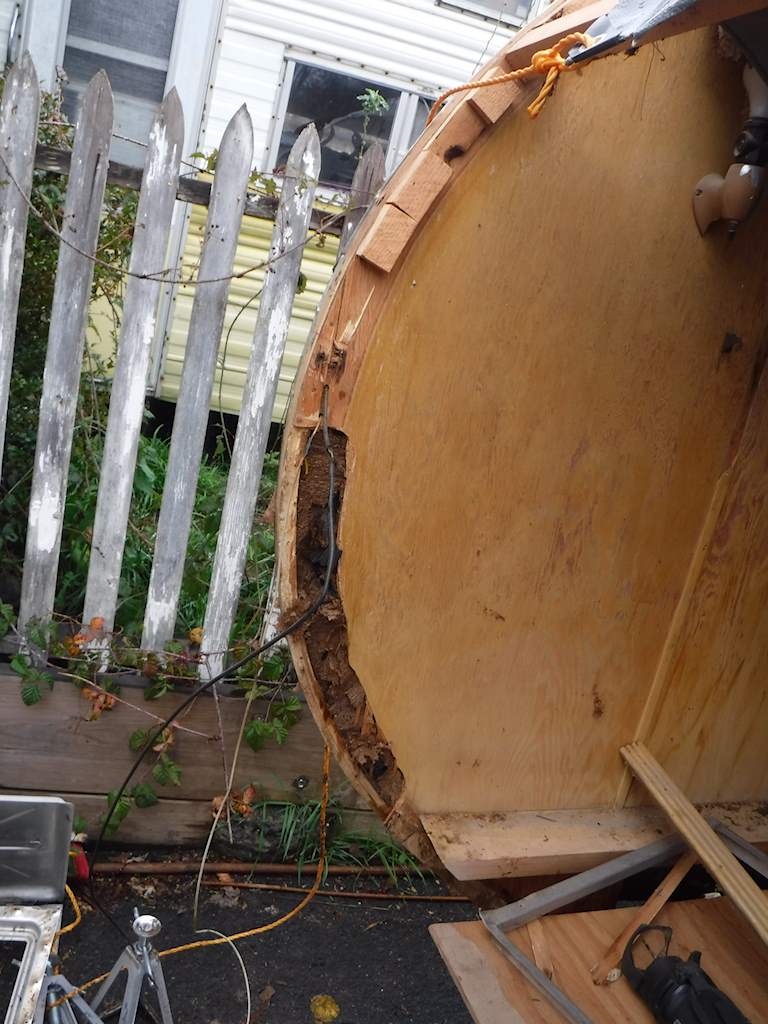
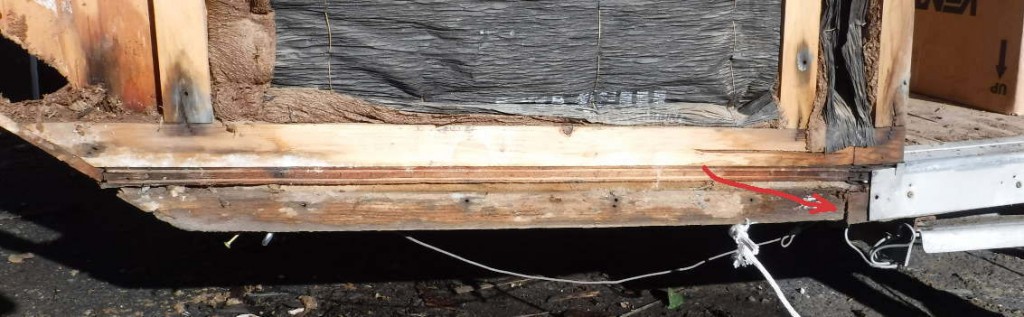
It’s not quite as extreme as this picture makes it look, but it’s real. You can see a break just to the left of the aluminum piece, which is at the door. (At the red arrow.)  The plywood floor continues between the center and rear sections, but the stringers are separate and not connected.  What were they thinking?  It’s not that the trailer sagged- the aluminum skin proves that.  It was made that way.

Back to the corner pieces:  I cut 1/5 inch strips from 1/8″ doorskin.  Here’s where I wish I had a table saw.  I could buy one, but garage is already crammed and I don’t have anywhere to put it.  I had to cut it by hand, but it’s not that bad. I made some simple guides and fastened them to the interior side panels (1/4″ plywood). That gives me the shape of the existing structure.

DSCF0281

DSCF0278

I have some good boatbuilding epoxy and a few clamps.  So now it looks like this:
DSCF0287

When that cures I’ll have something stronger than the original and less likely to rot. I intend to do the same thing on all four corners.

I got all the staples, bits of what the manufacturer thought was insulation, and wiring out.  I was going to apply a coat of the wood preservative I’m using, but then it started to rain. So no more work on this for a few days.


December 11, 2015

Just a little to show today. It has been rainy and windy.  All I’m trying to do is get things back together enough that I can take the trailer to the DMV for an inspection.  So I painted one of the windows and the rear external lights.

Pretty much everything external on them was rusty.  After scraping and brushing and sanding and painting, it looks like this:
DSCF0262 DSCF0265

I think it looks surprisingly good, and should look good against the aluminum skin. This is Alumathane, a moisture-cured urethane with a high powered aluminum content. It sticks really well, seals well, and the aluminum is anodic to aluminum which will also reduce corrosion. I’ve had a little experience with it and been happy so far. It’s supposed to be almost as good as galvanizing.

DSCF0261

I’ve cut all the wires close to the fixture and attached marine-grade wire with heat shrink adhesive crimps.  All the wiring on the trailer will be marine grade. One of the next couple days when I have a couple hours without rain I’ll get these mounted and wired in.

DSCF0263

Butyl tape on the back of everything of course.

DSCF0266

December 8

Well I’ve been unable to work on the trailer. First we had visitors for Thanksgiving.  Then rain.  Then down to San Francisco.  Then more rain.  I can’t pull the skin off when it’s raining.  I’m trying to dry things out, not get them wetter. I’ve been ordering parts, and I disassembled a couple of the windows and prepared for painting.  But no real trailer work.

Yesterday I went to the DMV to register the trailer, and it turns out I need to bring it in for inspection. Since the the back skin panel was off and the tail lights wiring is cut, that’s not good. I have to get it back together at least enough to tow it safely and legally. Today was supposed to be non-rainy.  The only non-rainy day between now and my appointment next Monday.  So I pulled off a second back panel.  Here’s what it looked like:
DSCF0239

And again after pulling all the rotten wood on the back:DSCF0240


When I’m working on the interior I’ll need to do some work on the lower sides.  But the wood that’s left is sound.

DSCF0241

Except at the very bottom where it connects to the floor, and a little on the left side. That’s damp and discolored but still solid.  I should be able to stabilize that and maintain strength. You can see the new cross-member.

DSCF0254

And here’s with new wood.

DSCF0247

All the new wood is tied in with aluminum angle clips I made, like this. All stainless steel screws of course:

DSCF0251

Everything is sealed with this stuff

DSCF0258

Which it should never need.  All day I’ve been dodging the rain. I removed the lights from the rear panel and disassembled to clean, rewire, and reinstall.  That’s it for today.  Would have gotten more done if there had been less rain.