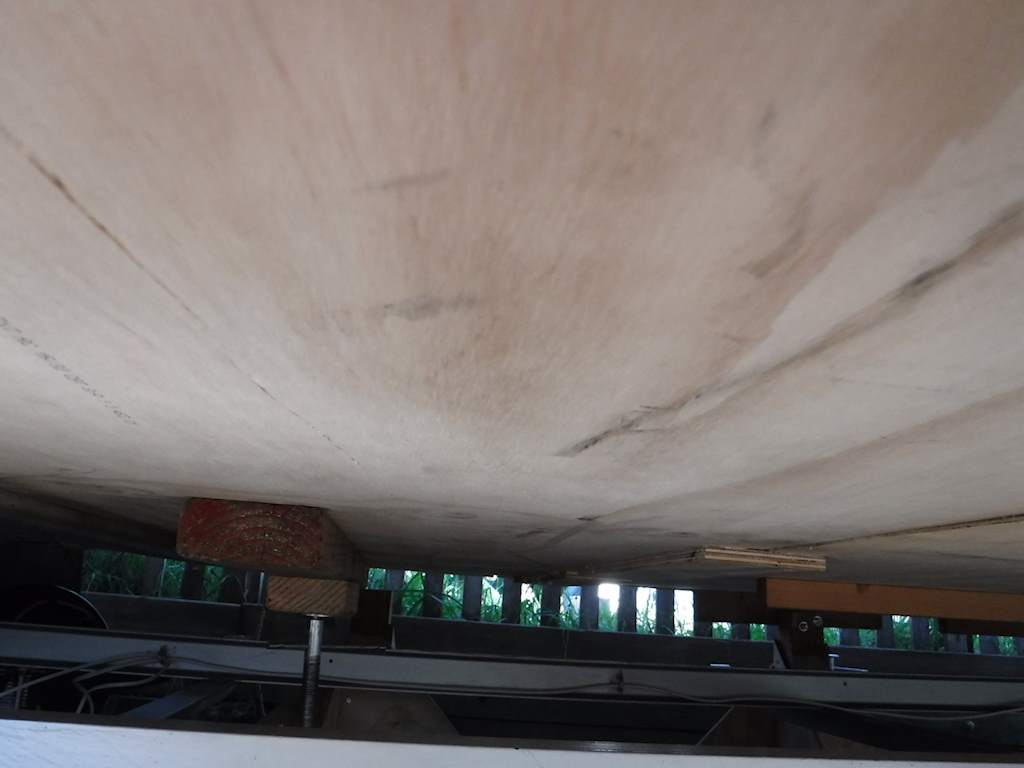
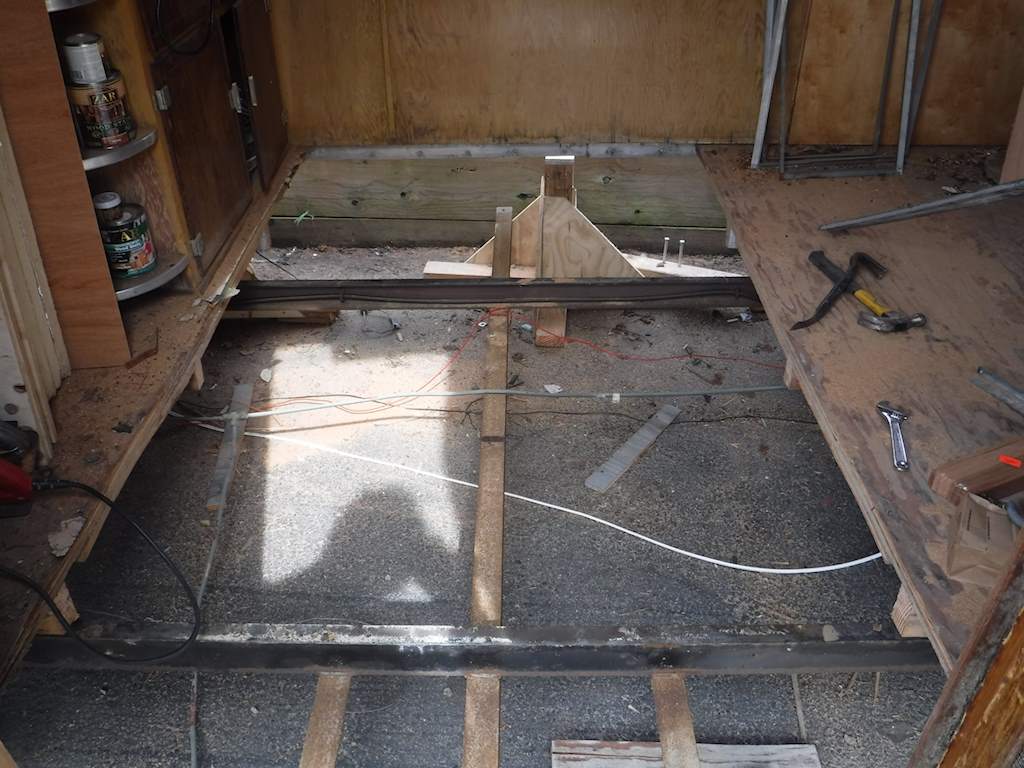
I finished mounting the floor to the body. Next step was to check the floor flatness. I set up a laser level at the front, and checked at each of the other three supports.
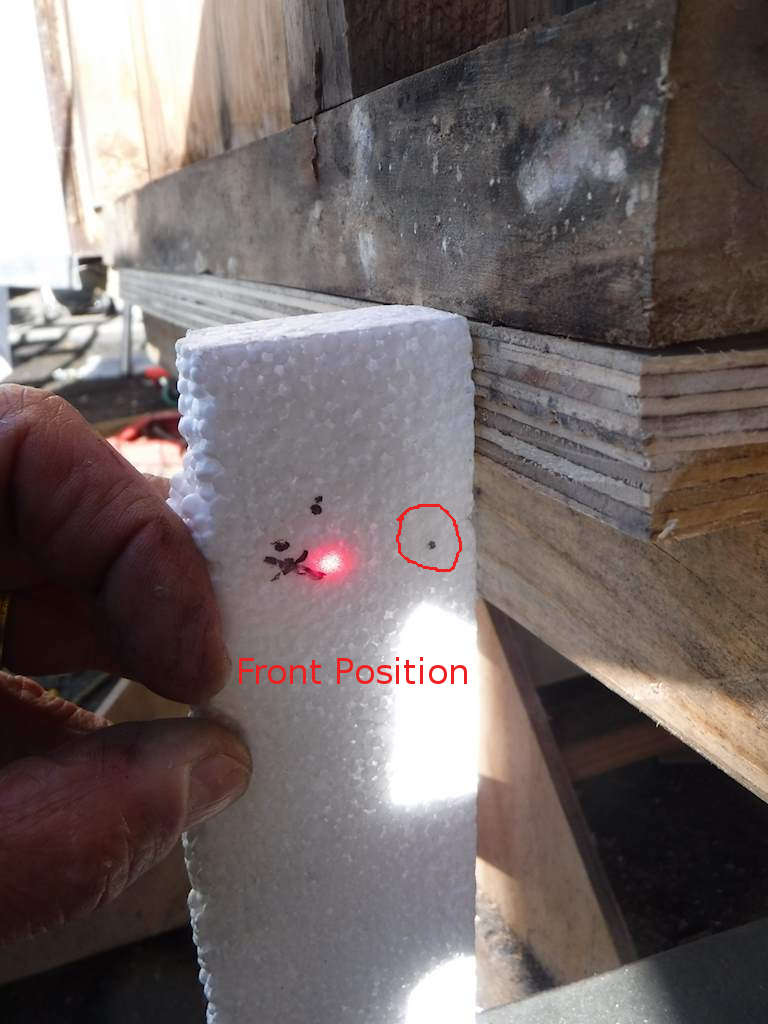

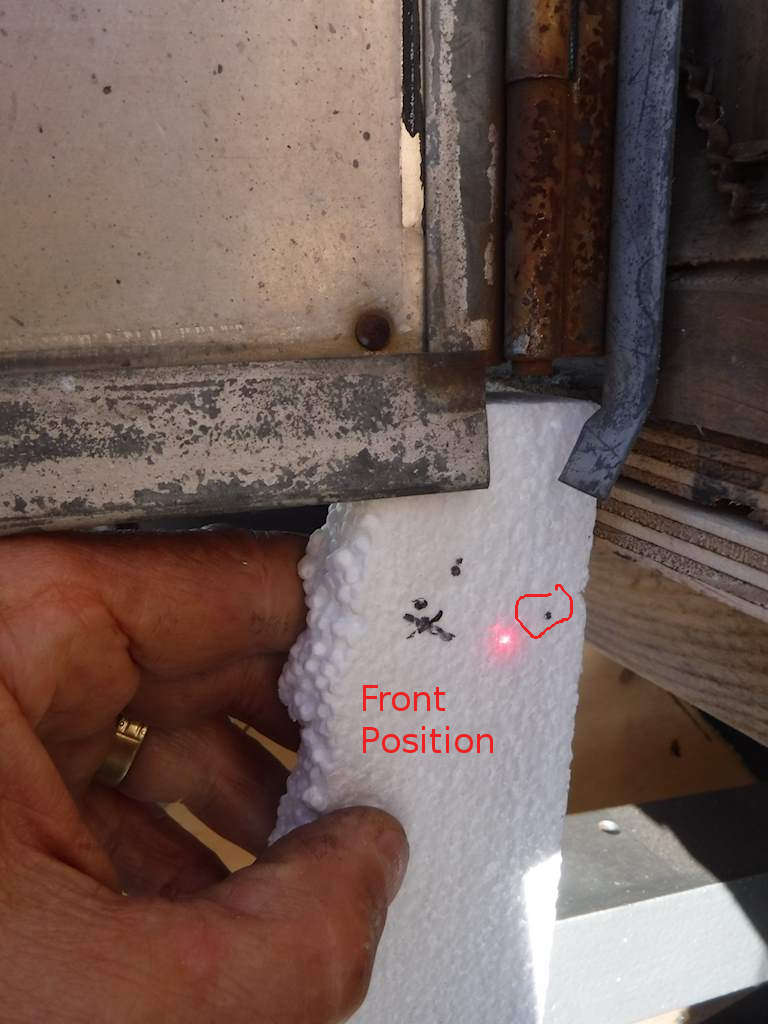
Ideally all three would be exactly the same height, but there’s about an eighth of an inch off flat. That’s very good, and since the frame is a little bit flexible that will cause no problems. The left side was the same.
Now I was ready to re-mate the body and frame, but I realized I should do the floor beams first. I could fabricate those later, but it would mean I was doing a bunch of assembly on my back under the trailer.
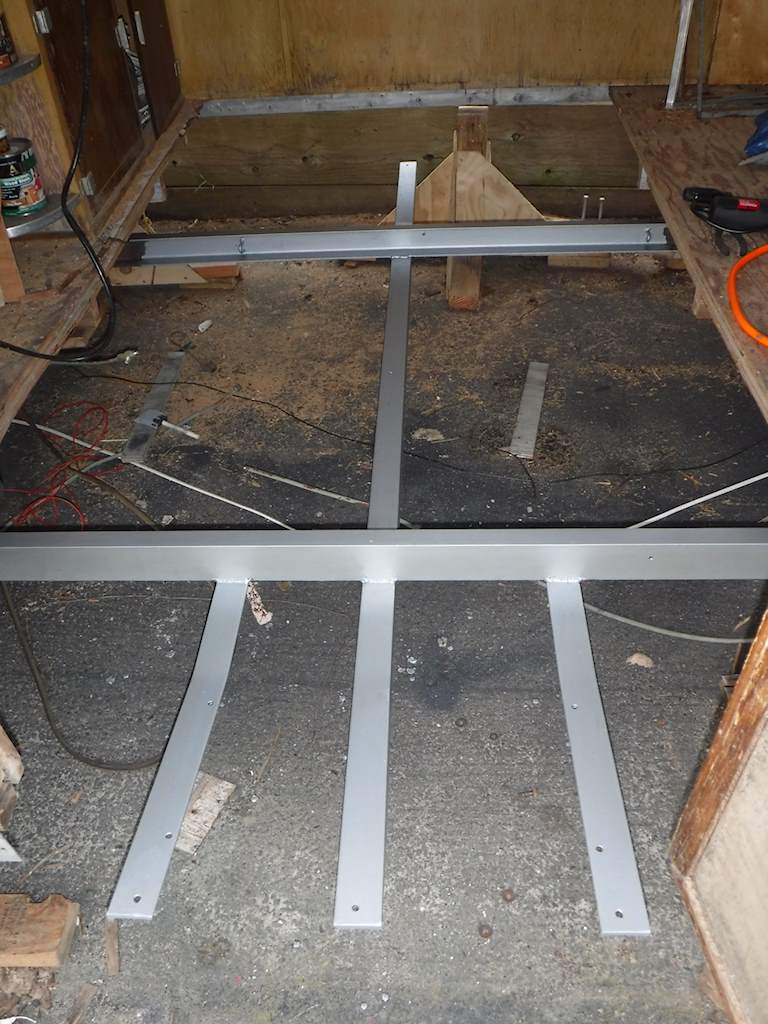
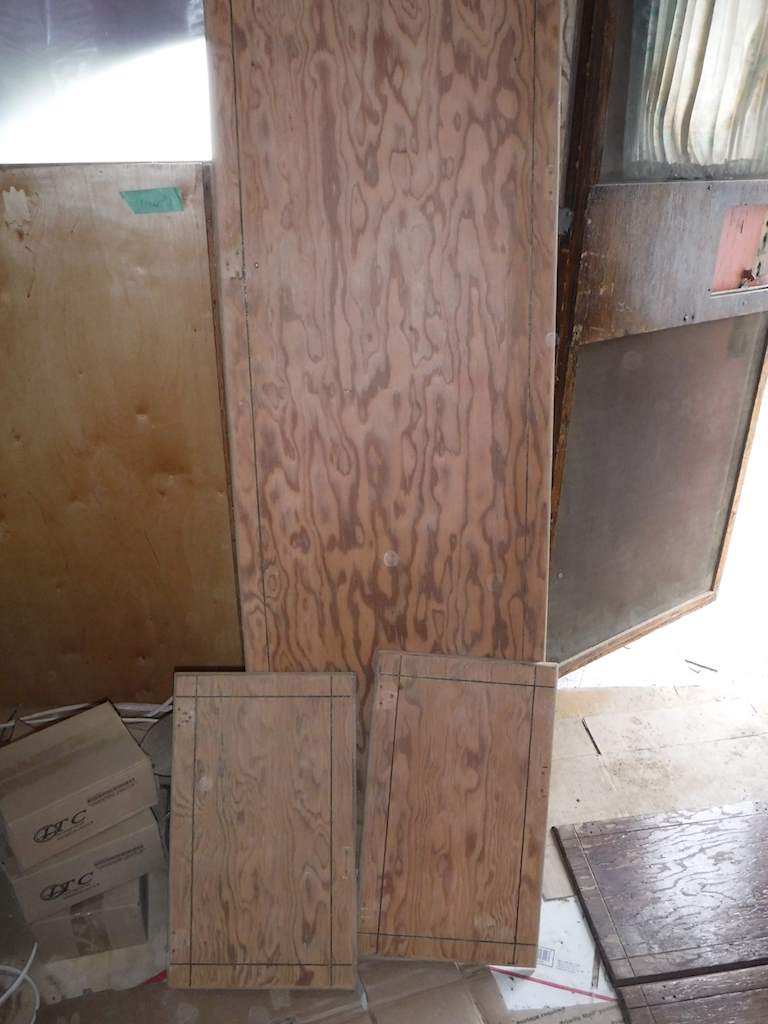
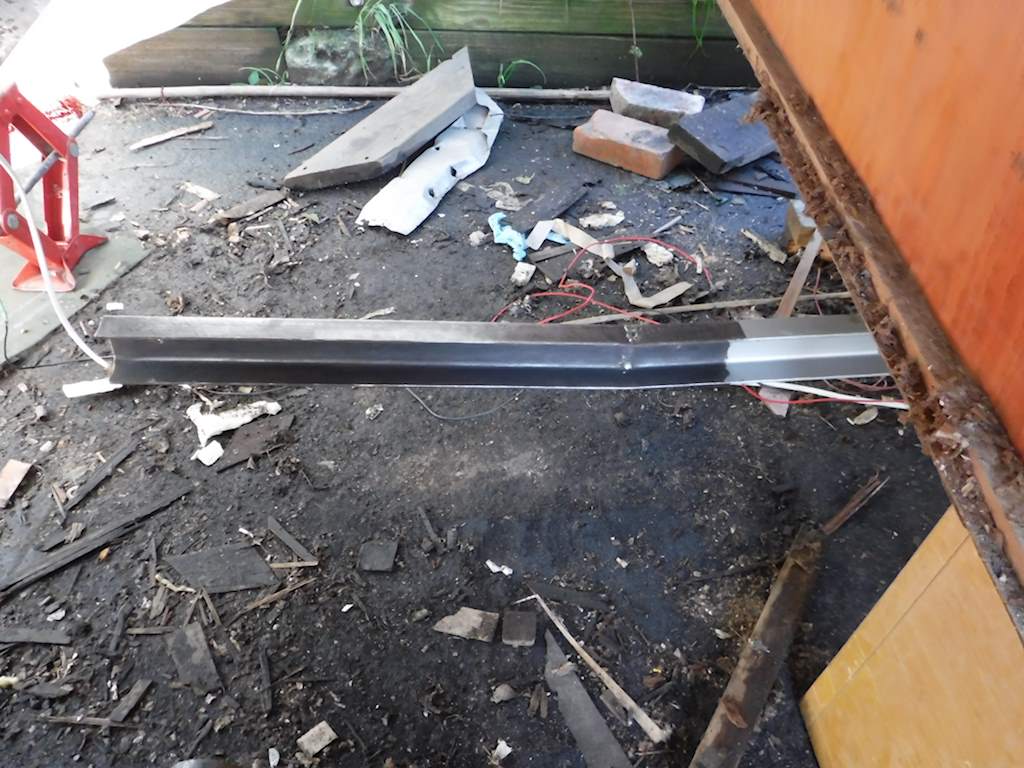
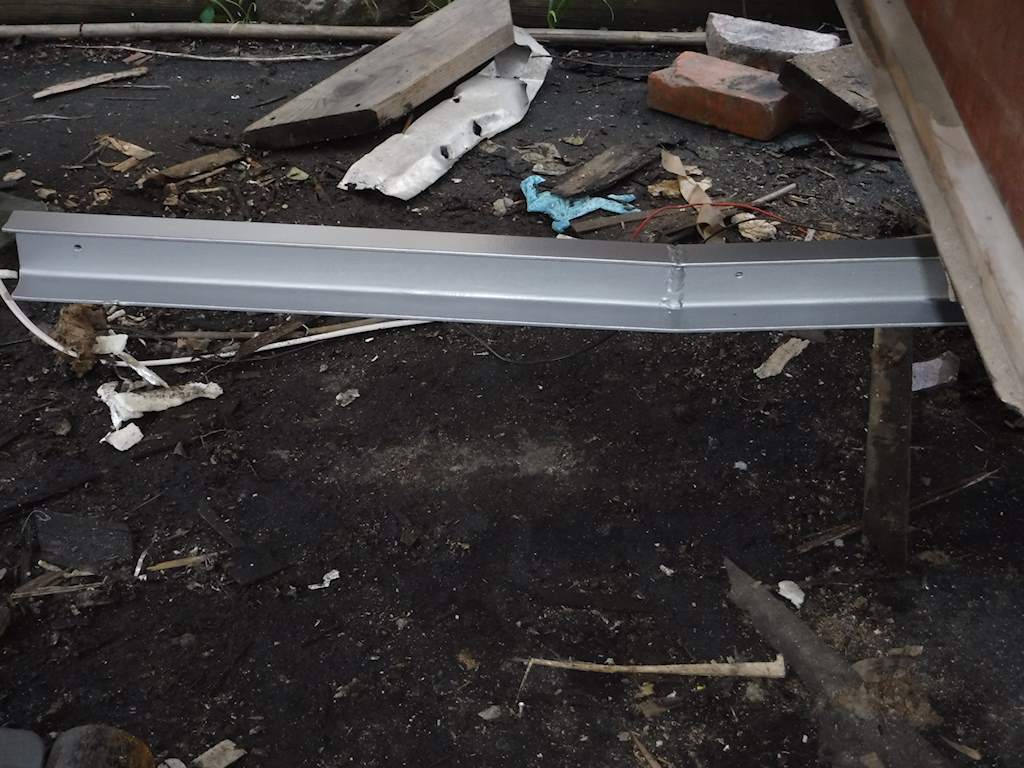
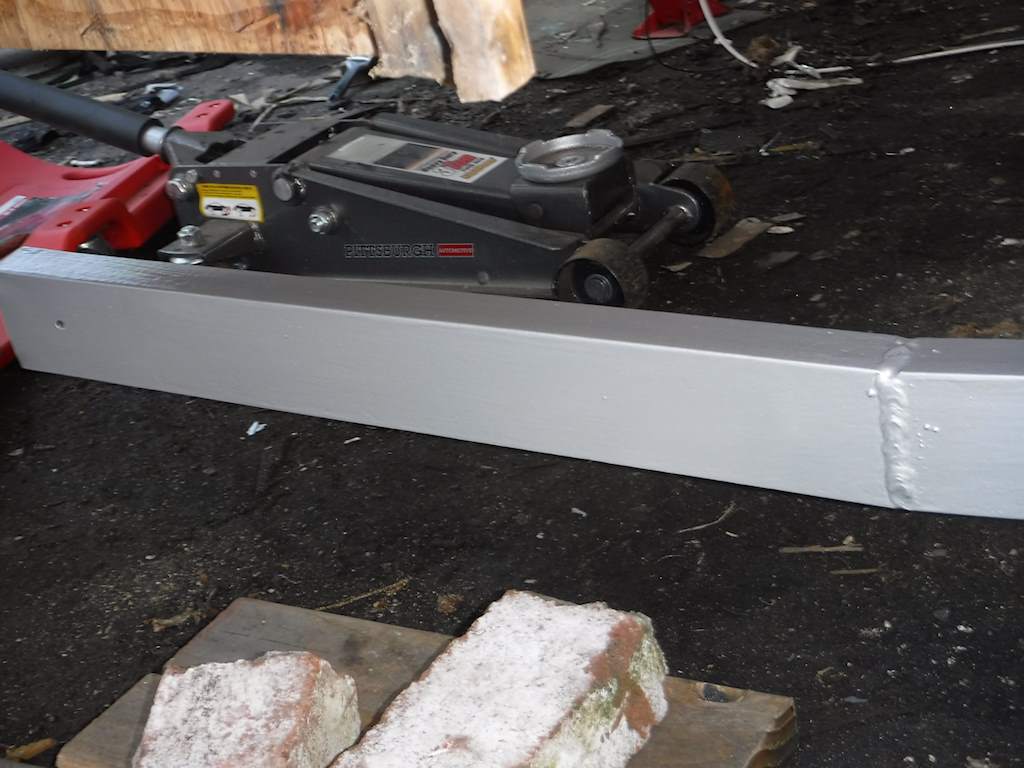
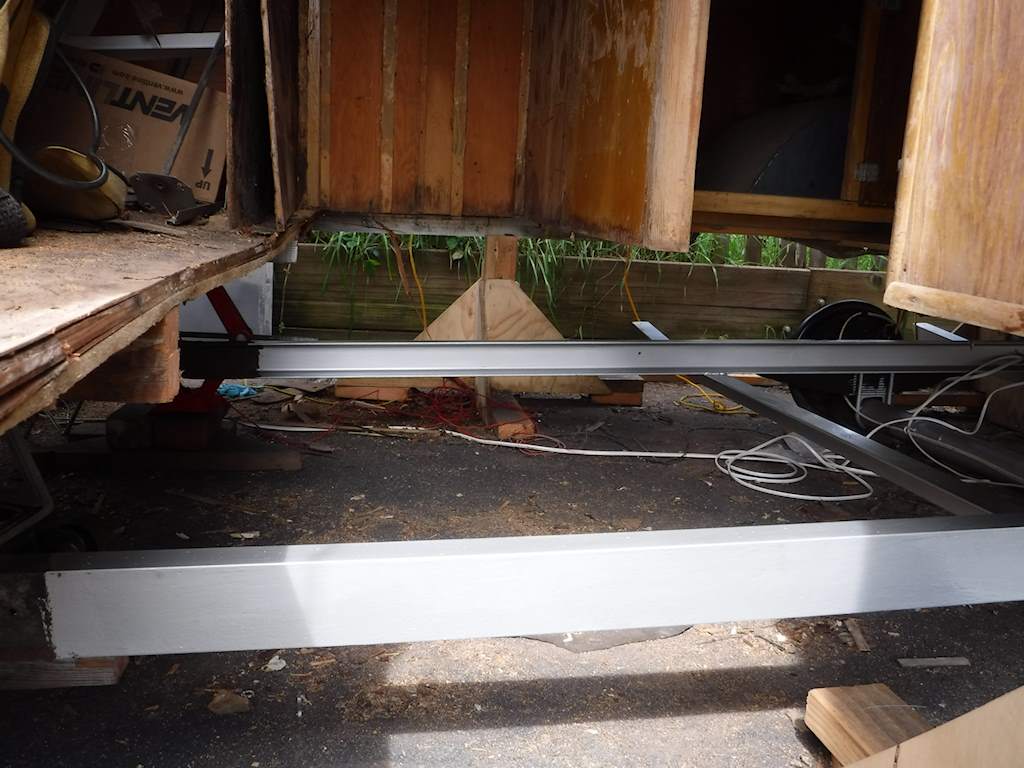
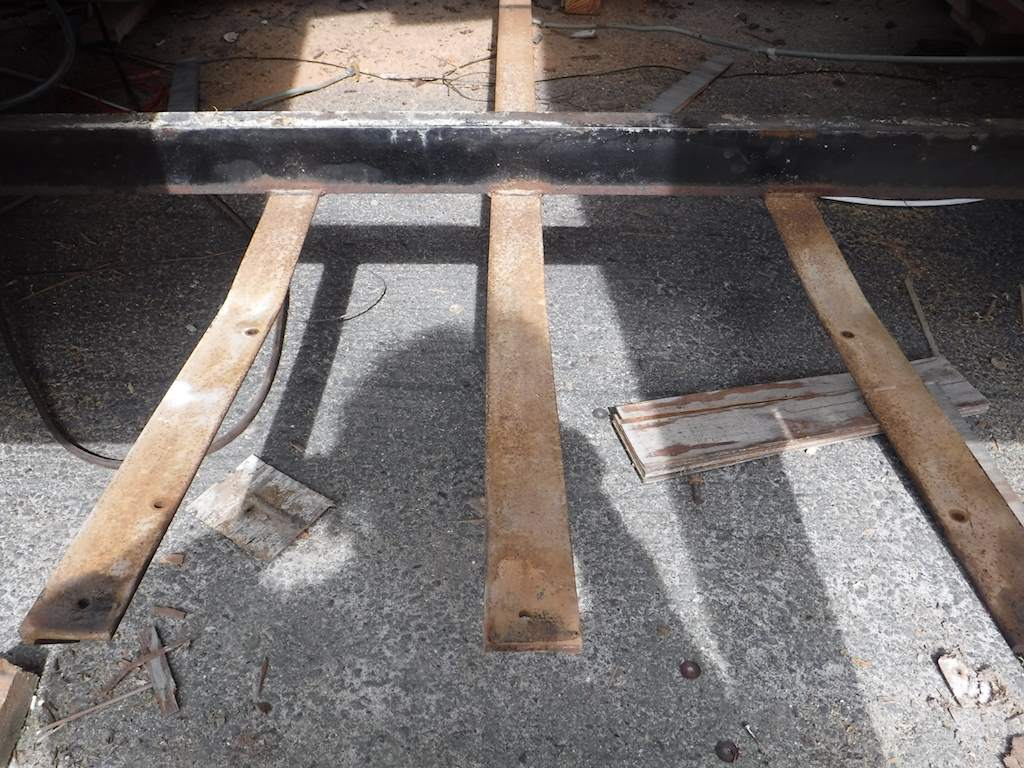
There are three longitudinal beams, each 2×3. One is mounted to the outside of each of the frame channels, and one runs down the center. Each has the same shape. There’s a straight section in front. 15 feet two inches for the outer ones, and one inch longer in the center. Then an angled sections a bit under three feet. First, I can’t find 2×3’s locally. I was able to find good quality douglas fir 1×3’s, but only 14 feet long. So I made the long beams sections by gluing 1×3’s, with doubled sections.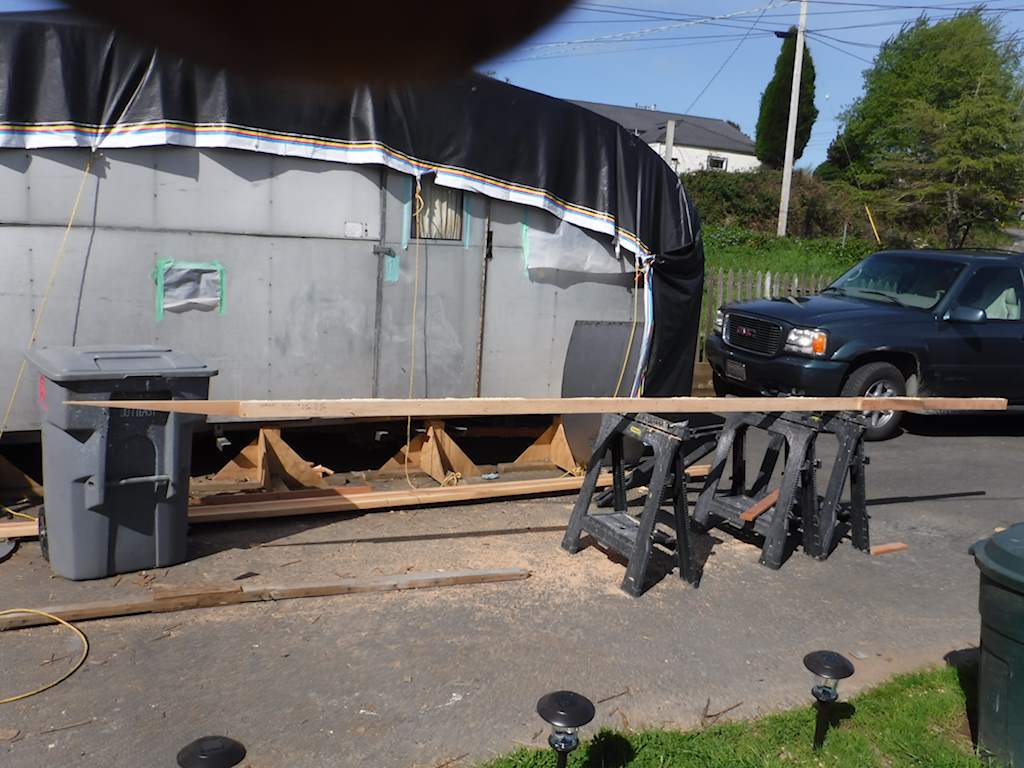
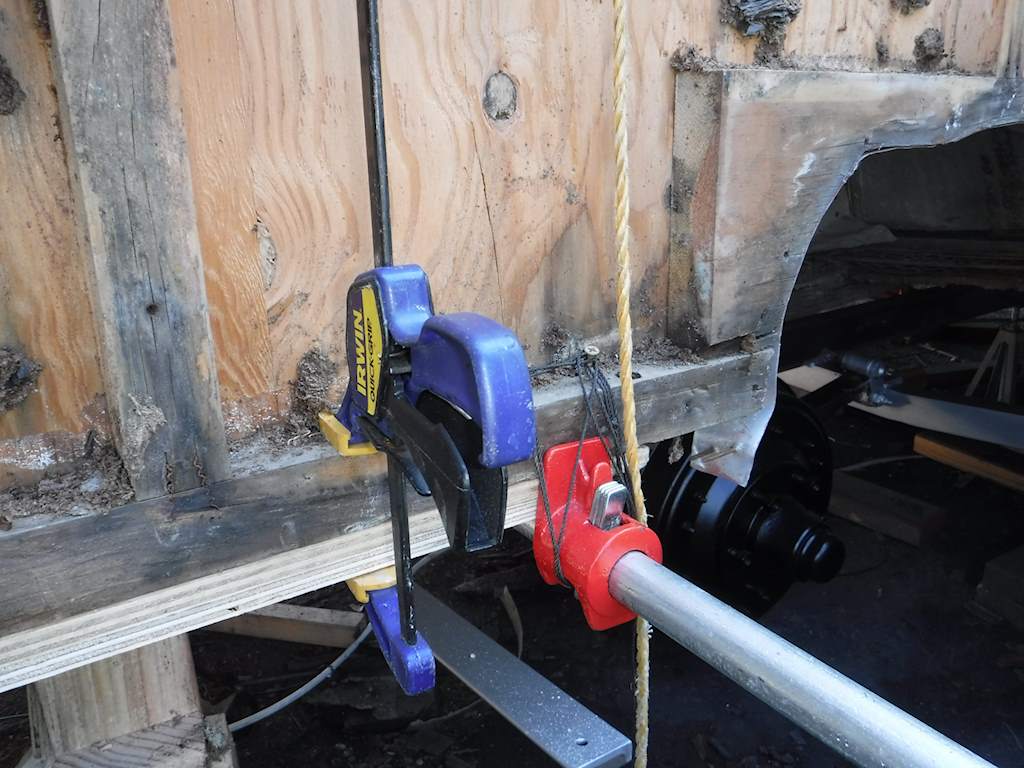
Now the original beams were mounted by fairly large wood screws coming from above through the floor. There are several reasons I don’t like that, but many of the screws were in places I can’t get to. So I had to do it differently. So I made a number of mounting clips from aluminum angle and mounted those to the beams.
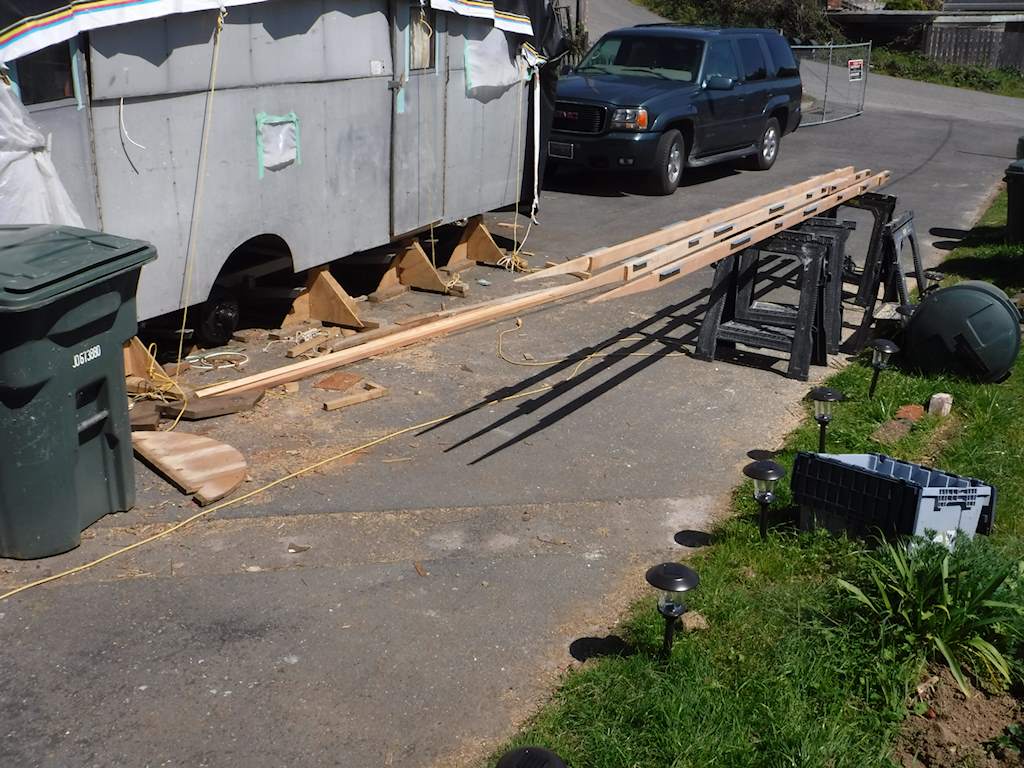
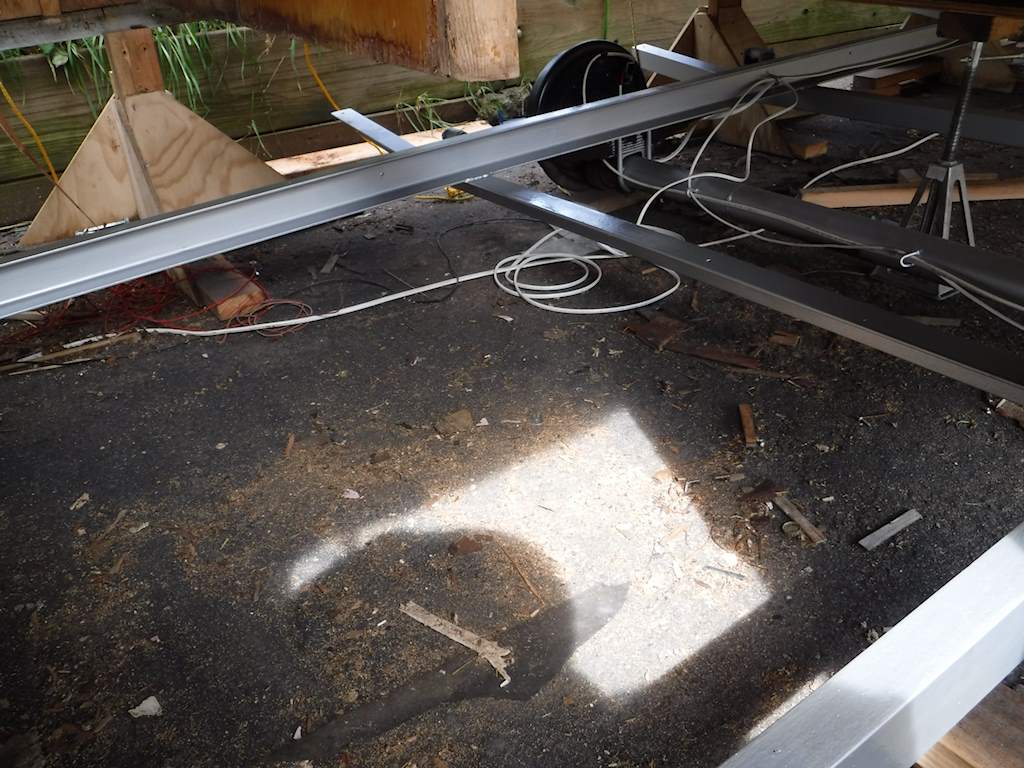
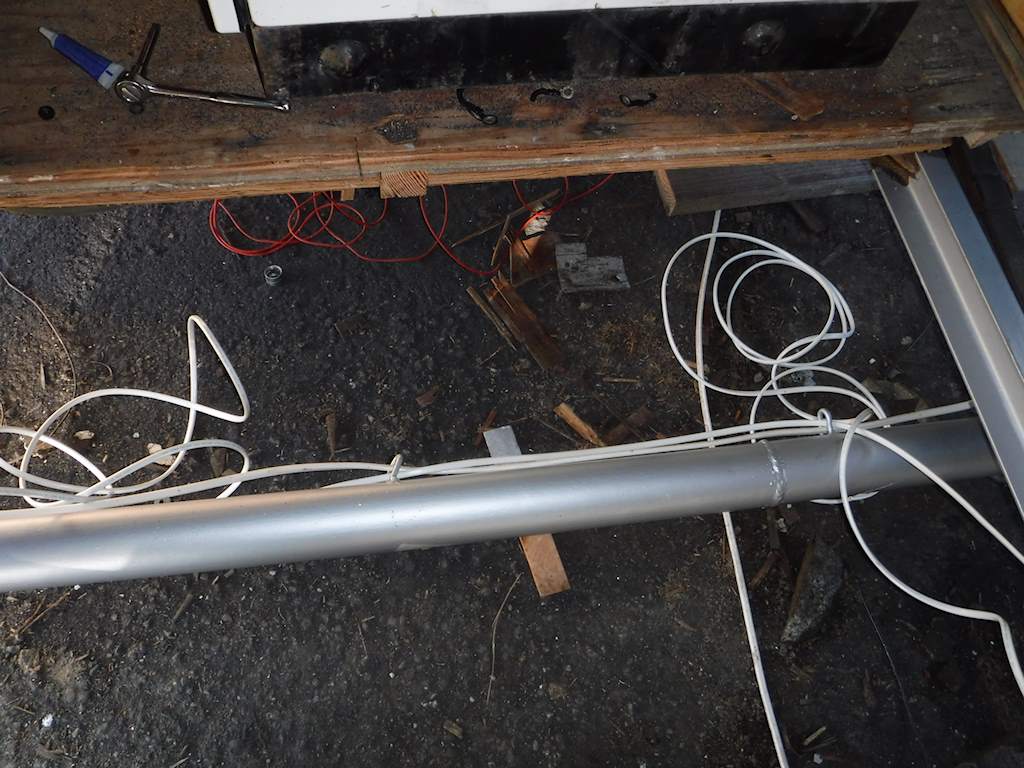
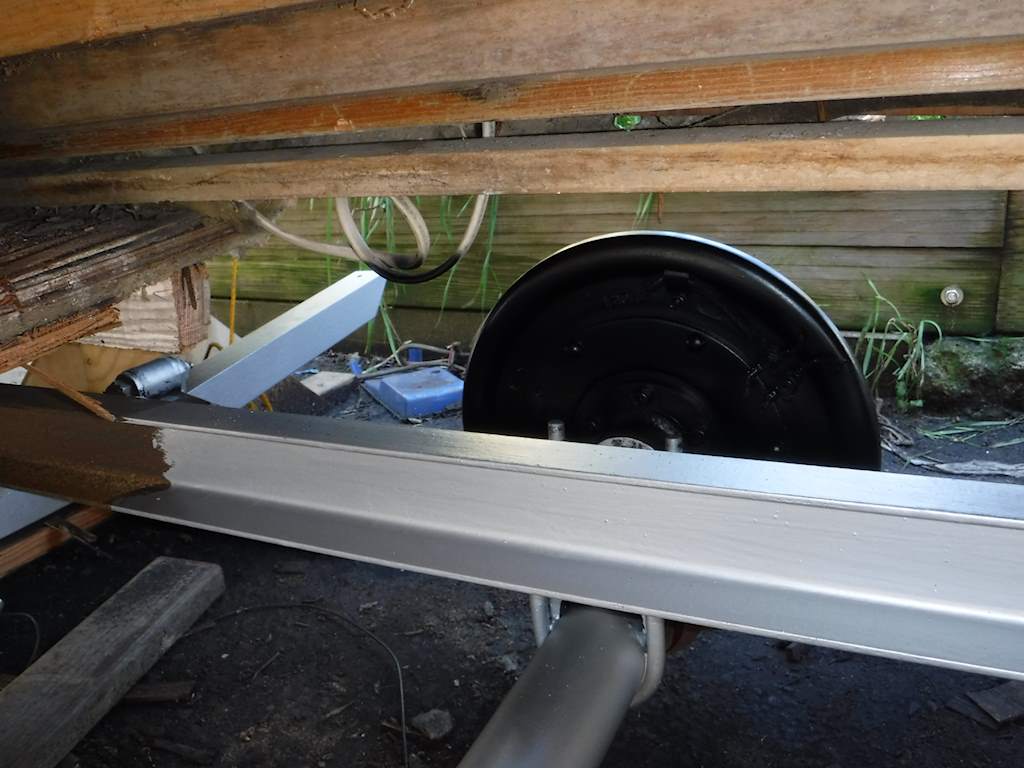
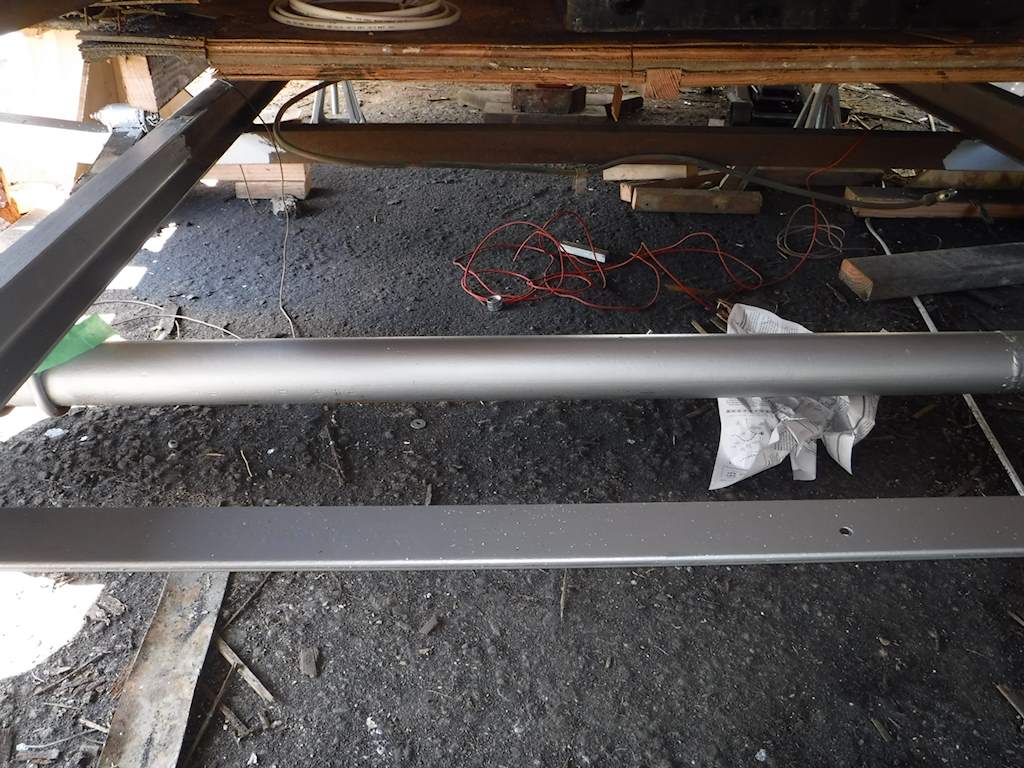
Sorry. I framed that picture poorly. The three beams are exactly the same length, but there are some 2×2’s on the ground that make the center one look about double the length of the others.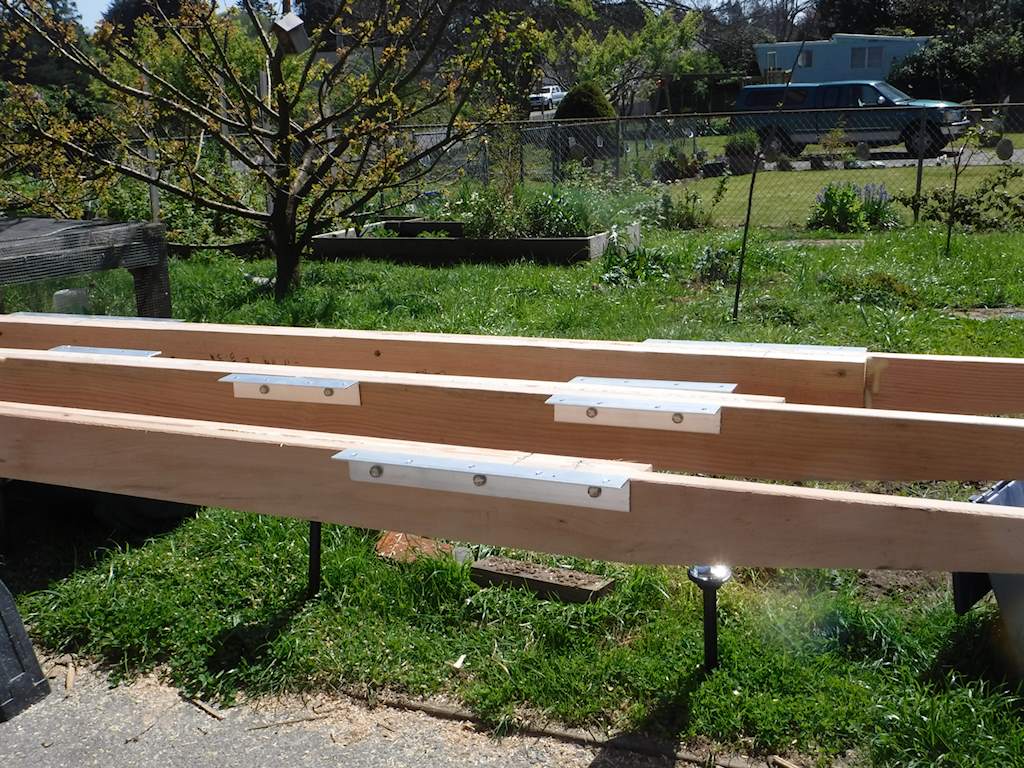
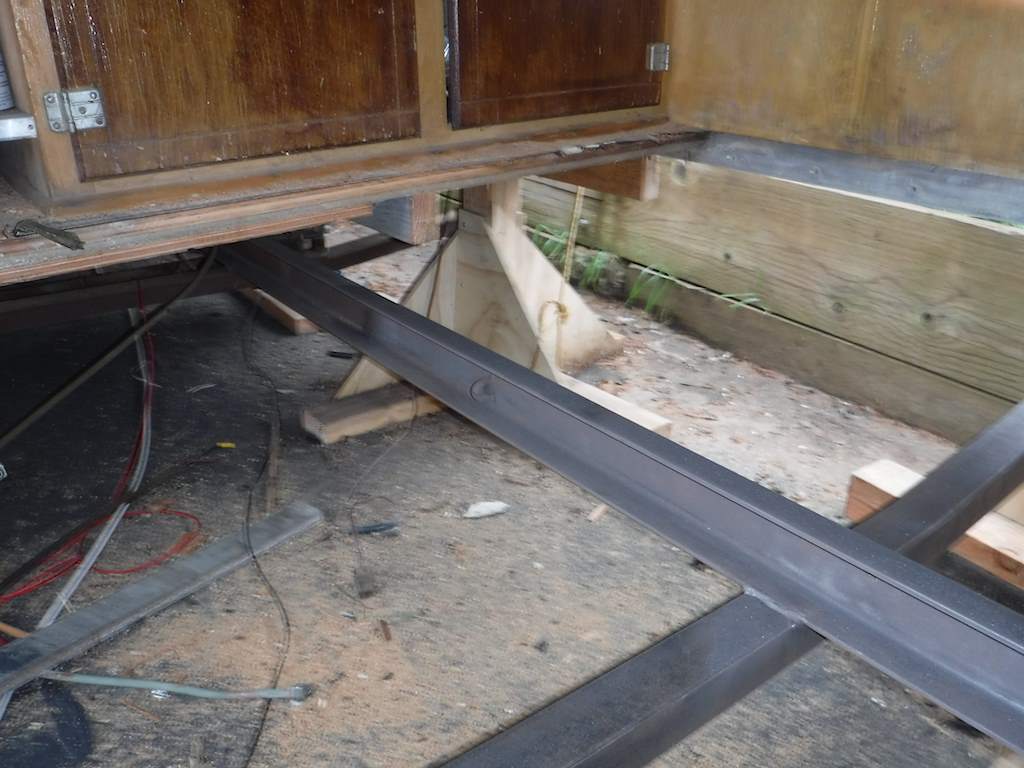
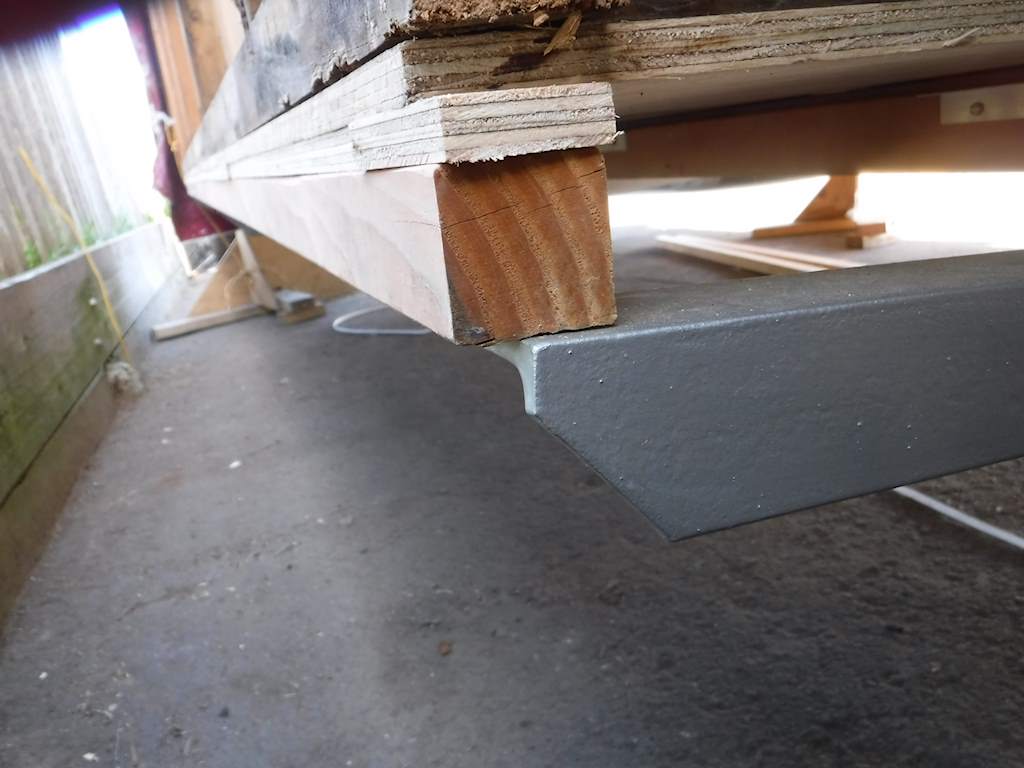
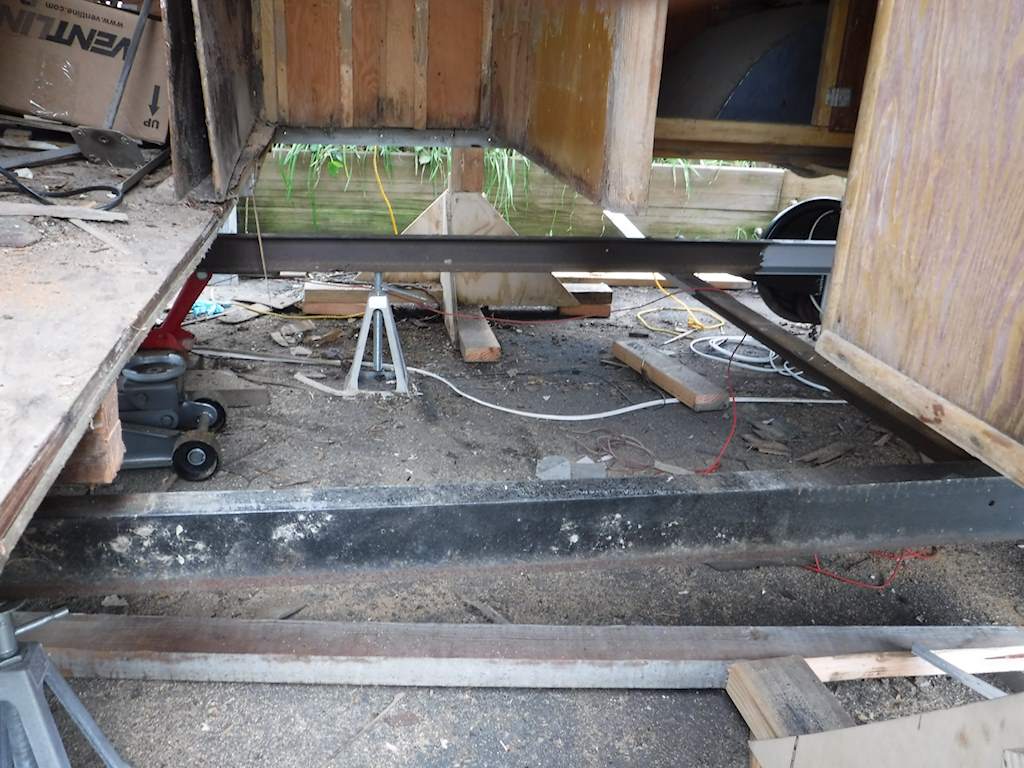
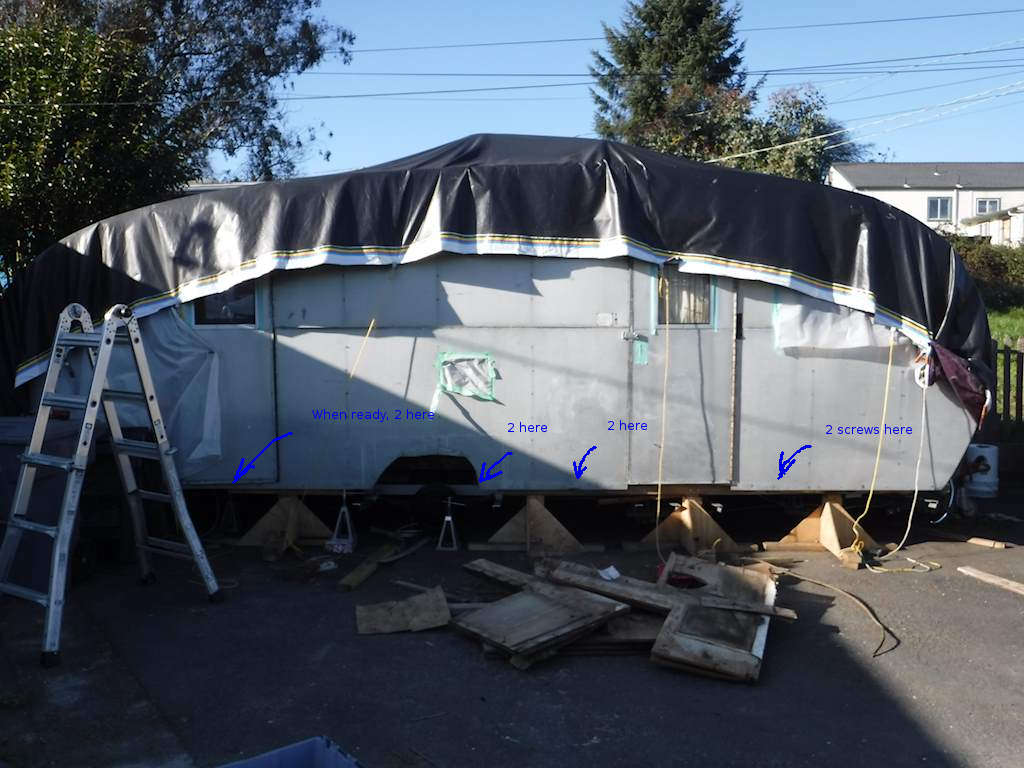
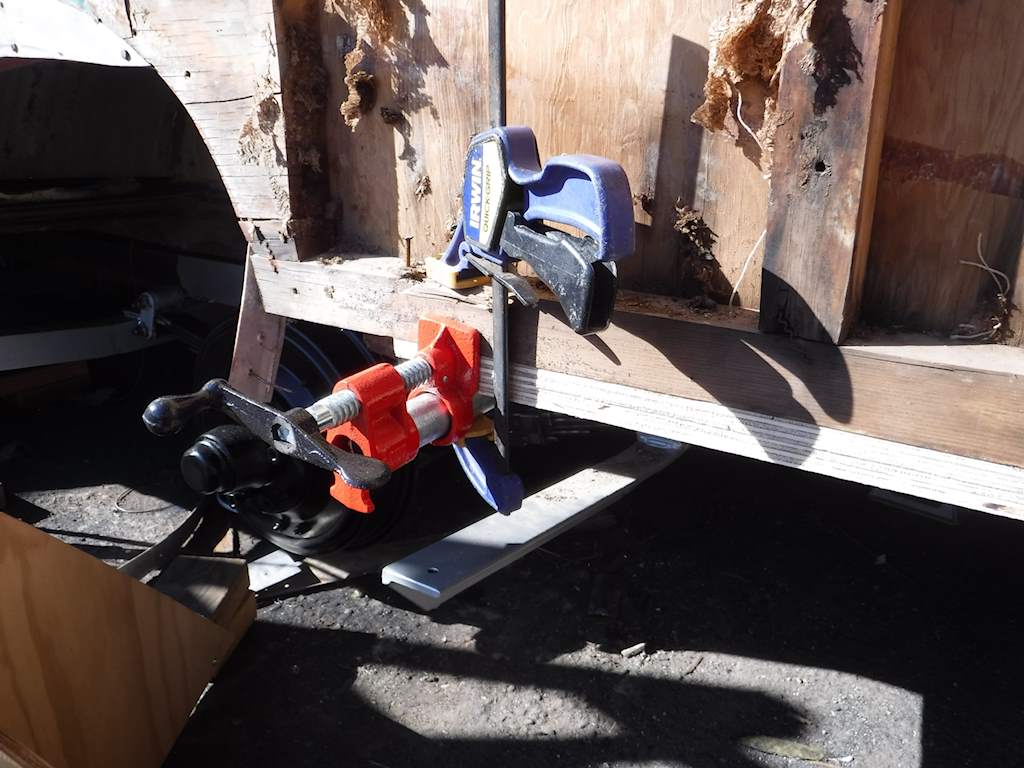
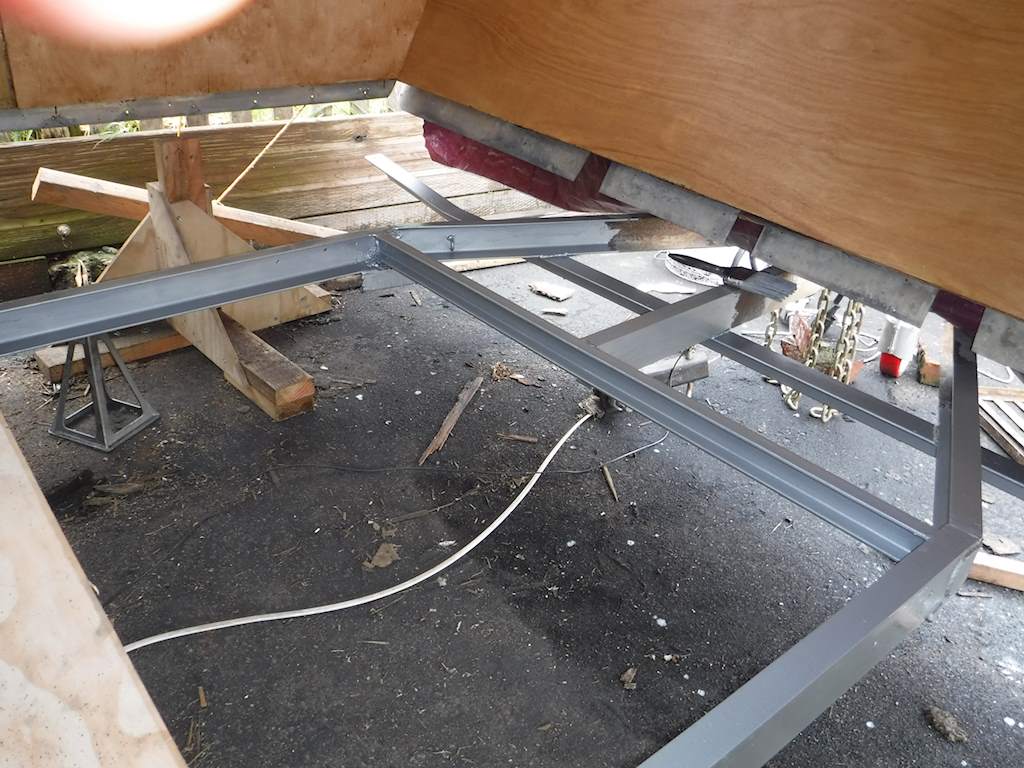
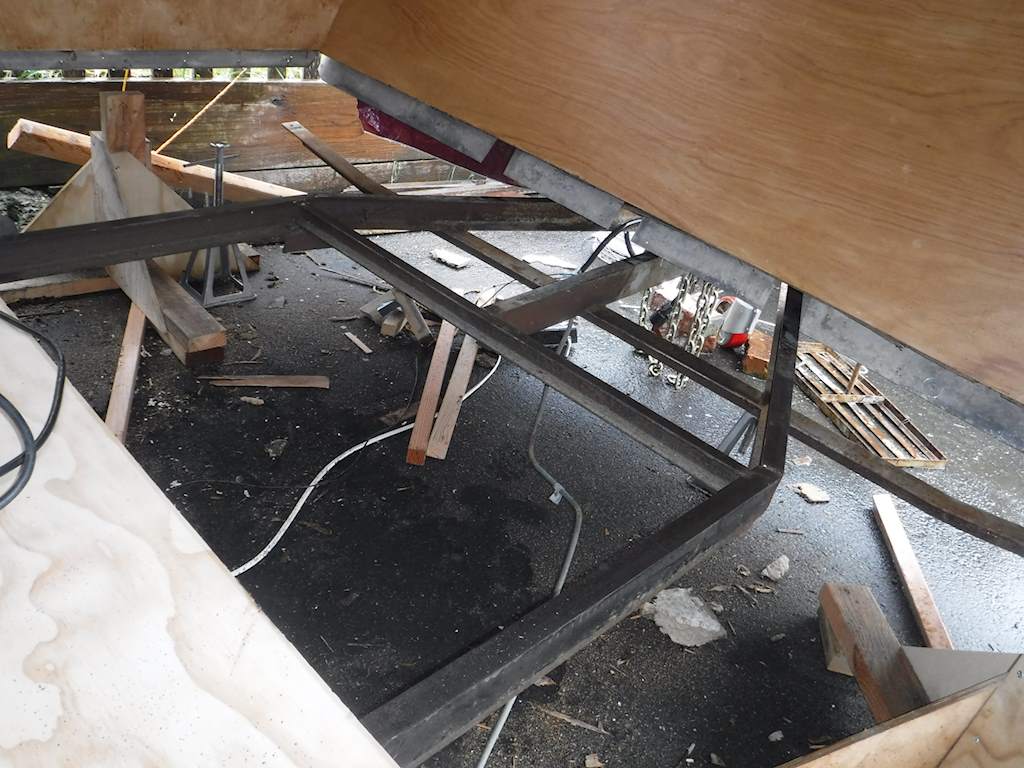
Then I slid those between the trailer and the body. I jacked up the body enough to get the current supports out, and jacked the frame up to meet it. I was able install the bolts in the front left support and the right rear support. Here is the trailer with frame and body back together, sitting on a couple of supports.
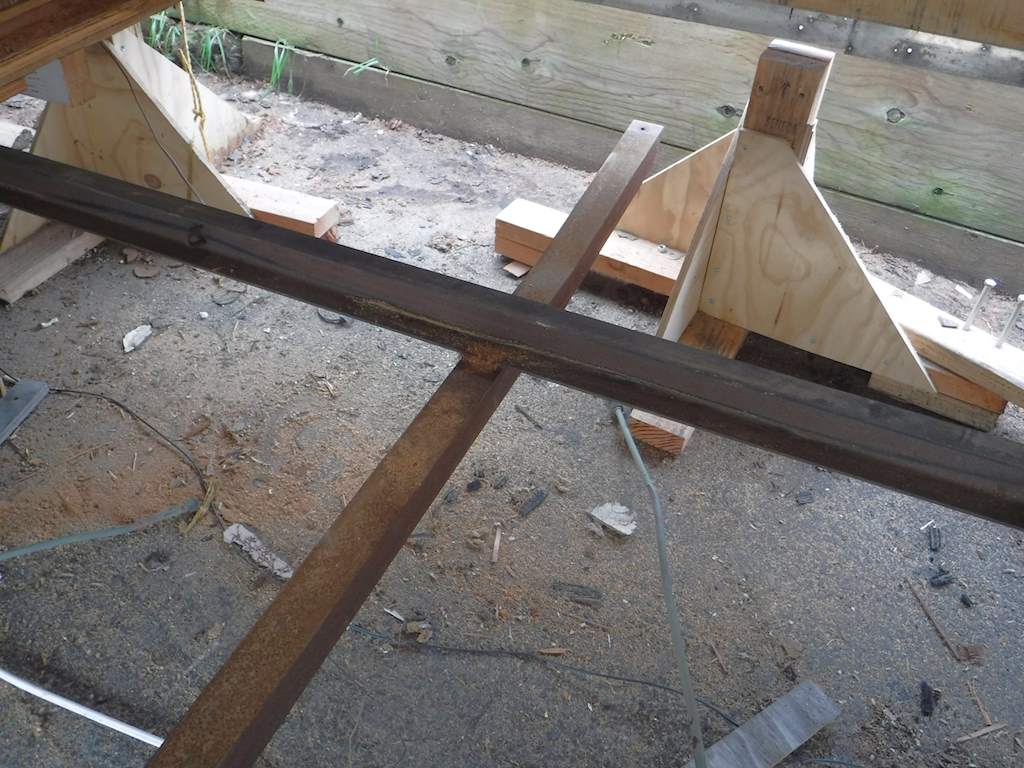
I made eight frame supports. Four I threw away. Two are supporting the frame, at the rear spring attach on each side. I kept two more. Partly because I may want to support the front of the frame, and partly to use them as a place to tight the tarp ropes. They are big enough to be a decent weight.
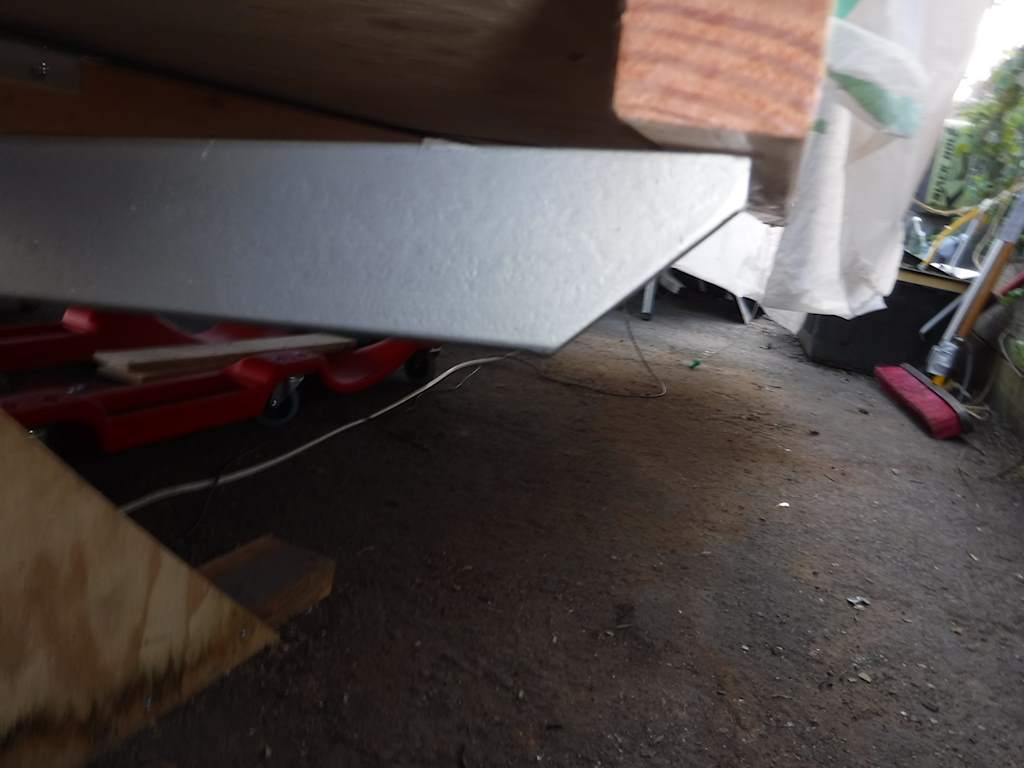
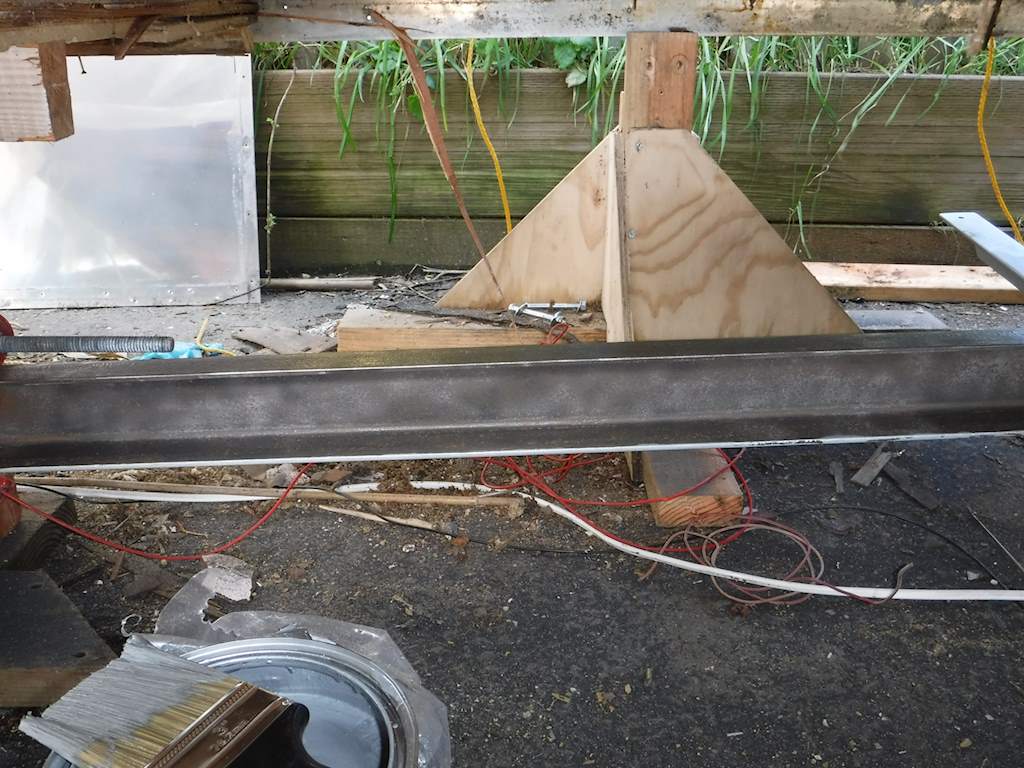
The other right side supports fit just fine, but there’s a problem on the left. I took for granted that the width was constant. I made the floor sections all 92 inches wide, and kept them centered. Front, rear, and right side all fit great. But on the left side the trailer appears to be slightly wasp wasted. In the center it’s about half an inch too wide.
 Annoying. It means I have to
- remove the bolts between the body and the lower 2×2 and pivot the 2×2 out of the way.
- remove the 2 inch #10 screws that come up from below and tie the wall to the floor
- find a way to slide the wall in about a half inch over about ten or twelve feet.
- reattach the wall to the floor.
- reattach the body to the lower 2×2
- Plug the existing support holes. I do that by gluing in wooden dowel pins.
Then I can drill new holes and complete the mounting. I should be able to get this all done tomorrow.
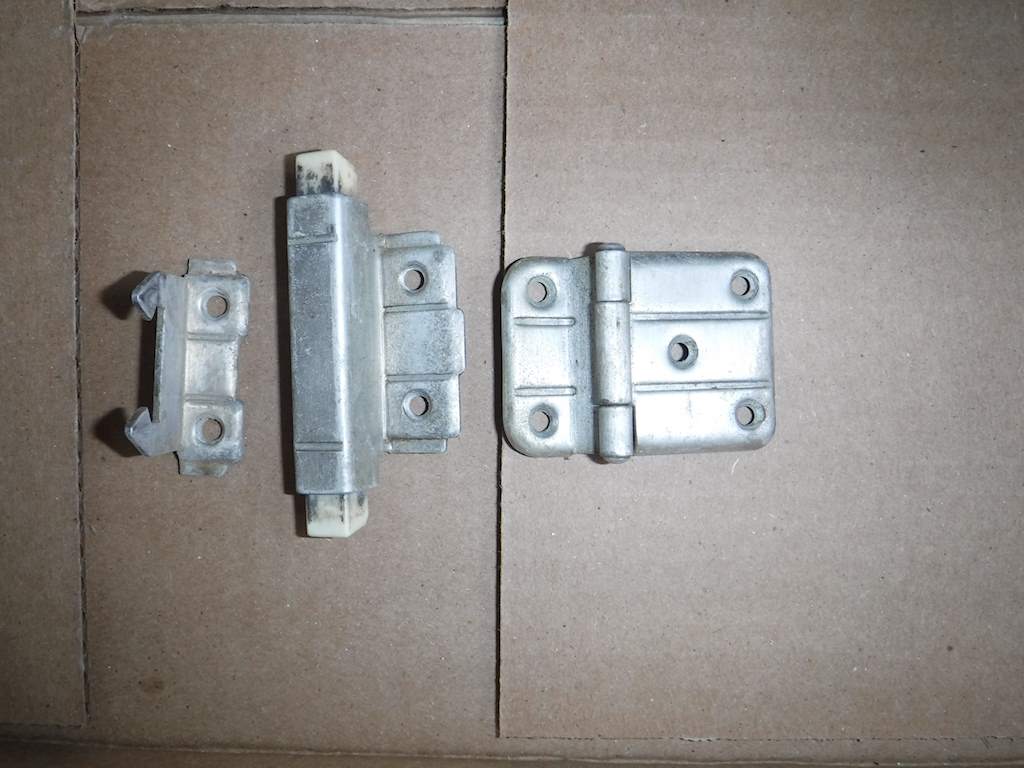
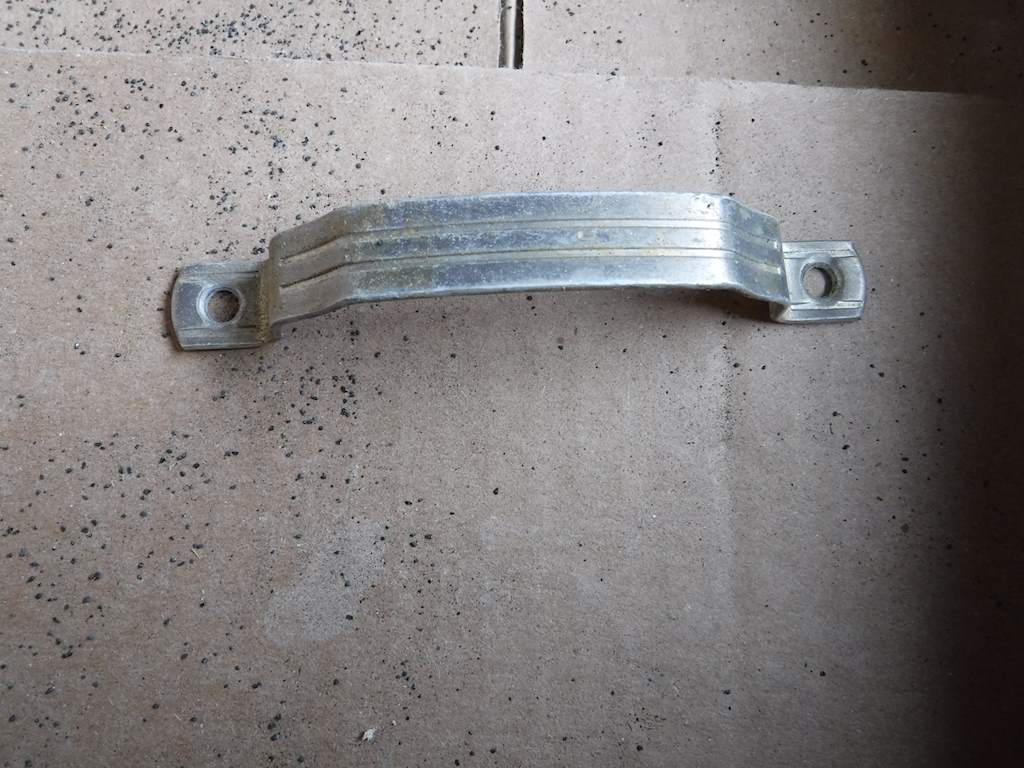 The middle one in the second picture is the door catch, which grabs the one on the left. It’s very positive- you have to squeeze the top and bottom to release it. So I soaked the catches in denatured alchohol and scrubbed off the black, then sandblasted everything so it looks like this:
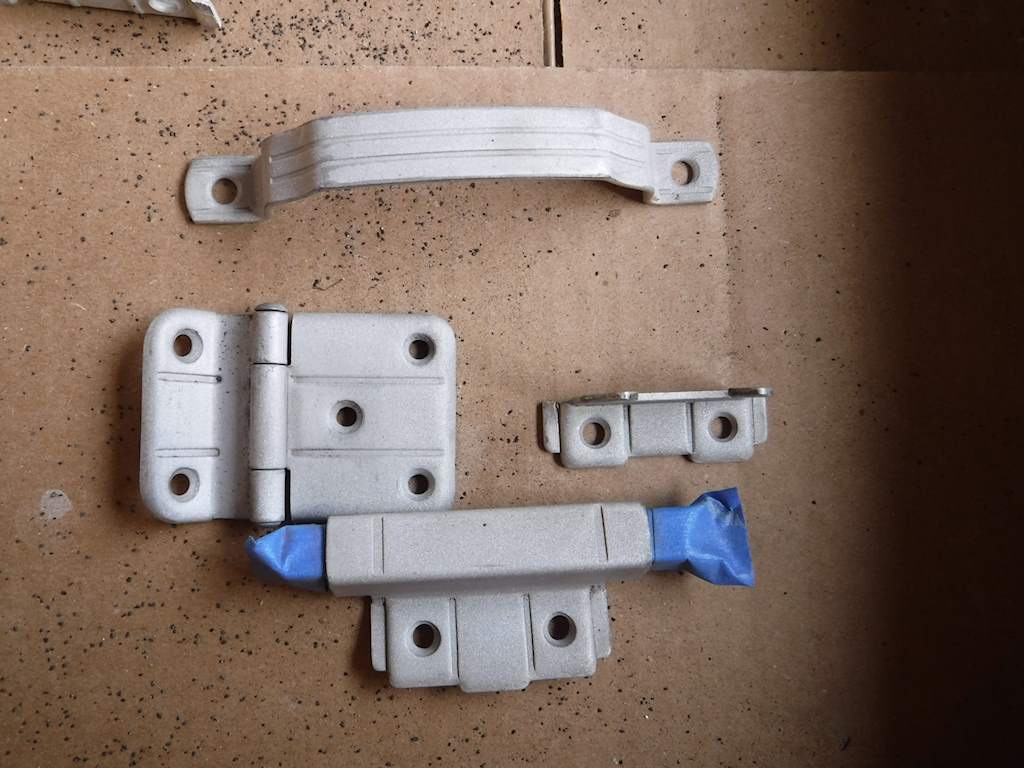
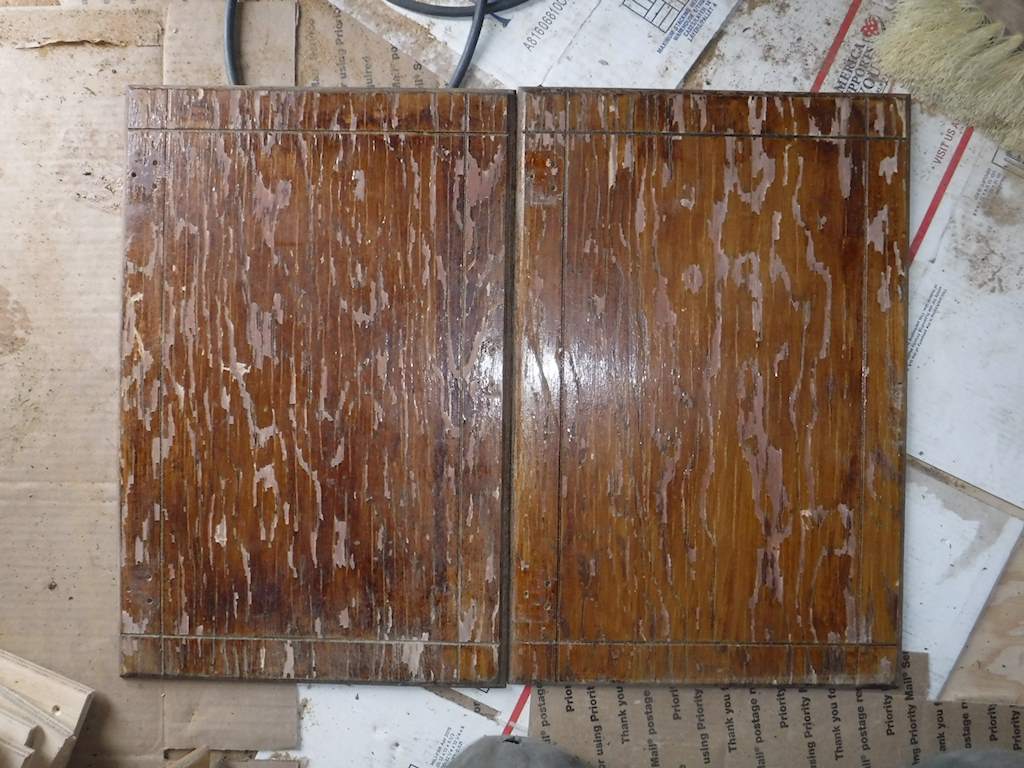
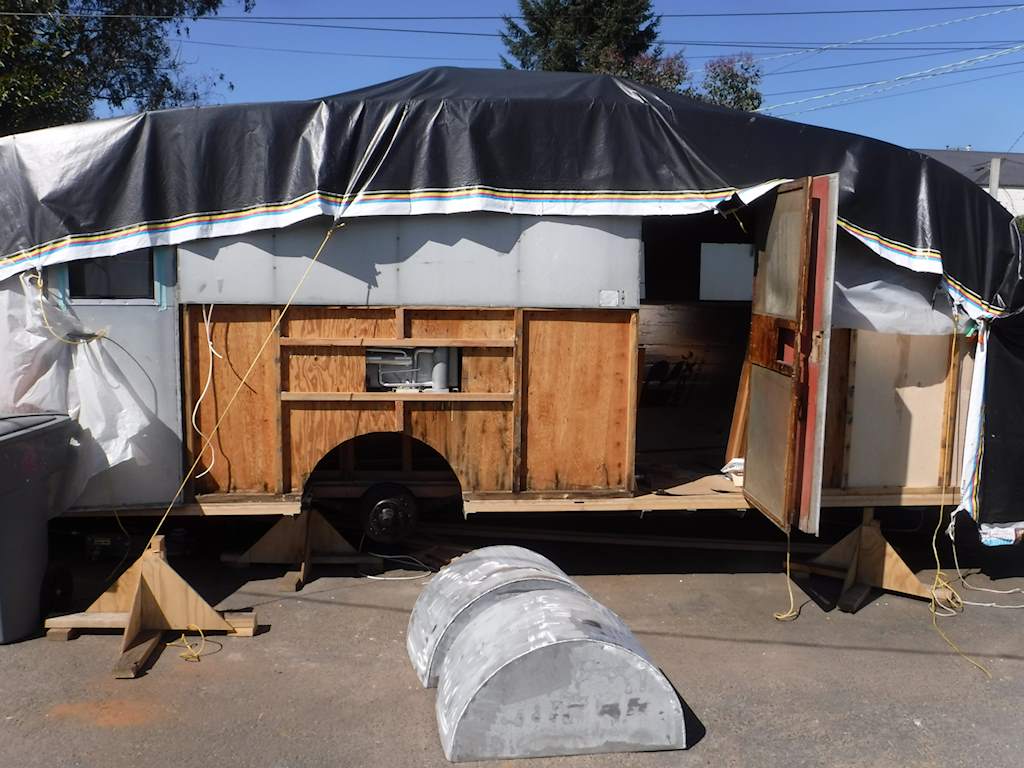
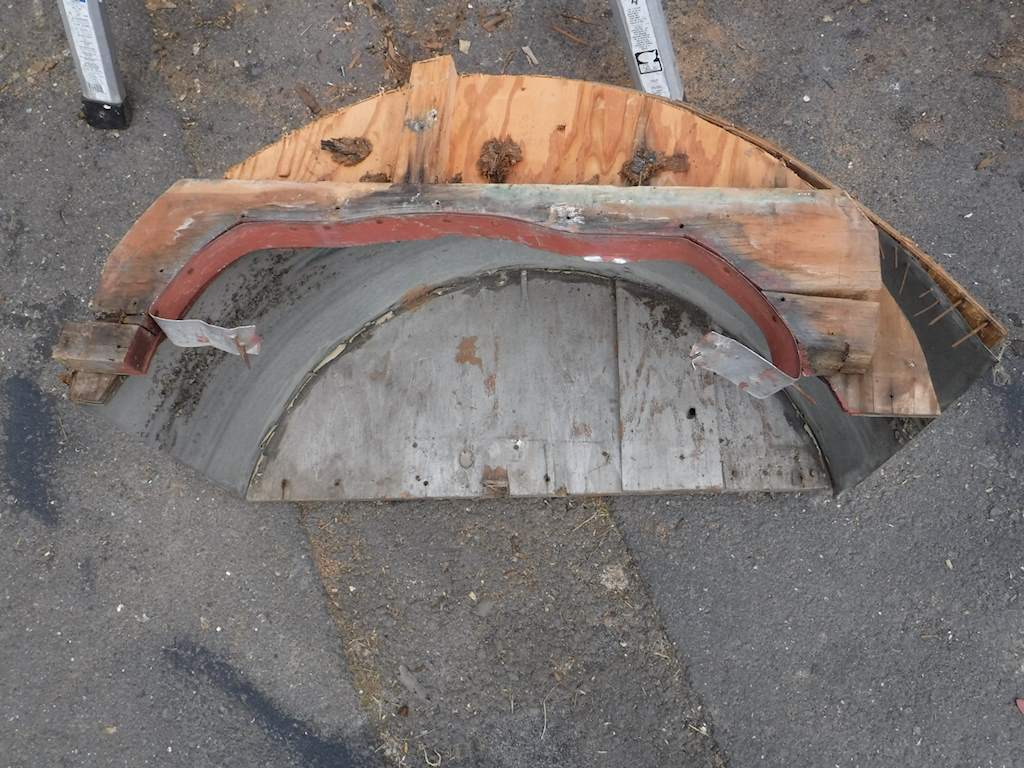 An ugly combination of plywood, a strip of galvanized steel, and nails. LOTS of nails. Just designed to leak and rot. The wood in the wheel well was rotting on both sides. The wood on the right side of the trailer, once the well was cut out, was a little water damaged but not much. I drilled a number of holes into the lowest 2×2 and put in about a cup of ethylene glycol using a plastic syringe.
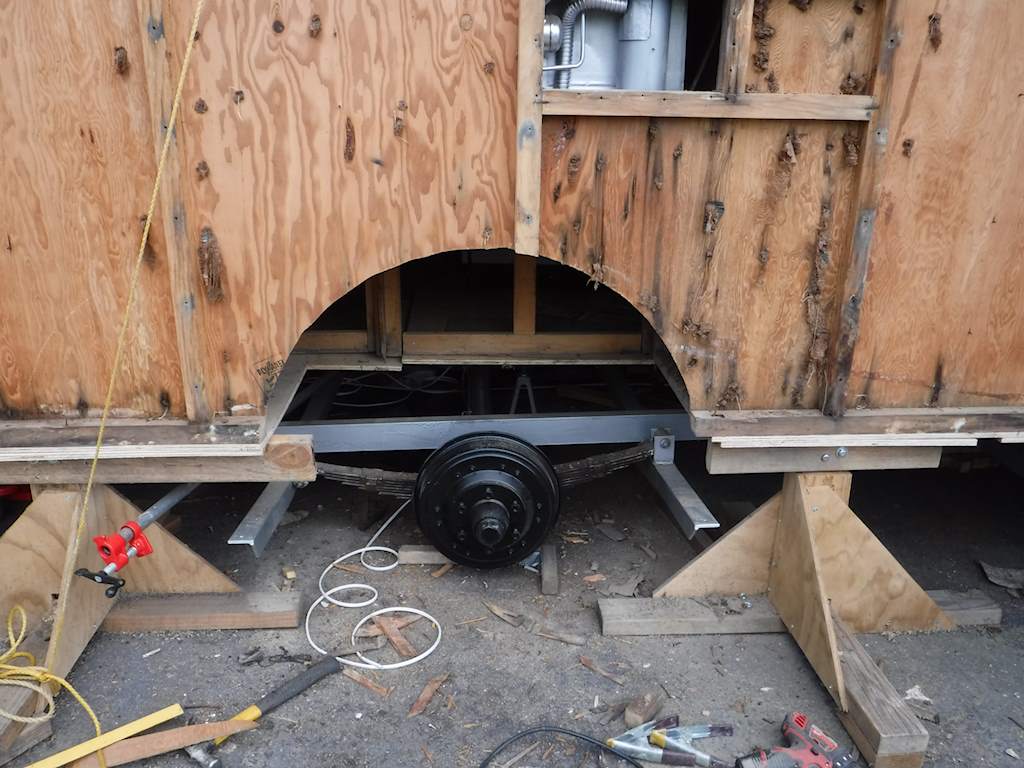
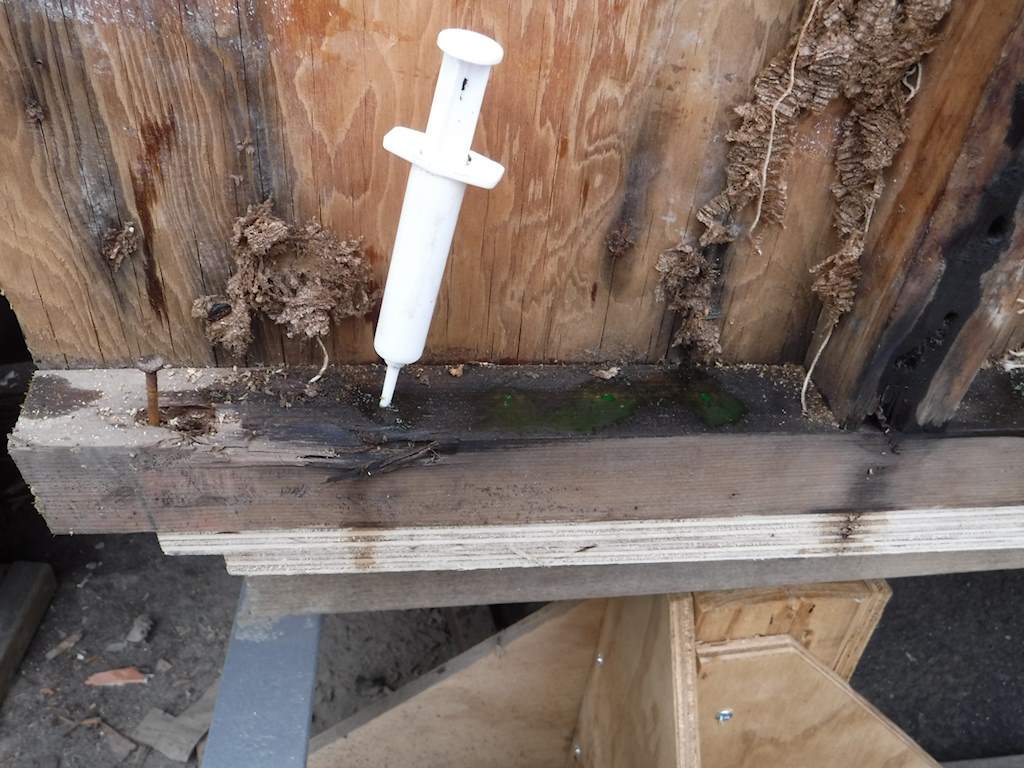
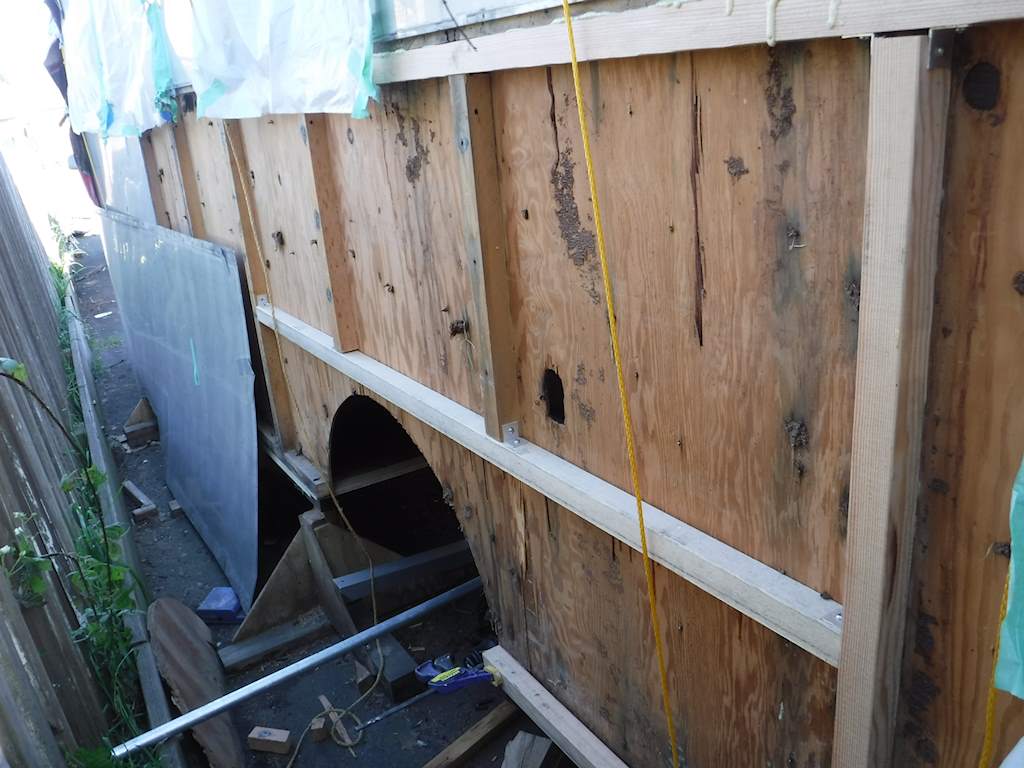 The new wood at the top of the picture is glued (gorilla glue) to the existing 2×2 that runs under the windows. The water heater will go at the bottom right of this picture, to the right of the wheel well. Once I cut the hole for that I’ll put in whatever framing is necessary. Also I’m running out of those angle clips (just cut from a 1×1 aluminum extruded angle). I need to make another couple dozen, and when I do I’ll add some here. Probably do that tomorrow. I need to do a similar rebuild on the right side. That’s on the agenda for the next non-rainy day, .
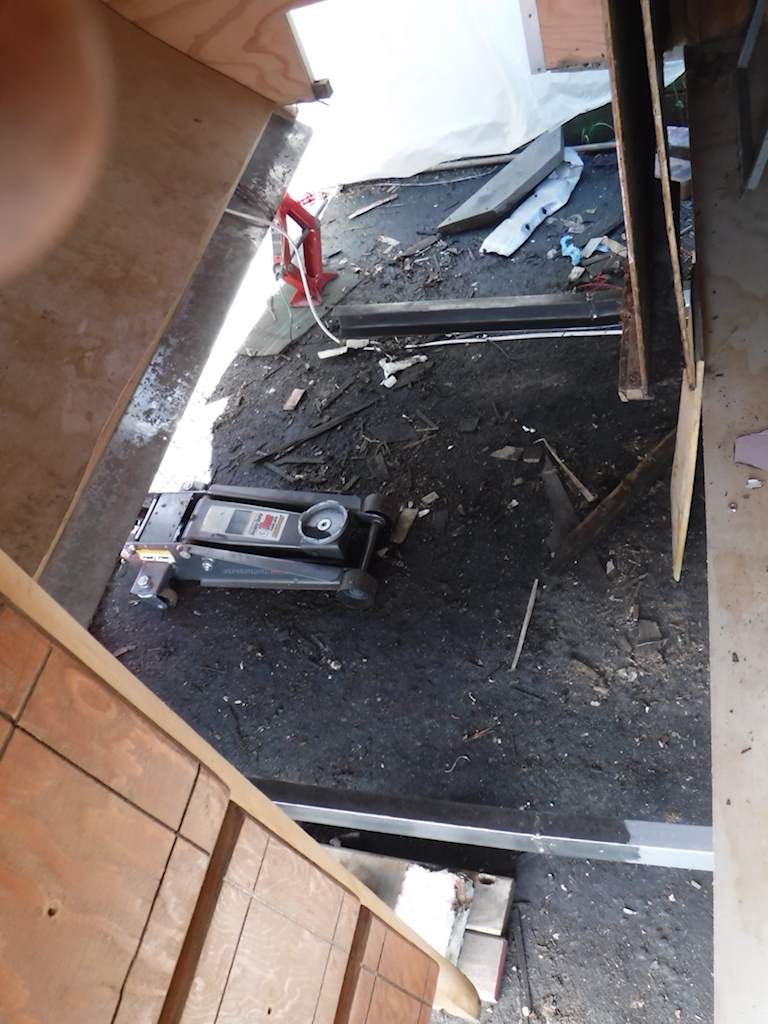
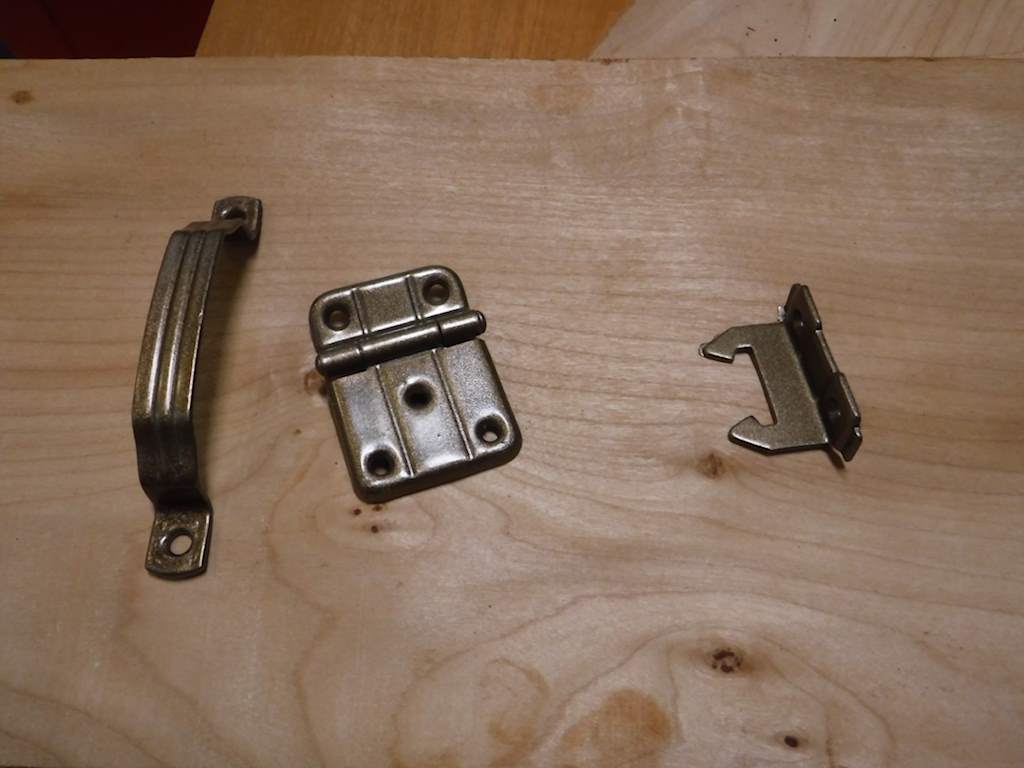
 And painted. Looks like this after two coats of Alumathane.
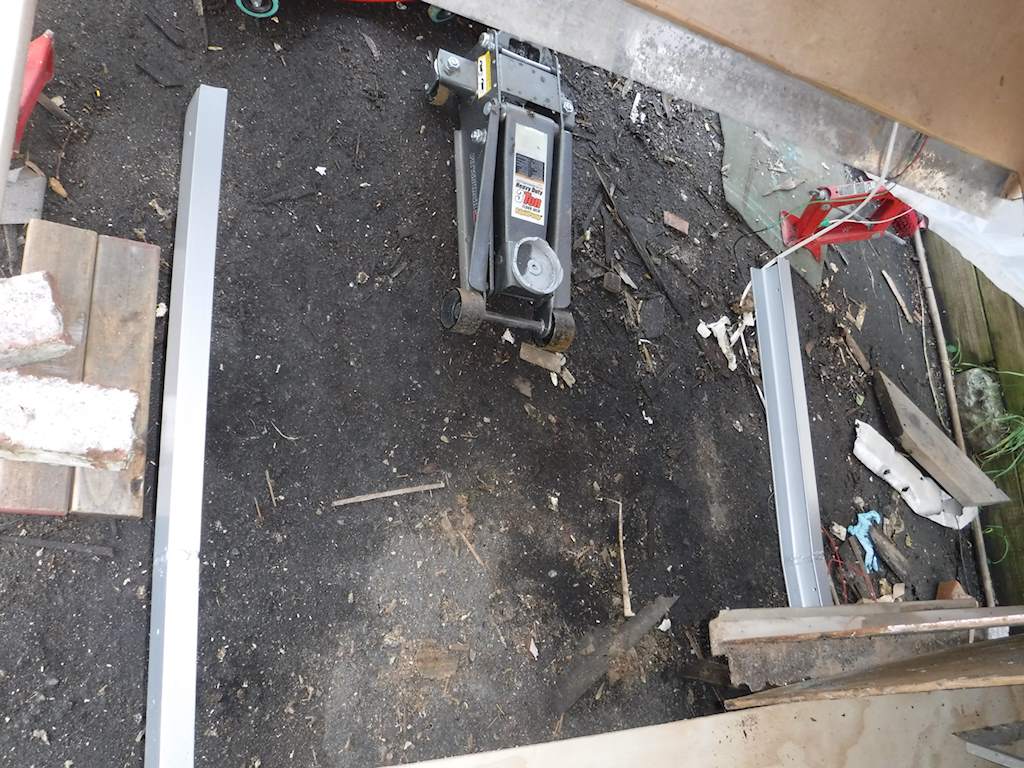
 And that completes the frame work except for the very front. I’m going to have a new hitch welded on and possibly some other work, so I’ve left the very front foot or so alone. I need to mount the rear floor section, but that’s easy. Higher priority is to get the wheel wells redone. I’ve asked the guy who rewelded the frame to make me some new aluminum wheel wells.
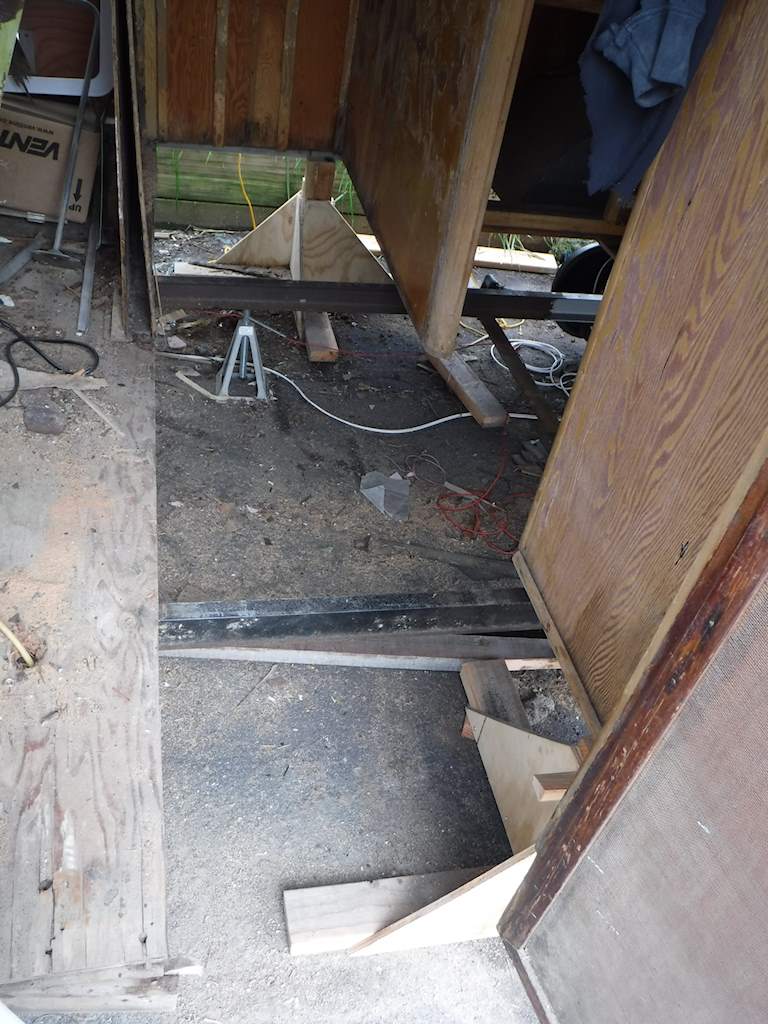
 Right side.
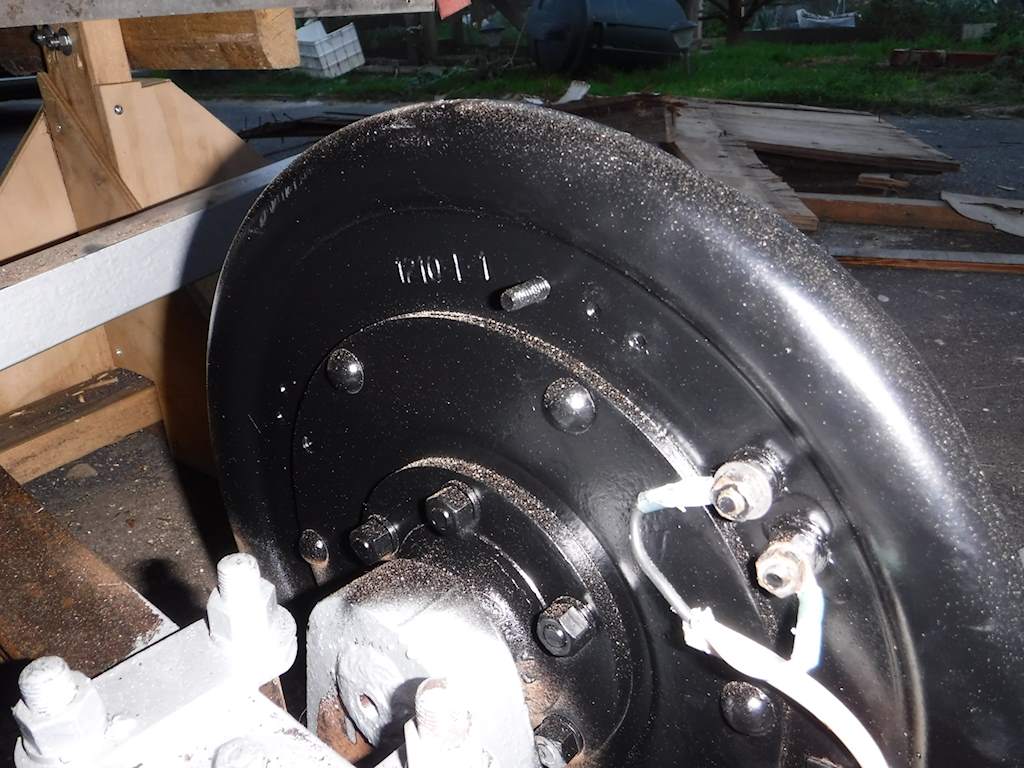


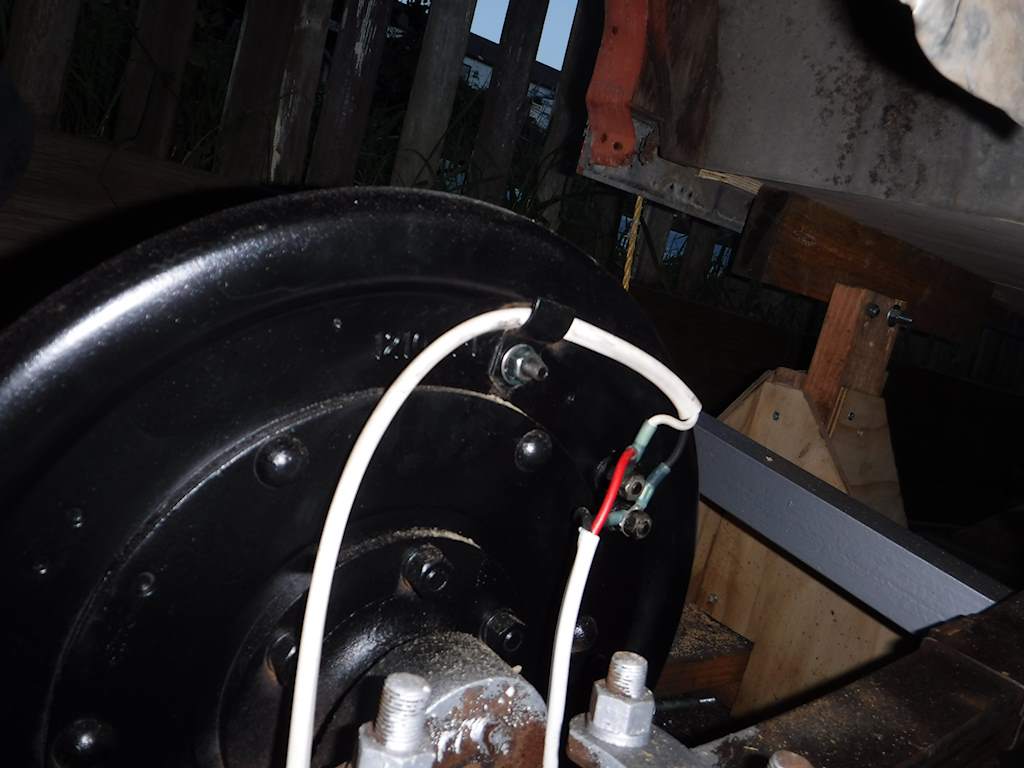
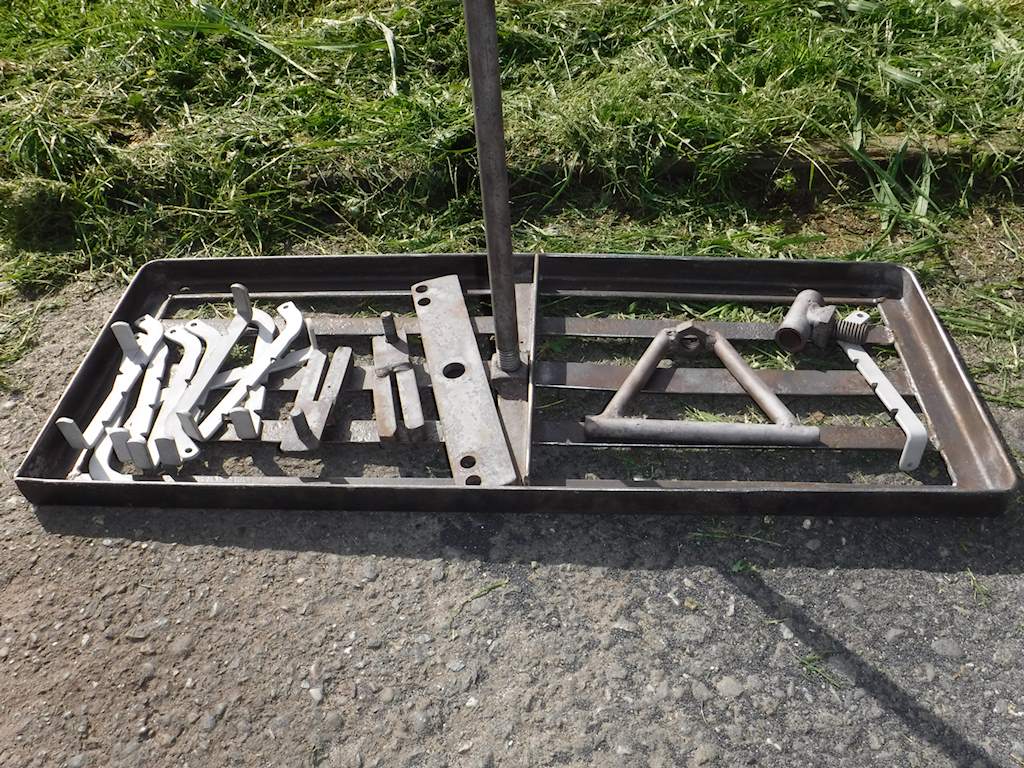
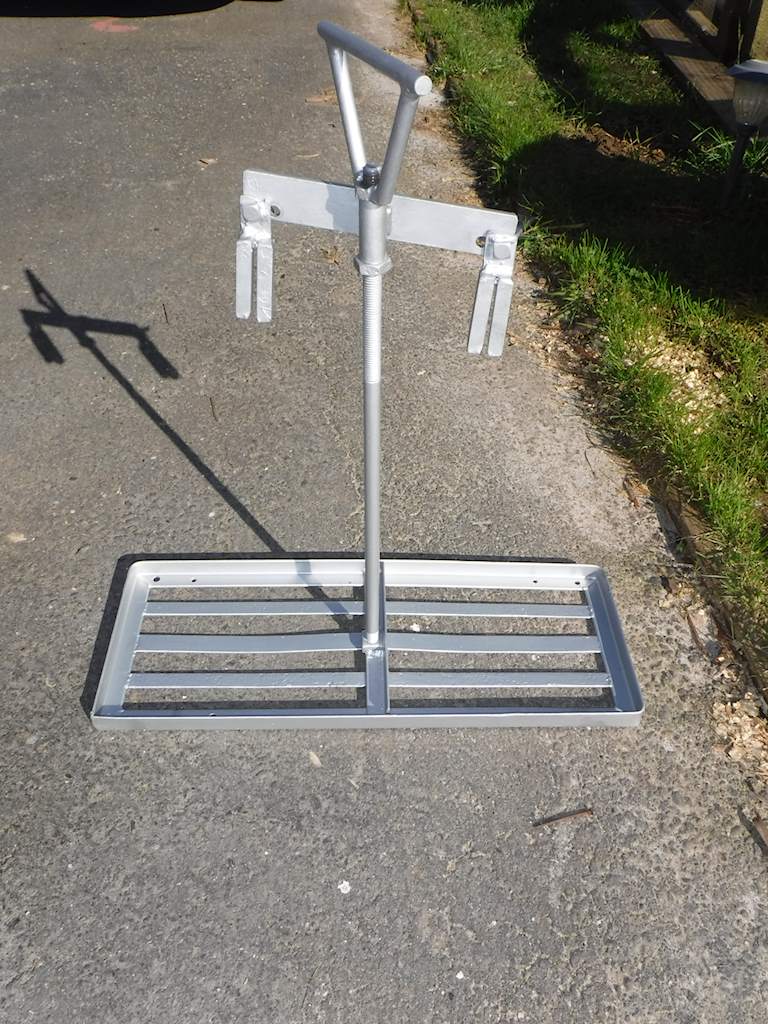 I think it looks a bit better now. This is an interesting assembly. It doesn’t look like it came from a factory. More like something a clever guy with a welding machine would make in his garage. Of course that opinion means nothing. For the one nut and two wing nuts I got new stainless, but the other threaded parts are welded assemblies and can’t be replaced. I also am working on the wiring for the brakes, but ran out of time.
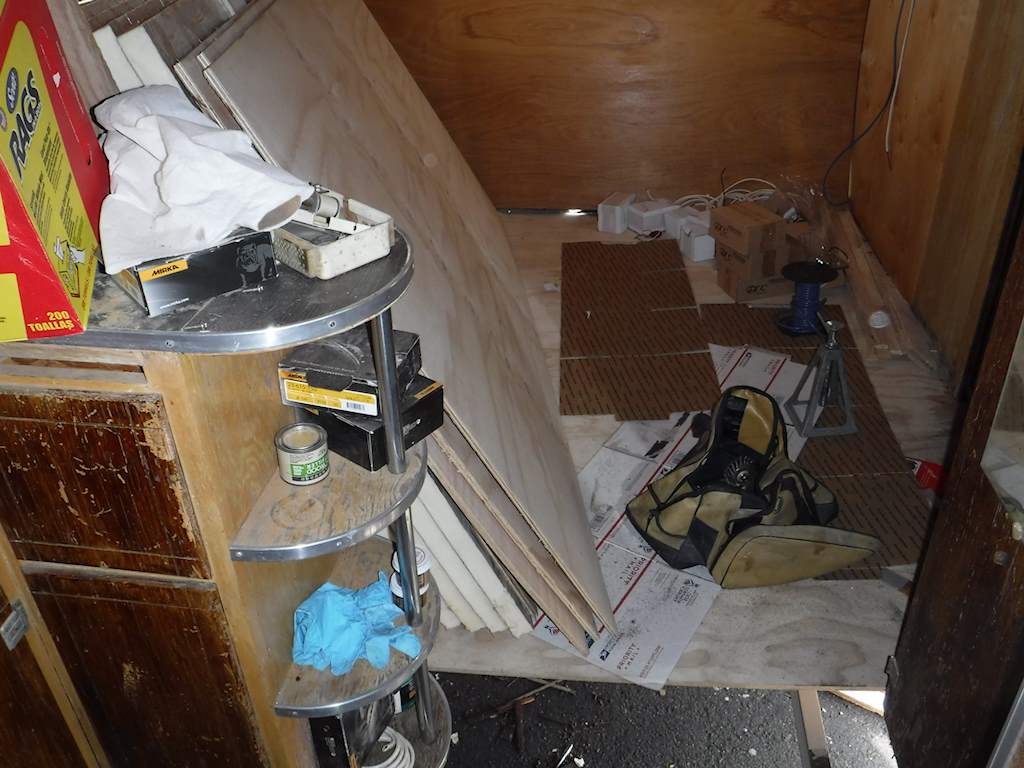 But now we’ve got some sunny days. I got the frame cleaned up.
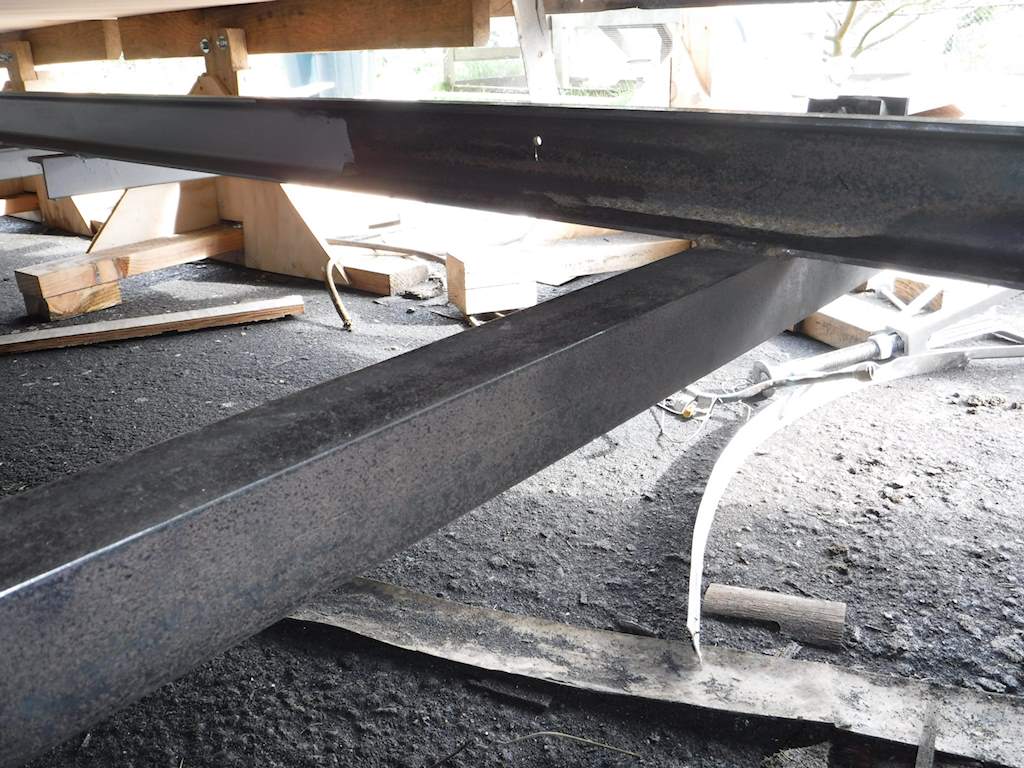
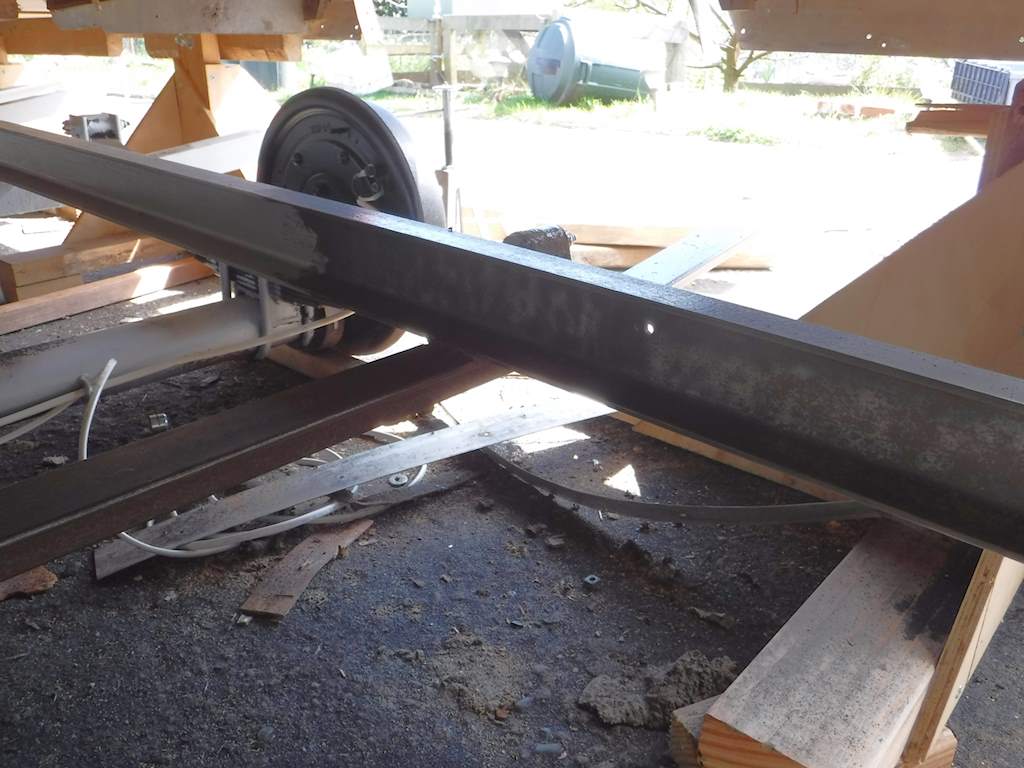
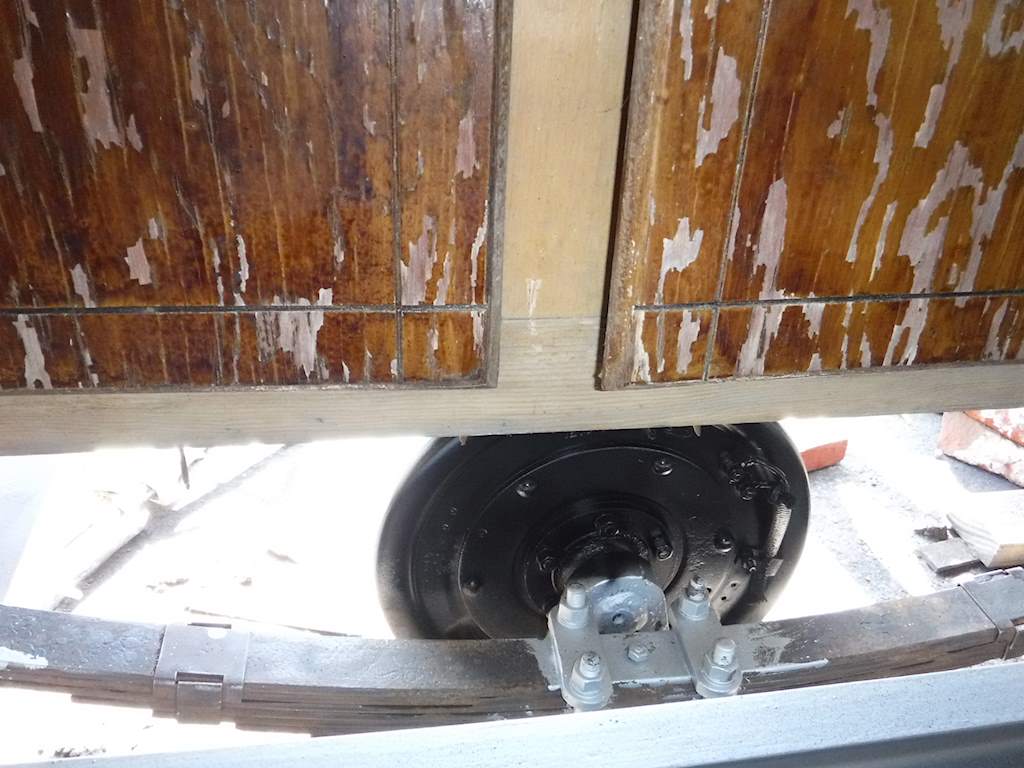
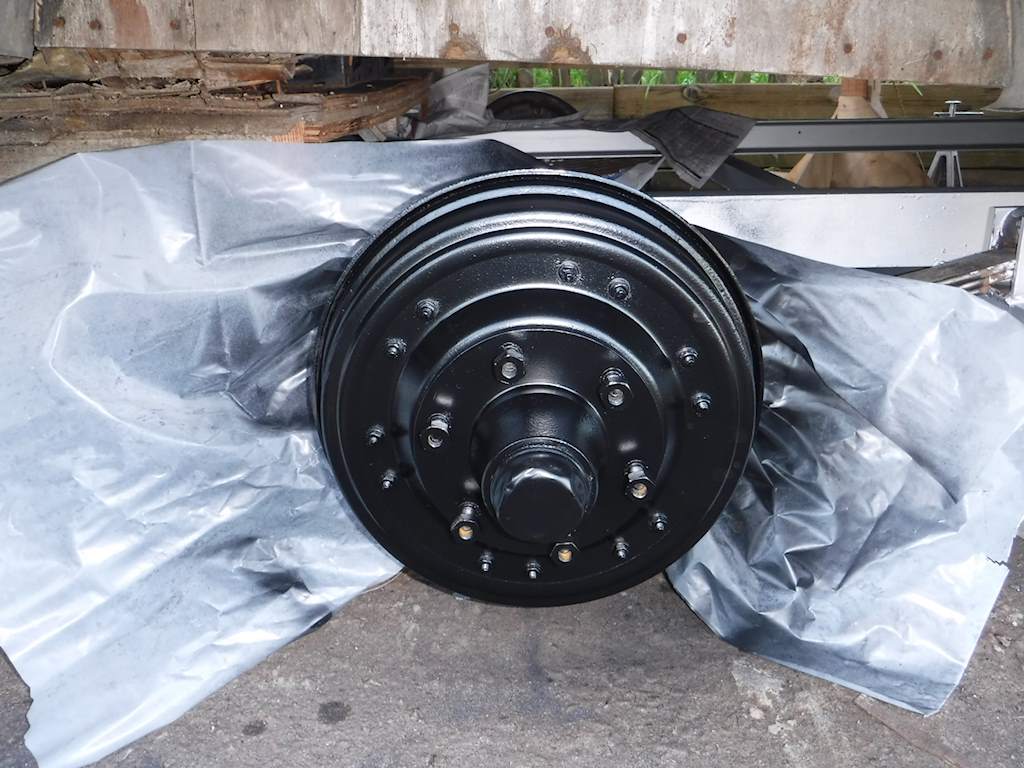
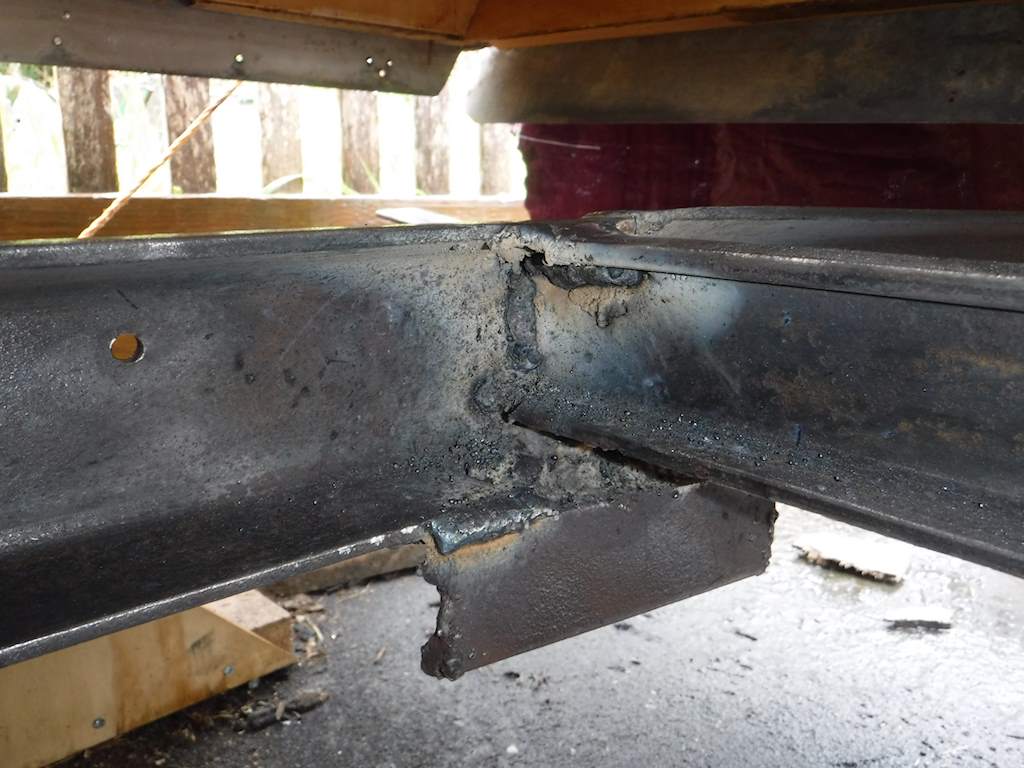
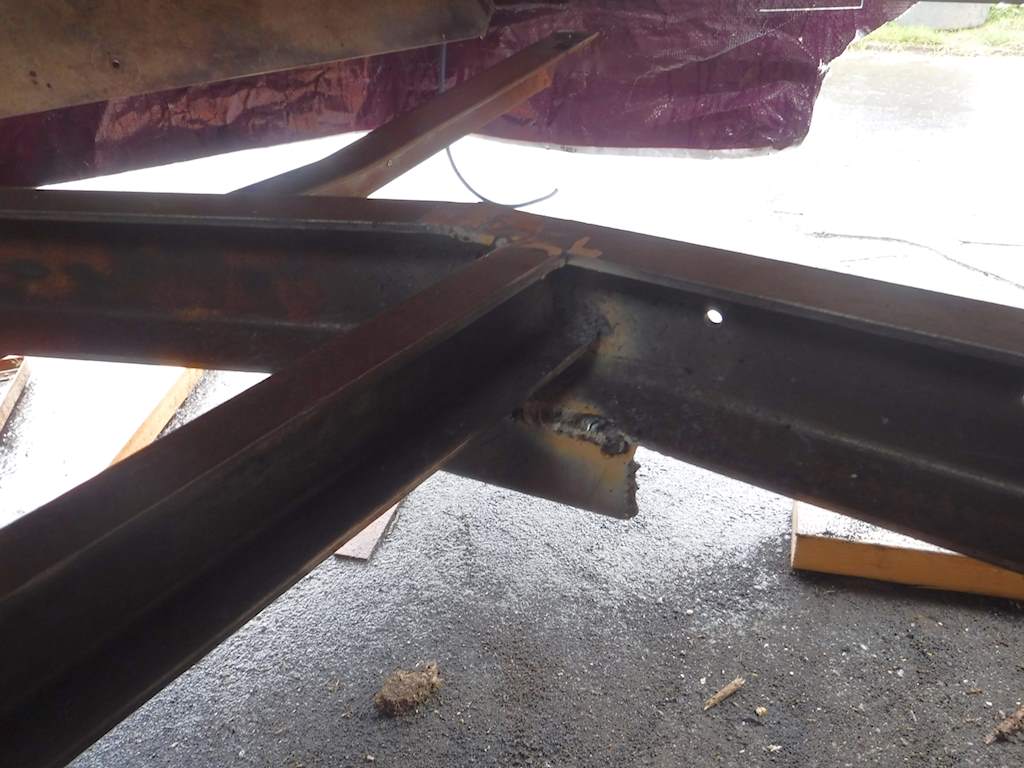
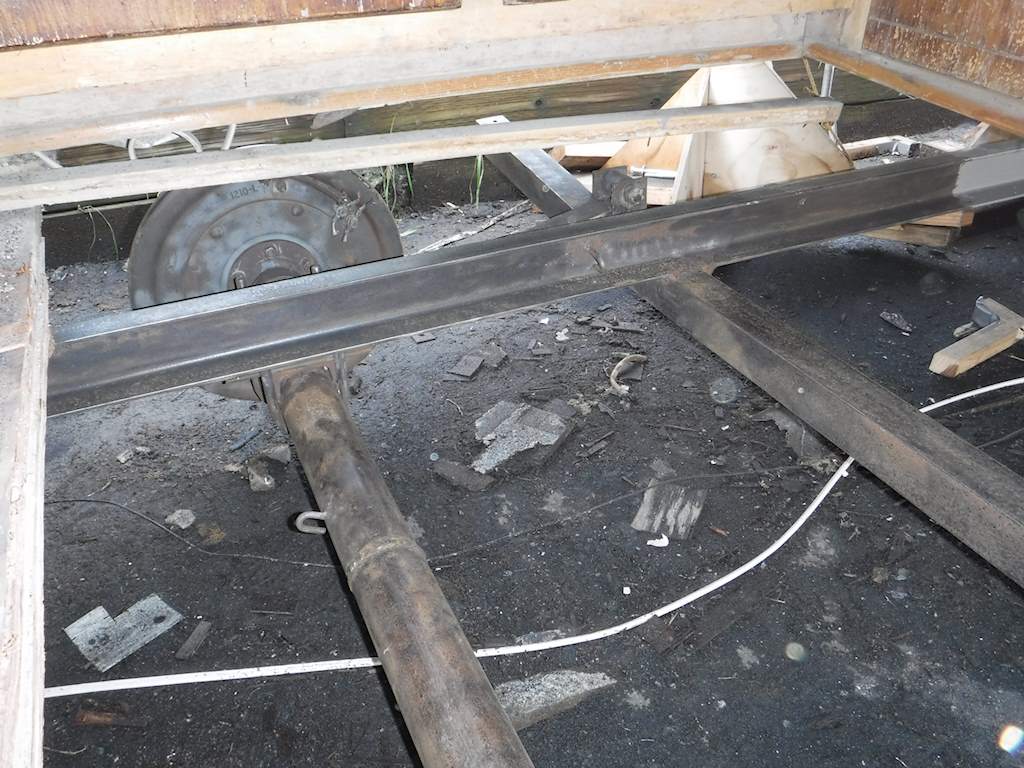 Note that this section has the axle, meaning a lot of extra nooks and crannies.
 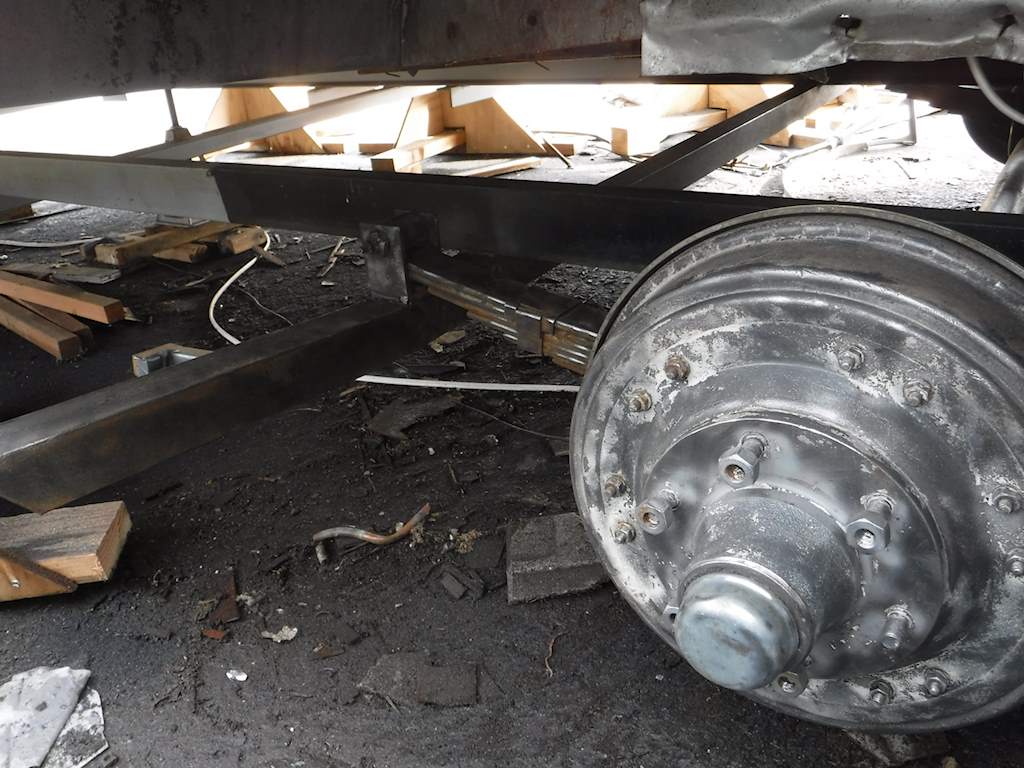 Those also had to be cleaned. Also this time around I painted some bits up front that I couldn’t get to from inside, and the wheels.
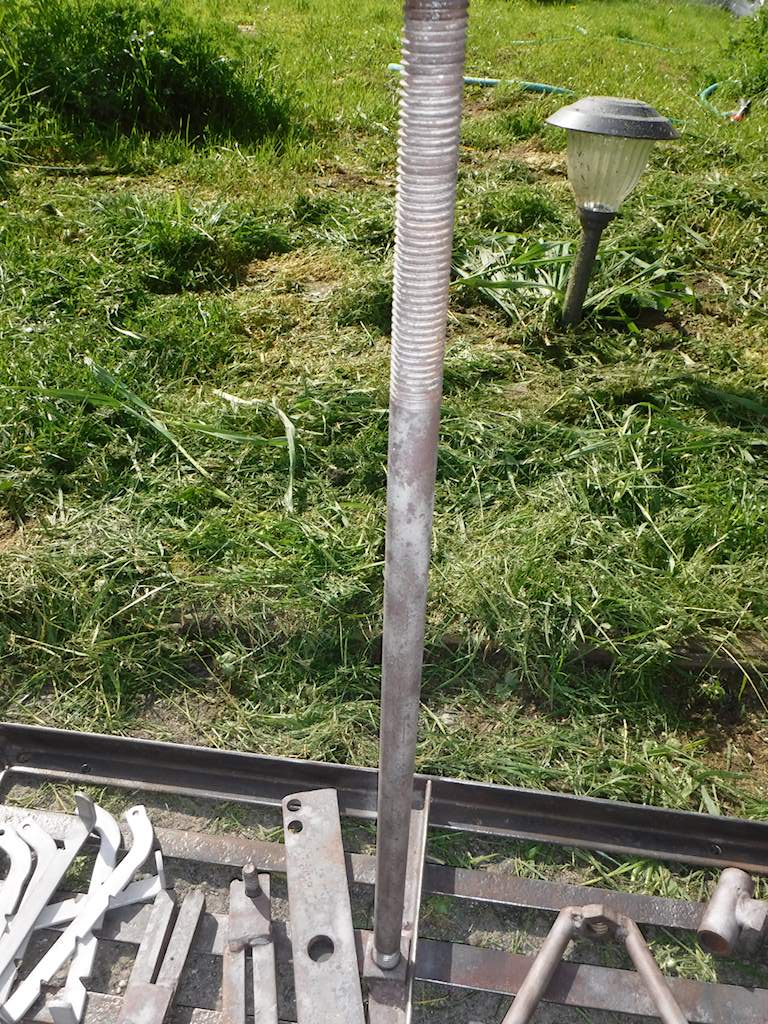
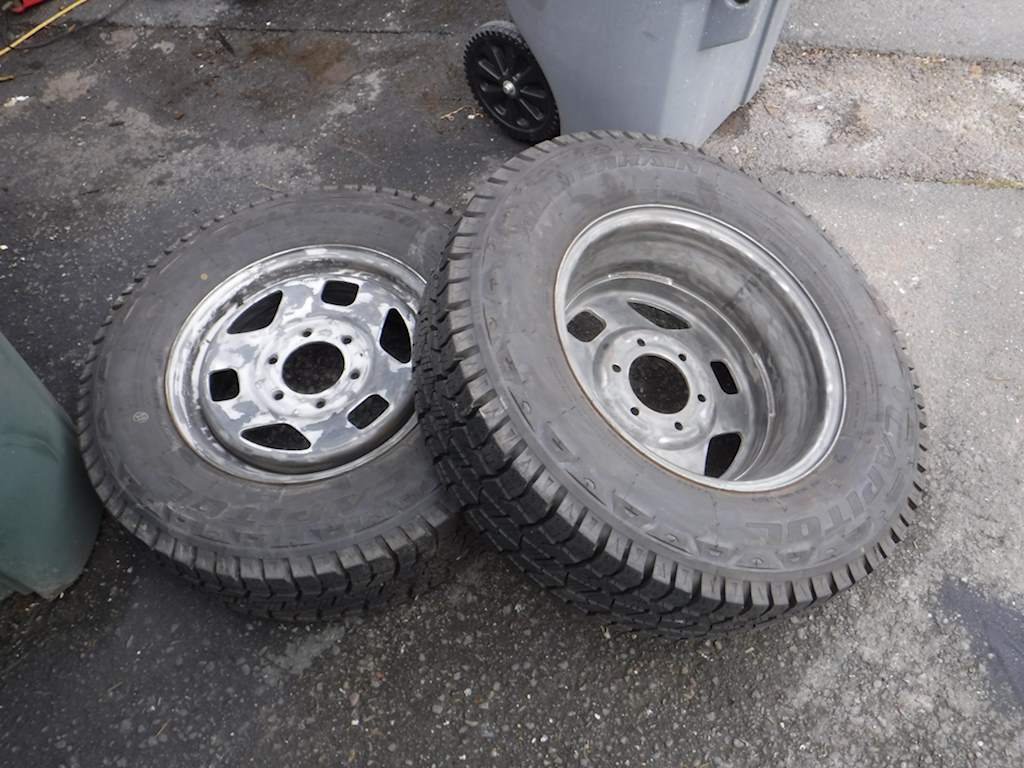 There’s an interesting mount for propane tanks. This bolts onto the front of the frame. Kind of rusty, but it’s salvageable. I’m trying to keep as much of the original as feasible.
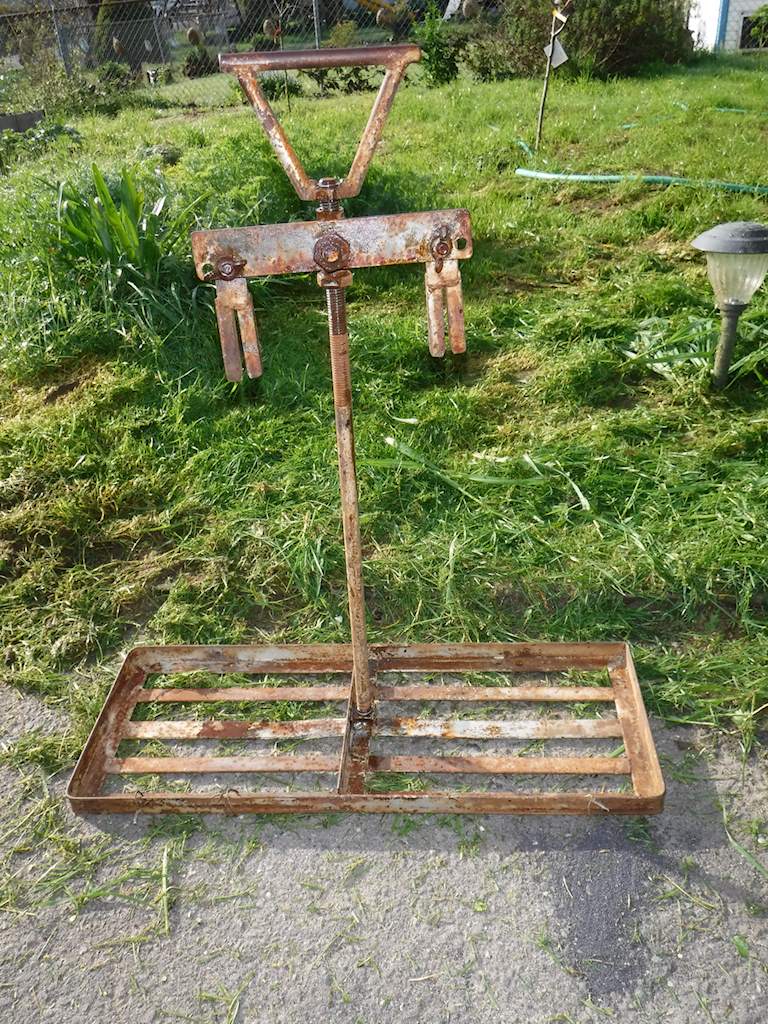
 The frame currently has two coats of paint, the wheels have two, and the propane tank holder has one. I’ll get frame and tank pictures tomorrow. I like the way the wheels look.
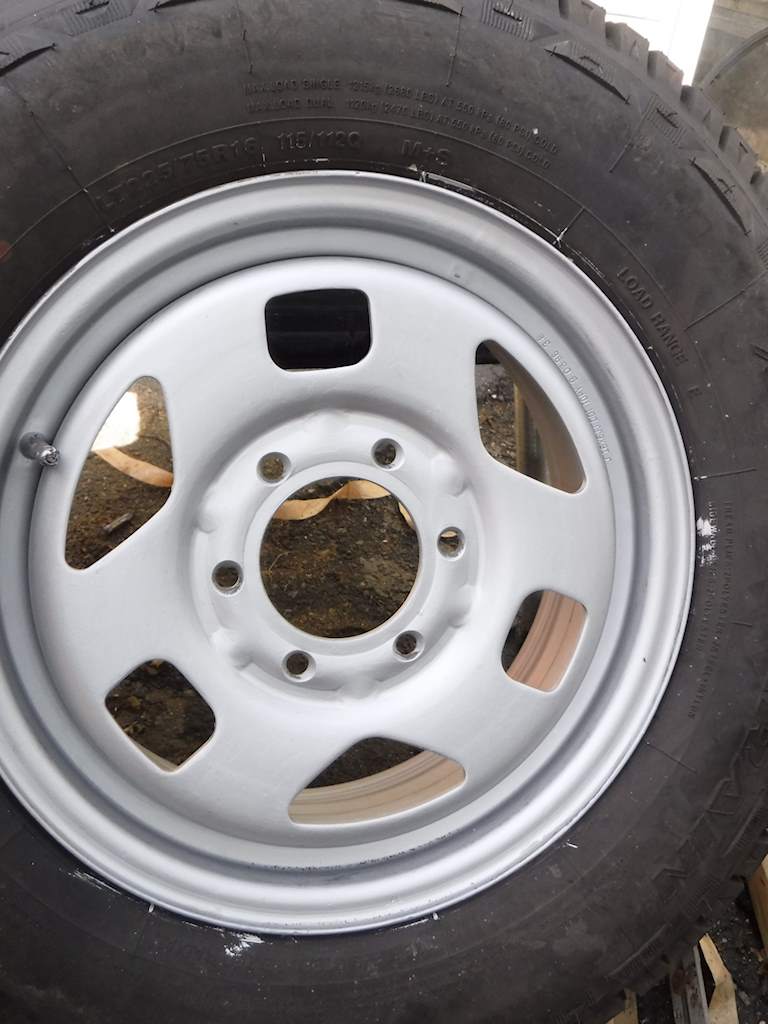
 I mostly really like this Alumathane. But it’s “only” good for 250 degrees Farenheit. That’s way higher than most of the trailer bits will ever get, but brake drums could get hotter. So for that I got this stuff:
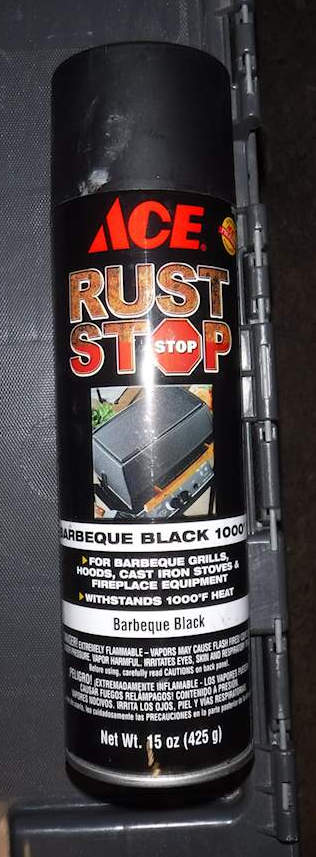
 And I was able to get two coats of the Alumathane on. It’s curing now.
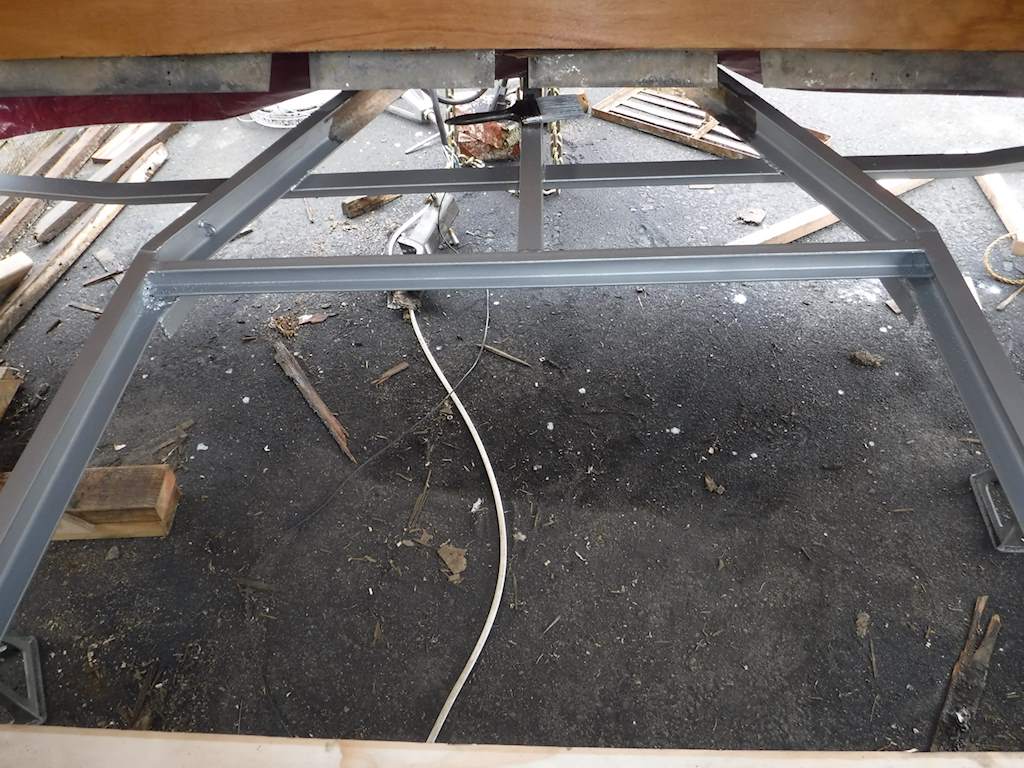
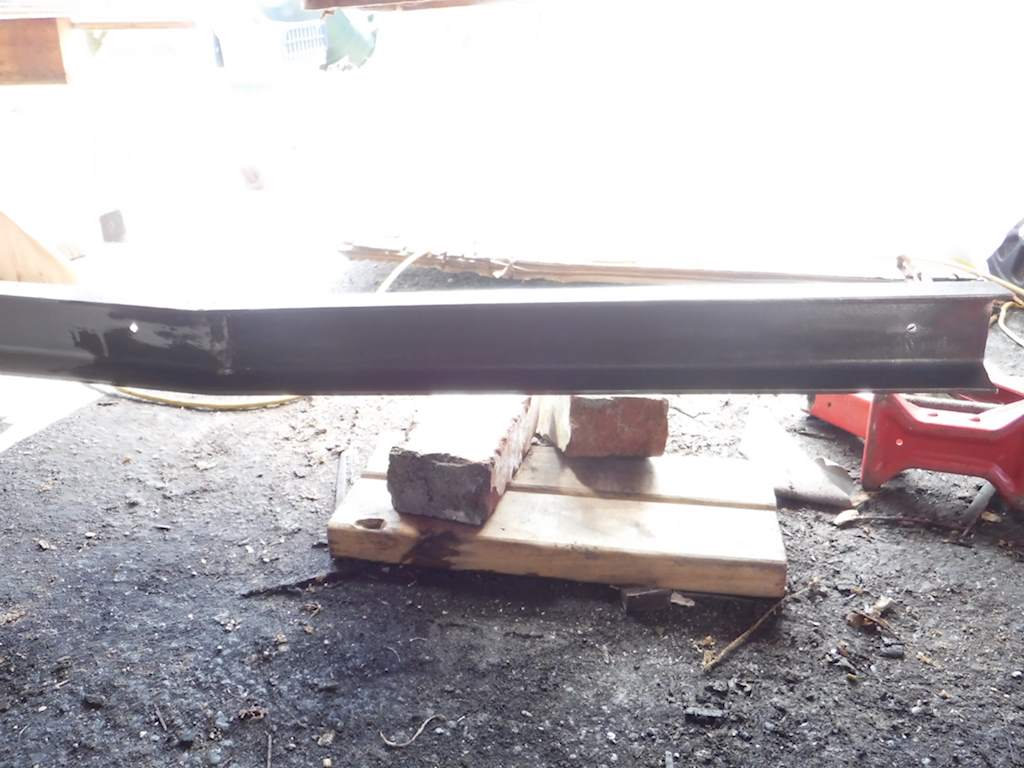
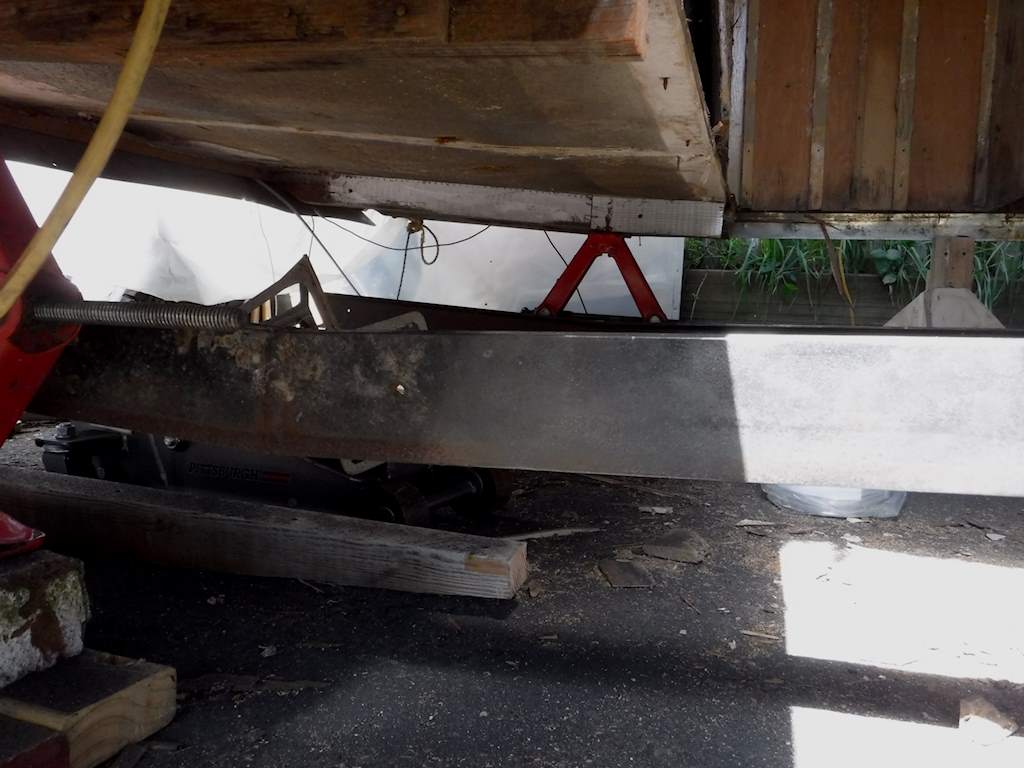
 Then I need a couple dry hours to get this floor section in and the next one out.
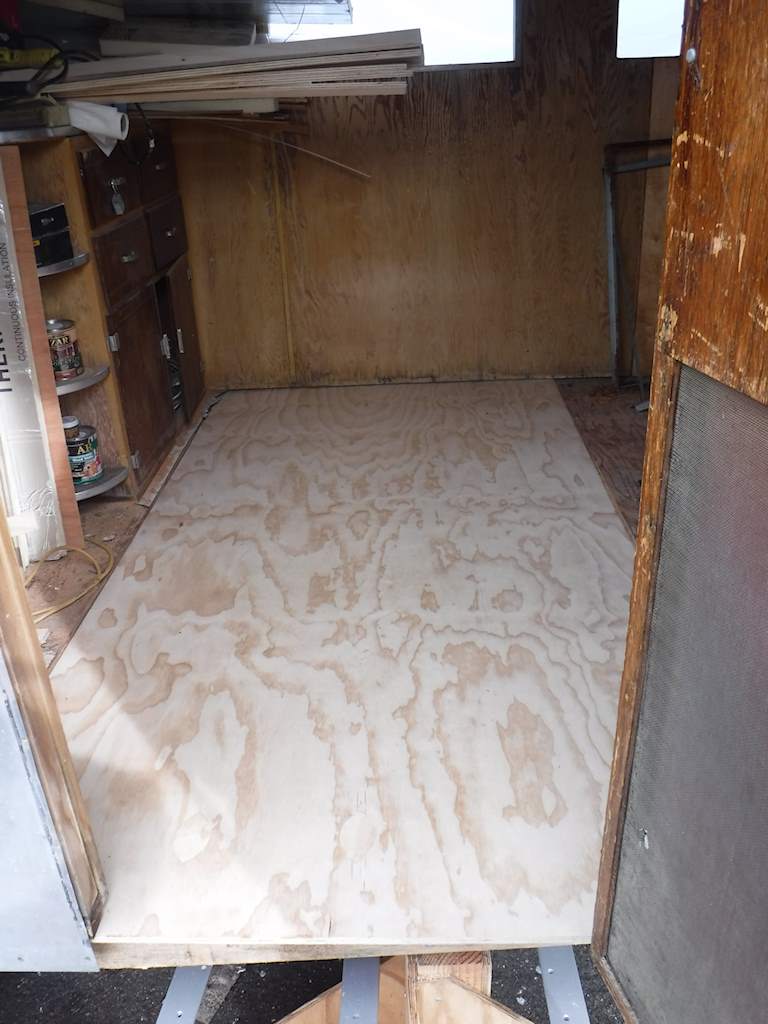
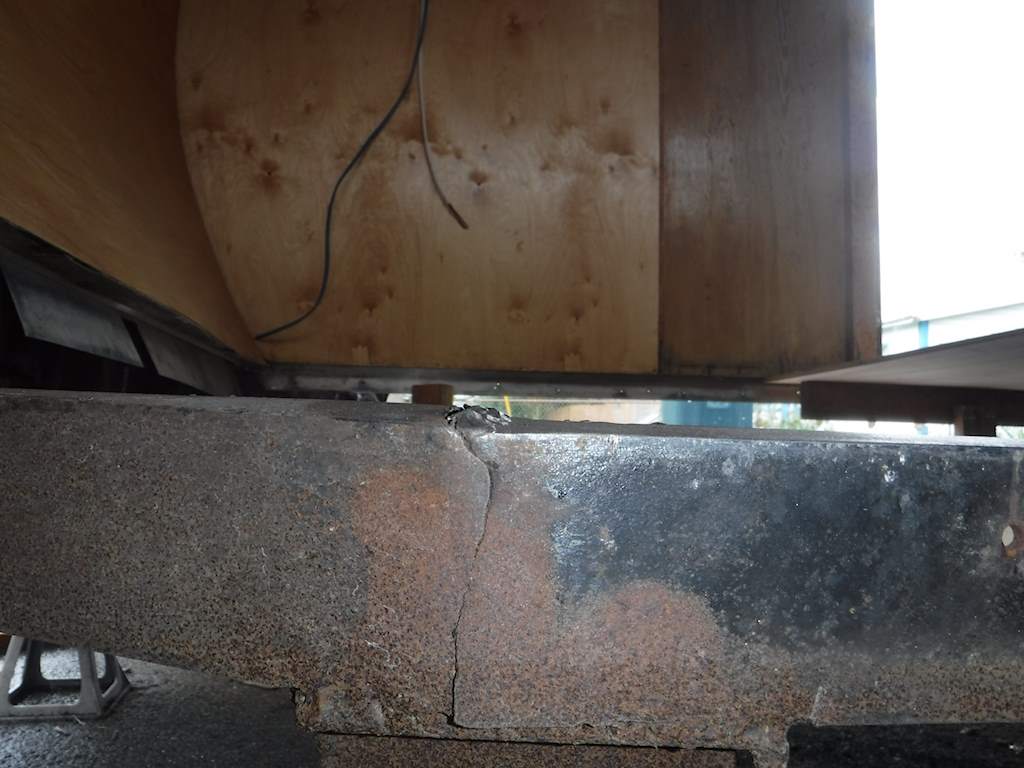
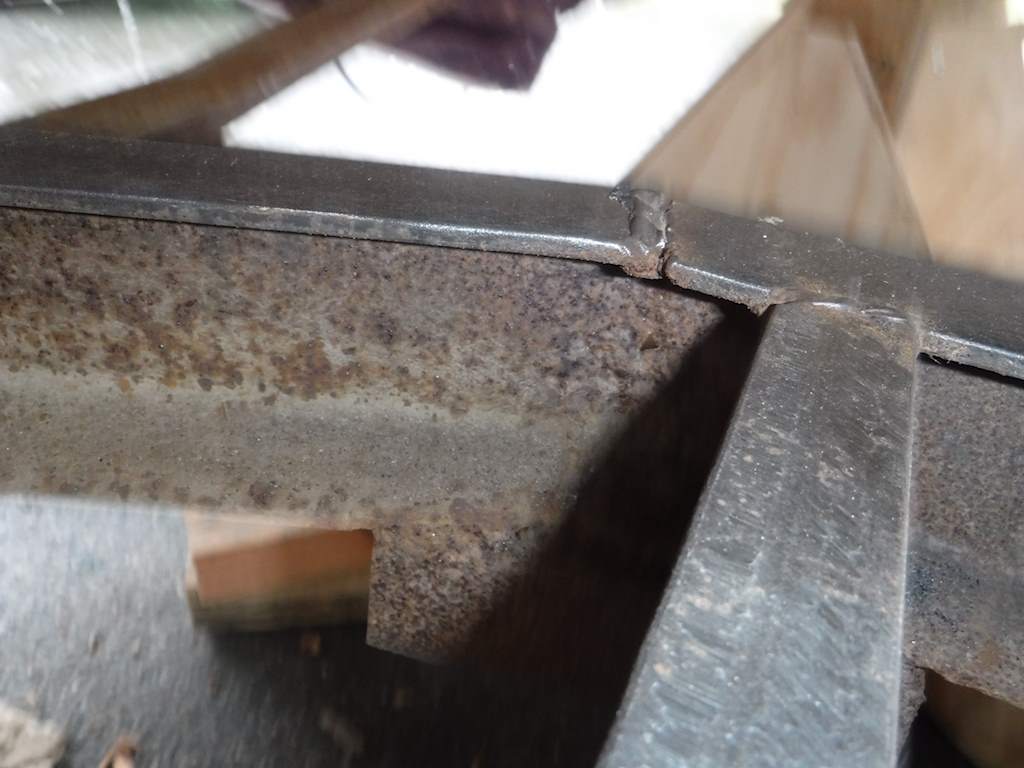
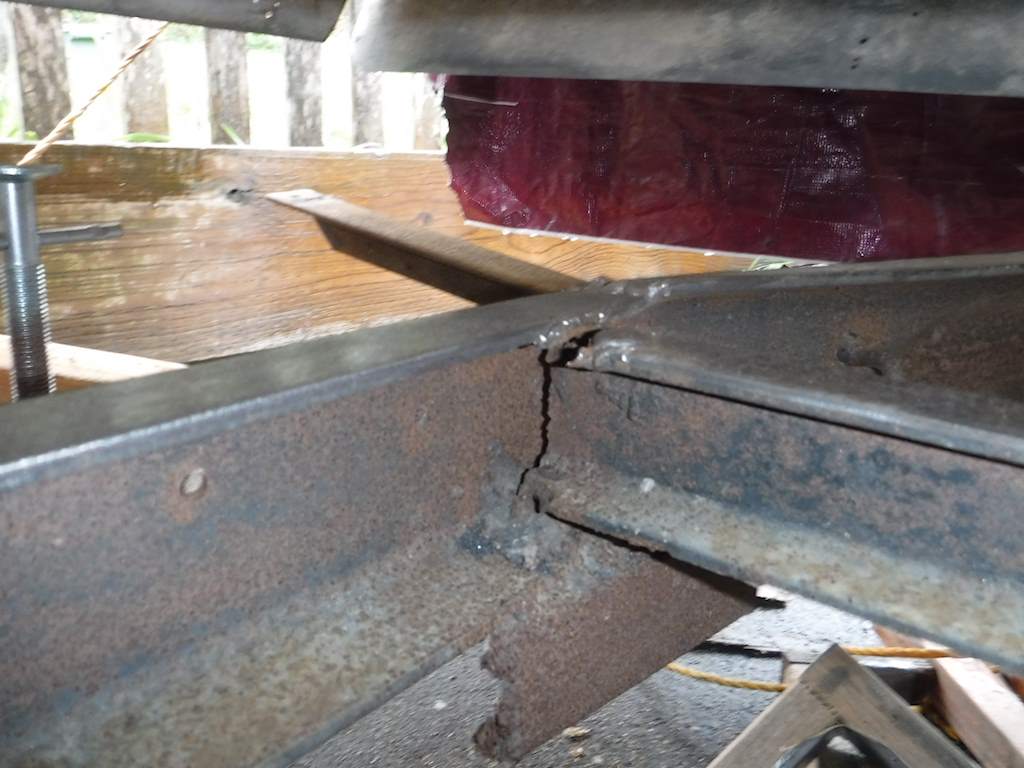
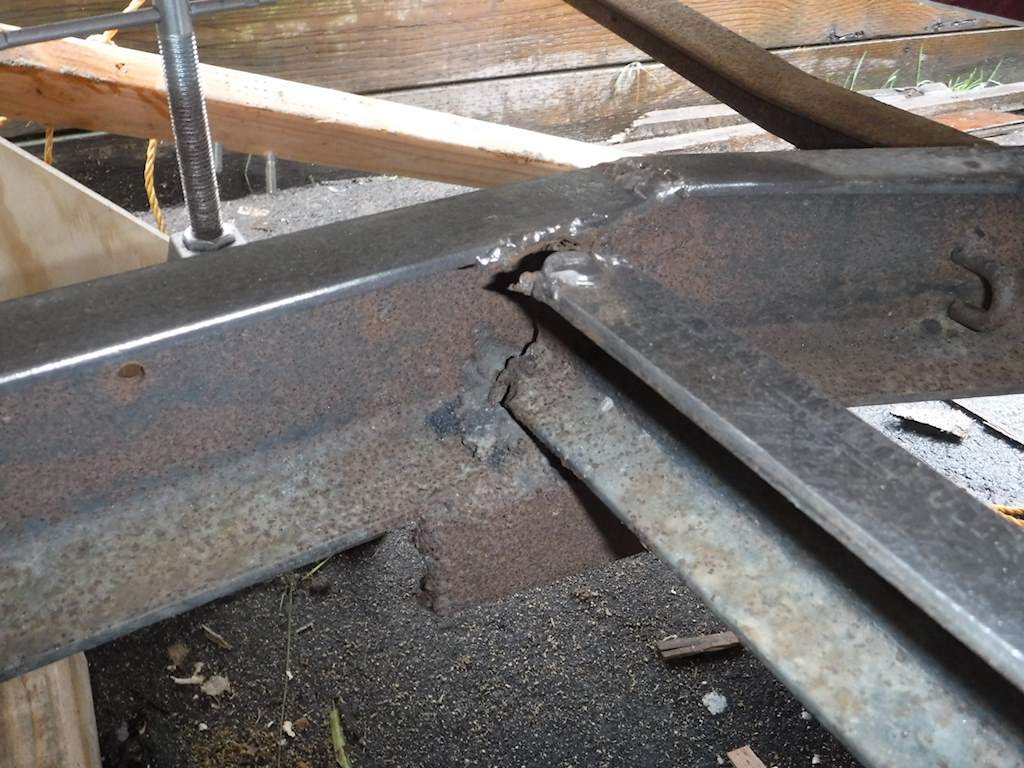
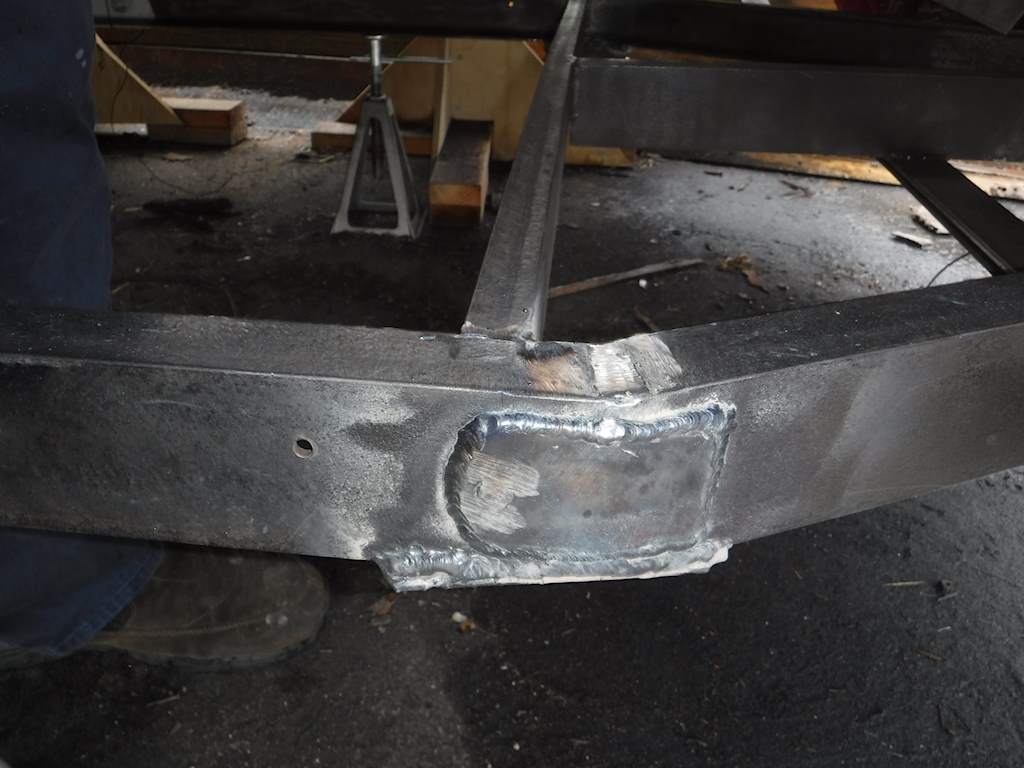
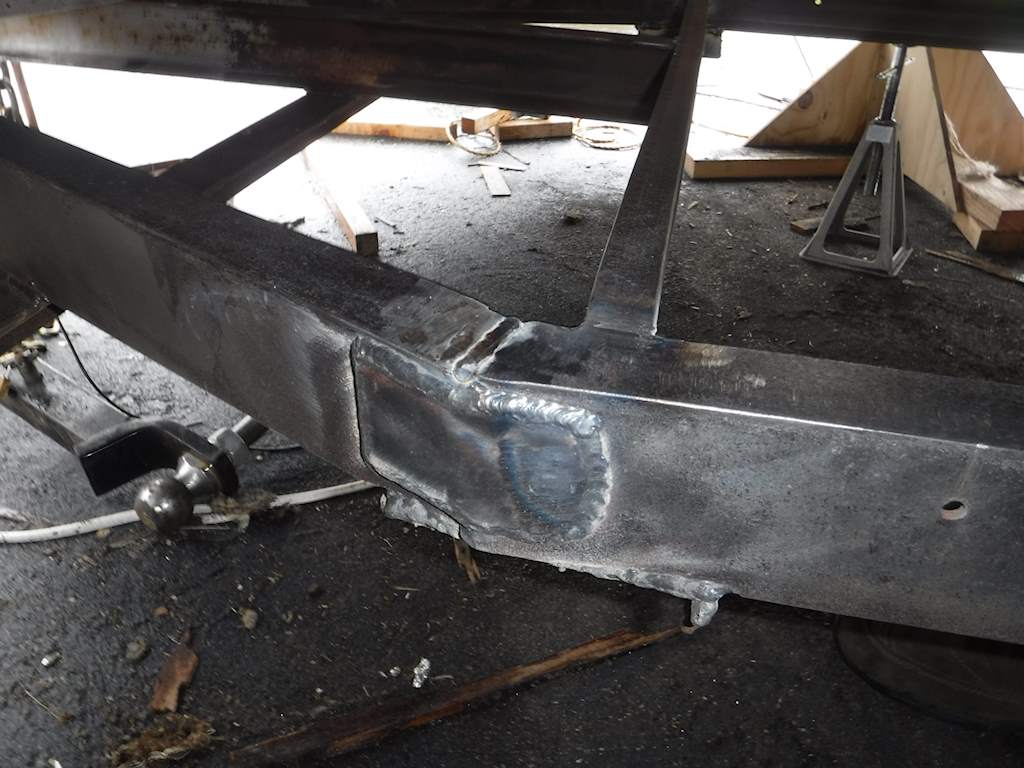
 Definitely rusty, but only fairly light surface rust. That must be because (according to the previous owner, who I believe was the second) it was parked and not moved. So I cleaned the rust off. Mostly I used a 4.5 inch grinder with a wire brush, but I have a small sandblaster and used that where the power brush didn’t reach well. At this point I looked at the welds, and all look good. Decent quality and no visible cracks. And the first coat of Alumathane is on.