May 31, 2016

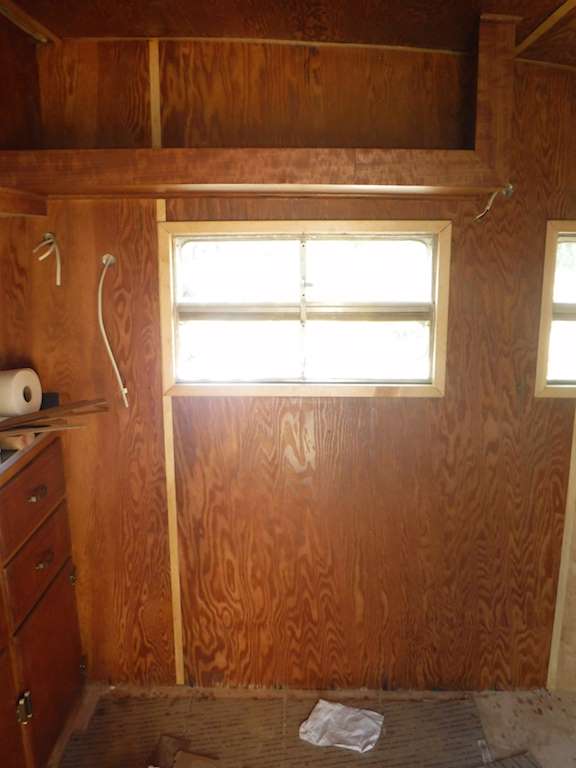
I’ve slacked off just a bit, but I’ve still been making some progress. Mostly nothing worth photographing, but today there is. I’ve finished the front of the trailer, down to the floor and less the wiring. Here’s looking from the kitchen to the living room.
0060


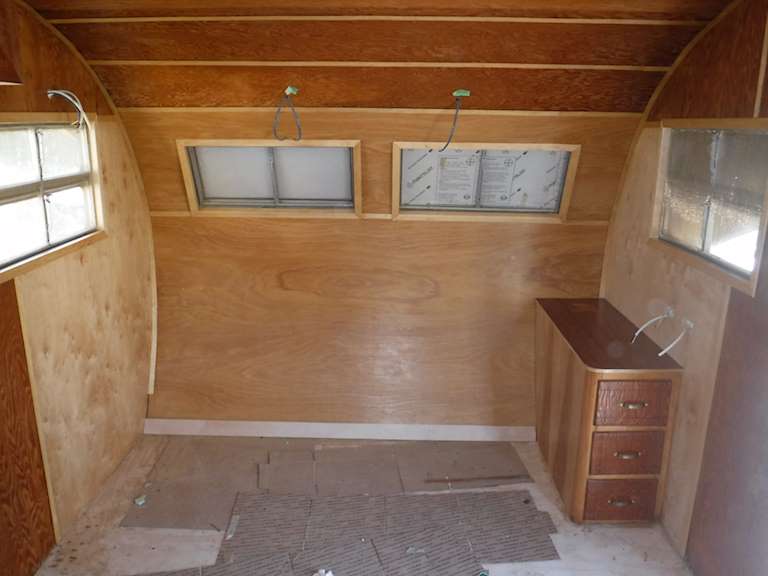
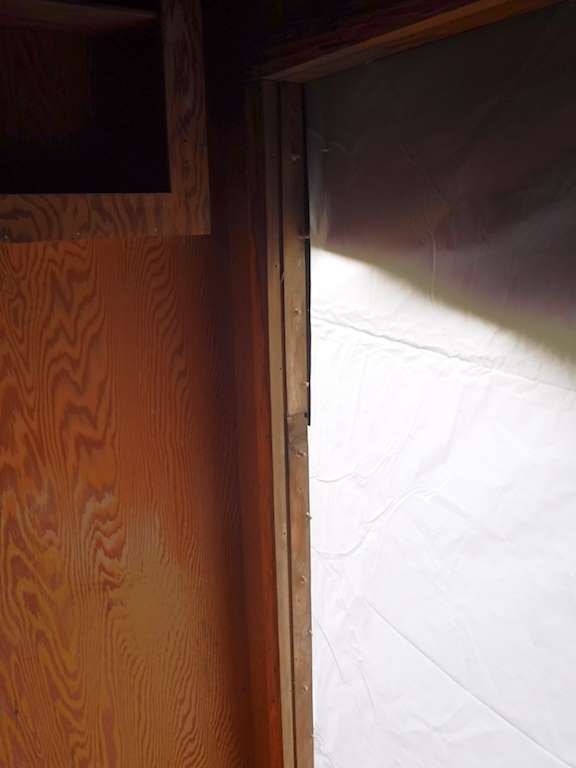
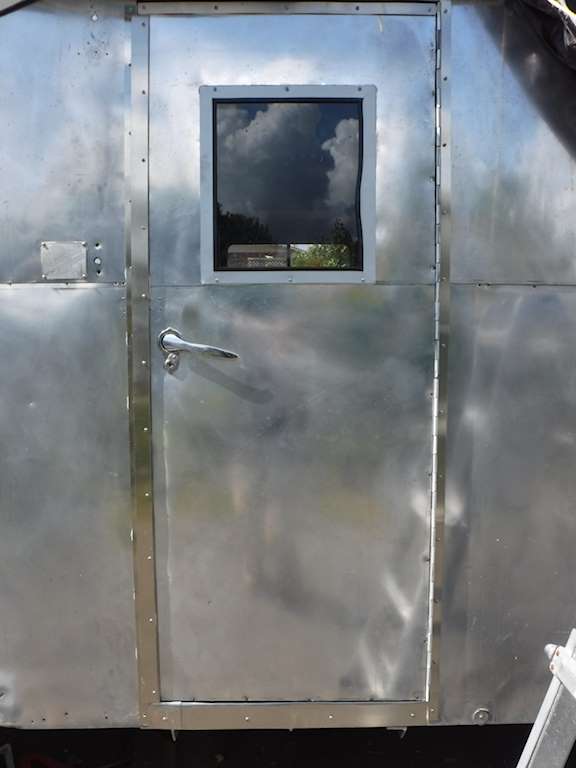
Here’s what you see when you step in through the front door.

0065

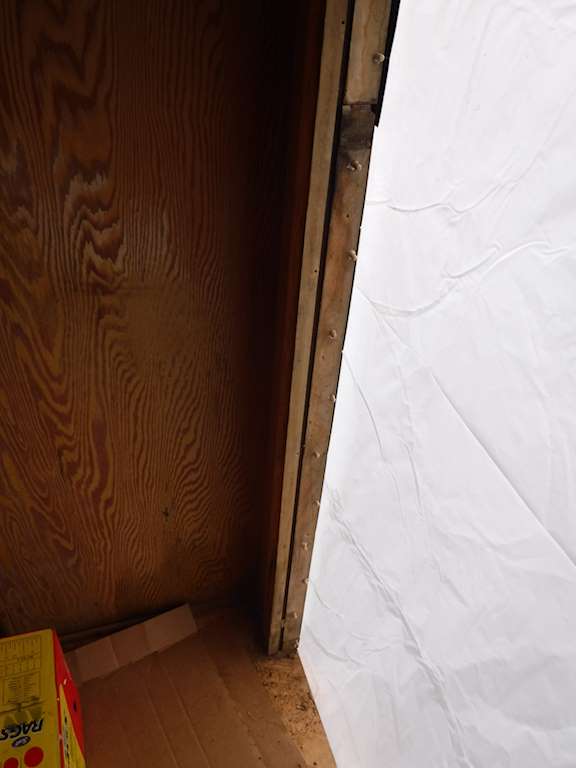
And from the living room looking right toward the front door.0061


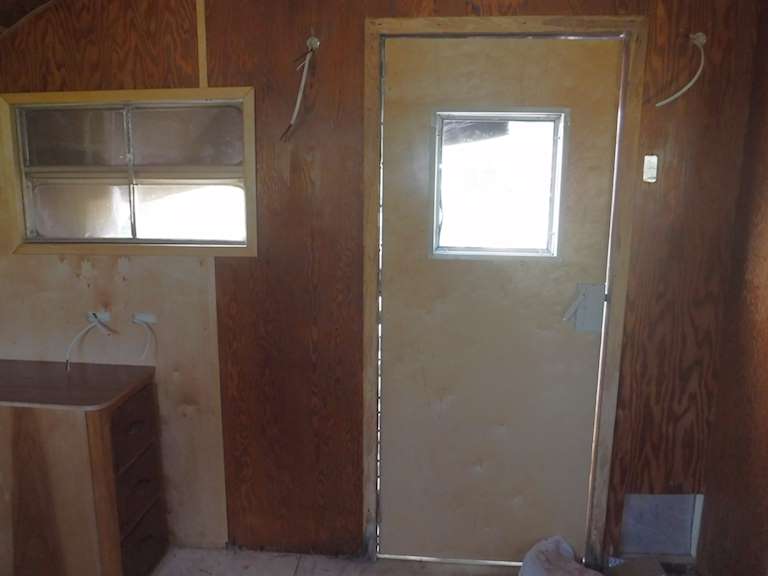
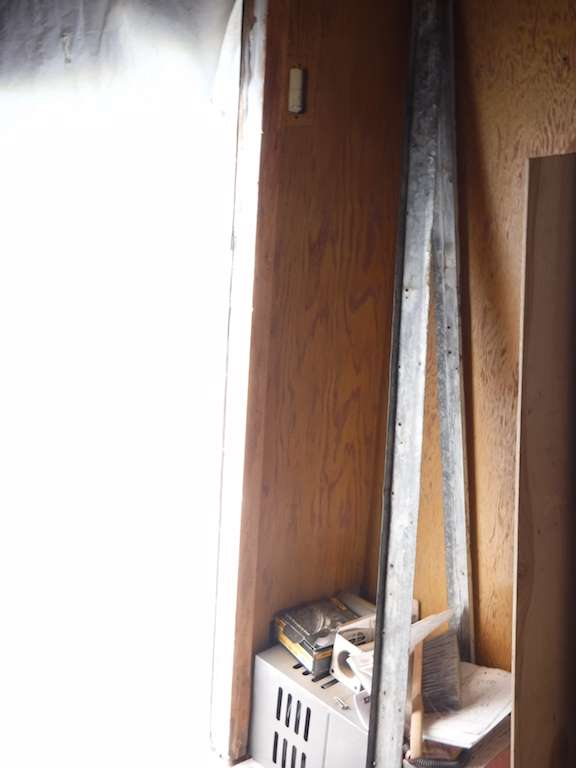
And from the living room looking toward the kitchen.  Yes, the kitchen is currently full of stuff.  Every flat surface has something on it.  I don’t have many work surfaces.0064

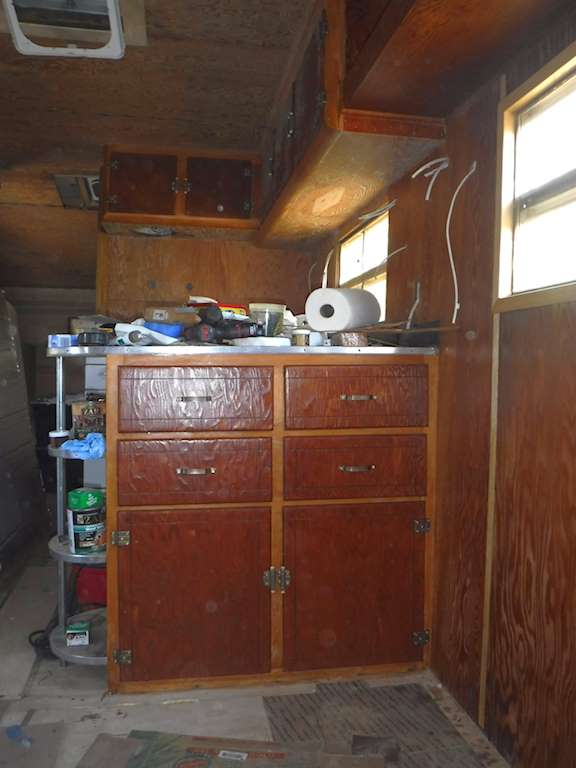
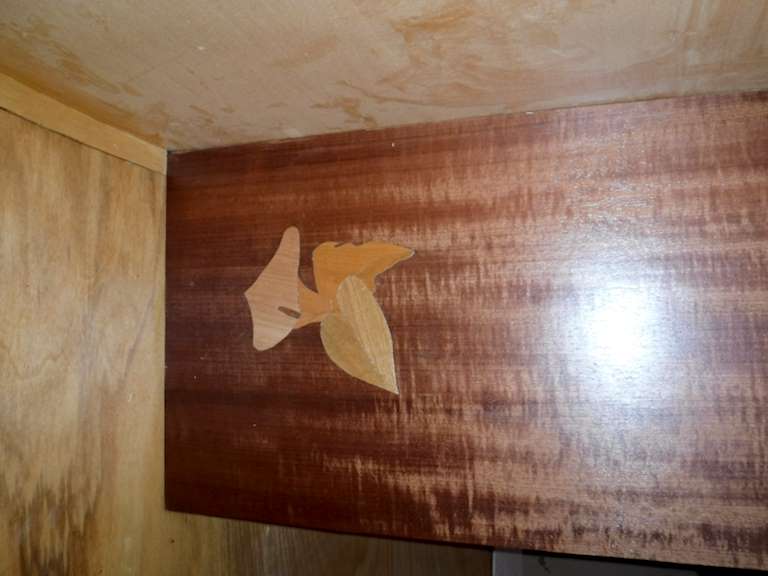
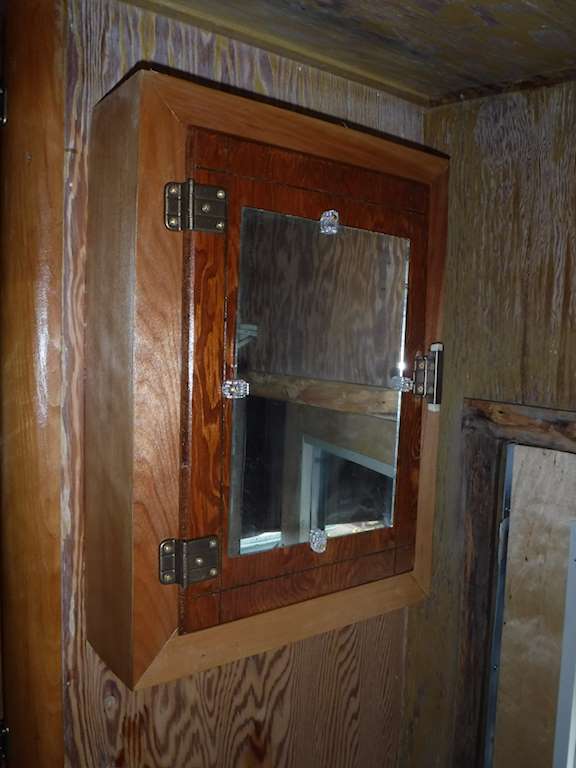
I continue to play with veneer.  The cabinet in the living room is mostly covered with veneer, except the drawers.  I did this on top:

0011

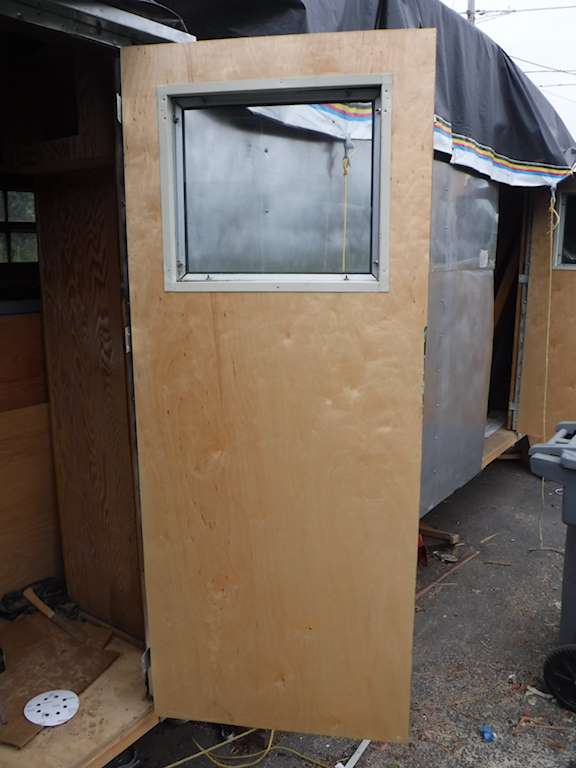
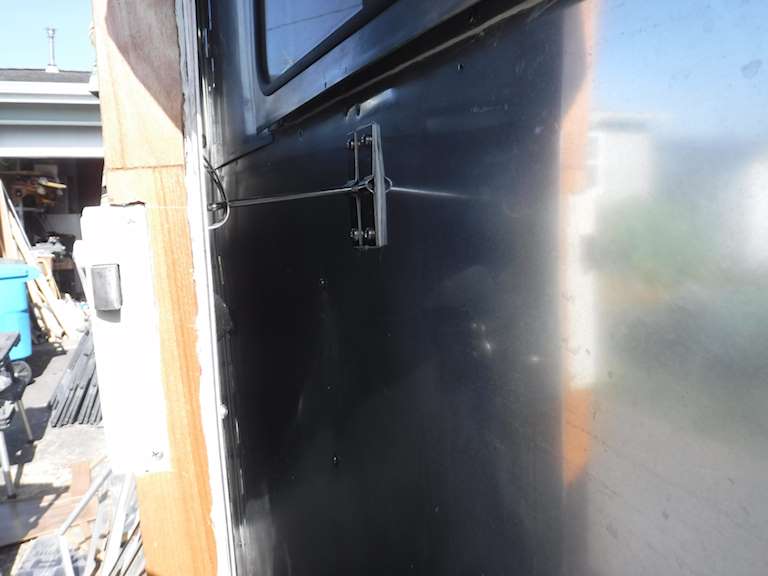
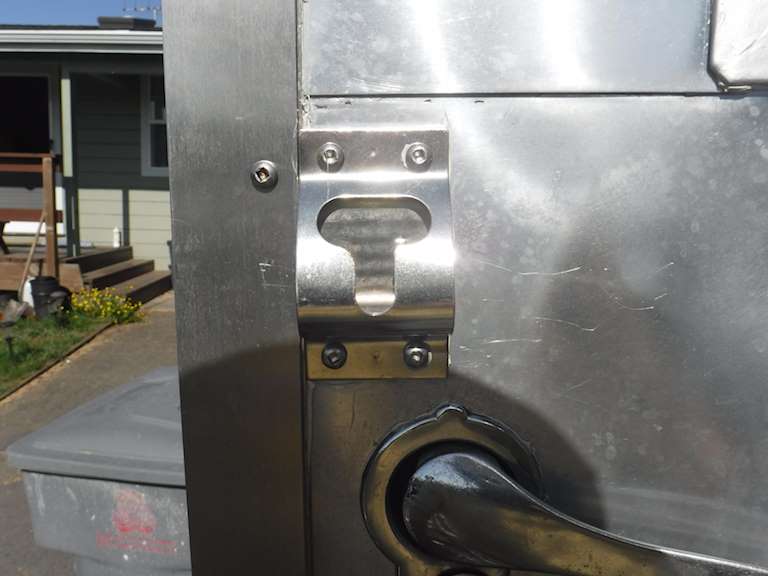
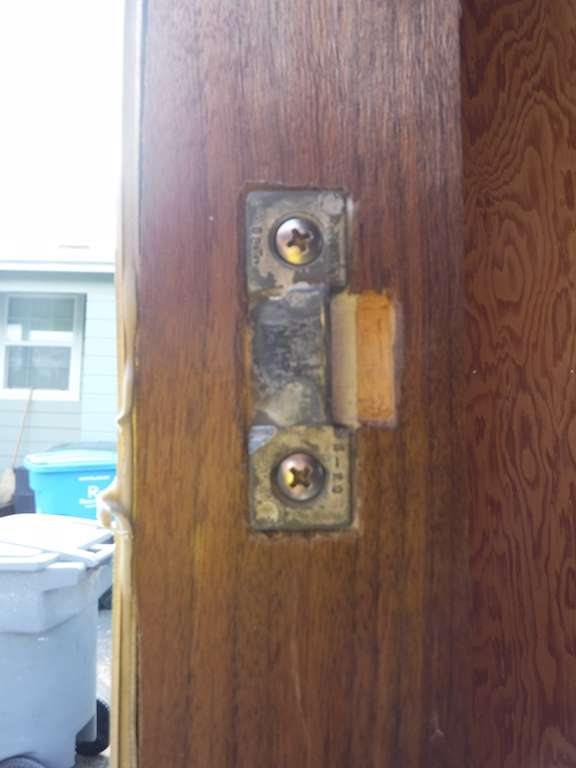
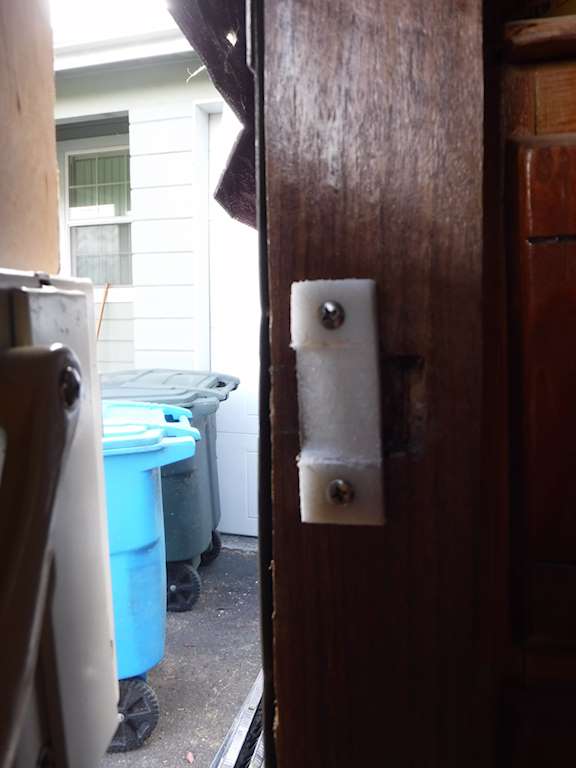
I also put those door retainers, front and rear. The ones I bought don’t work properly.  I had to trim the clip part of them.

0063


0062Note that the left and right sides are different in that last picture.

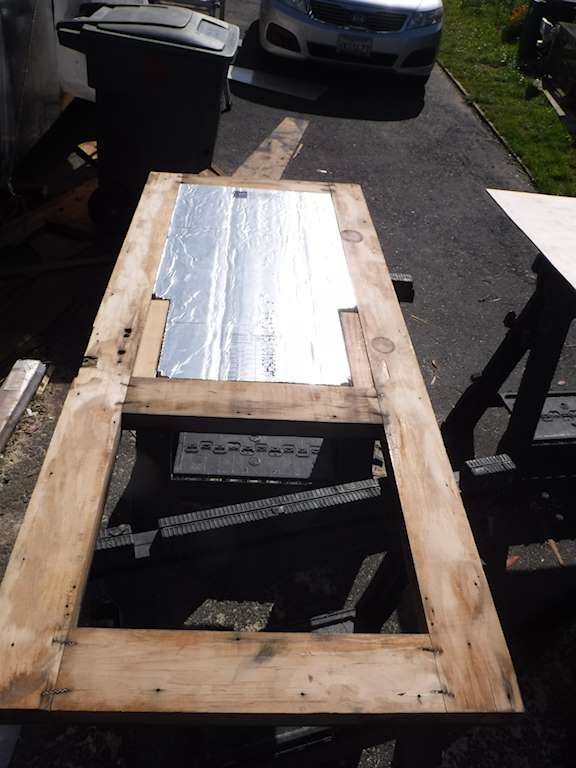
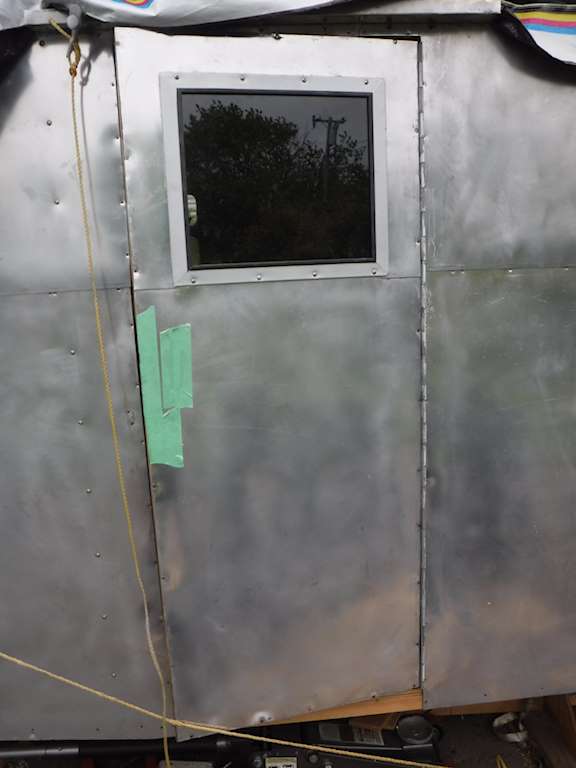
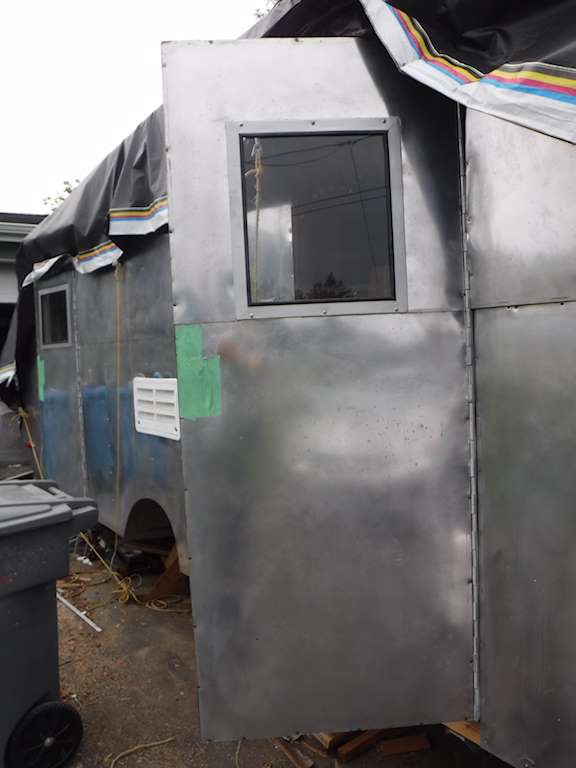
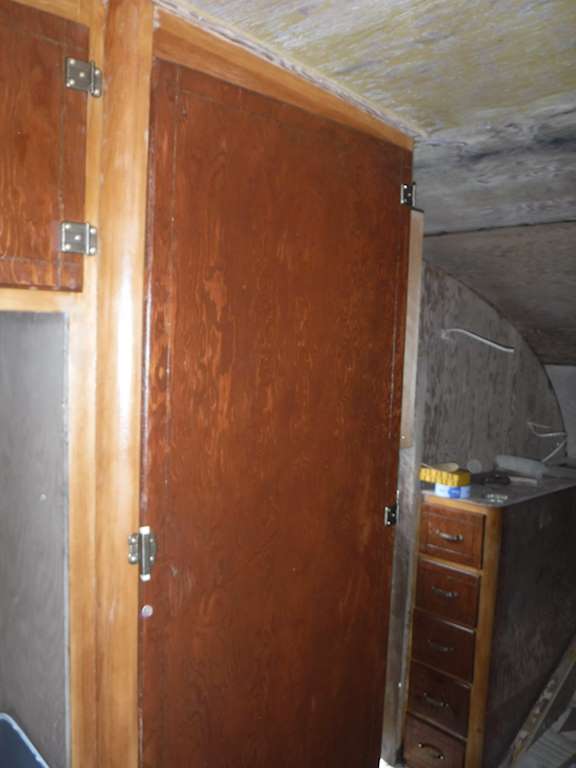
I started to put on the external corner moldings, where the vertical walls meet horizontal roof/end.  But the molding is pretty marginal in size.  It’s about .9 wide by a scant half inch tall. I’m going to buy some a bit larger. I found some that’s an inch and an eight by 5/8 inch that I think will do better. So I have to leave that for a few days.  I think I’ll continue on the interior.  Probably do the bathroom to the point where I can construct the bed.

May 21

I’ve slacked off just a little in the last week or so.  I’ve been doing some work inside the trailer. Removing tannic acid stains, sanding and staining and applying polyurethane, etc.  I finally got my locks back from the locksmith. The lock from the front door was fine, and the locksmith was able to make me keys. But the back door cylinder was non-functional. Vintage Trailer Supply sells a replacement (sort of) cylinder. I bought one.

The locksmith was able to get it in, and it is able to lock and unlock the rear door. But if the cylinder is connected to the interior mechanism, you can only lock and unlock it from the outside with the key. So I disconnected the cylinder. The front door locks from inside and outside, and the rear door locks and unlocks from inside only now. So sometimes I’ll have to walk another twelve feet or so. I think I can live with that. I sandblasted the interior pieces and painted them a tan or beige which I think goes better with the new Birch plywood. So before I started working on the doors they looked like this:

0025

0026And now they look like this:

0001_1 0002_1

I can’t find one of the strike plates. This is what they look like:0003_1
But I had some HDPE about the right thickness and made this:0004

Which should work about as well. I still have a bunch of work to do around the door, but it’s usable now. And I think it’s a significant visual improvement.

May 7, 2016

I’ve spent the last couple days working on the interior cabinets.  My wife Barbara has been collecting stuff for the trailer. Linens, kitchen gear, etc.  It’s starting to take up space, so I decided to get the cabinets usable.  After sanding, restaining, and two coats of satin polyurethane the cabinets look like this:

Here are the kitchen upper cabinets.  Note the light colored areas on the right side.  That’s where I didn’t sand enough.  This picture makes it look worse than it is, but what happened is that the original varnish, which is in horrible shape, had penetrated into the wood.  When I sanded it I thought I had removed it all, but if there’s even a little left then the wood doesn’t take the stain.  Repairing that would be tricky, because sanding will affect the properly-stained area around it.  I haven’t decided what I will do about that, if anything.  Mostly just sand a little deeper everywhere else.
0002
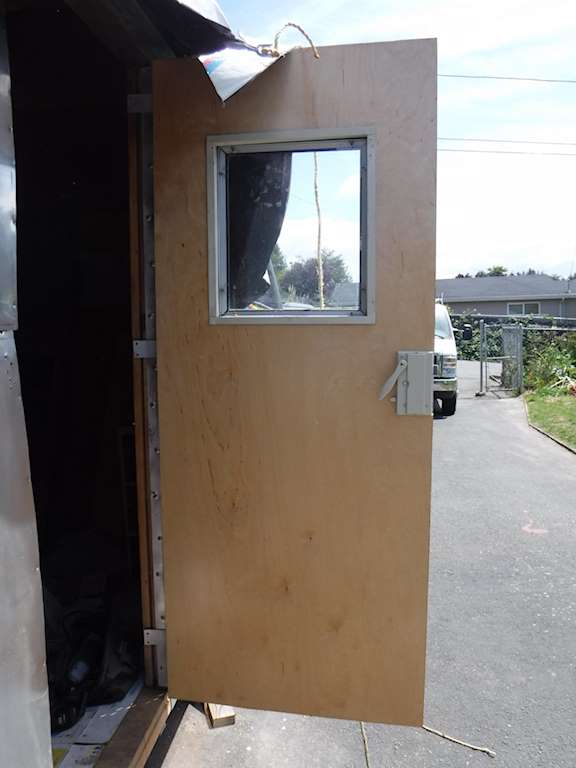
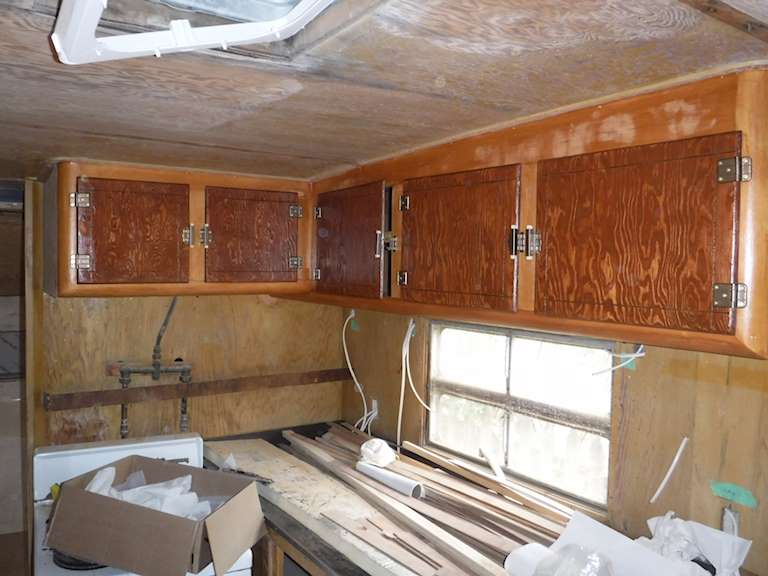
The warm color for the frame and dark stain for the doors and drawer fronts was the original, although none of the original can be used without stripping and re-staining.

Here is the left side.  I can’t get a single good picture- the cabinets are too long and the space is small.0006 0007 0008 0001 0009

I’ve been trying to learn to work with veneer. I have big plans for future work, but this is my first real attempt.

This is the medicine cabinet, which for some reason is just outside the bathroom. Here’s what it looked like with the door removed and sanded. Not bad.

0003

But I like this better:


0005
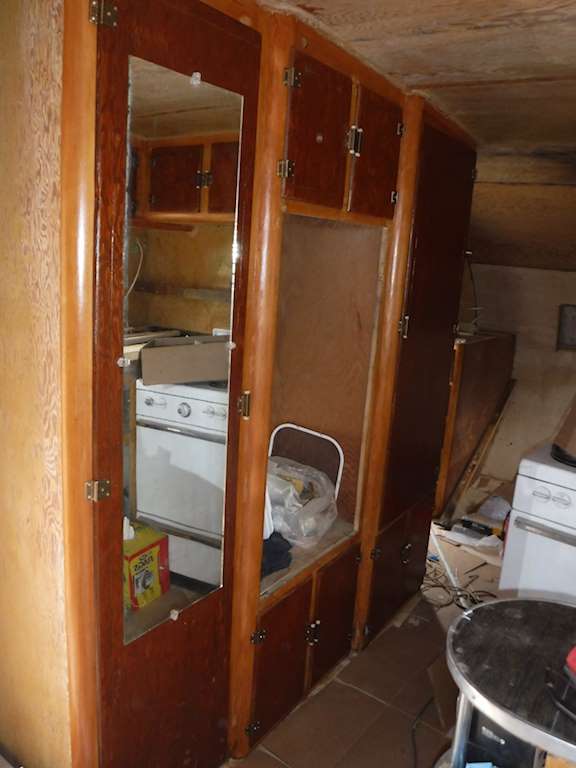
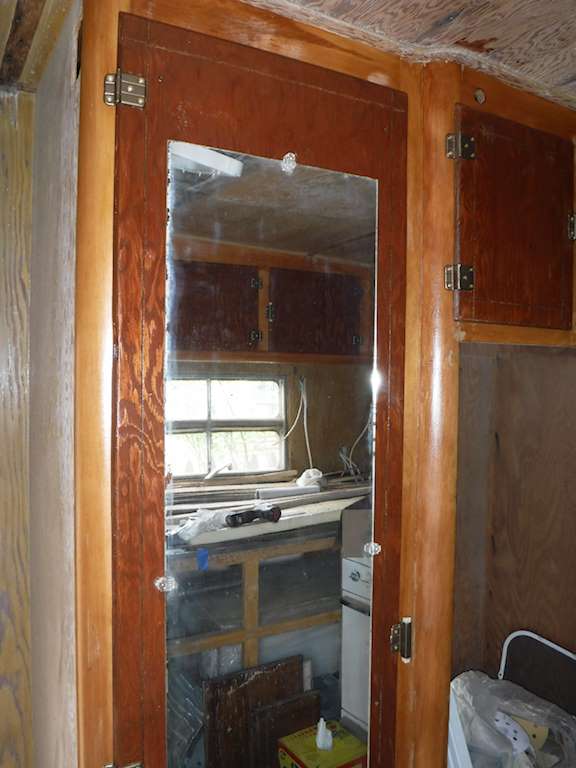
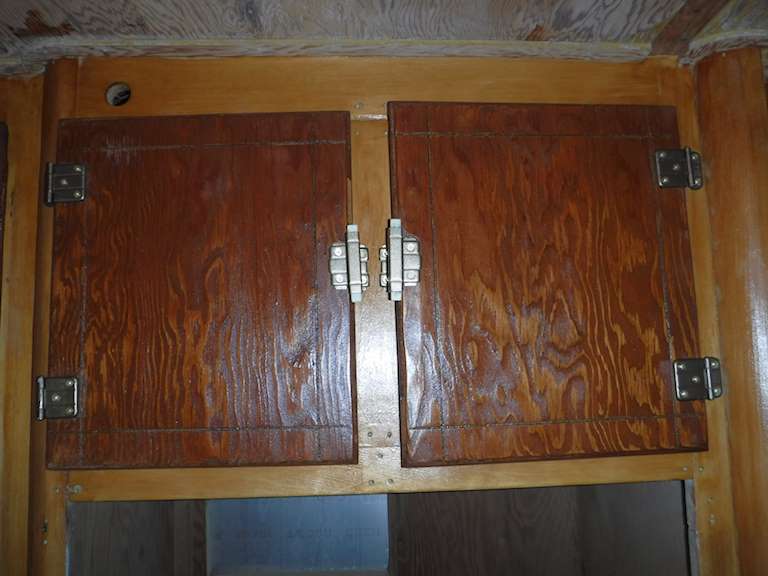
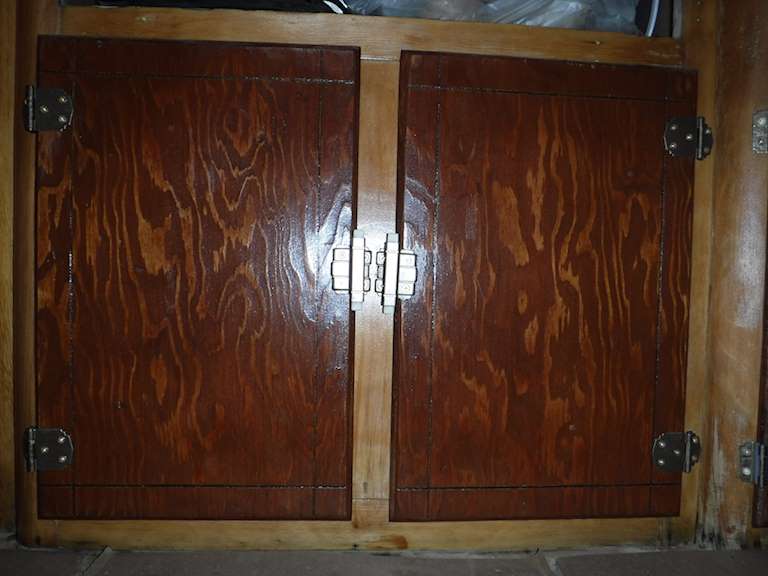
This is birch veneer- ironed on, stained, and two coats of polyurethane.

May 4, 2016

I’ve been working on doors for the last several days.  I don’t have locks yet.  I’ve disassembled them, and the locksmith made a key for the front lock.  I’ve sandblasted and painted the handles and inside lock parts.  They are now almond.  The front outside handle looks excellent, and the locks themselves are fine.  But the rear lock was not working.  I’ve ordered a replacement cylinder from Vintage Trailer Supply, and when I get that I’ll take it to the locksmith, and then in a few days I should have front and rear locks keyed alike.  Yea!

The outside was pretty ugly, and the entire inside had been painted brick red- door, window frame, and lock.  Like this:

0026 0025

I pulled off the inner skin, which was quarter inch ply.  I put some polyiso insulation where there was a space internally.  I cut some birch ply to the approximate size, and marked for gluing.

0014 0015 0016

Then I spread on the wood glue, put in two brads at the corners, and routed the outside shape and the window opening.  Then clamped them together.0024

This photo is a demonstration of the woodworker’s lament- you can never have enough clamps. I also sandblasted and repainted the inner trim and the hinges. The trim was that brick red, and it’s now almond. I would replace it with wood, but wood would be thicker and might hit the screen door. I did the hinges in an aluminum-filled paint that’s supposed to be good rust preventative.  I don’t like it- too glittery.  I wish I had stayed with the Alumathane I’ve been using elsewhere. I had already disassembled and repainted the windows.0012 0013

I drilled out all the screw holes, glued in dowels, and re-drilled. I don’t have photos of the doors, but I did it for doors also.Using the iron-on method with special heat-curing veneer glue I put birch veneer on the exposed edge of the door.  I sanded and put a coat of epoxy on the door edges, then two coats of polyurethane.  I sanded the door frame and filled the exposed edge of the frame with a putty of epoxy and microballoons, to give a fairly flat surface.

0020 0019


Then I sanded it all smooth. I put walnut veneer on the exposed edges of the frame.  I haven’t cleaned the frame veneer yet- just rough-cut with a saw. Then I put everything back together, although I haven’t yet trimmed for the locks. At this stage the doors look like this: 0021 0022 0023