I haven’t posted for a couple weeks. I’ve been doing a number of non-trailer activities. But still making some progress.
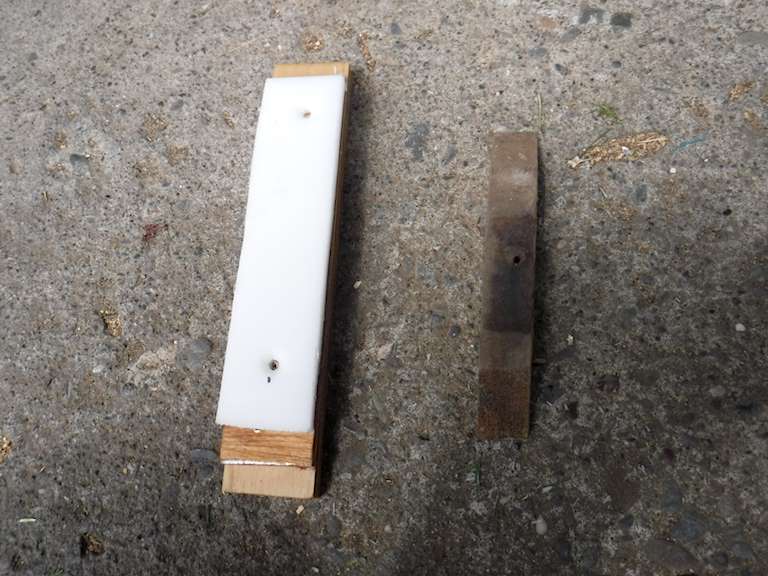
I did some work underneath the trailer to stabilize the floor. In the center there are three places where angle iron runs from one side to another. Then there’s a 2×3 running down the center of the trailer. Originally there was a bit of wood at each of the three crossings. One of the angles I’m going to have replaced with a channel, but I fixed the other two. Originally there was a half in plywood plus a half inch of that pressed wood stuff. I didn’t use the pressed wood, so the new spacer needed to be an inch thicker. Instead of a piece of flimsy wood, I used a larger piece of plywood with a quarter inch of HDPE. That stuff is slick and wears like iron, so the wood wants to rub against the iron slightly it will affect nothing. The original is on the right below, and what I did is on the left.
And here’s what it looks like in place.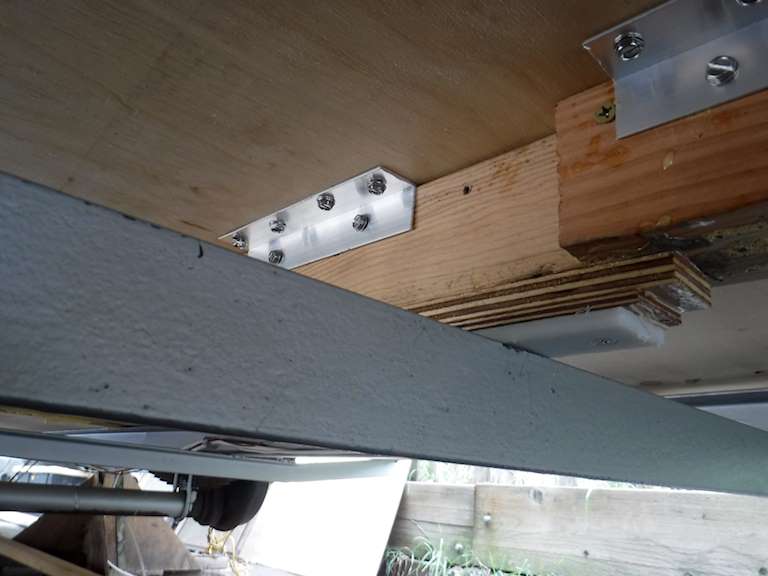
But mostly I worked inside, on the back end. I had removed the old bed, and the wall between the “bathroom” and the bed. The old bed was something like 49 inches wide, and very low to the ground. I determined that if I moved the bed higher off the floor I could make it the regulation 54 inches wide for a double bed. The original bathroom looked like this:
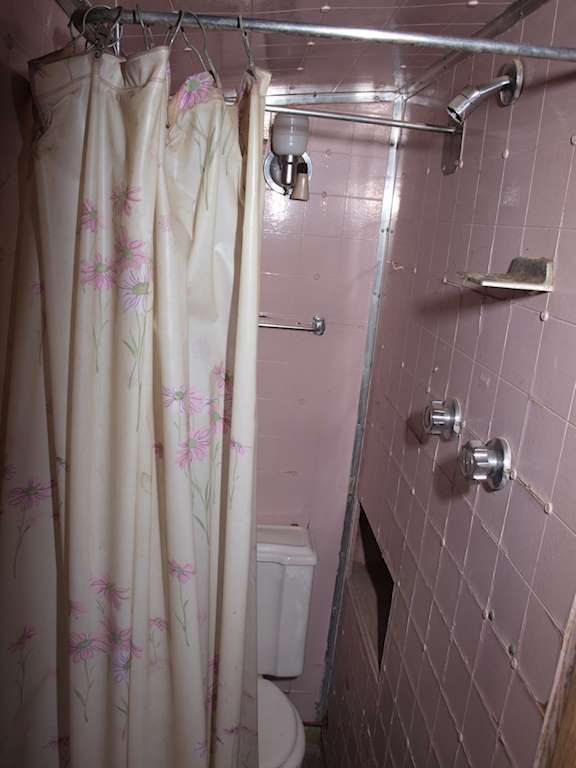
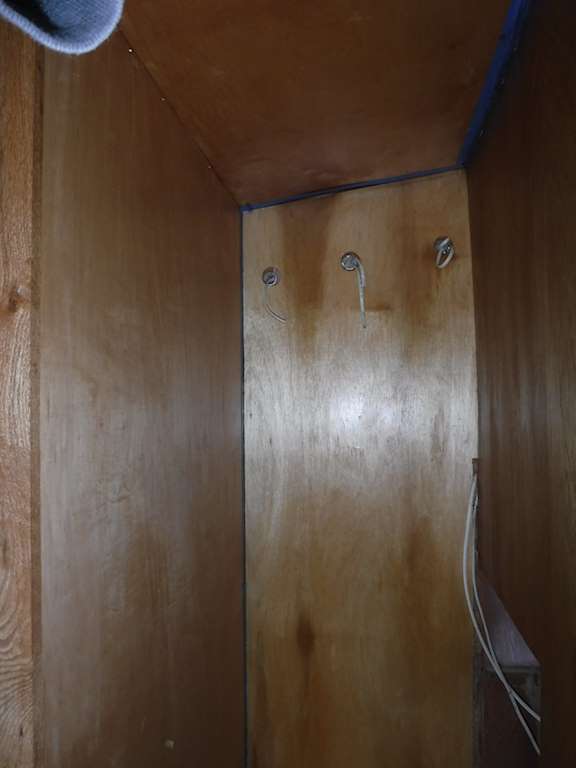
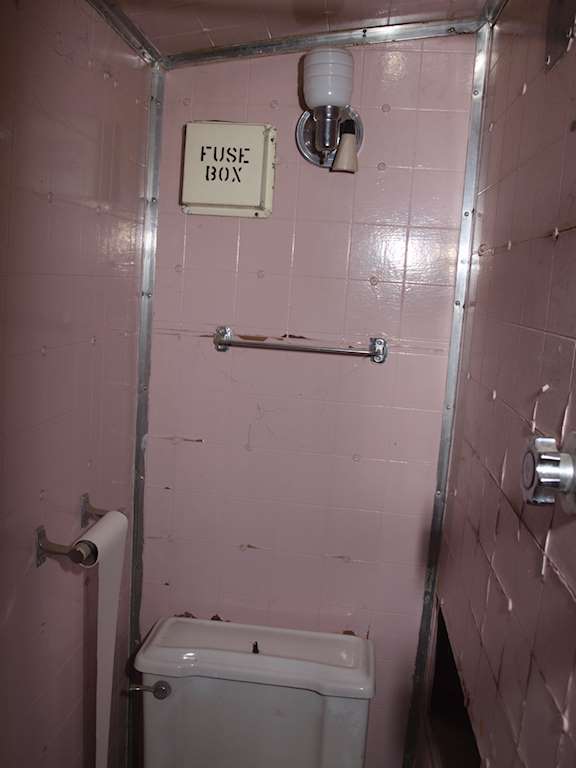 I always thought it fairly silly to put a fuse box that close to a shower, but never mind. The picture can’t capture just how nasty the walls were, with peeling cheap pink paint. I managed to get all the paneling off, and sanded the walls and ceiling with a belt sander. At that point it looked like this:
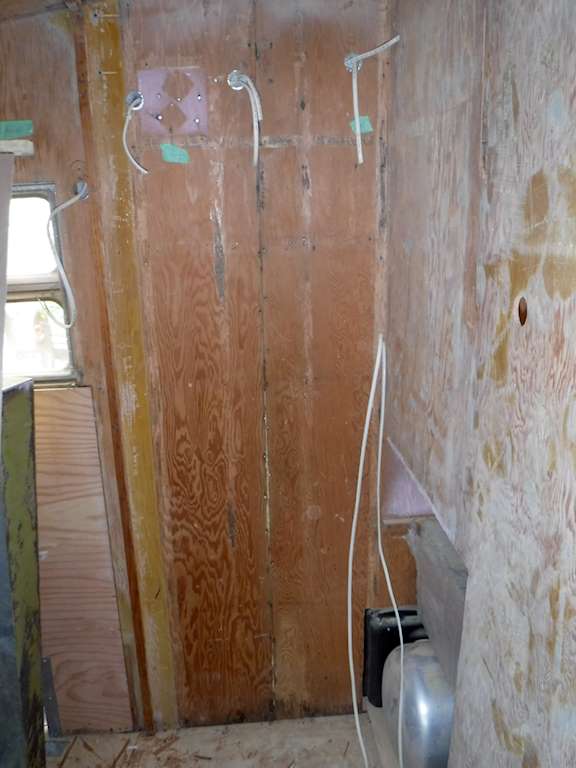
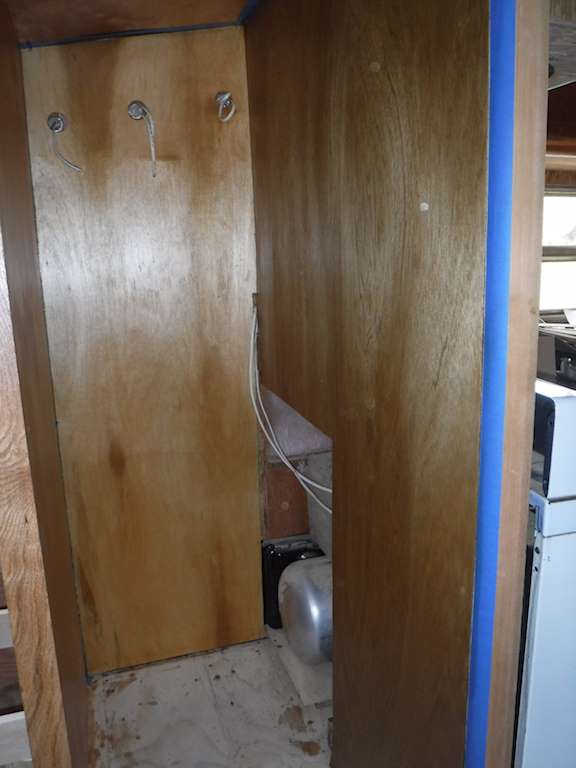
There will be wall sconce light in the center, and a reading light left and right. I left a cutout in the wall on the right of that picture so I can access that side of the water heater. The roof vent is at the front of the “bathroom”, and the wood around it was rotten. So I cut away all the bad wood.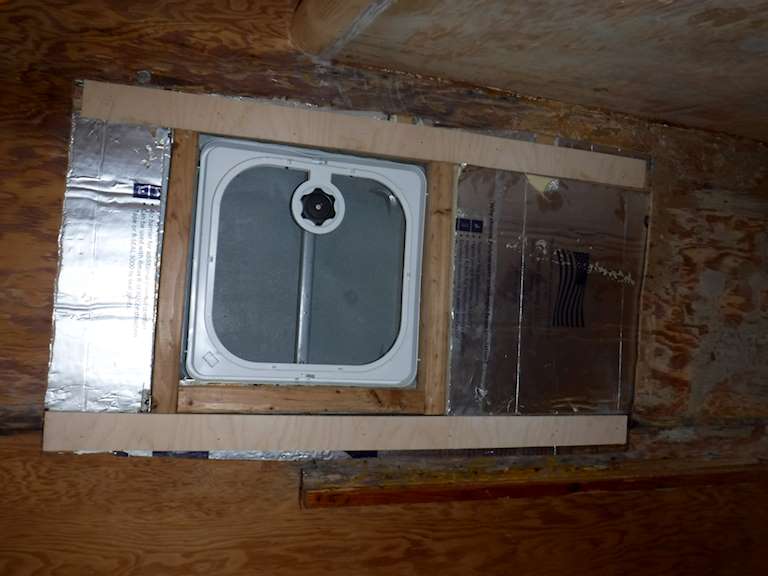
At this point you can see I had glued a strip of quarter inch plywood over the cutout to give a flat surface. The shiny stuff is the polyiso insulation.
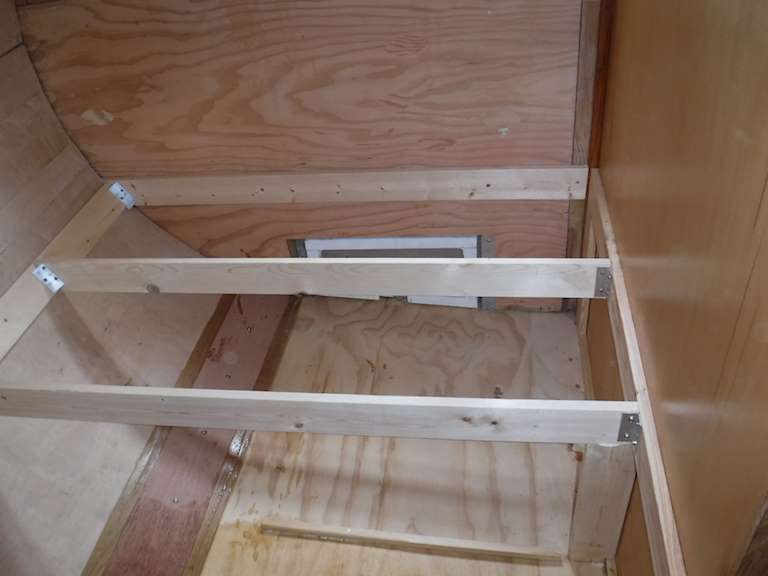
Then I put up a half inch plywood wall, in the original location. It’s screwed in place- no glue. The exposed edge has a strip of oak 1×2, rabbetted to make an attractive and rigid edge. If I ever need to replace the water tank I can remove that wall and the tank will slide out through that cutout. Later I’ll make a nice removeable cover for it. I’m going to put four or five layers of polyurethane on it, but that’s all. No waterproof paneling. This will be a boondocking trailer. Only the wall under the shower nozzle will get wet, and that only a little. New quarter inch plywood overhead, and 1/8 ply sheets on the other two sides. So now it looks like this:
Here’s overhead.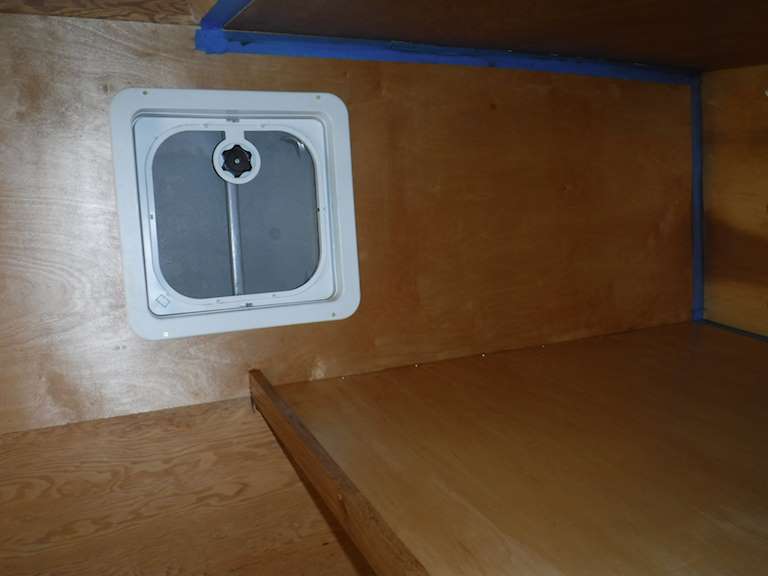
In the back I made In the back I had not tied the back wall to the floor. That’s important for structural integrity. I cut three strips of 1/8 inch ply to different widths and the length to fit across the exposed back. Using epoxy I laminated them in place, using screws across the center into the 2×2 to pull them down into a nice curve. In the picture below I’ve put a coat of polyurethane on the left side. Tomorrow I’ll put a coat of epoxy on the floor on the right side. Later I’ll put a bulkhead across, at the location where the polyurethane ends. 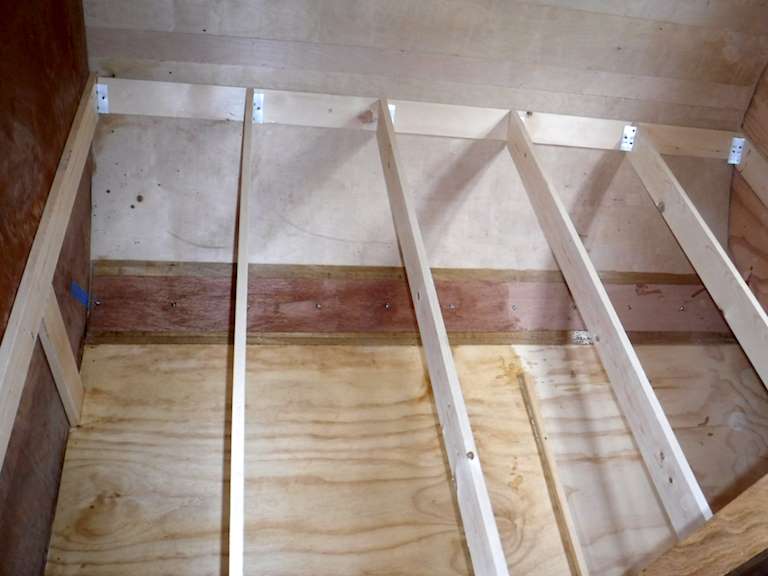
 As you can see, the right side is the externally accessible storage. I’ll caulk all the seams, and the right side will be relatively waterproof, and if there are any unpleasant odors they won’t be exposed inside the trailer.
I also did some more work on the back of the trailer. I added the strips running across the back. As I showed several months back when I was doing this, the plywood I used for the back was WAY stiff, and the only way I could make it work was to slit it. 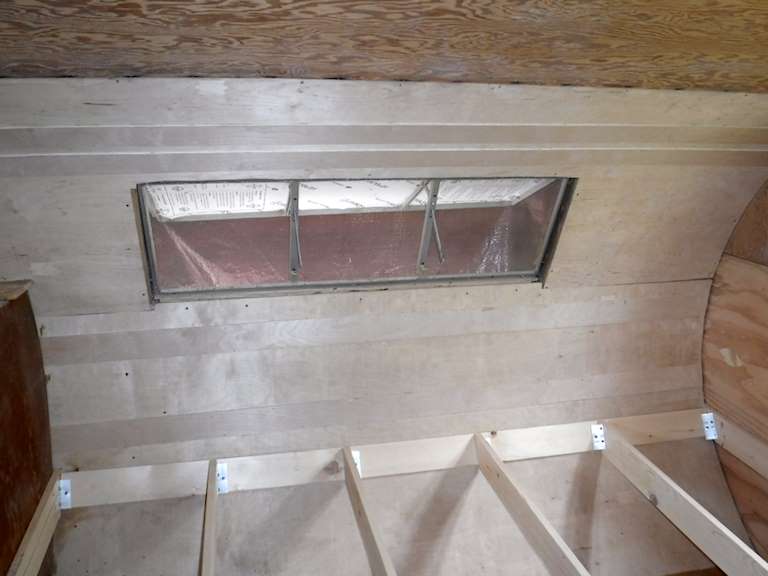
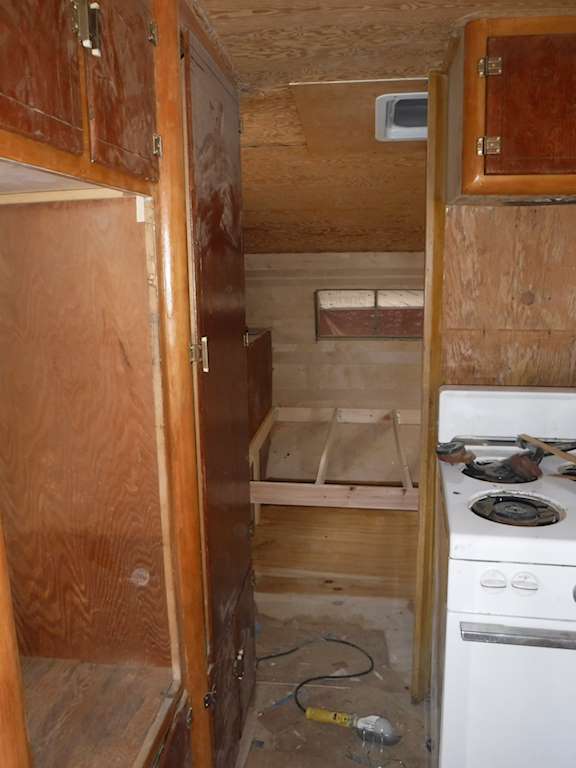
The right side plywood is not interior grade. It was a mistake to use it, but with the mattress and pillows it will never been seen. For comparison, here’s a picture looking from the front into the bedroom. The cabinet on the left is actually done, but it’s dusty from the sanding I’ve been doing. The vent in the upper center of the photo is over the front of the bathroom.
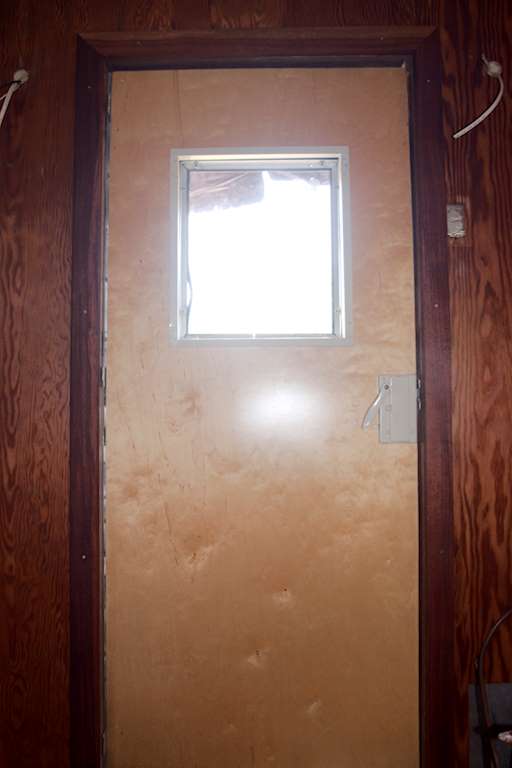
One more thing- the front door. I live about twenty minutes drive from a really good lumber store. Ahlmquist Lumber They always have some really exotic wood in off-standard sizes, and I always keep some of this around for miscellaneous small projects. So I have no idea what this stuff is, but I like it. I fastened it with dowels and glue instead of screws. Just because I felt like it.
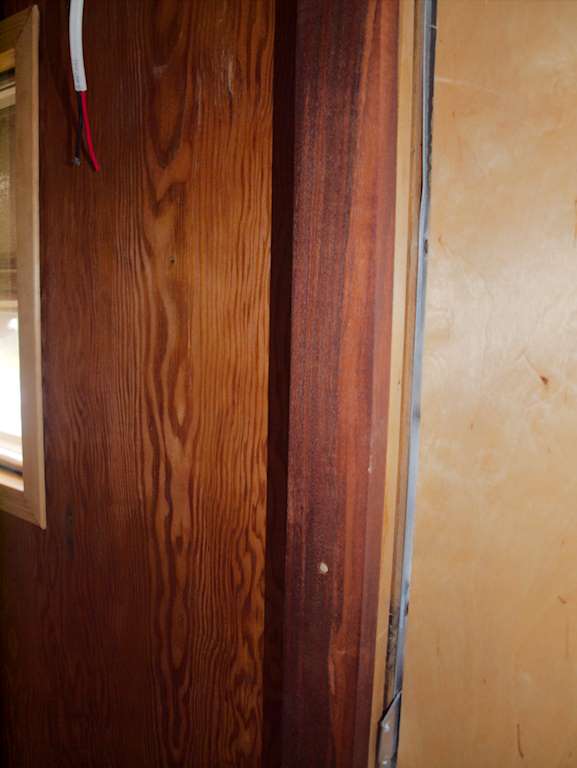
 The only visual theme for the interior is “as many different woods as I can find”.