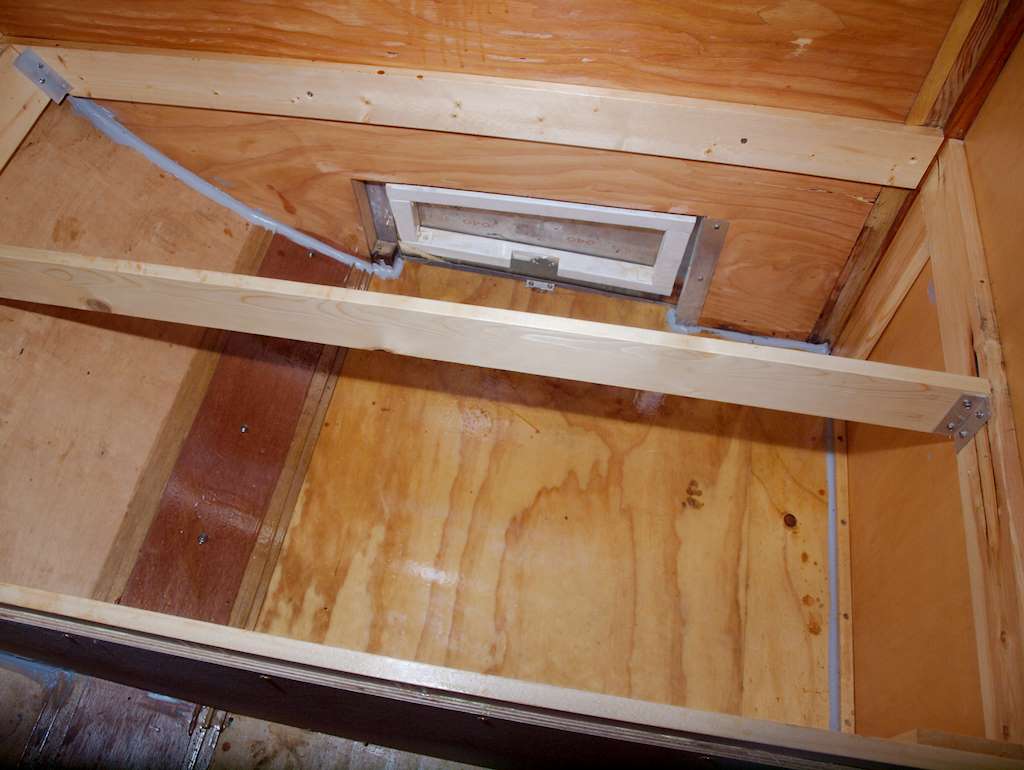
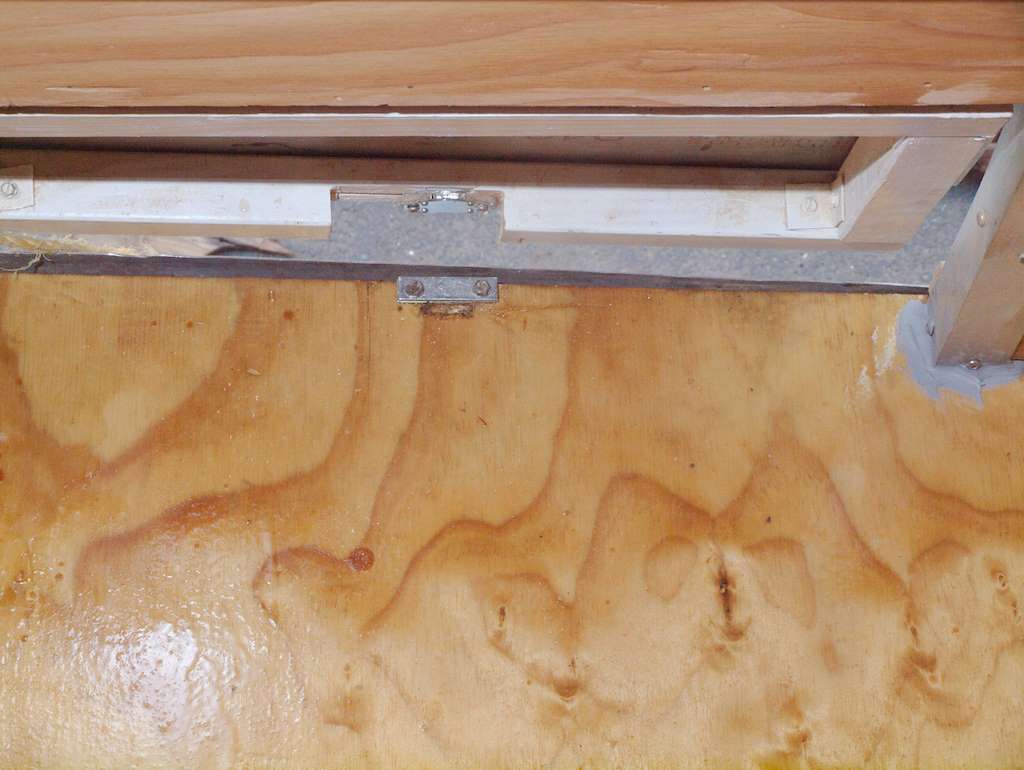
I’ve been working on the bed and the doors. First I put two layers of epoxy on the floor on the left side (facing forward) under the bed, and in the bathroom. The part under the bed will be accessible from the outside, and water can get in there. I want that compartment to be air-tight sealed from the rest of the interior, so if there is something smelly in there it won’t affect the rest of the trailer. So I caulked around the joints there. All the rest of the interior of that section has two layers of polyurethane. I mounted the lock for the access door, and made a recess for the lock tongue. I also put on a steel striker plate to add strength.
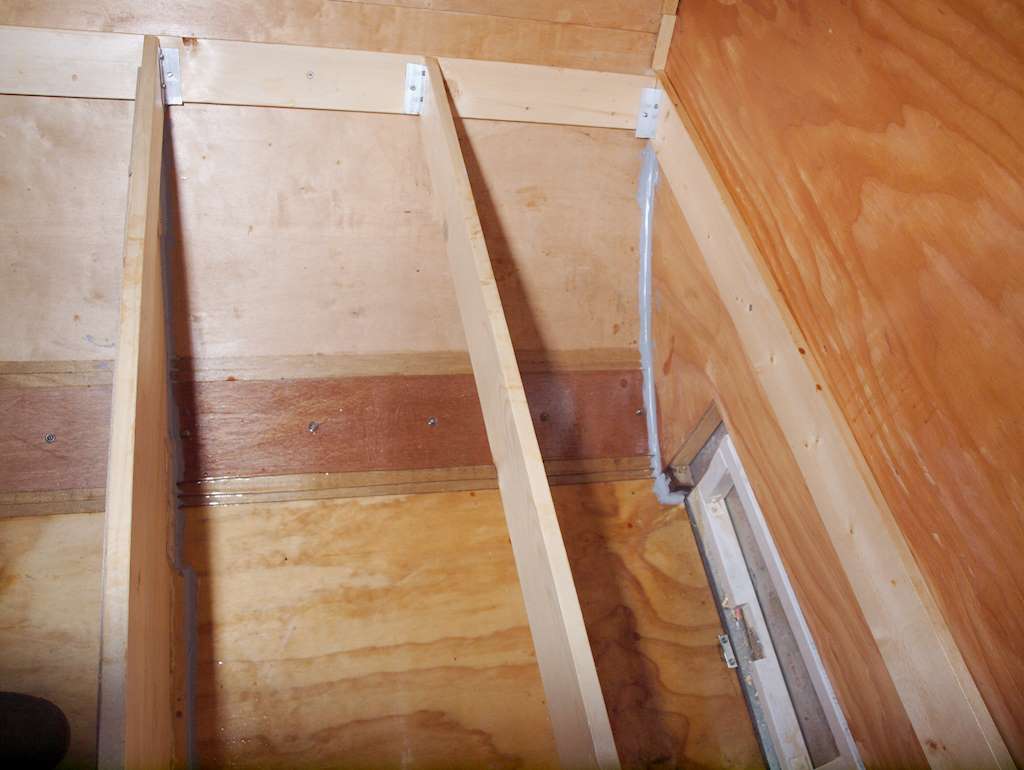
 I added a panel under the bed, and caulked around that.
I polyurethaned that on both sides, two coats. The bed floor had to be in two parts. The opening is too small to get a double bed sized panel in. So of course there’s a butt joint with a doubler. 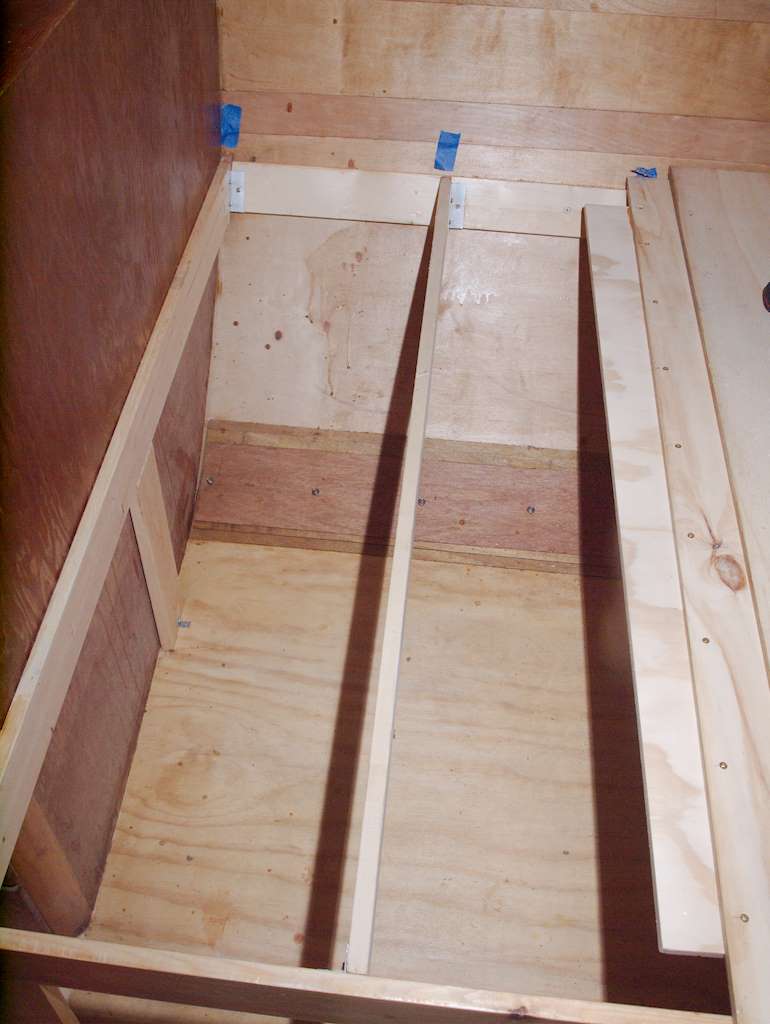
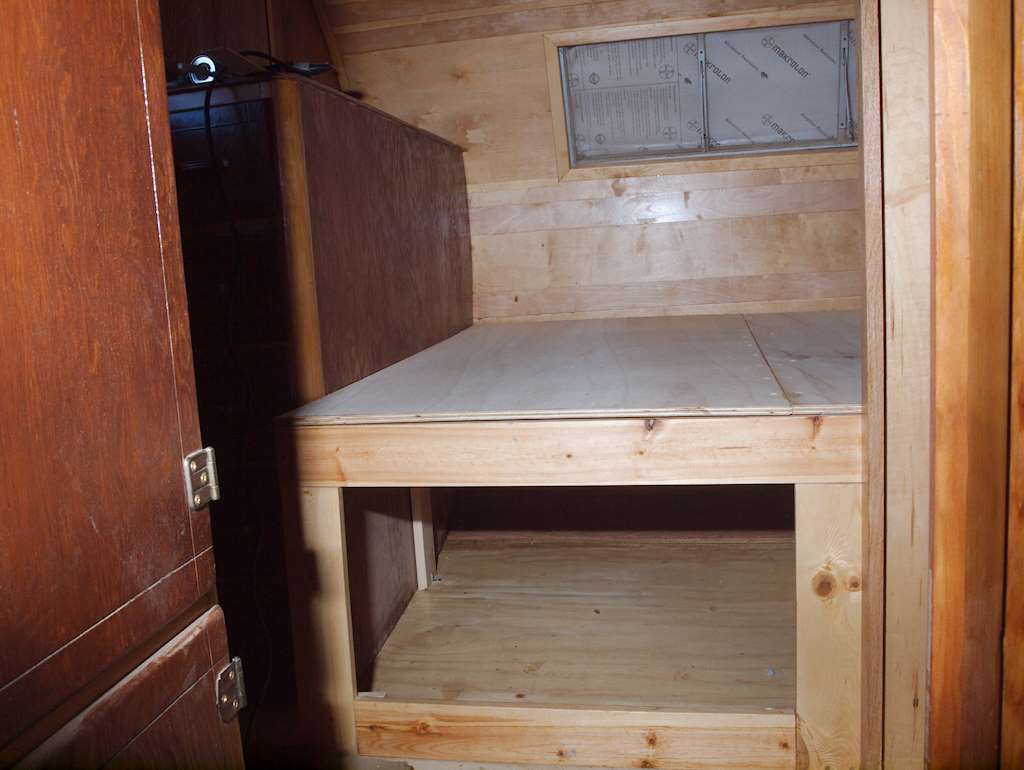
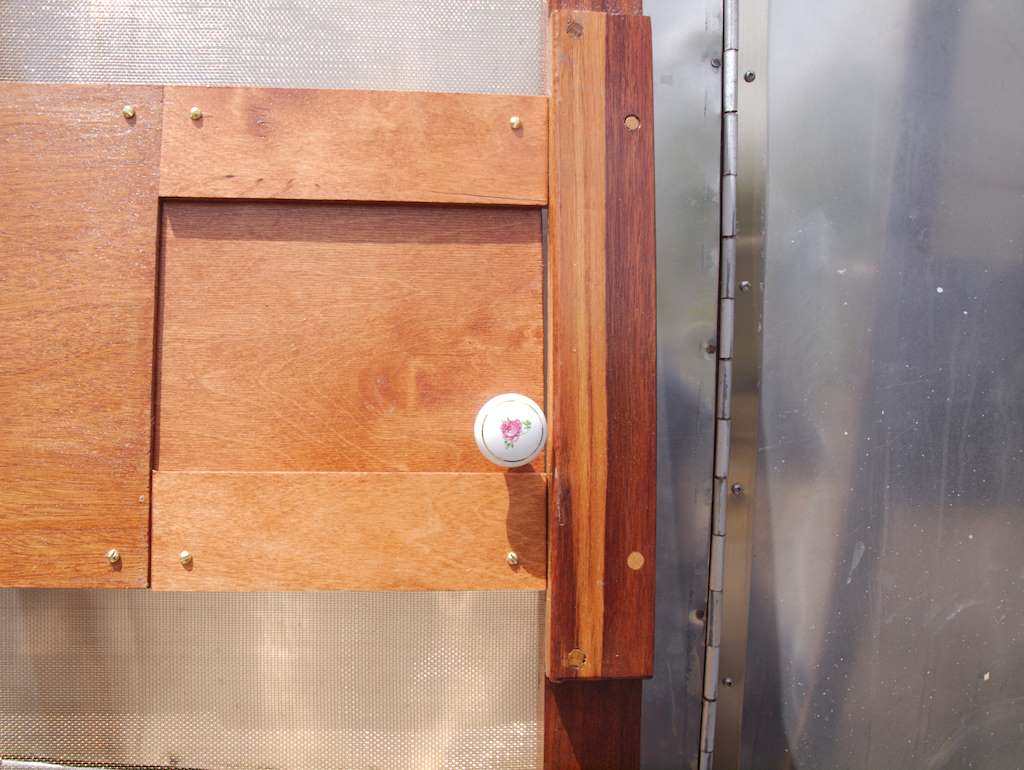
The section on the left is storage for lightweight stuff. We’ll probably carry some spare linens and a couple inflatable mattresses and sleeping bags in case we have guests. I made a new door for that and added some molding and polyurethaned it on both sides. I still need to caulk the seams here to make the exterior access panel waterproof, but here’s what it looks like now. Because the original had two doors here (one of which wasnt’ actually usable), I still have one extra set of door hardware.

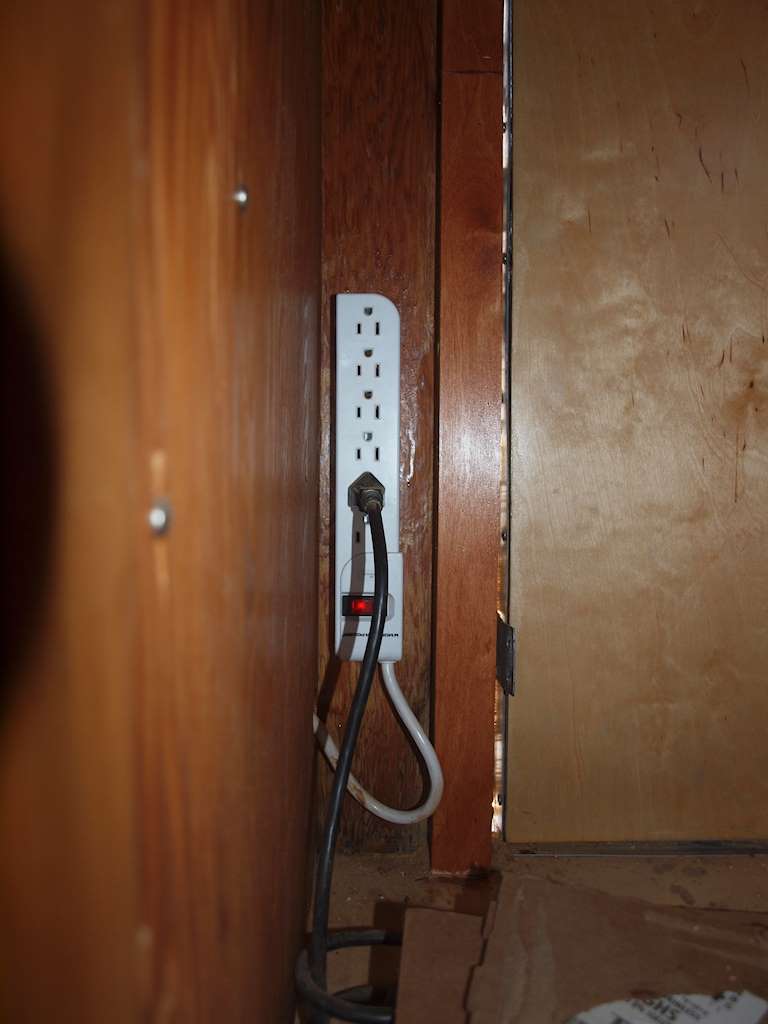
I put in an 15 amp electrical plug. That goes into a duplex GFI outlet, one outlet of which goes to a power strip inside the back door. I will tie down those wires- I just couldn’t find my wire clamps when I did that. When we have shore power that will charge the house battery (which I expect to keep in that compartment, and things like laptops and electric toothbrushes. I’ll have a small inverter but want to use that as little as possible.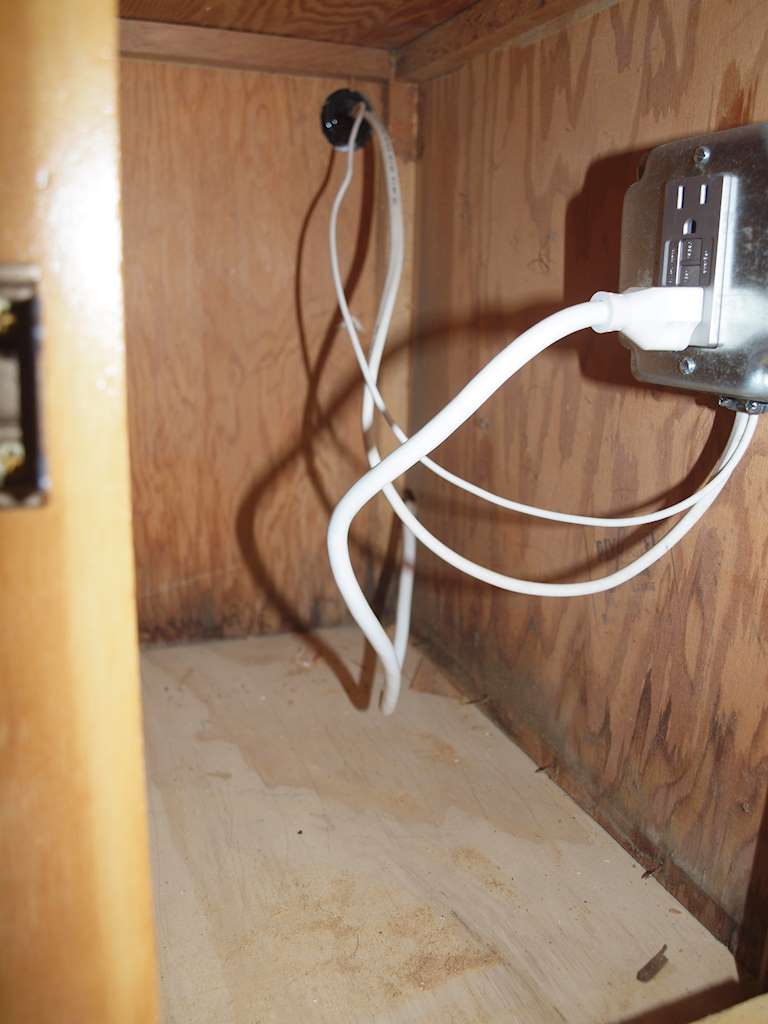
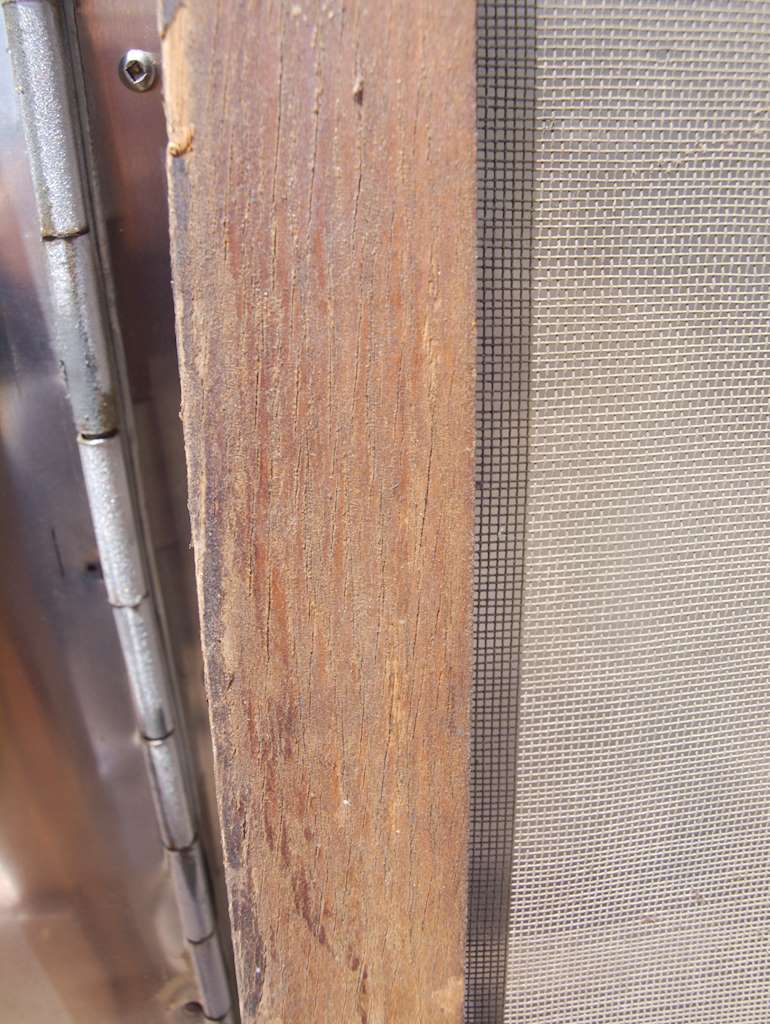
Then I did the screen doors. The originals were nasty. For those who haven’t seen this, the screen doors on a travel trailer are different from a house. In most houses, the front door opens in and the screen door in on the outside, opening out. On a travel trailer the door opens out, so the screen door has to be on the inside. The thickness of the wall is only an inch and three quarters, and the entry door is the same thickness as the wall. So the screen door has to be thin. To have a flat screen door we’d have to move it in over an inch to miss the lock parts on the inside. Instead the frame has a one inch step, and a sliding panel. The door hinge segments to hold both the entry and screen door in one hinge, which avoids a lot of complexity. But it does mean the new screen door has to be pretty identical to the old one.
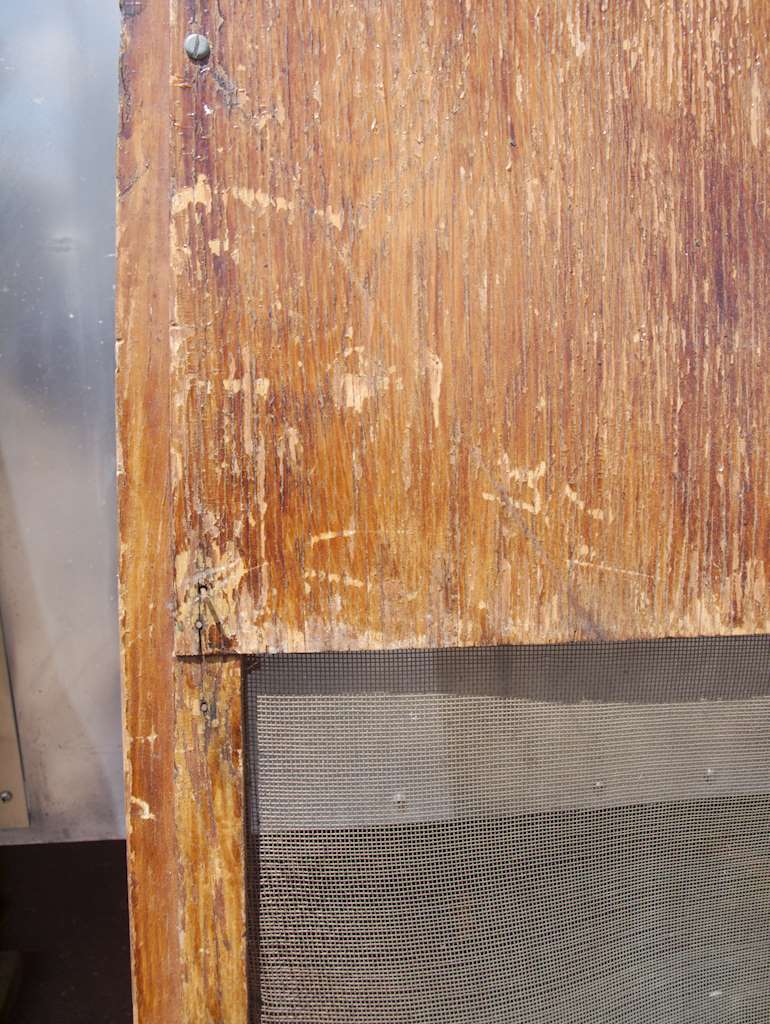
I used several different woods here. I put the frames together using glued dowels and no metal fasteners, but it has to be possible to remove the sliding bits and the screens in case something is damaged. Screens are particularly susceptible. So a little gluing and routing, and I had the screen door frames. I cut the molding that covers the screen edges and staples- except that I needed about a foot more than I bought. The hardware store was out when I went to get more, so when I get that I have one more piece to buy. I sanded, stained, and polyurethaned everything. Then I clamped the screen molding in place.
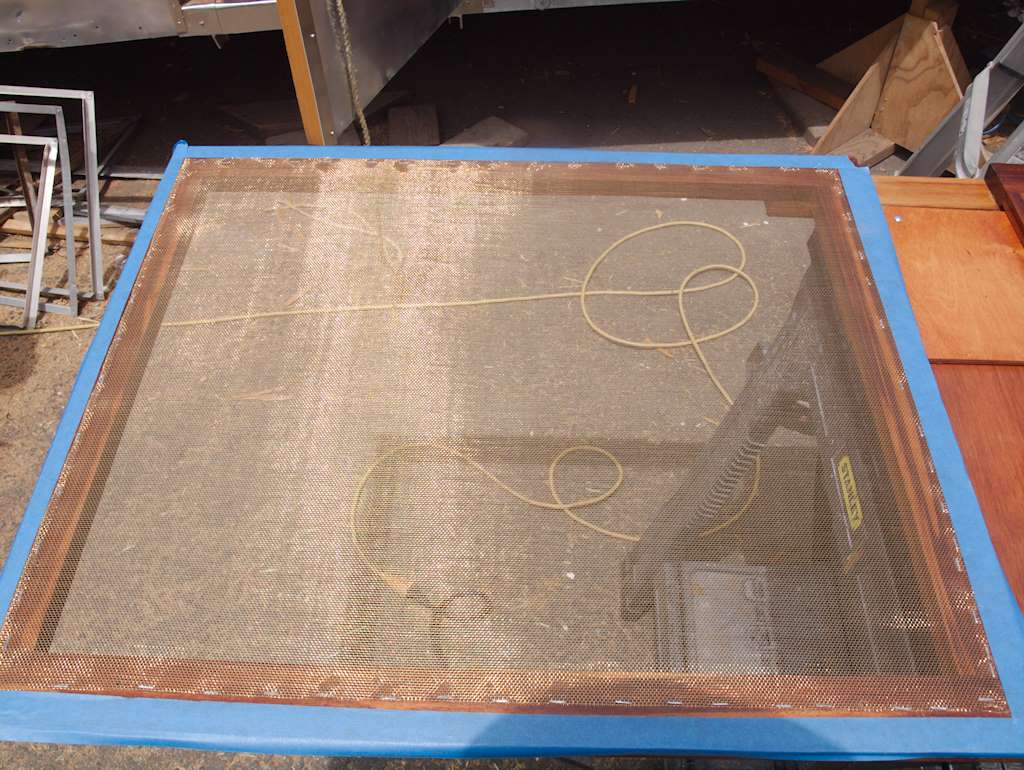
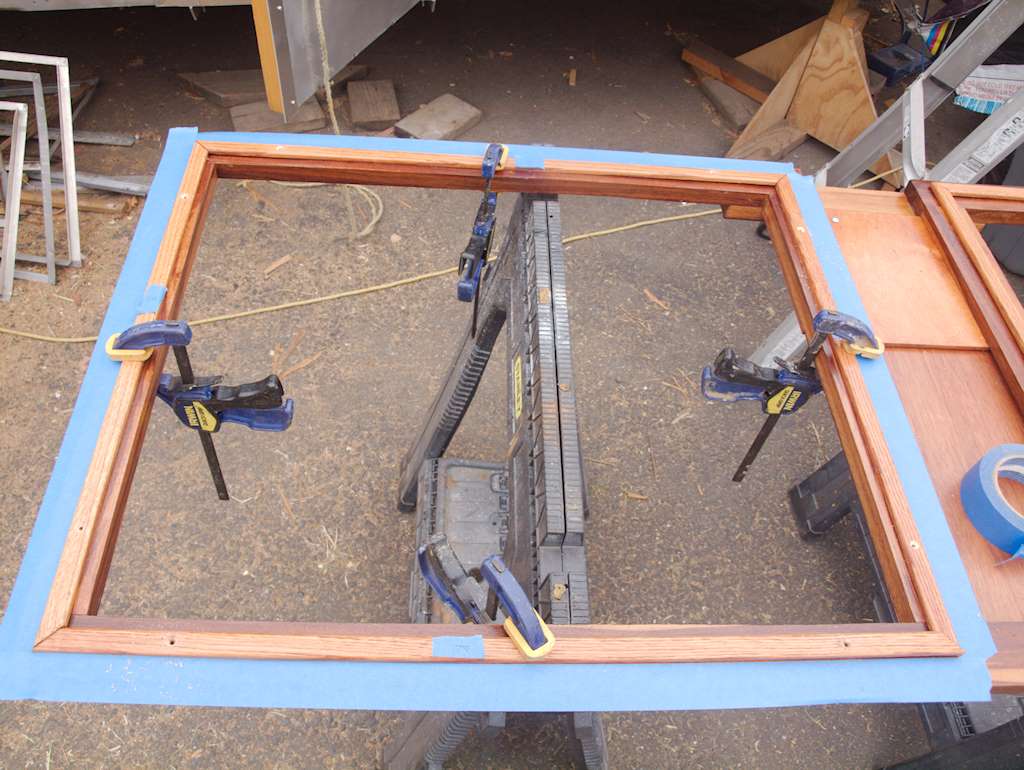 Marked the pieces so I could put them into the same location, drilled the holes, and taped to mark the outer edges. Then I removed the molding and cut and stapled the screen. All the screens are bronze, so if people don’t push on them they should last forever.
 Then removed the tape and screwed on the moldings.
I like the way it came out. Here’s old and new. The old is a lot nastier than the pictures show. These are all the front door. The back door is similar but smaller, and has one of the molding missing on the upper section.
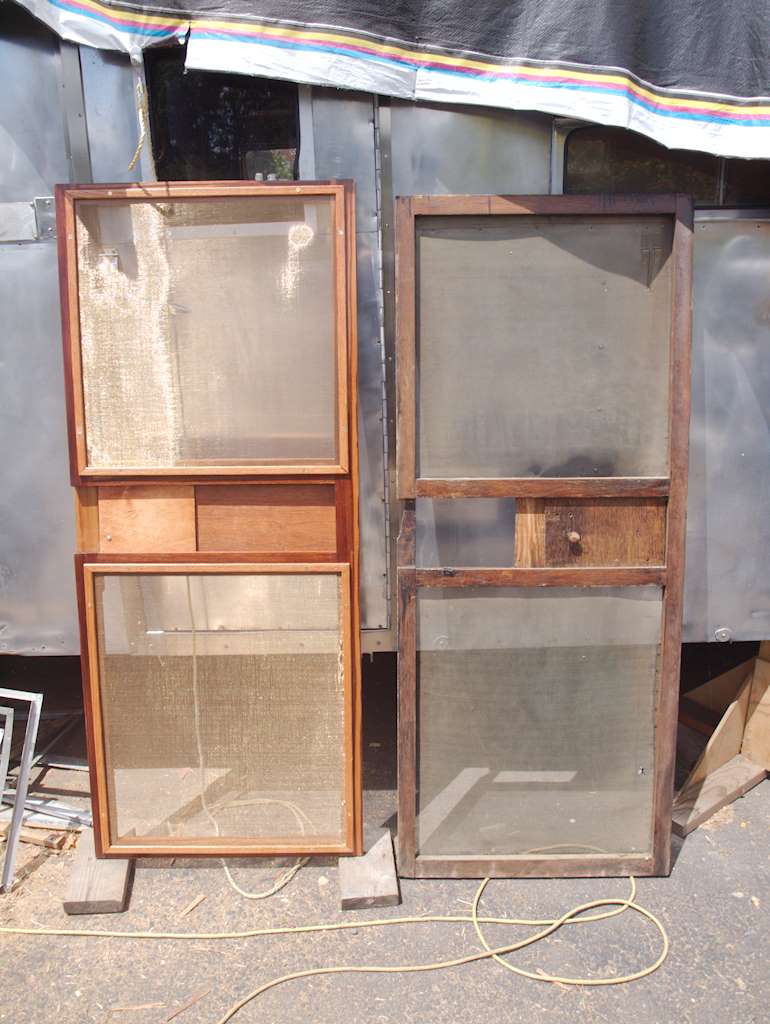
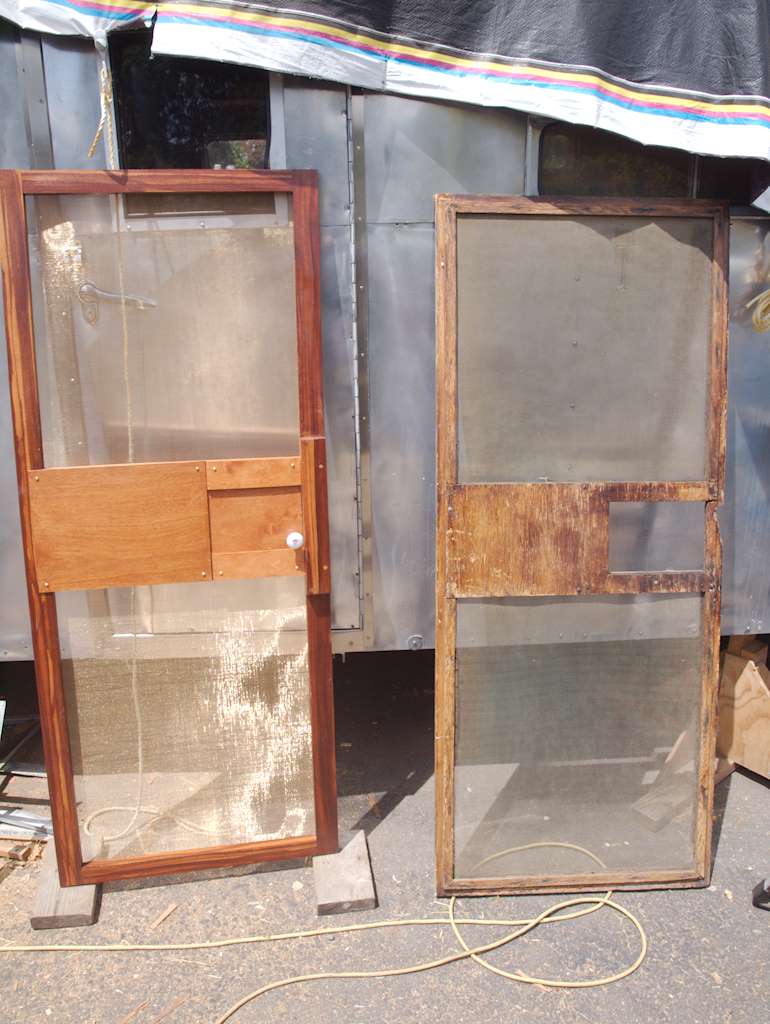

These last pictures show the sliding panel- open on the old door, closed on the new one.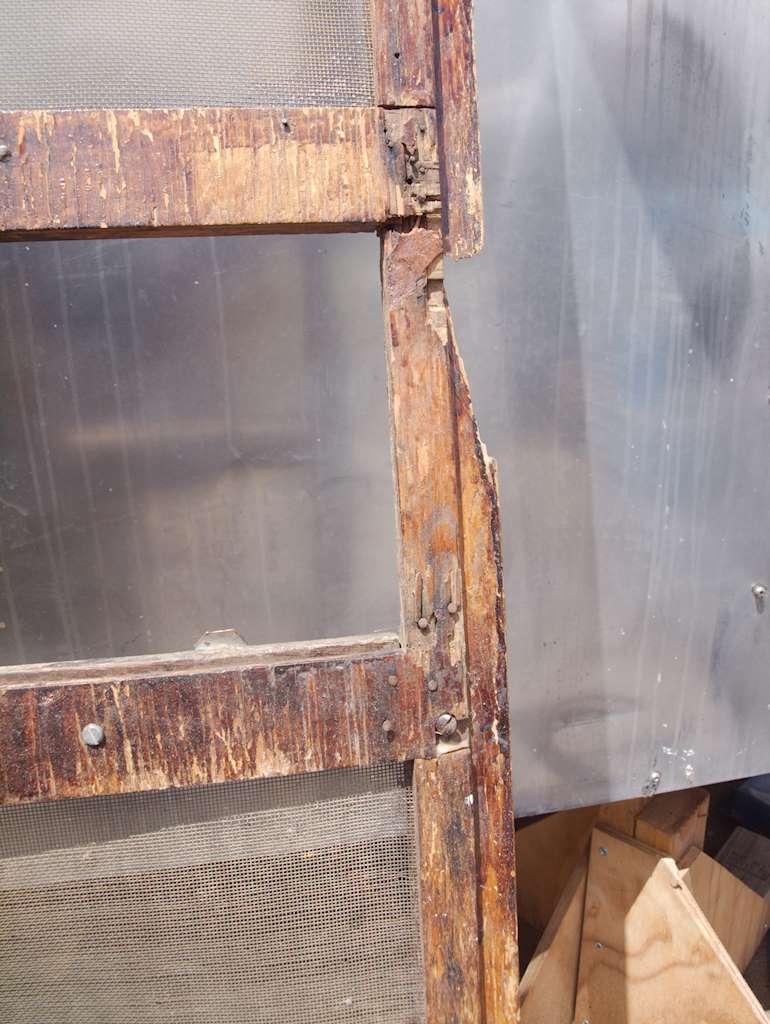
The next tasks I think are supporting the water tank, and fitting for the refrigerator. The opening for the refrigerator isn’t right for any modern propane refrigerator I can find, but with some adaptation I can use one I found locally at a good price. I’m hoping to eventually replace it with highly efficient dorm-type refrigerator, but I don’t have enough confidence in the availability of solar. For now I’m going to adapt what I have.