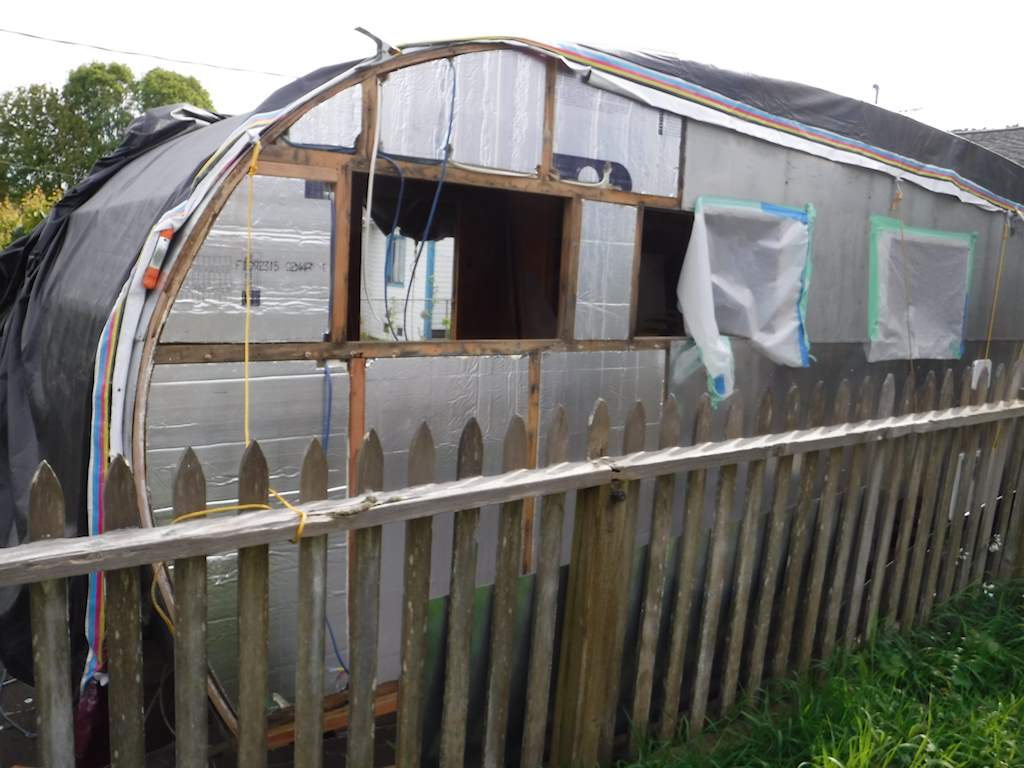
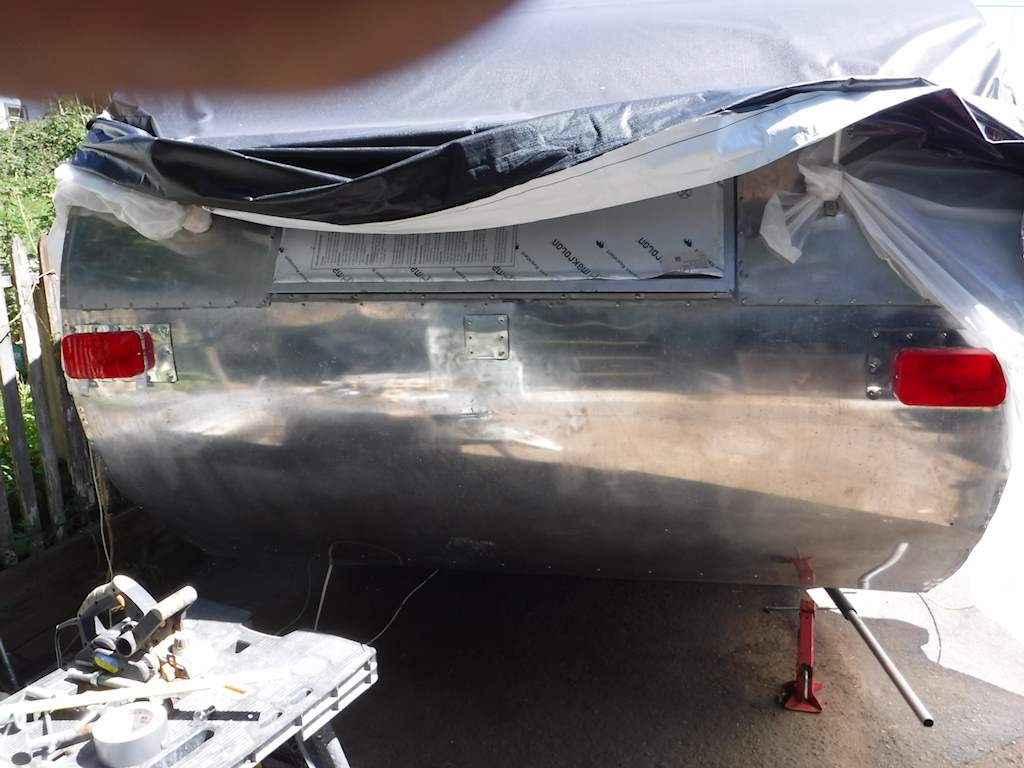
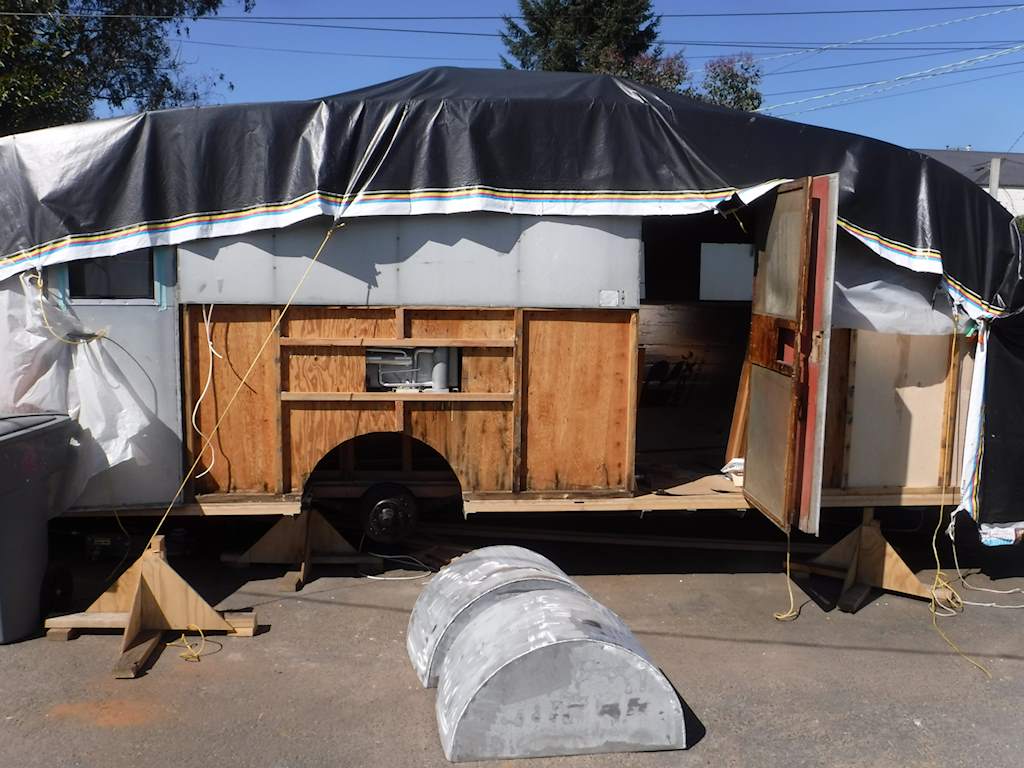
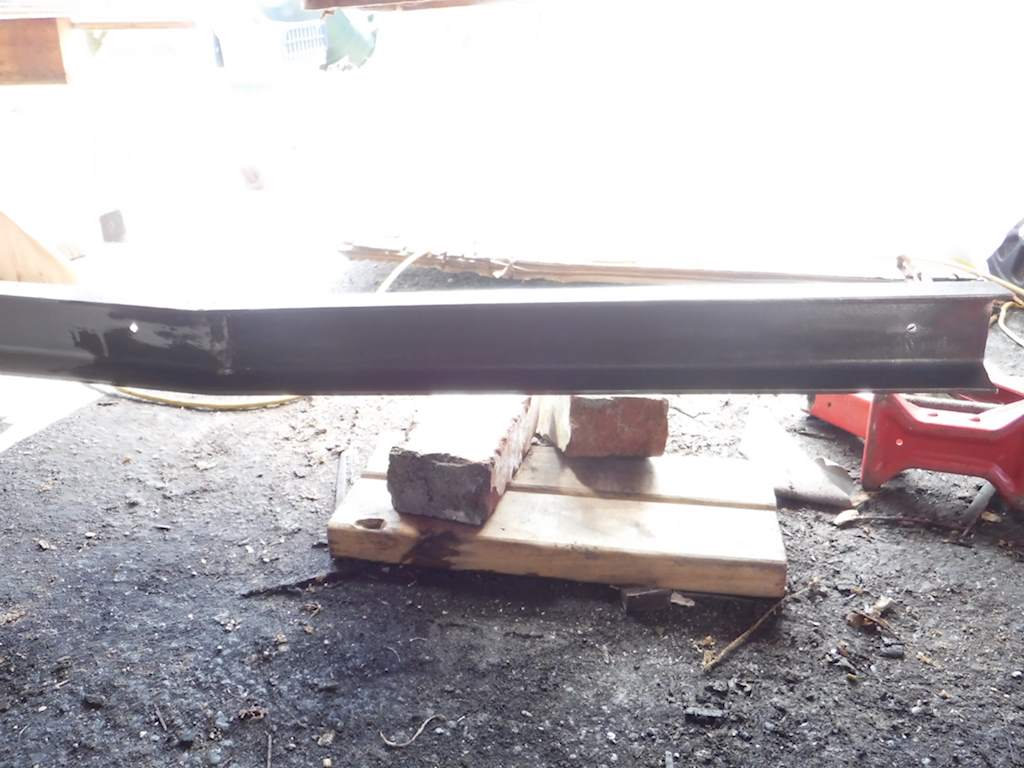
Since the last post I’ve completed the frame-to-trailer-sidewall reassembly. All the rotten structural wood is gone. There’s a little bad wood on the ceiling still, but really it’s now all reassembly and appearance. No more demolition and repair.
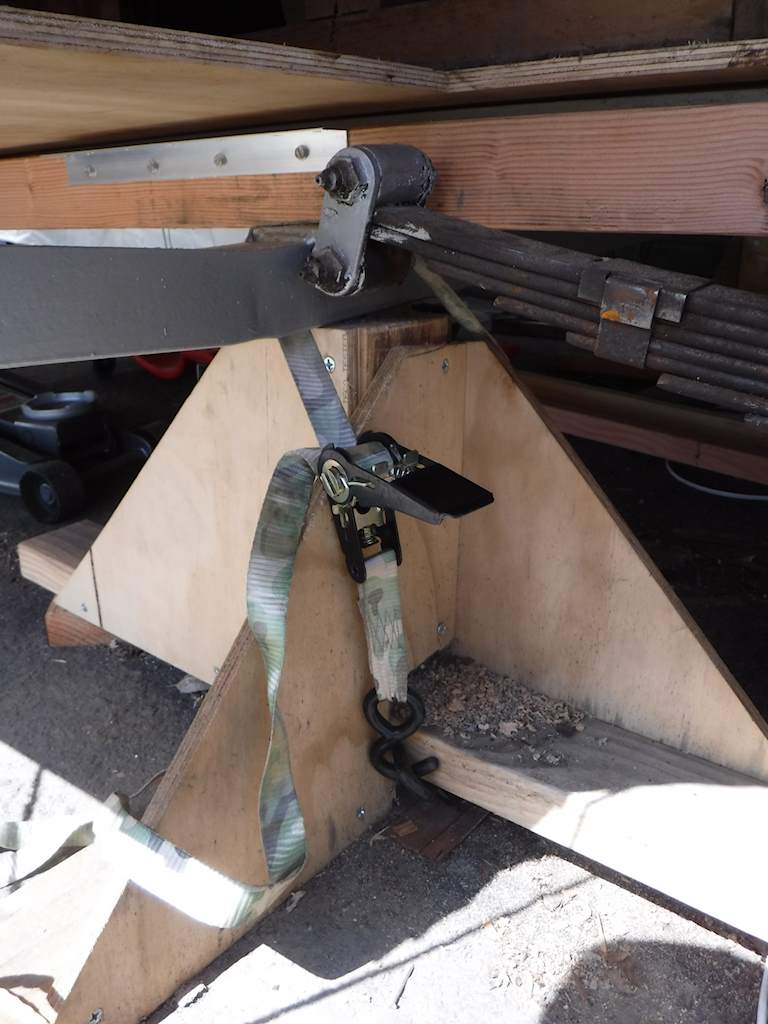
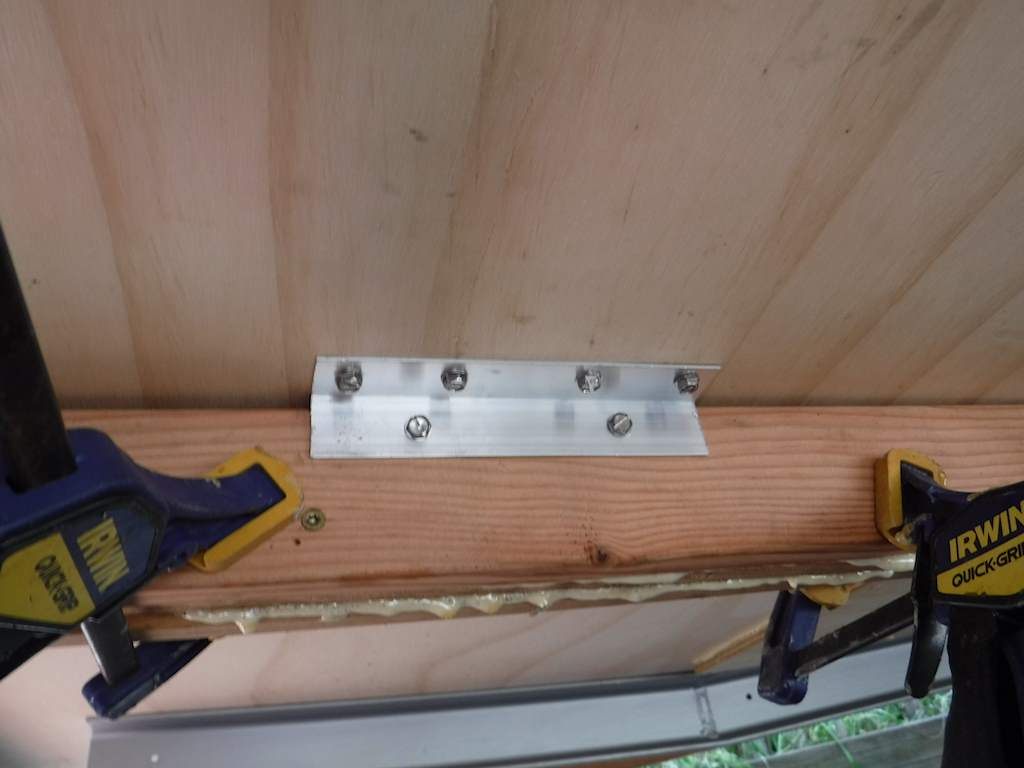
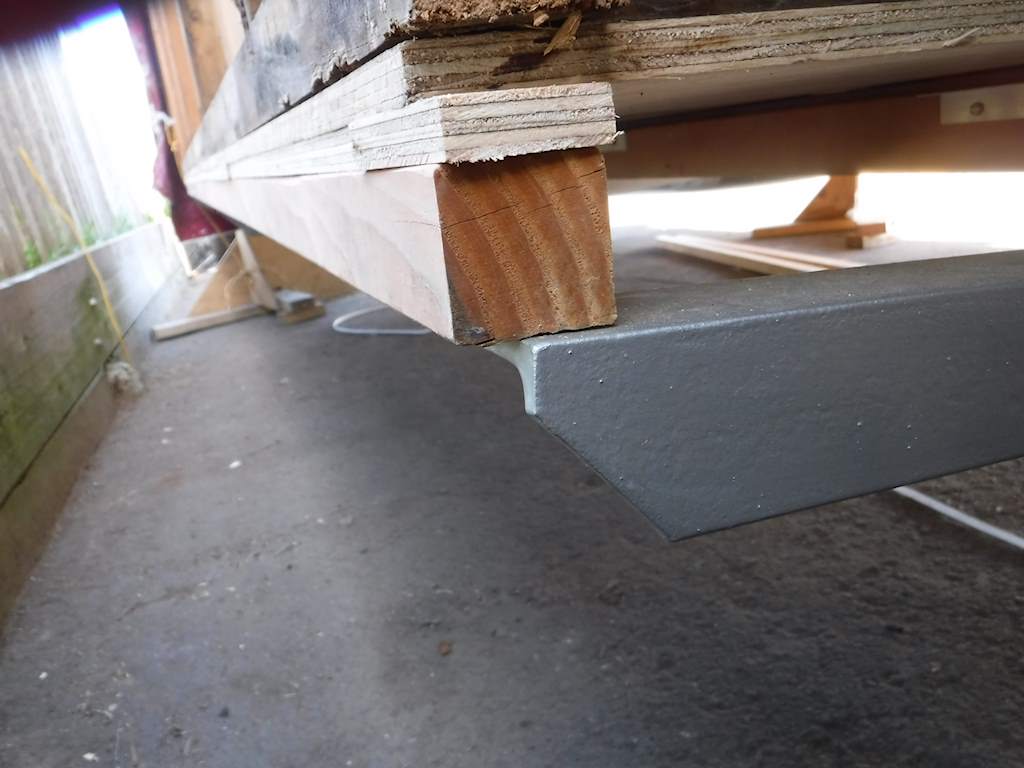
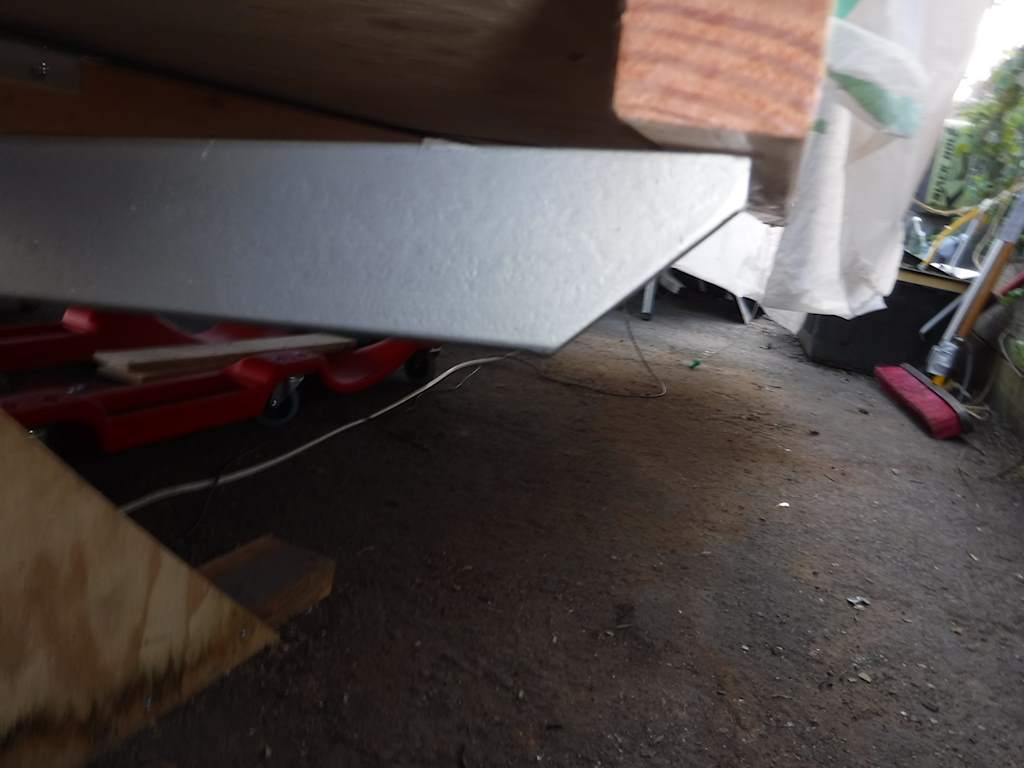
First I made sure the frame was solidly strapped to the supports. Those look like this now.
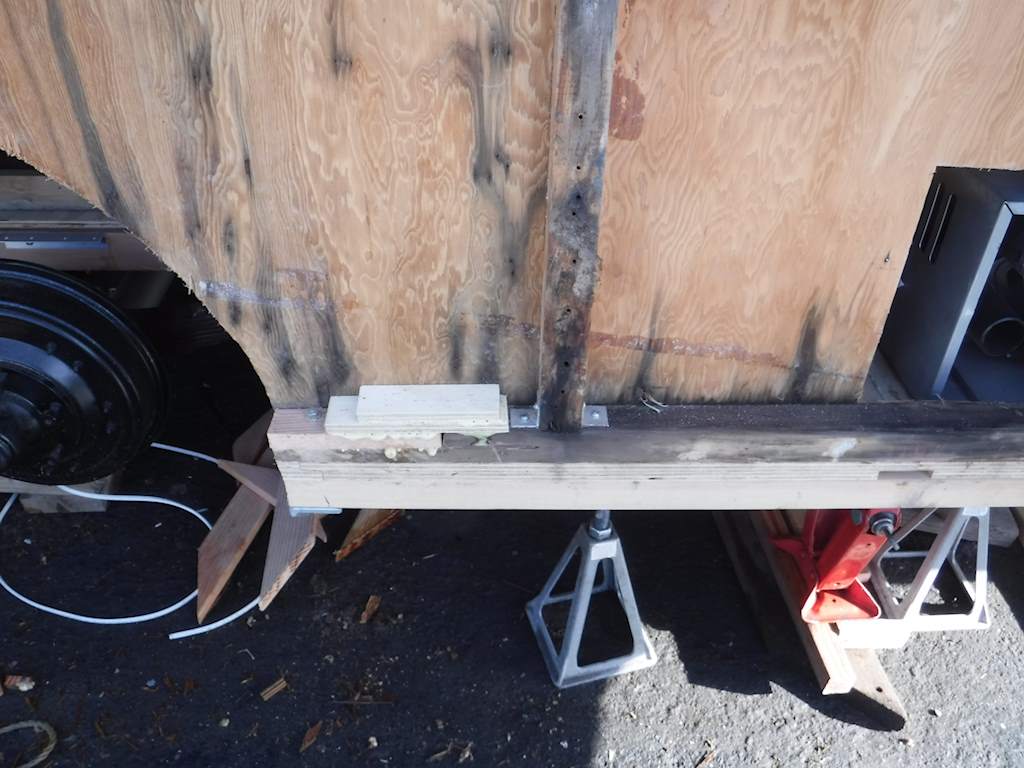
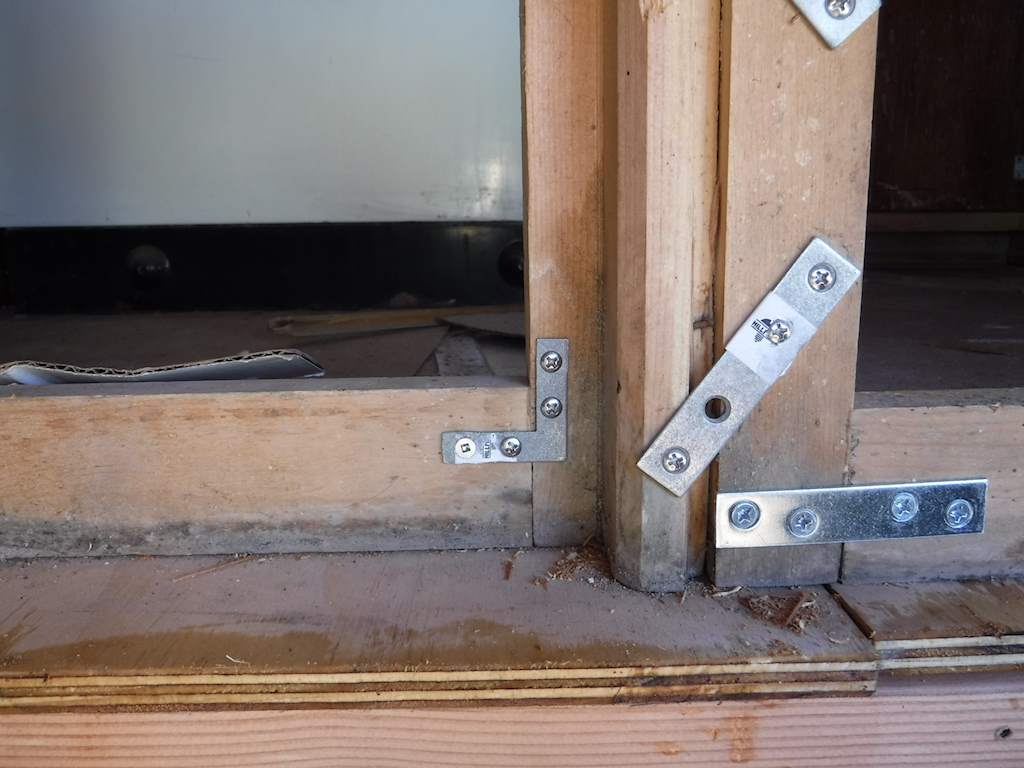
Then I redid the left sidewall-to-frame-and-floor attachment. Now the frame attachment looks like this:
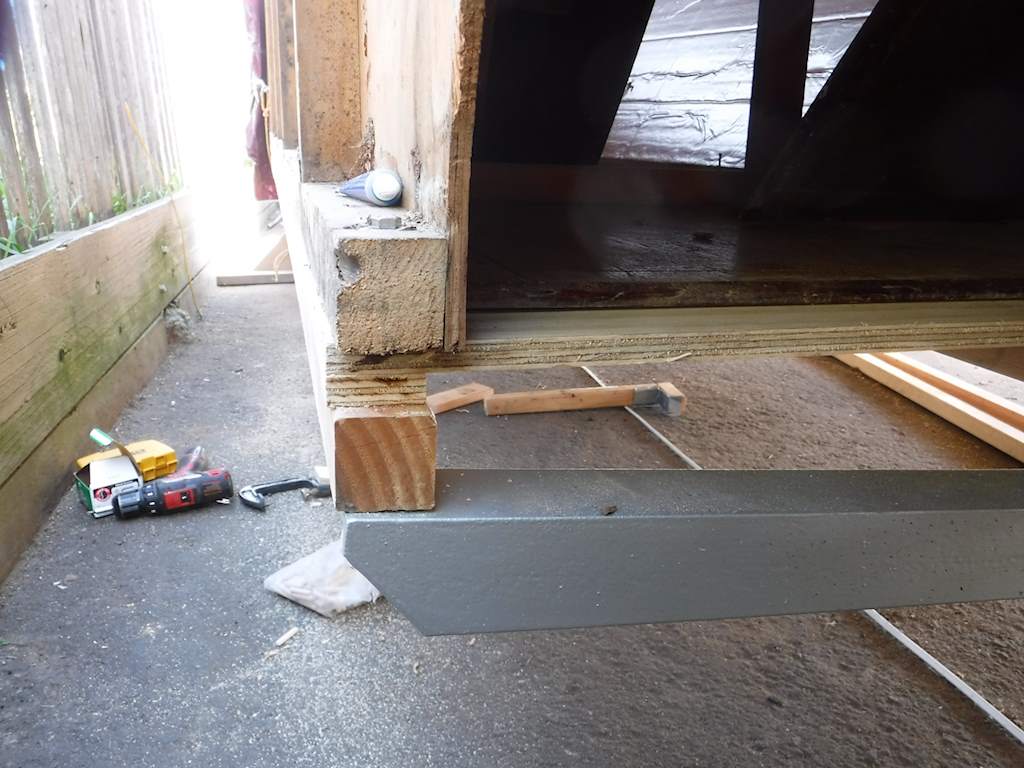

Nicely aligned. Before the sidewalls were too wide by a half inch.
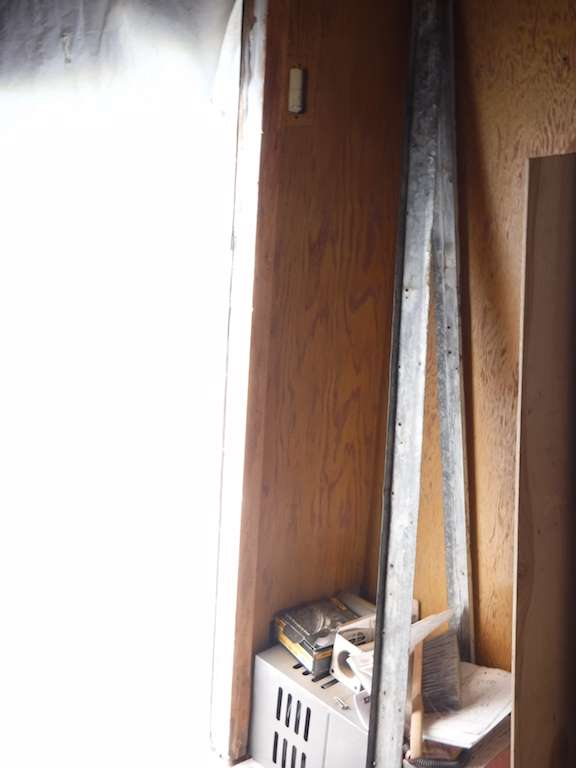
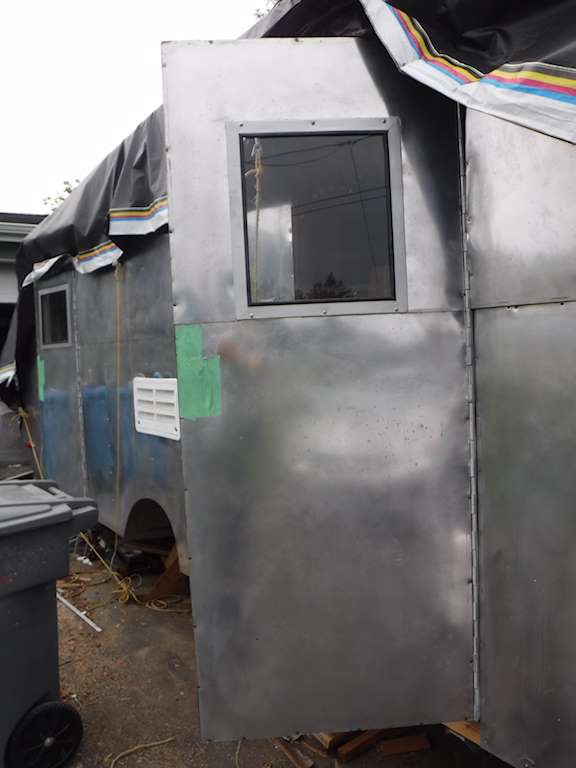
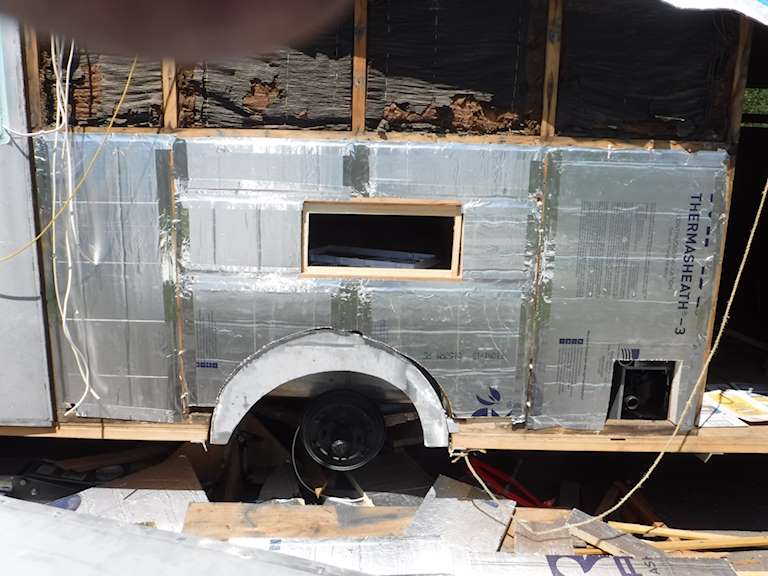
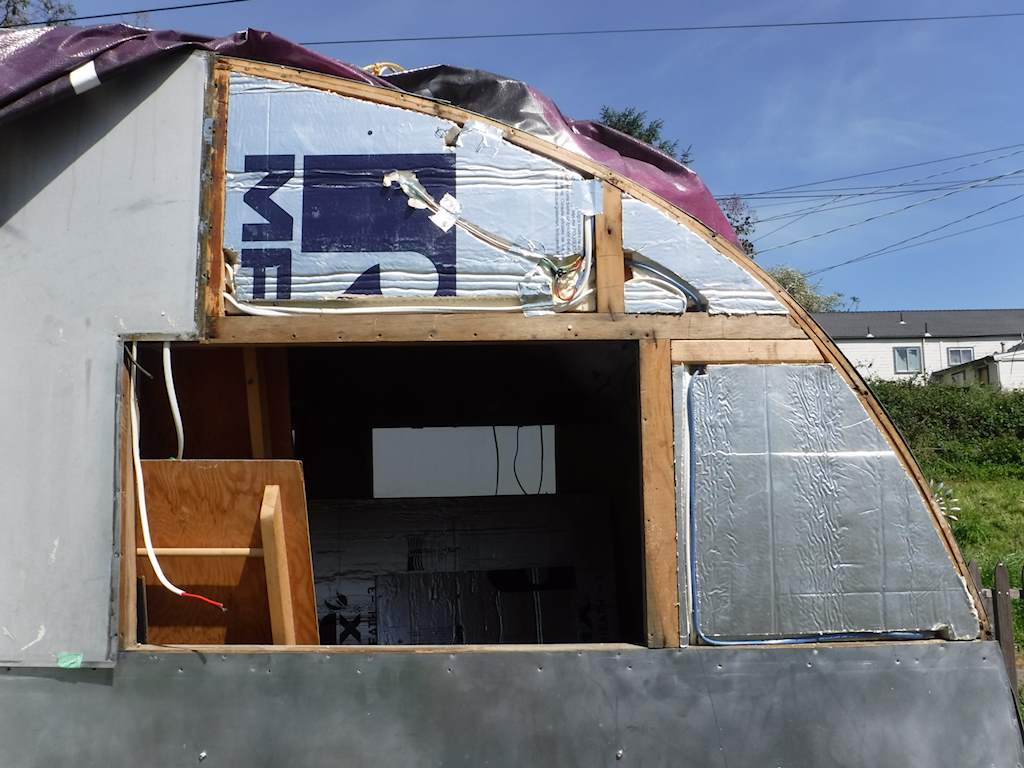
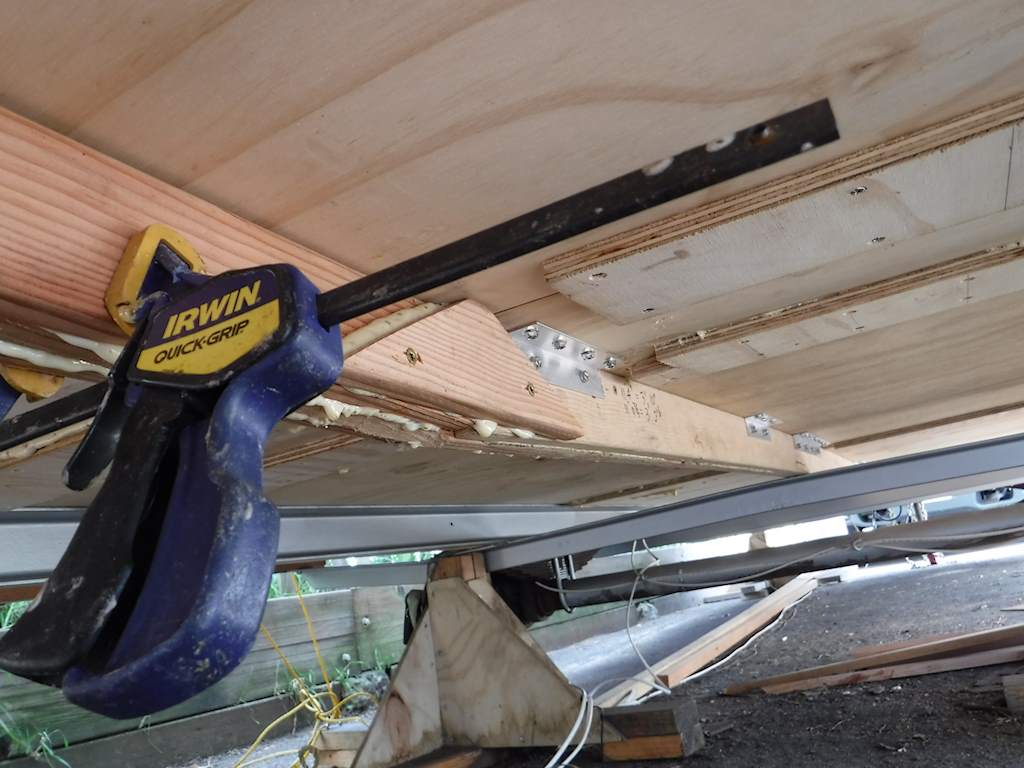
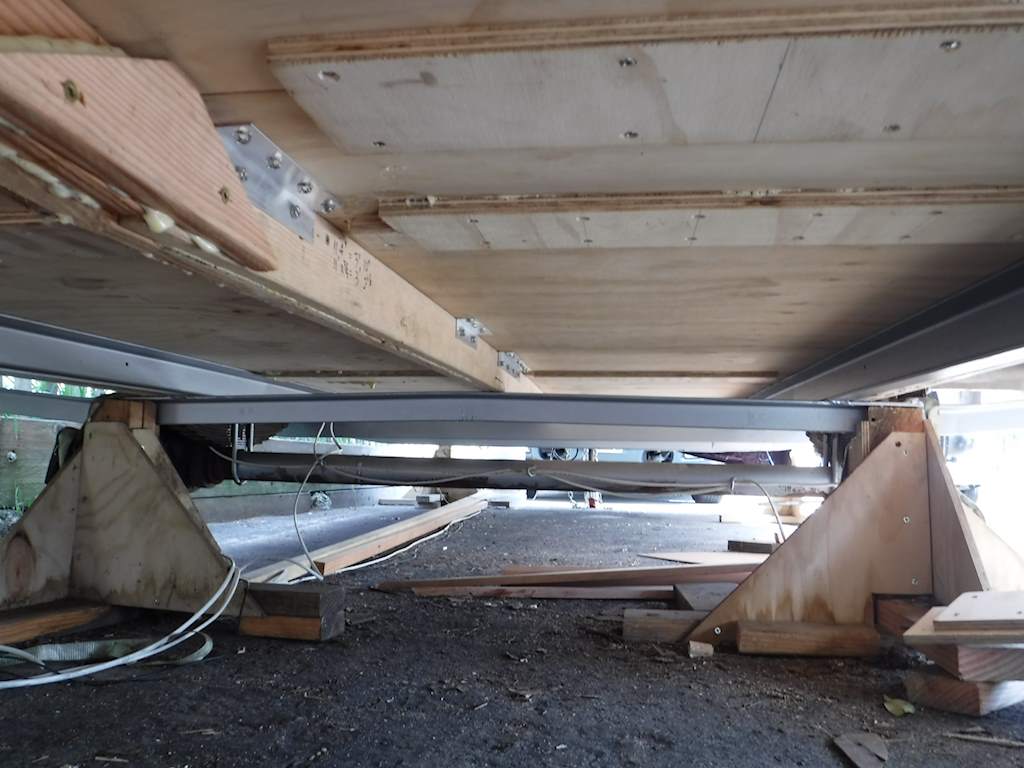
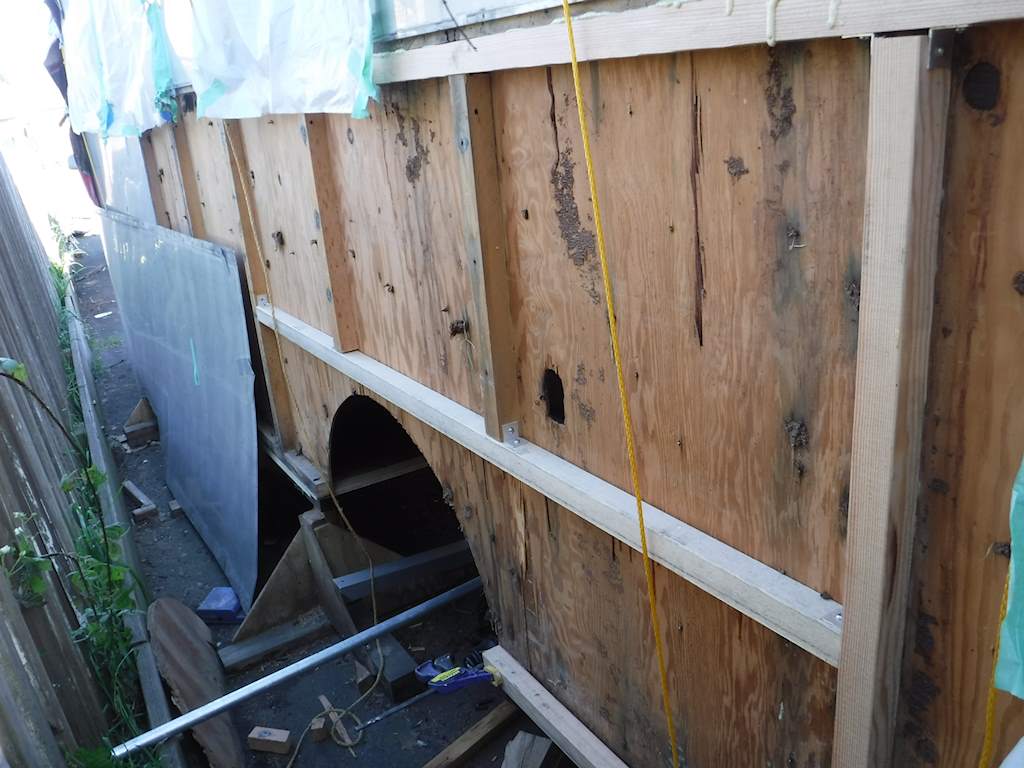
I completed the framing on the right side. The hole about in the center of the picture is at the bottom of the refrigerator cabinet section. That hole will allow a dometic access/cooling hatch. The square hole just left of the front door is for the new furnace. I still need to make the holes through the skin for those. That will come later.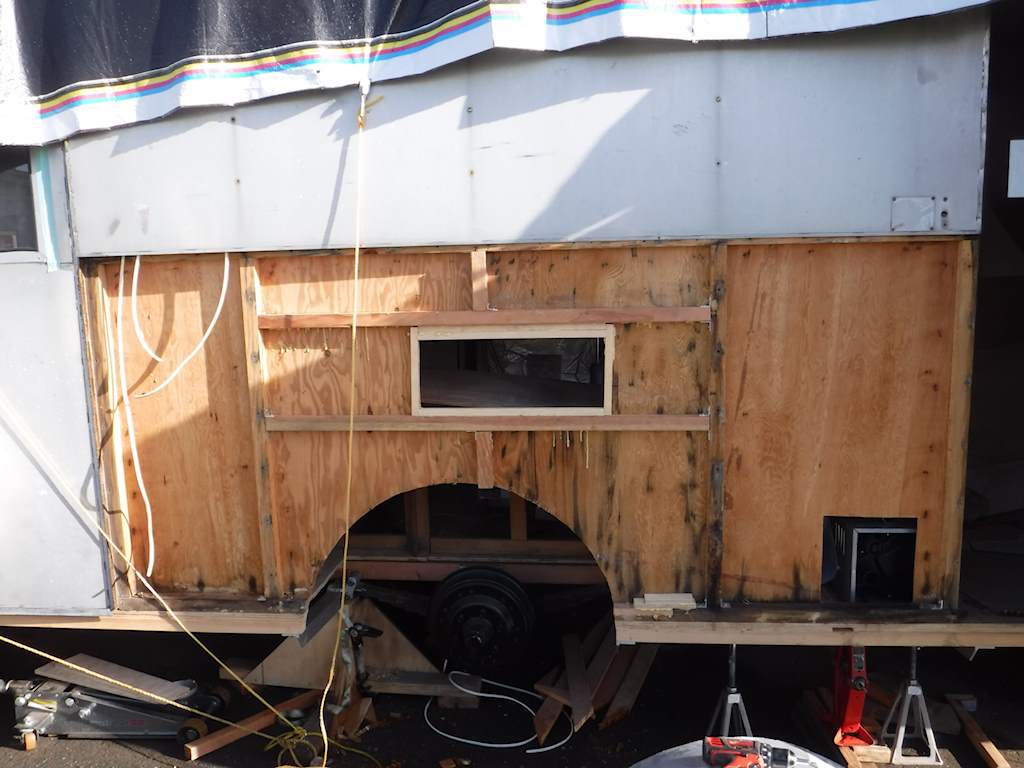
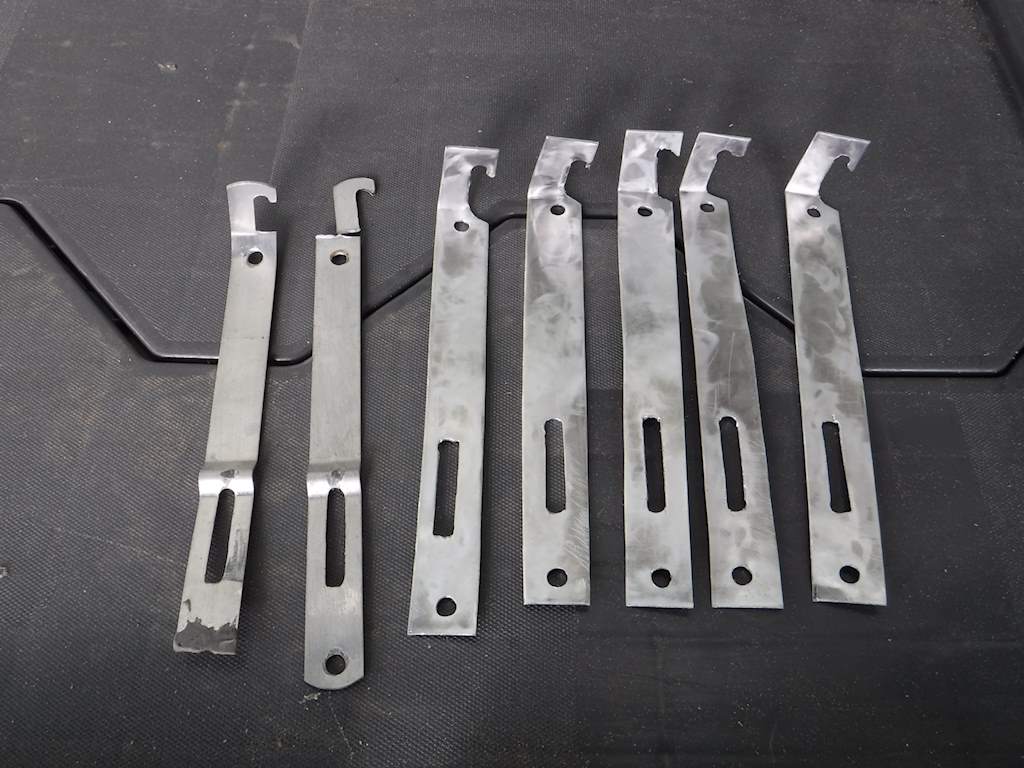
I’ve been using a lot of clips made from aluminum angle. I hate the original corrugated fasteners, but where they were holding well I’ve left them. Where needed I’ve added a clip. Like this.

In front of the right wheel well I didn’t like the wood. The bolt hole was enlarged at the top and the wood was soft. So I let in a new piece of douglas fir and backed up with an overlap.
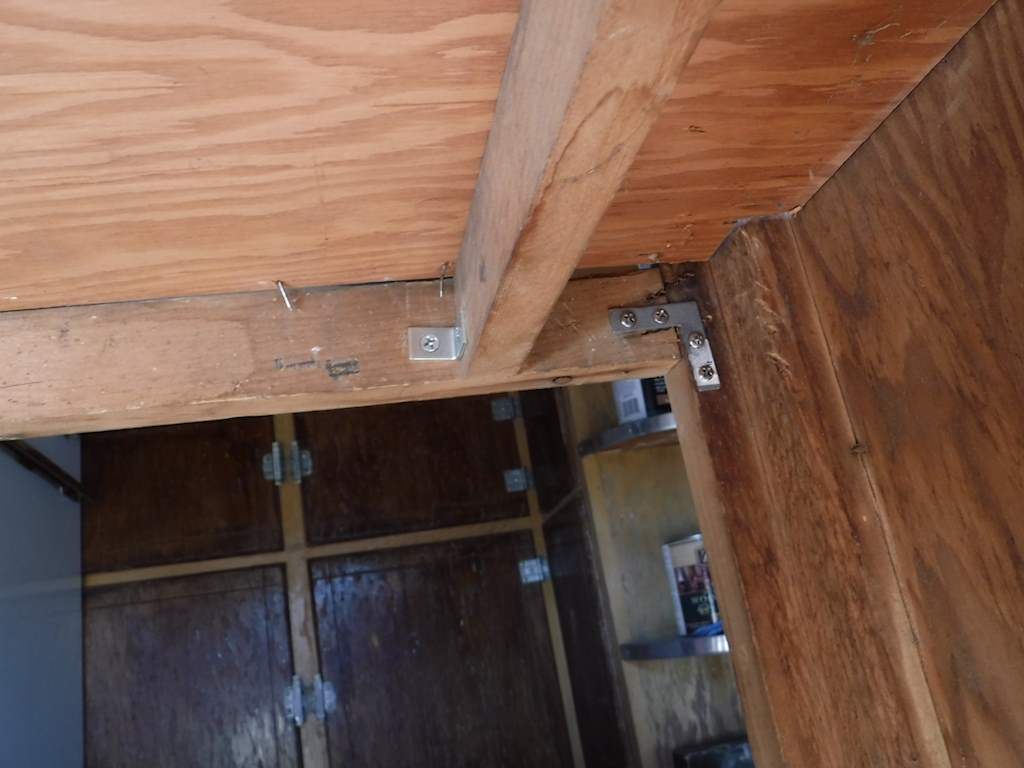
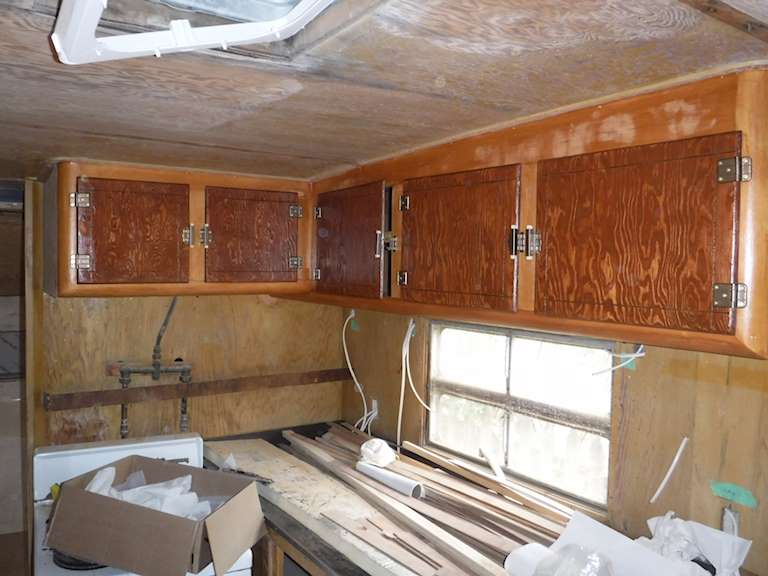
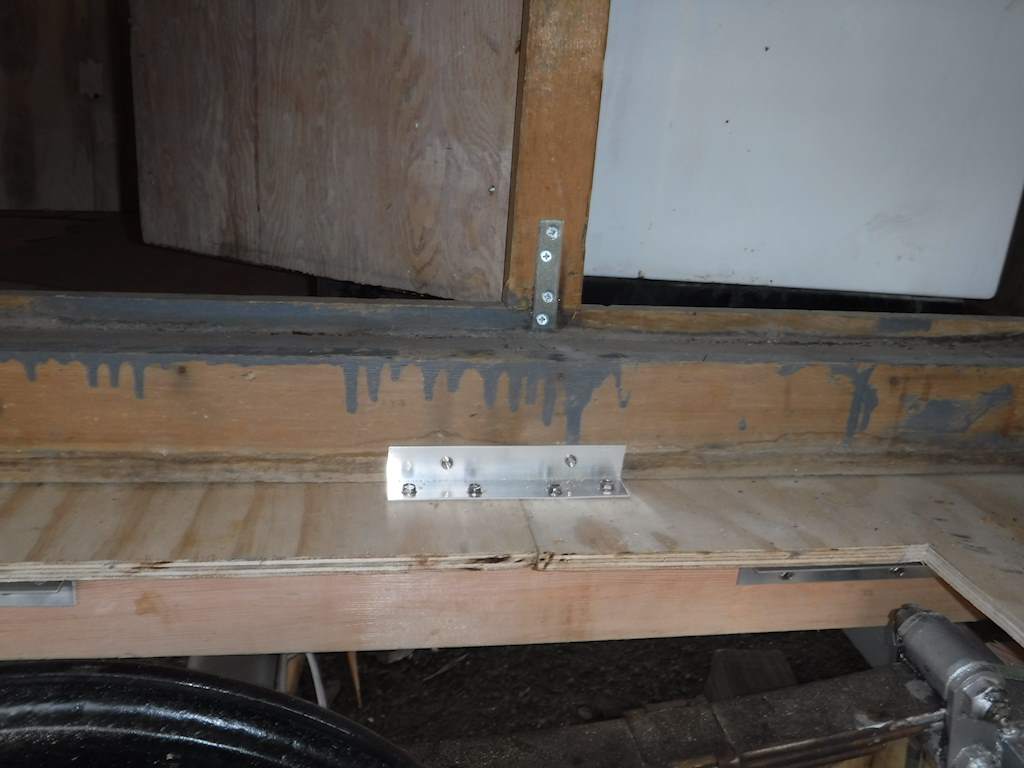
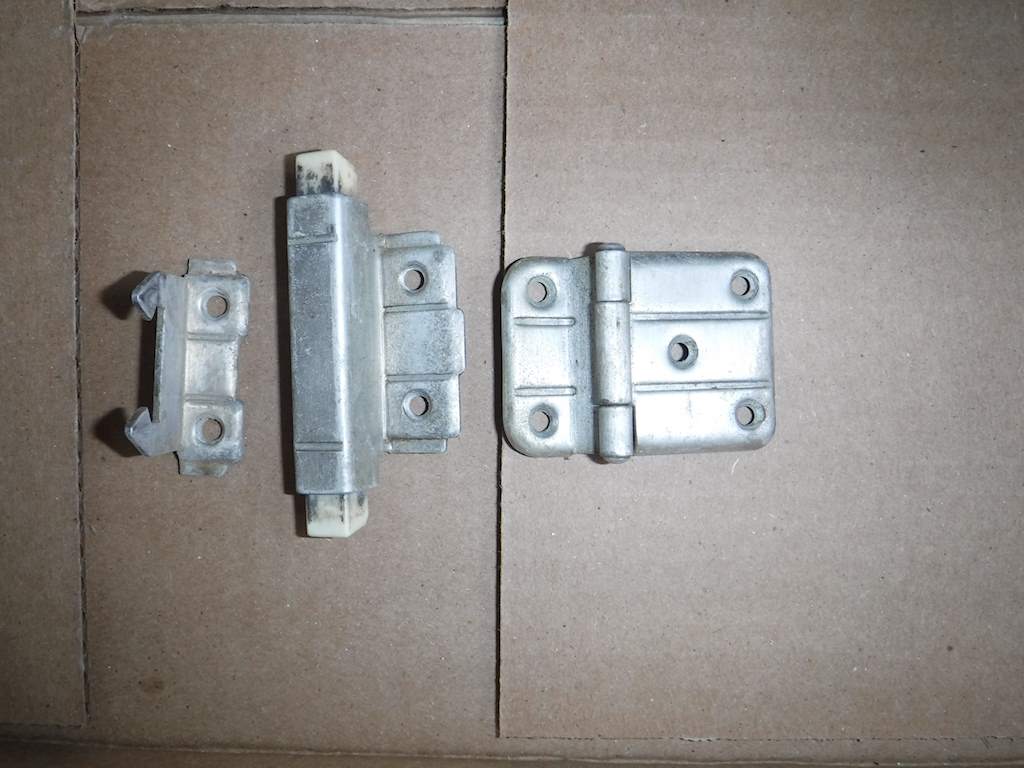
There were some metal plates used on the main cabinet. This is on the right side of the trailer interior, between the two doors.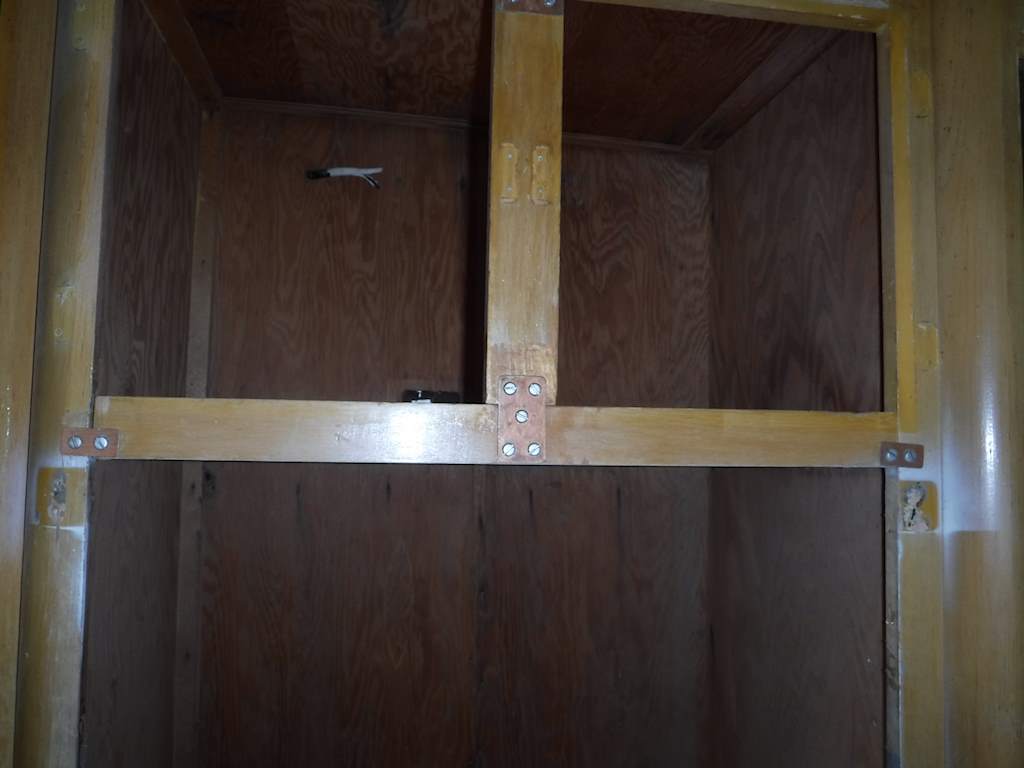
Originally the cabinet was put together with hundreds of nails and a bunch of those corrugated fasteners. Now I know the tiniest bit about real woodworking. I hate having metal plates to hold the cabinet together, but I don’t have skills and equipment to rebuild it efficiently, and I don’t have time to rebuild it inefficiently. So I just moved those to the inside. Here’s what the inside behind those plates looked like before.
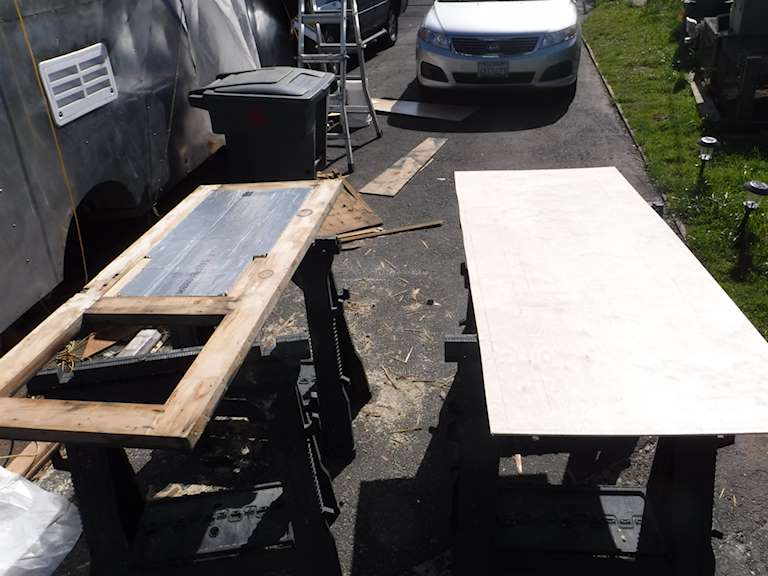
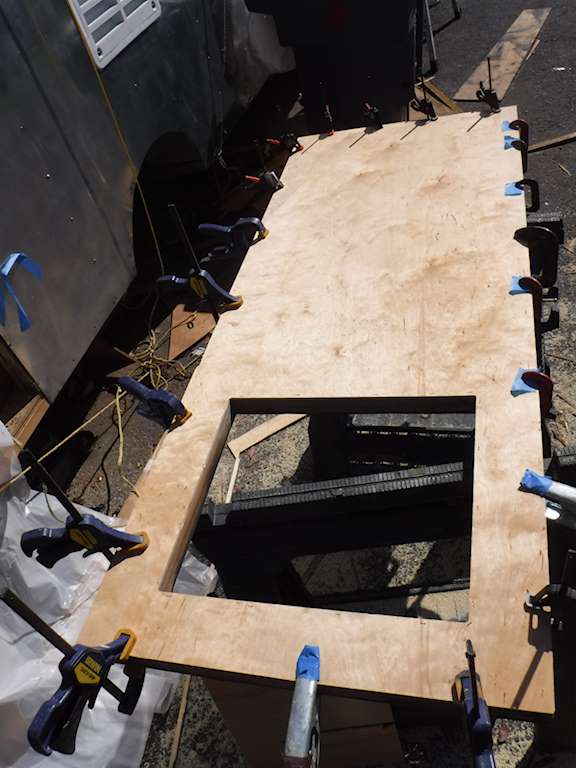
Actually the whole cabinet was starting to come apart, since I pulled it away from the floor. So pulled the sides together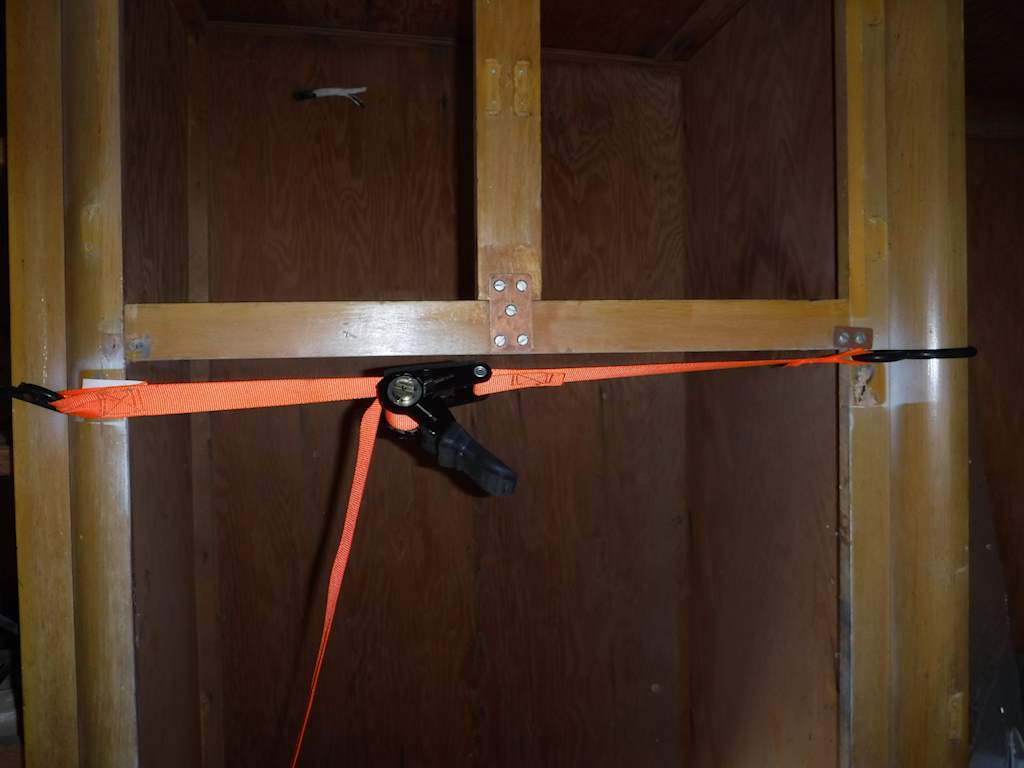
and I added more backing plates and corner reinforcement. Adds


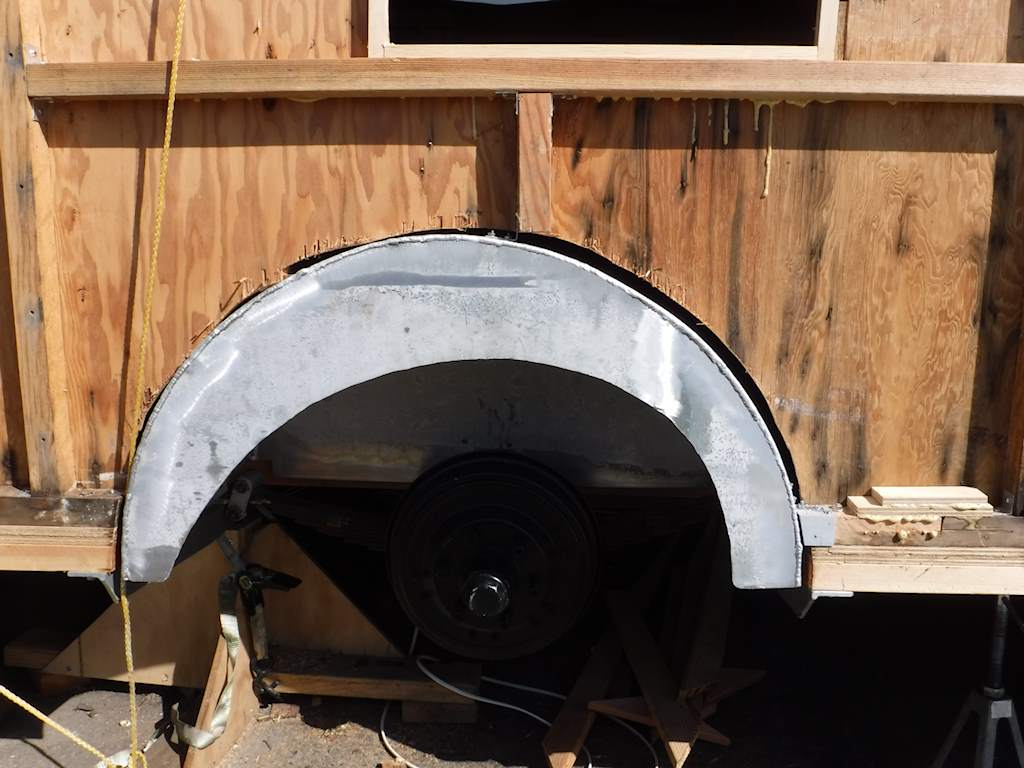
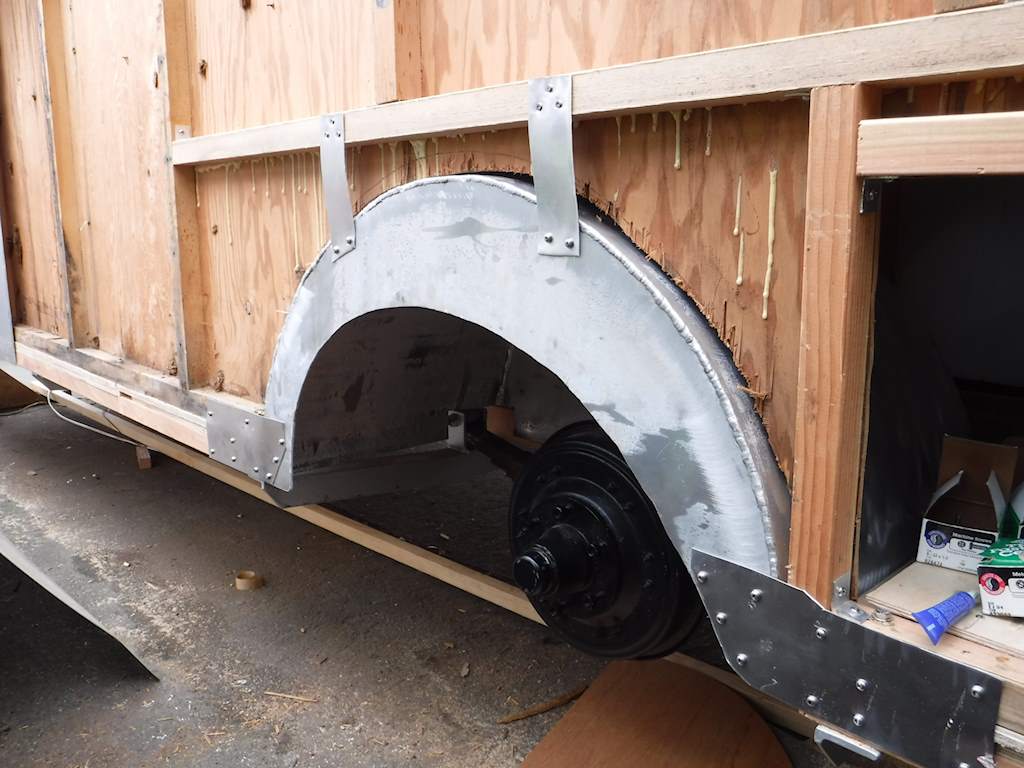
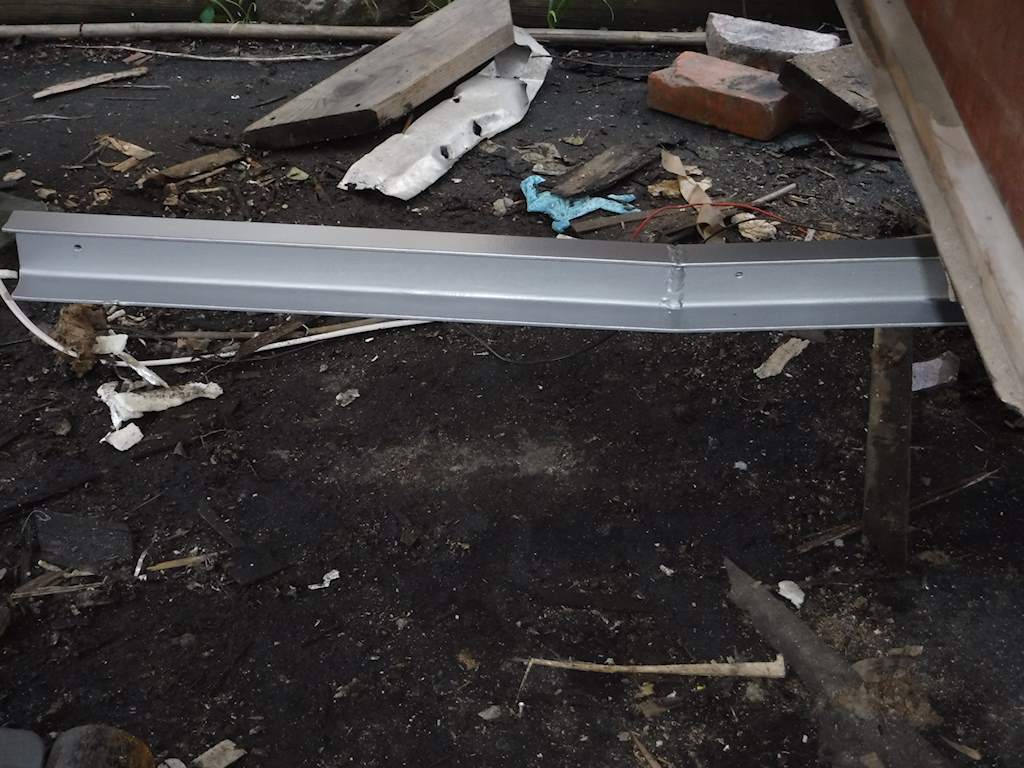
I mentioned before that I had a local welder make me new wheel wells out of 1/8″ aluminum. A bit pricey, but strong and should last for the next millenium. They look like this:

I had to remove a little material from the corners where the axle attaches. There are three clips on the inside (long one in the middle and two small on the ends), and three on the outside.
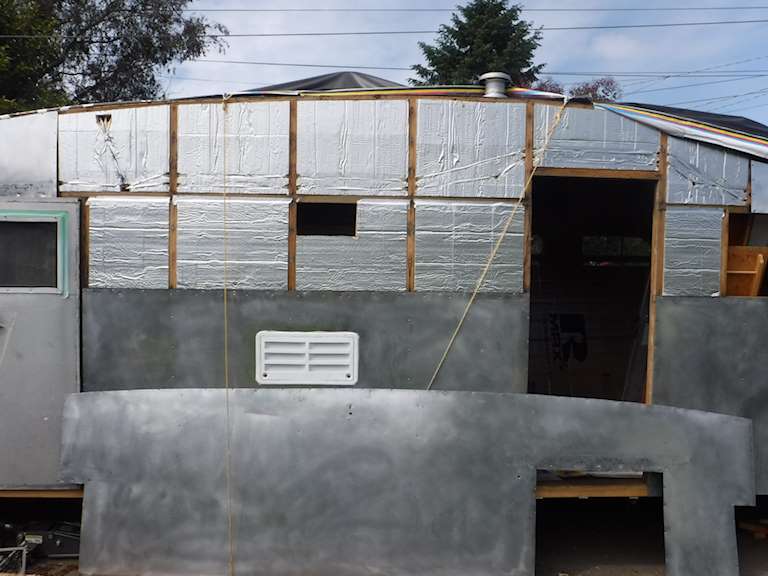
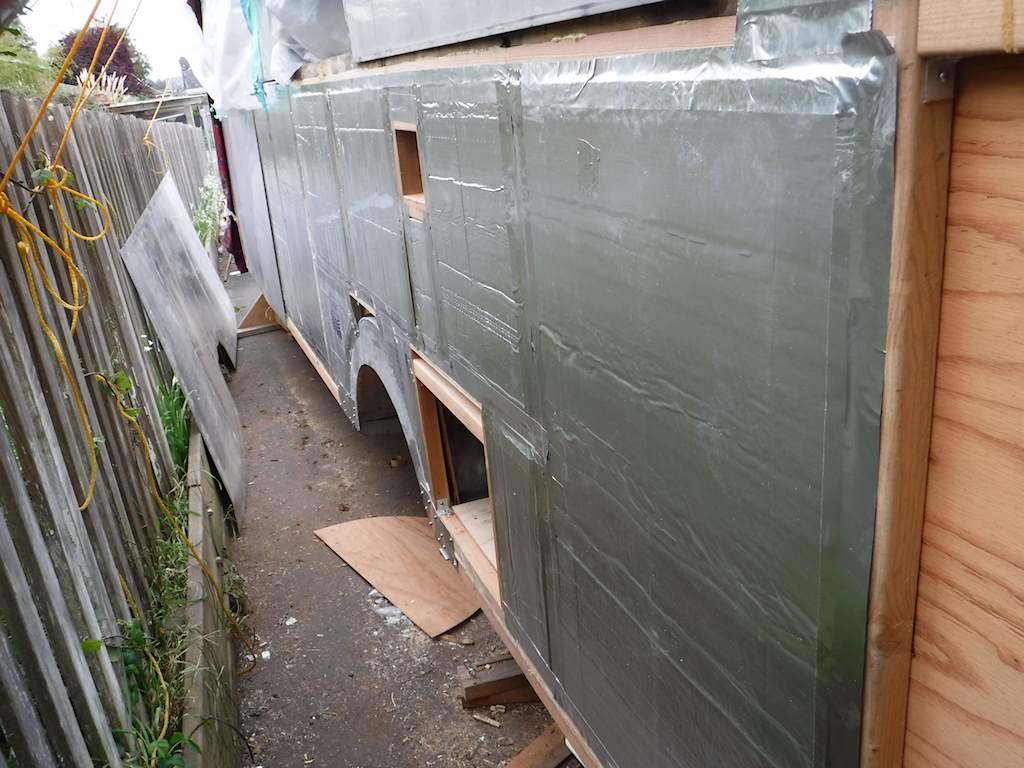
 There’s a clip at the top attaching the wheel well to the vertical 2×2, and another at the left side. At the right I trimmed the floor beams back about 3/4 inch farther than I should have, so I added a section of aluminum angle to support that side clip properly. This is all very solid now. After this I put the insulation on this section of the right side, but I forgot to take a picture. I’ll do that later. I put the skin panel back on temporarily. The cutout in the skin matches the cutout in the wheel well, and I can enlarge both if I feel it necessary.
This picture shows the cutouts around the axle attachment.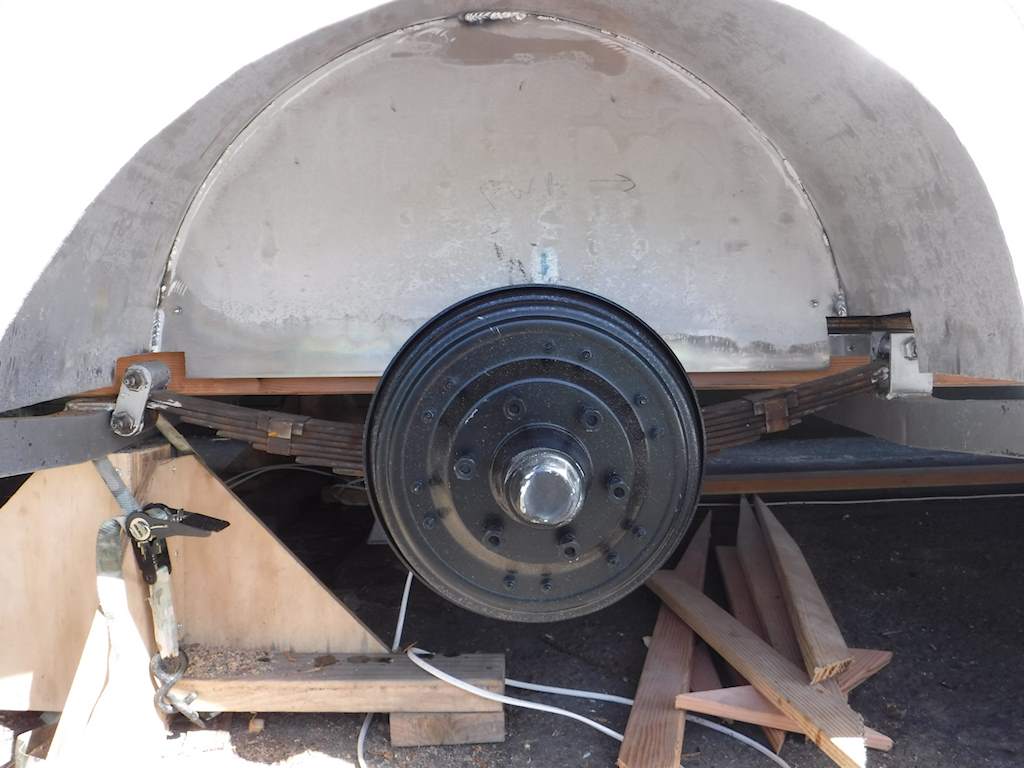
From the inside there’s space around the well. This picture is looking down from inside the cabinet.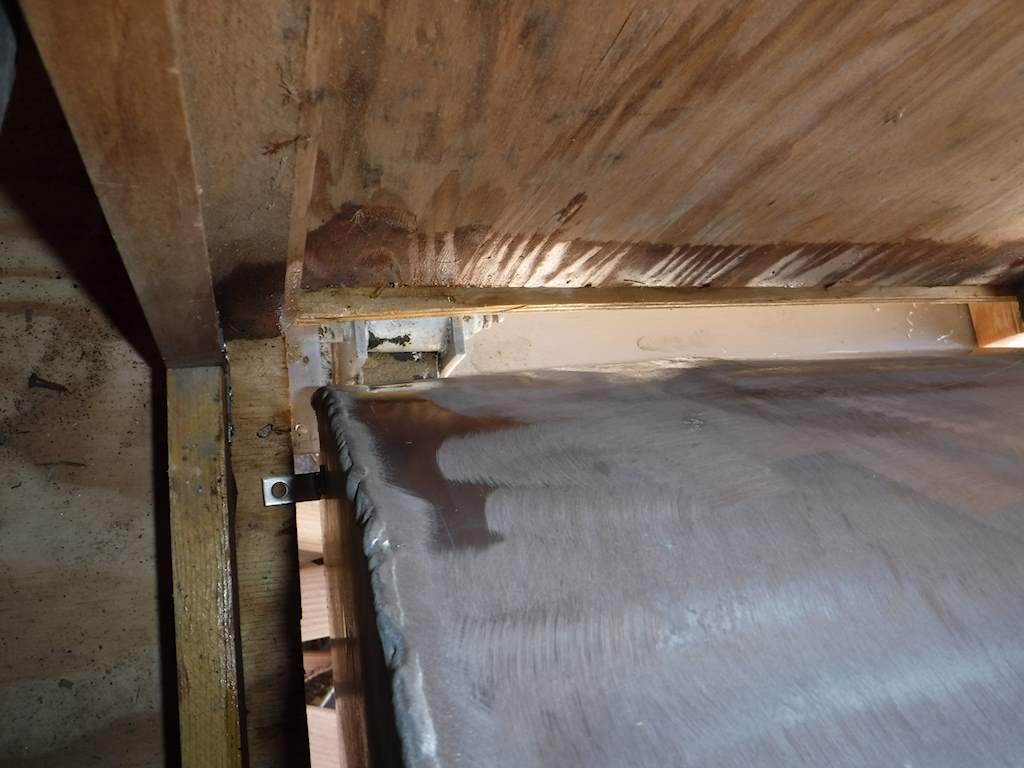
Later I’ll close that up with a epoxy coated exterior plywood and caulk it so it’s water tight. Note that the aluminum of the wheel well, even at the cutouts, is below the floor. So no spray from the wheels can hit the floor directly.
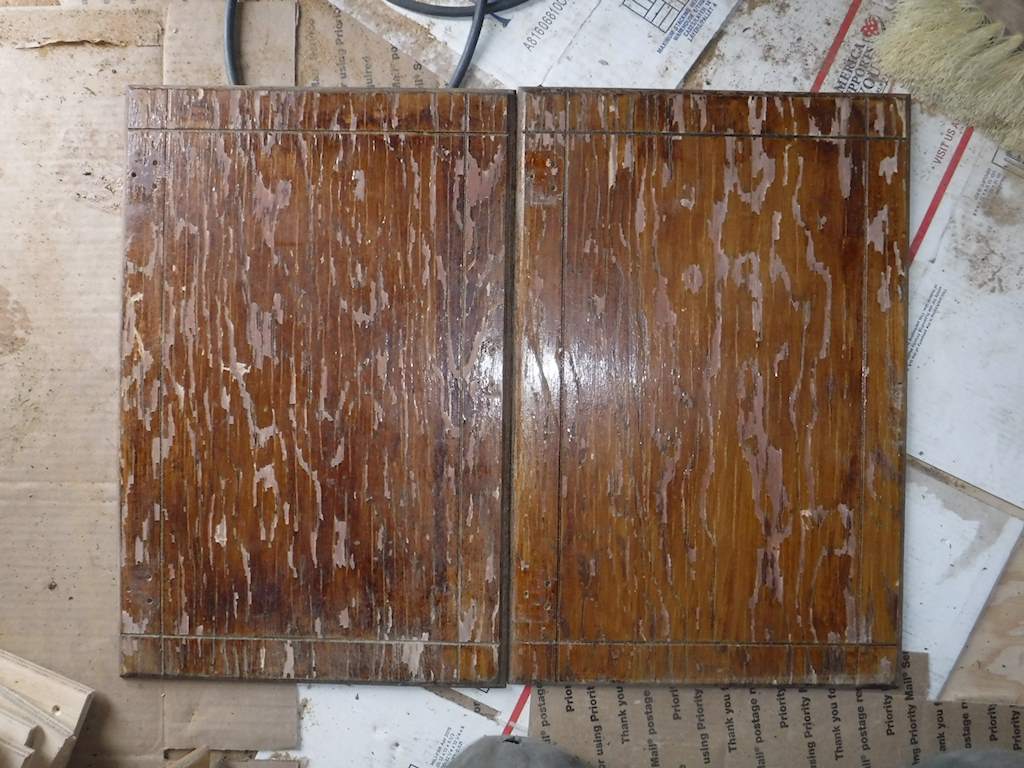
 The warm color for the frame and dark stain for the doors and drawer fronts was the original, although none of the original can be used without stripping and re-staining.
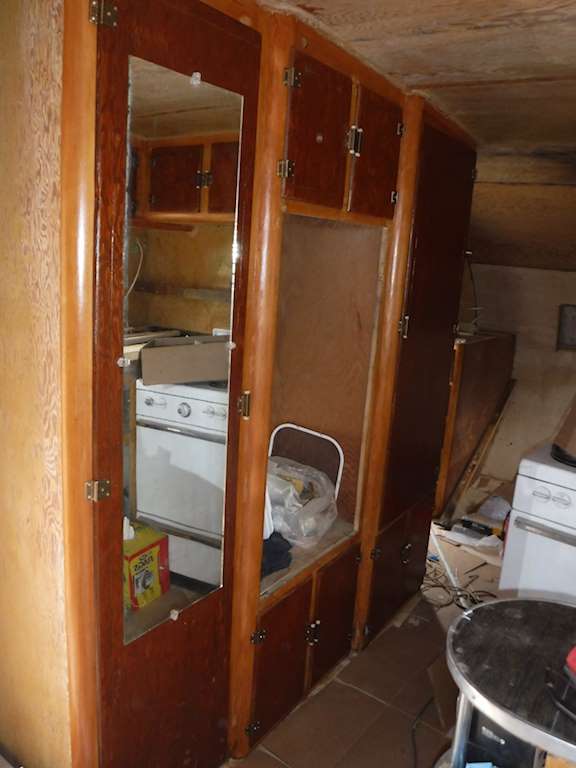
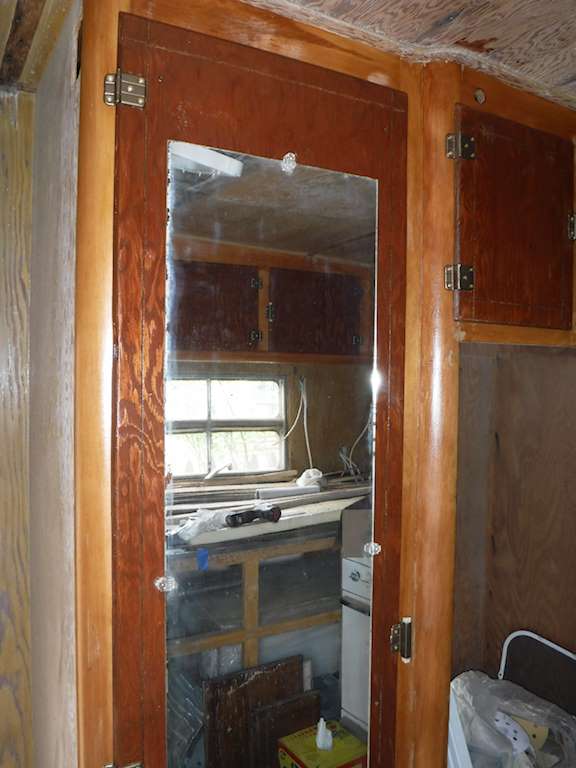
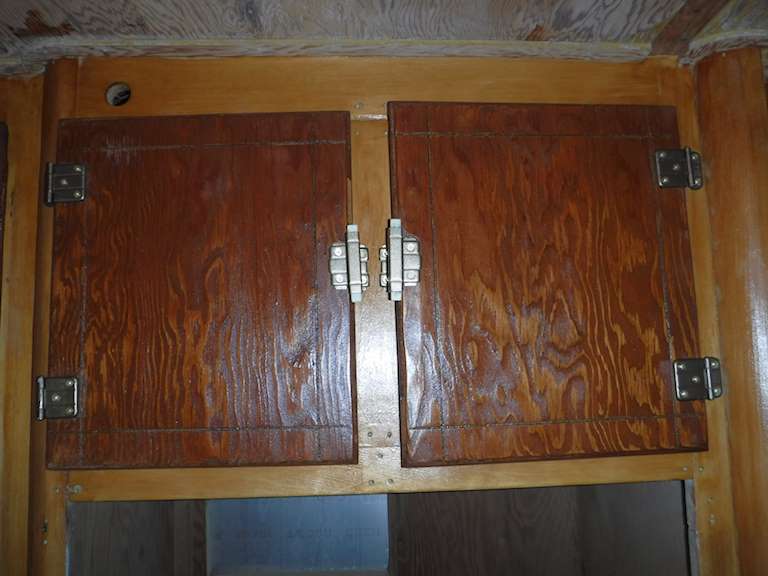
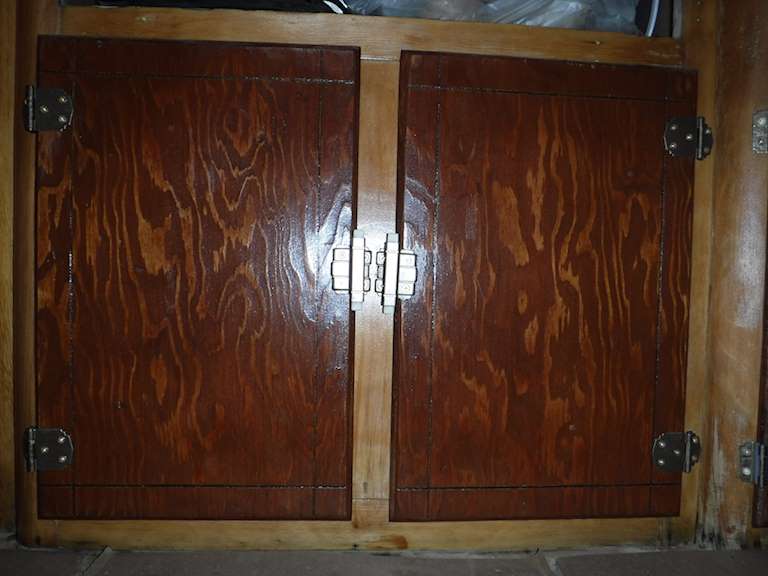

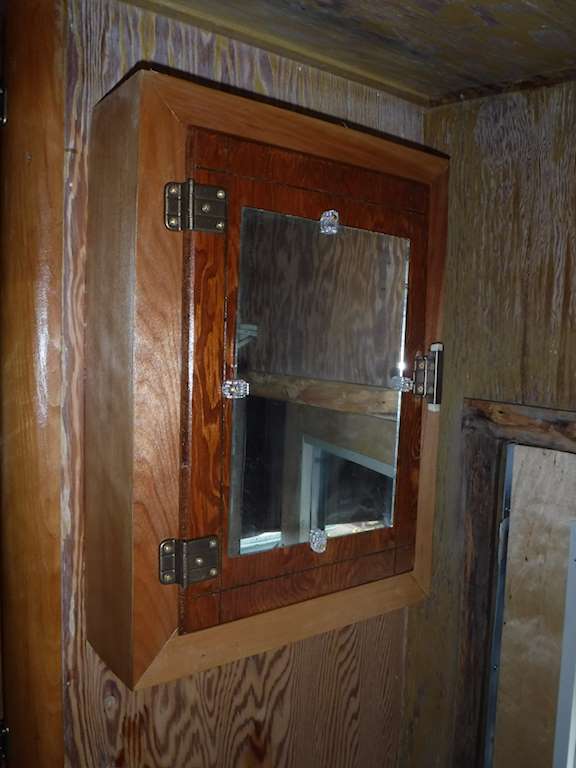 This is birch veneer- ironed on, stained, and two coats of polyurethane.
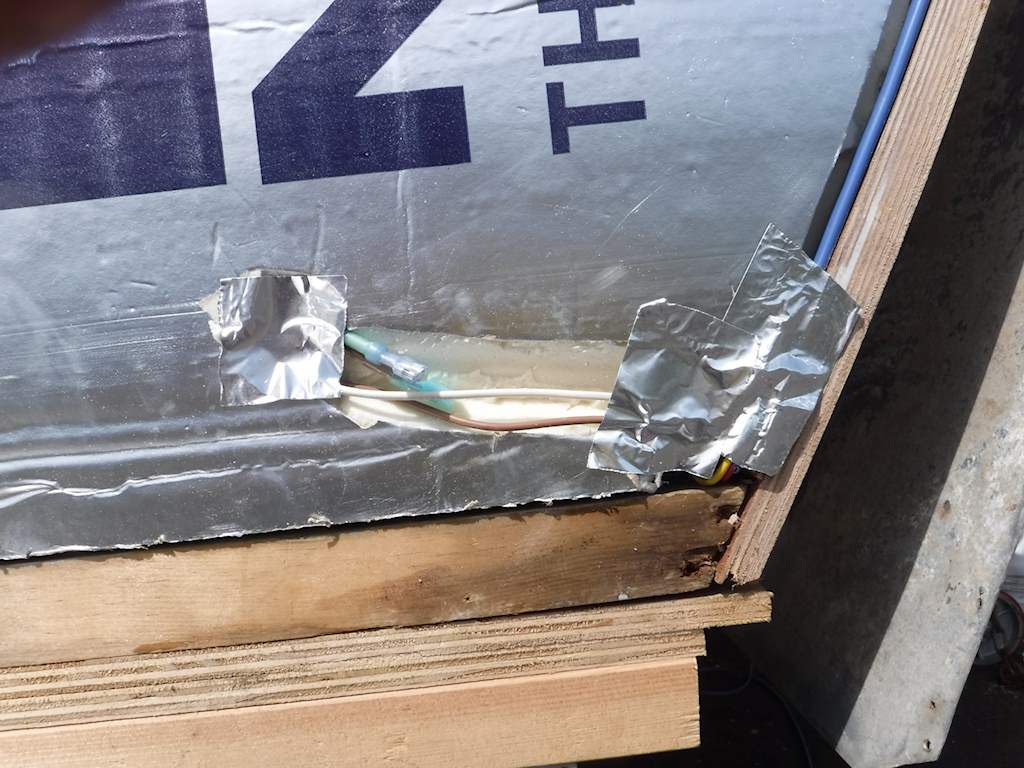
 At this point I realize I had no more inline connectors. I bought more locally. These are marine grade but don’t have the adhesive heat shrink. Fortunately I had some, so I added at the back.
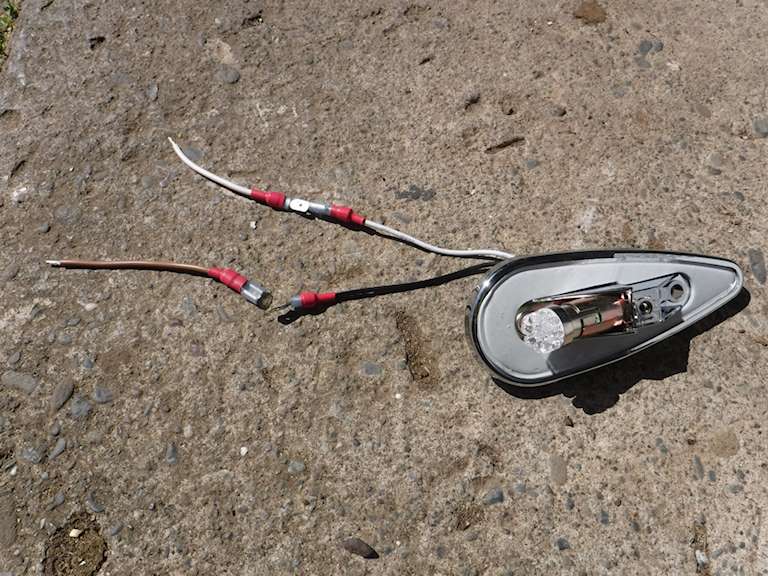

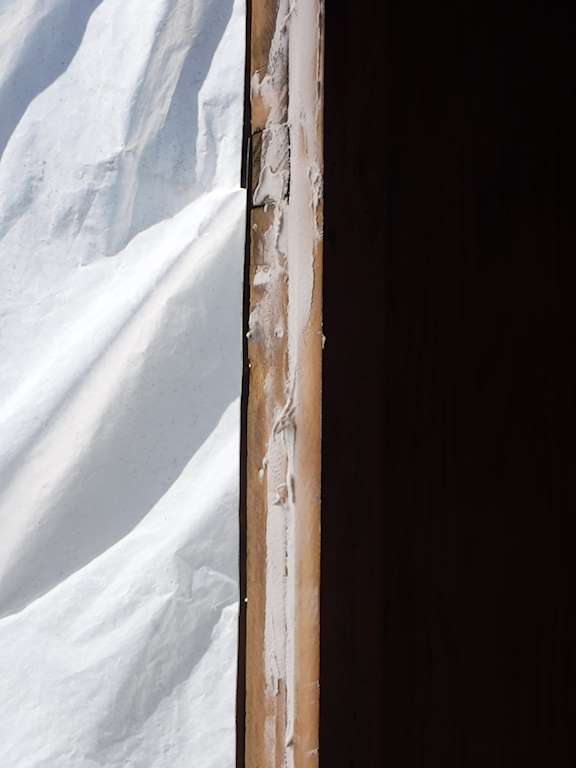
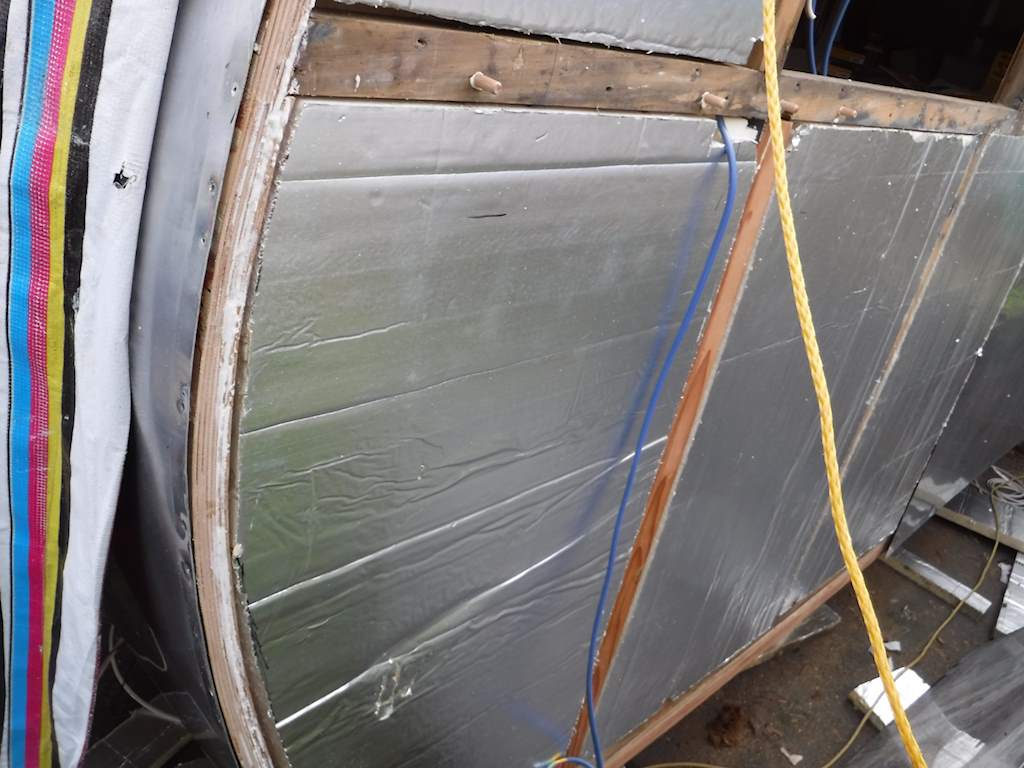
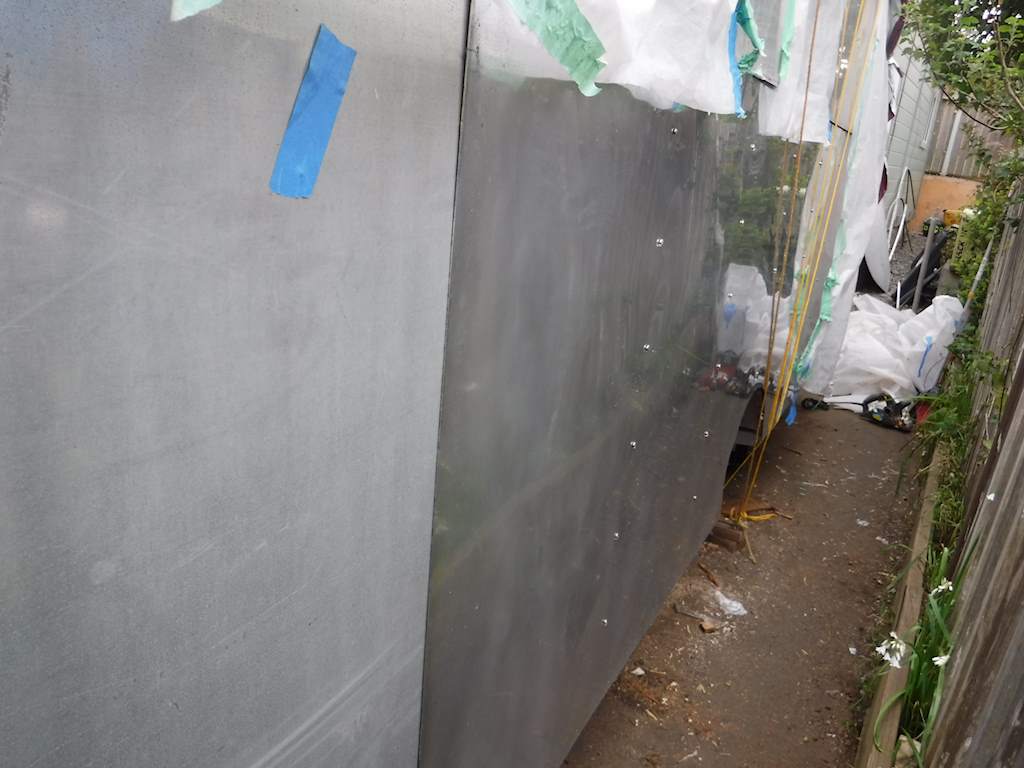 Note that on the side panel screws where there isn’t any butyl tape I’ve been putting some silicon on the screw before I torque it. Like this:
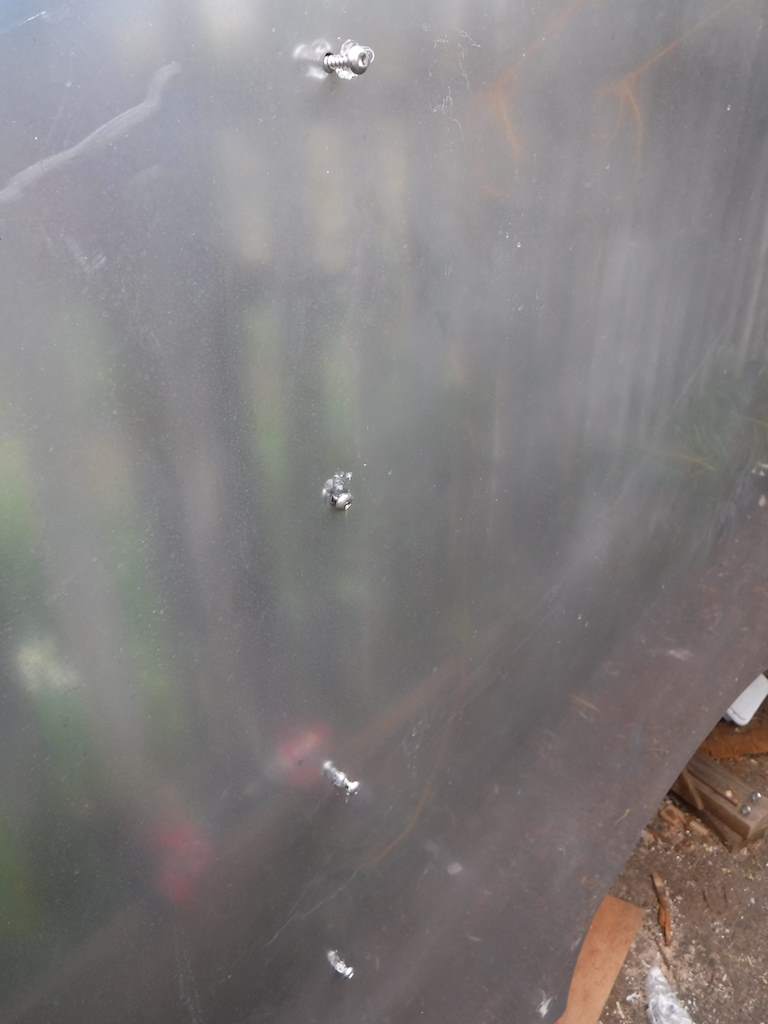
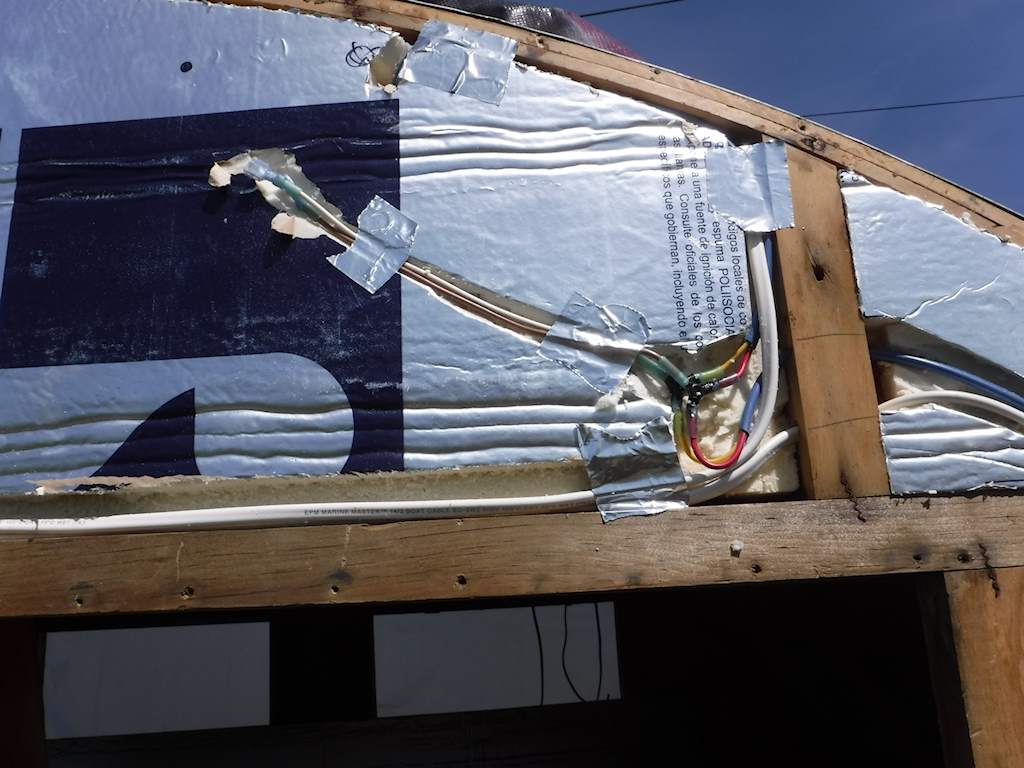 Here we have the three-way crimp connectors with a wire going over the roof to the left side lights, the connectors so the panel can be removed, and a white wire. That will bring power from the wall sconce light just inside the front door, which will be connected to the main panel (which isn’t there yet but will be off to the left in this picture), and runs to the other front lights. Also I like the idea of dielectric grease wherever there’s an open electrical connection. I found this stuff in my local hardware store. It pushes the grease down into the socket, as you can just see in the terminals and the bulb socket. I’ve done that for each of the connections and each of the bulbs.
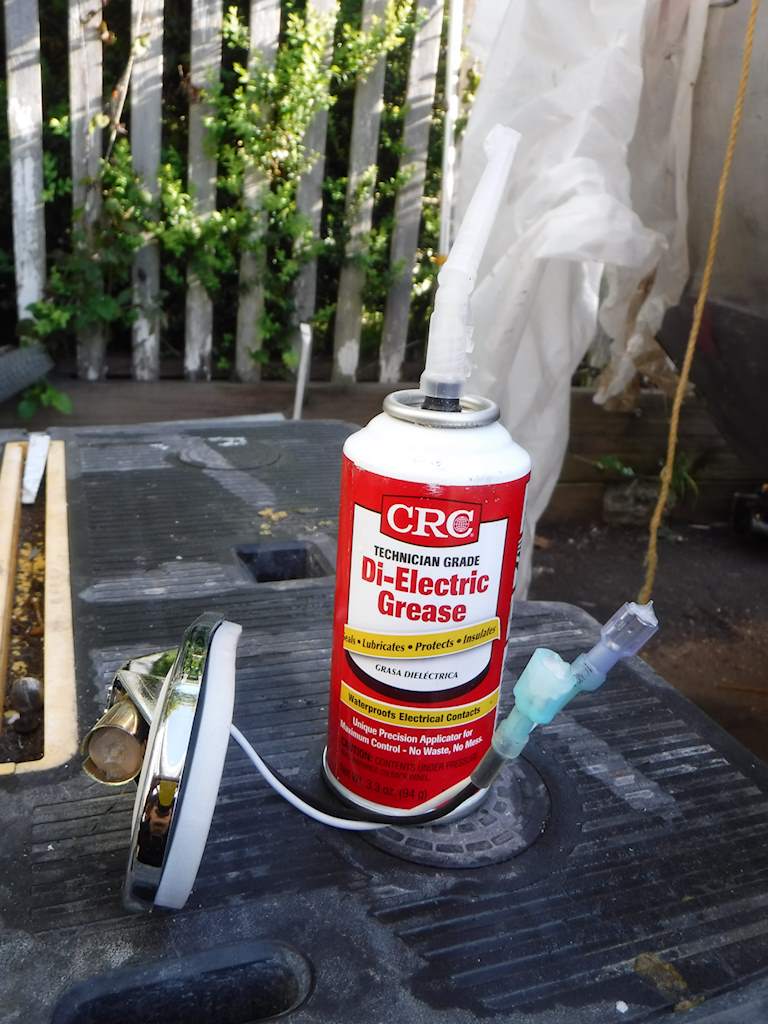
 I didn’t get photos of the center upper with insulation and without the panel, but that has be far the most electrical connections. Something like eight or nine lights, the thermostat, water pump wire, and two USB/cigarette lighter socket charging stations. Here we are with all the left side panels in place.
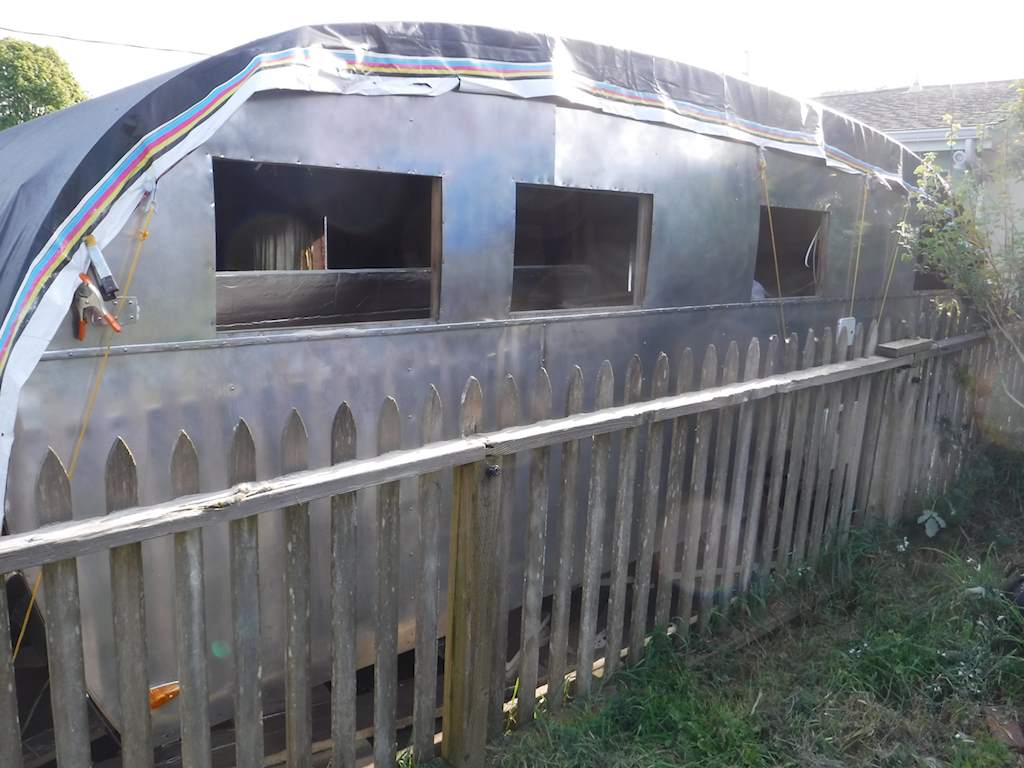
 In three places there was a nail hole within about a quarter-inch of a standard structural screw. I bought some aluminum circles off the web, and with some butyl tape they don’t really attract attention. In one place there’s an “extra” hole, but it’s almost in line with the others. Put in a screw and it looks normal.
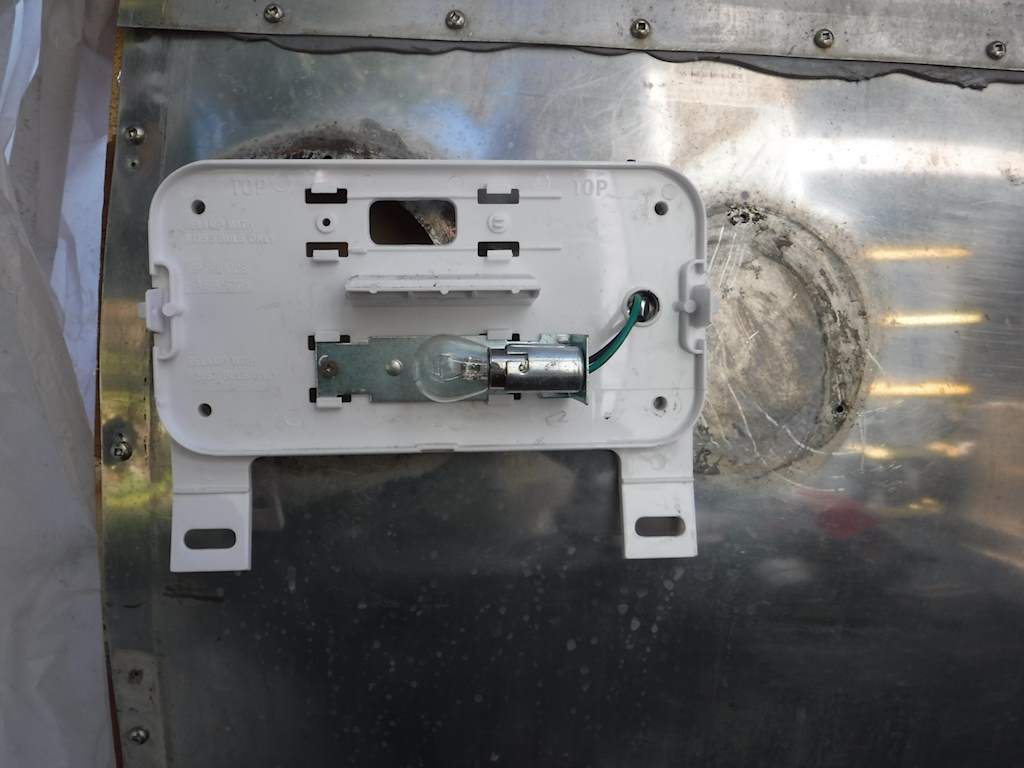
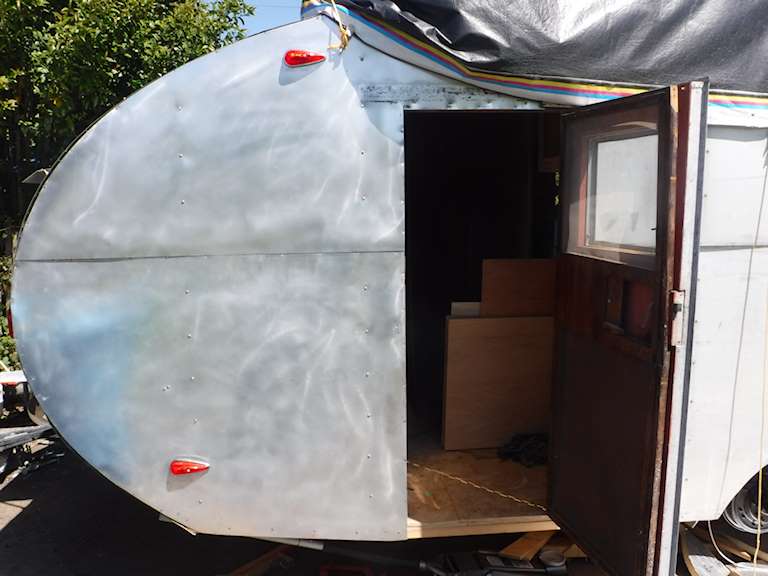
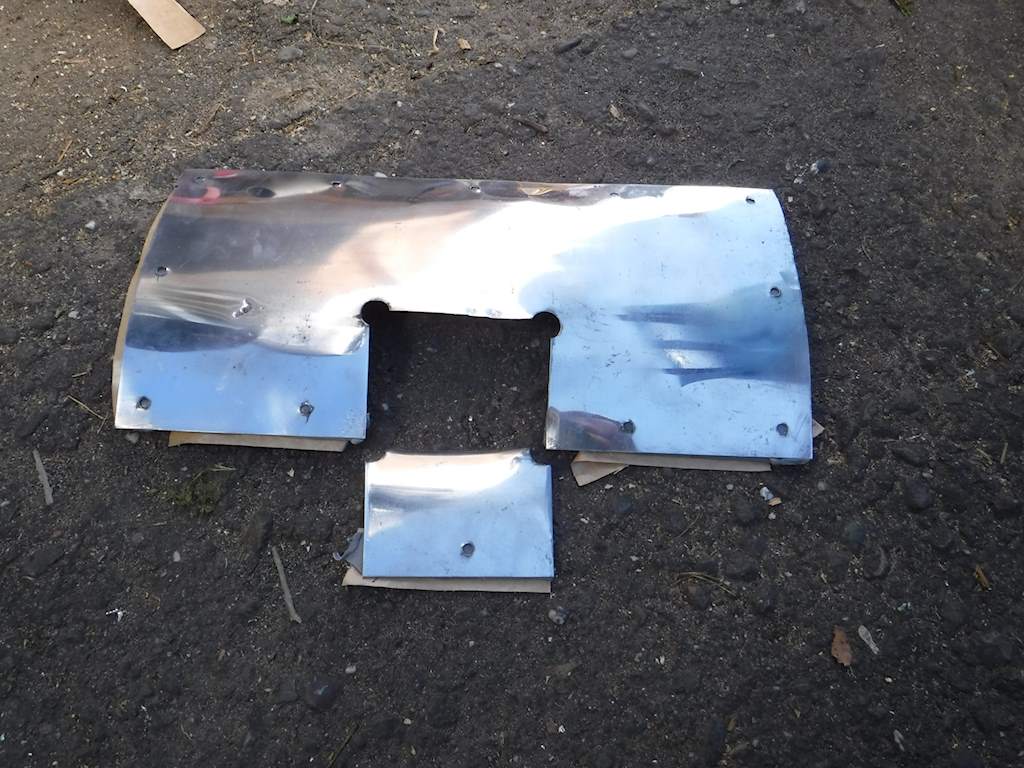
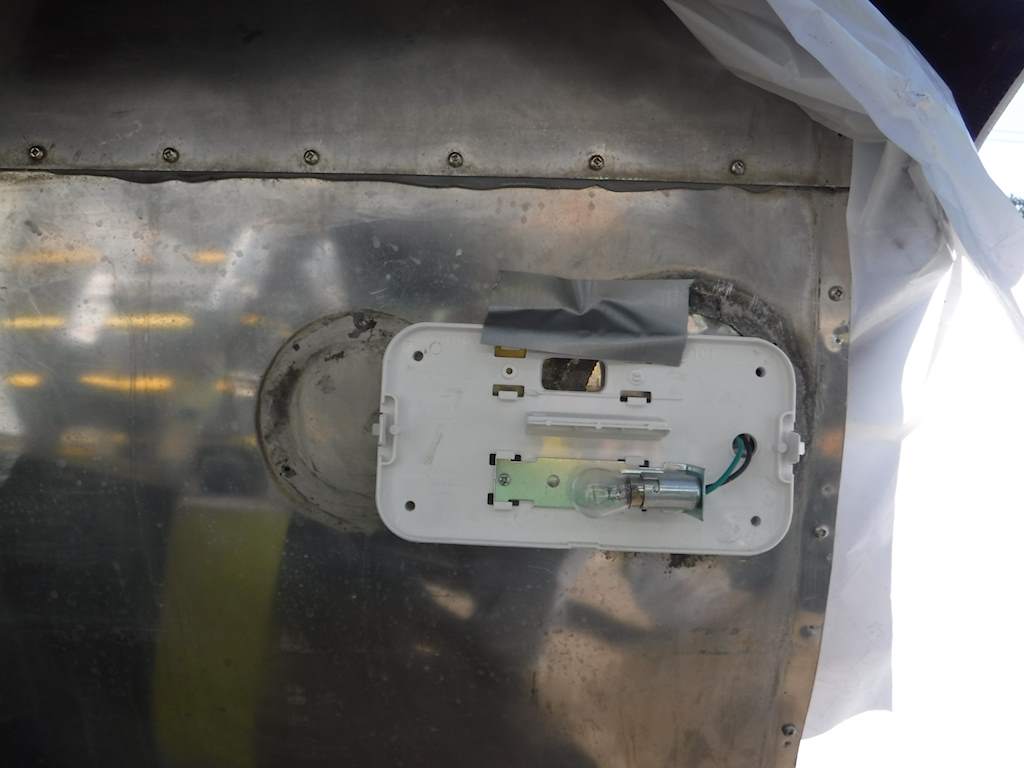 Not beautiful. Note also that the license plate light is integral with the left taillight, so there was a hole in the center. So I needed some aluminum sheet to cover the holes.
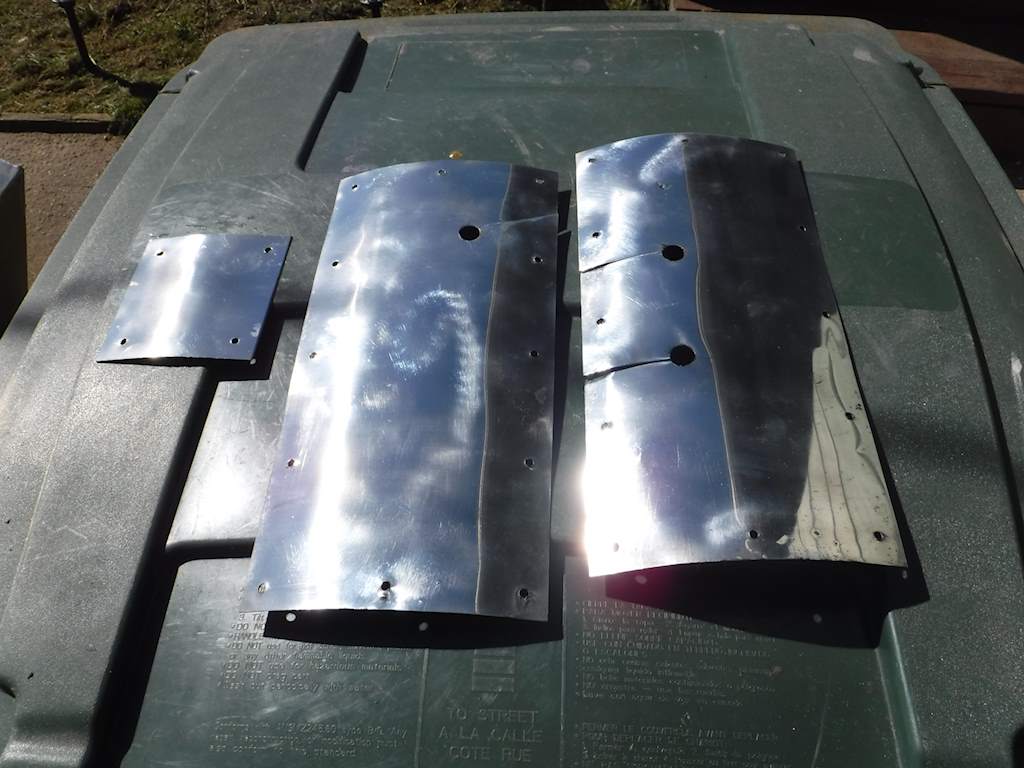
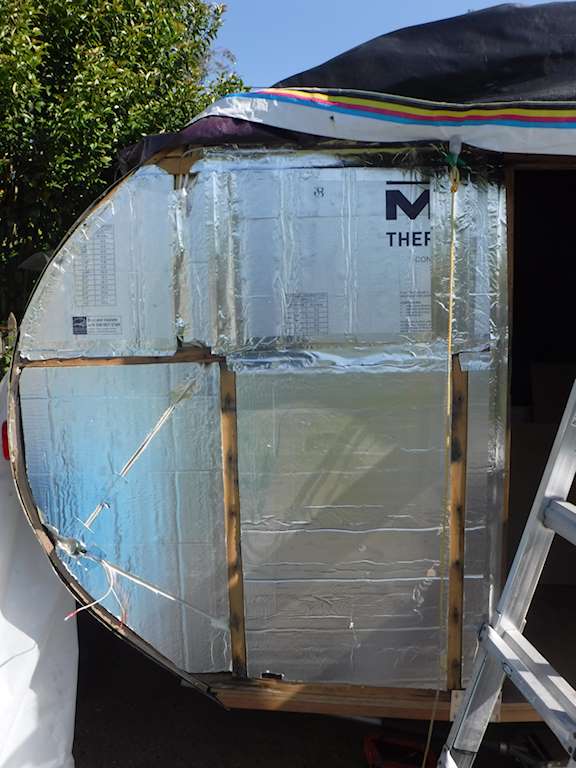
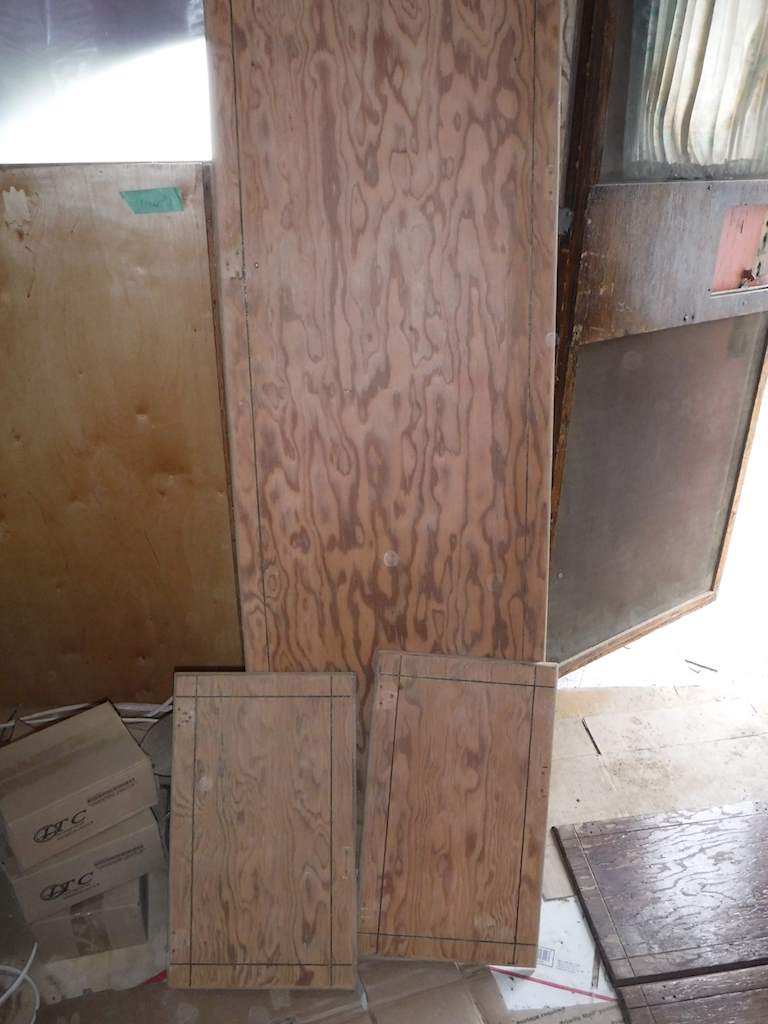
 The I did the framing on the left, in the kitchen. There is a hole at the bottom for the water heater, and another above it for the water inlet.
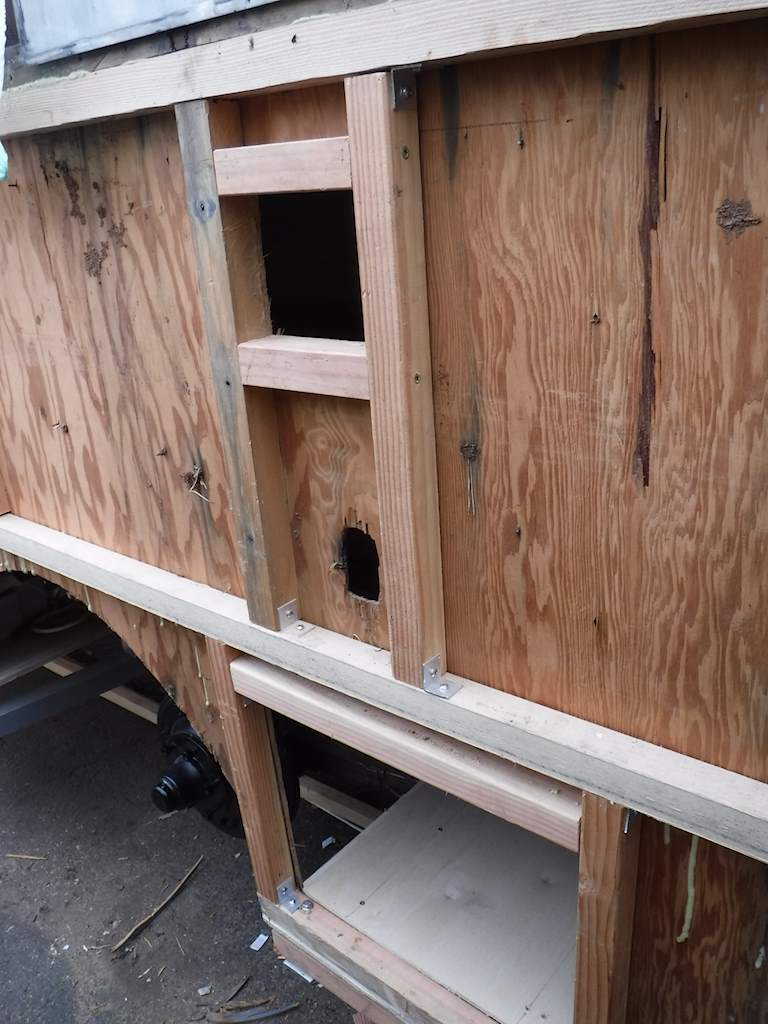

 I needed to cut a hole in the wall between the kitchen cabinet and the bathroom. The water tank will sit just over the wheel well. You can see it in the background of the picture above. The water tank, heater, pump, and accumulator will take up almost all of the cabinet. While I was working in this area I added some reinforcement to the cabinet. Like the one on the right side, it was assembled using those corrugated fasteners, which had rusted badly.
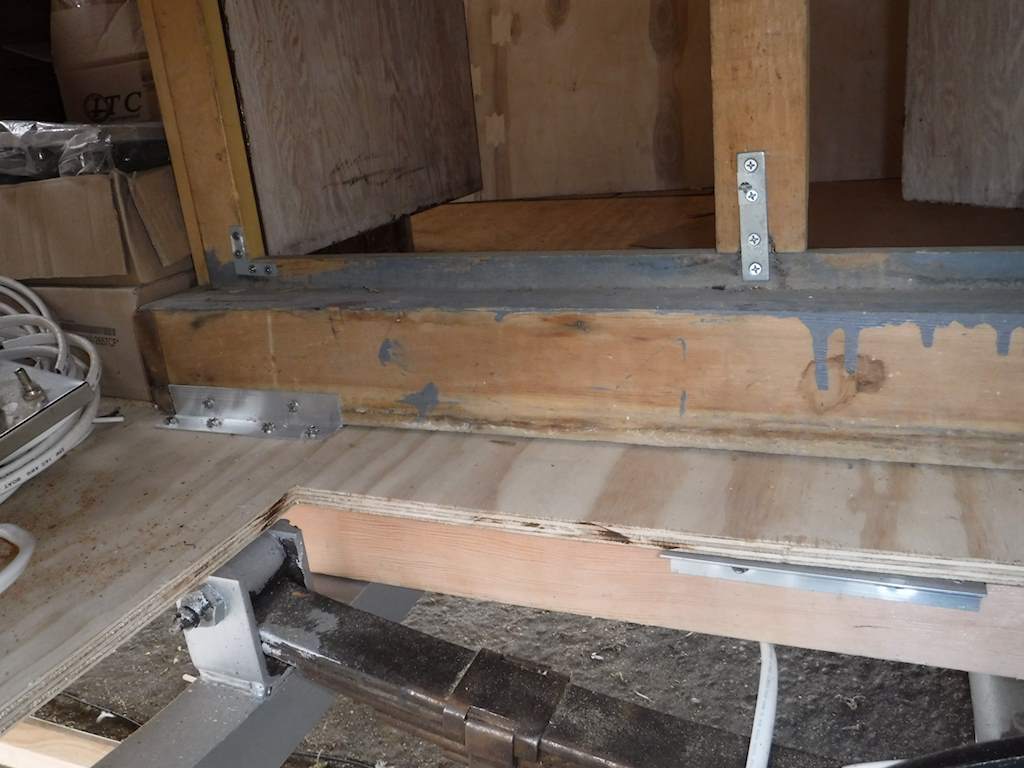
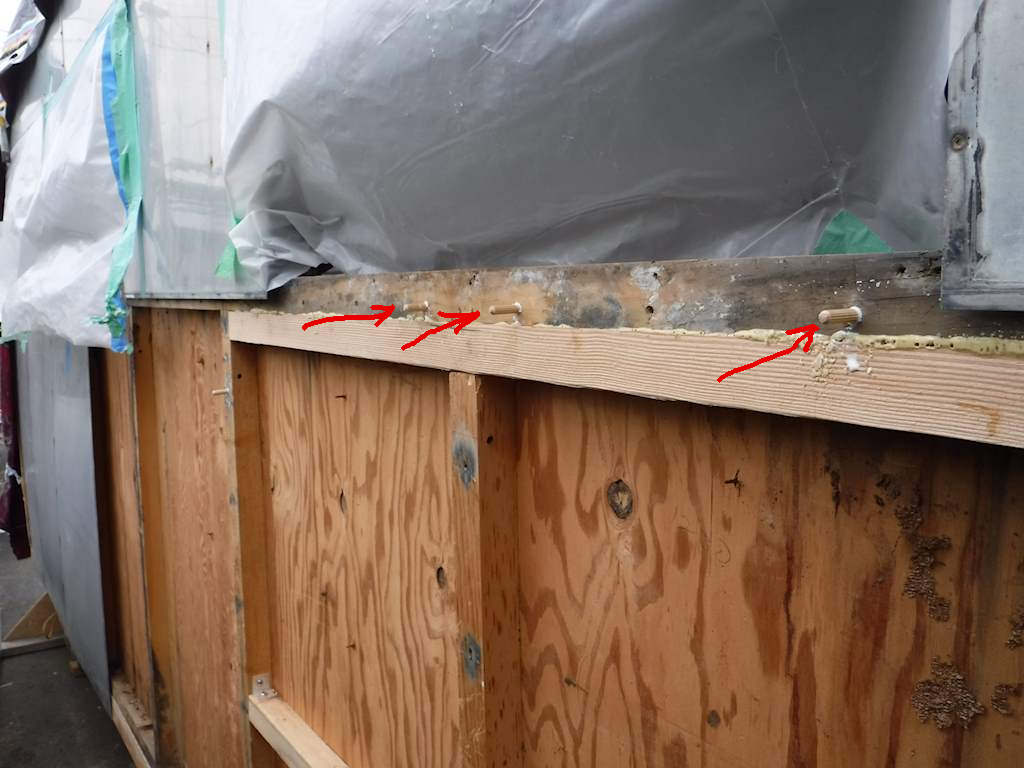 Then later cut the dowels flush. The joint between the center lower exterior panel and the front wasn’t at a 2×2, so I added another vertical to give the joint support.

 Annoying. It means I have to
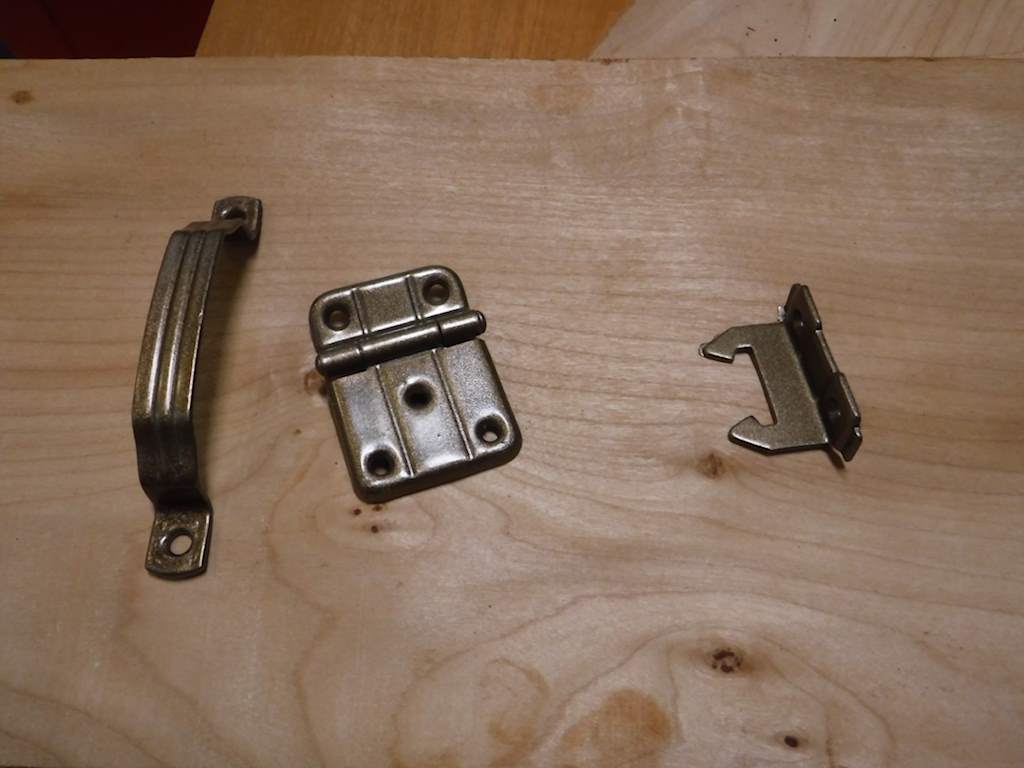
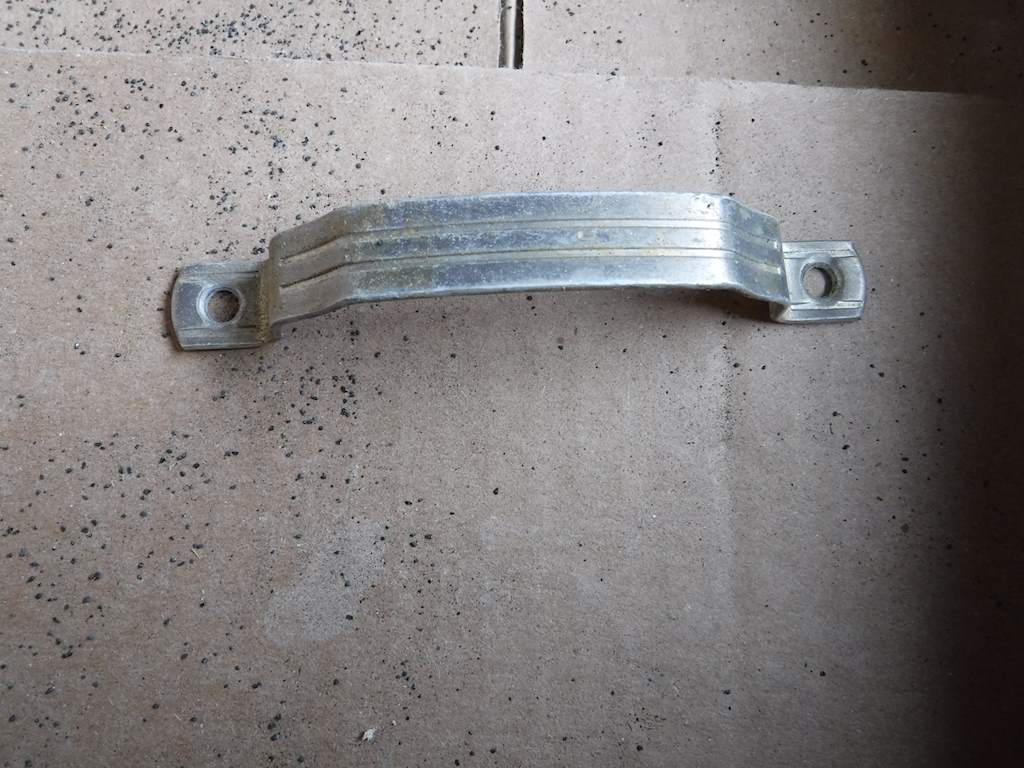 The middle one in the second picture is the door catch, which grabs the one on the left. It’s very positive- you have to squeeze the top and bottom to release it. So I soaked the catches in denatured alchohol and scrubbed off the black, then sandblasted everything so it looks like this:
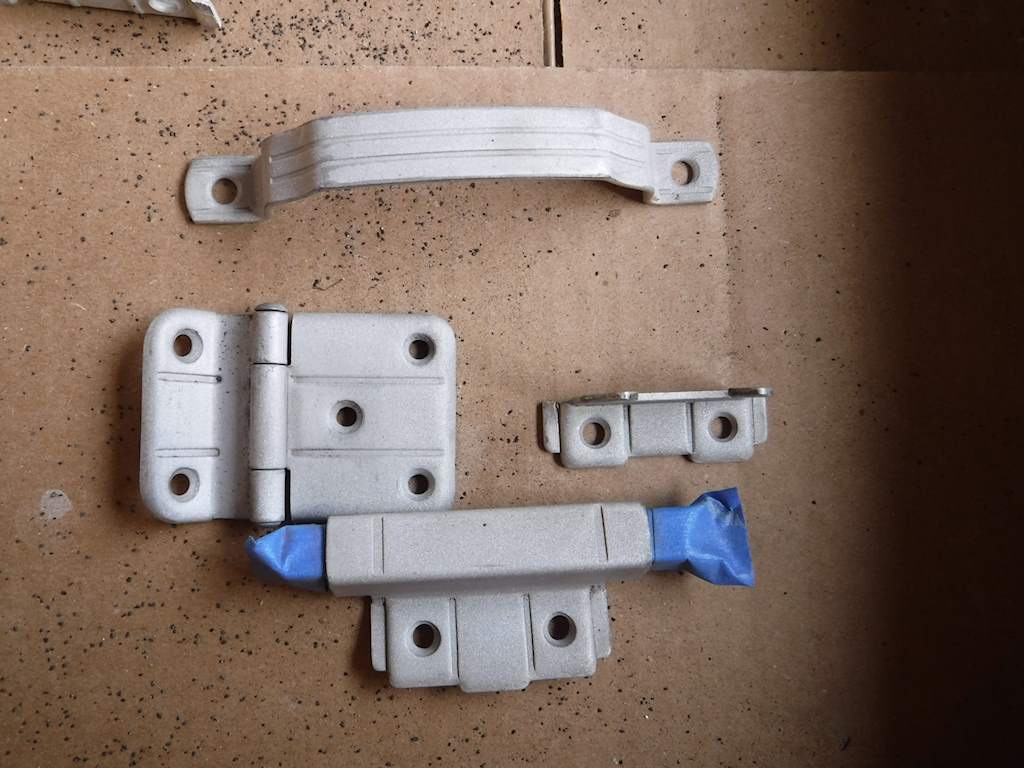
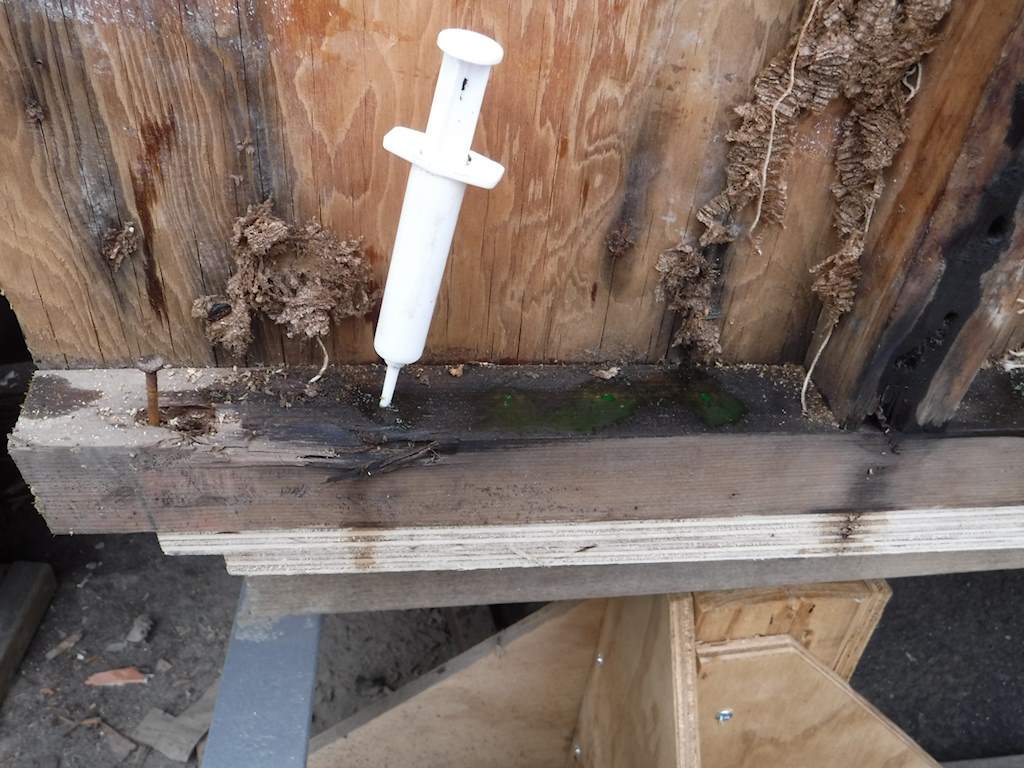
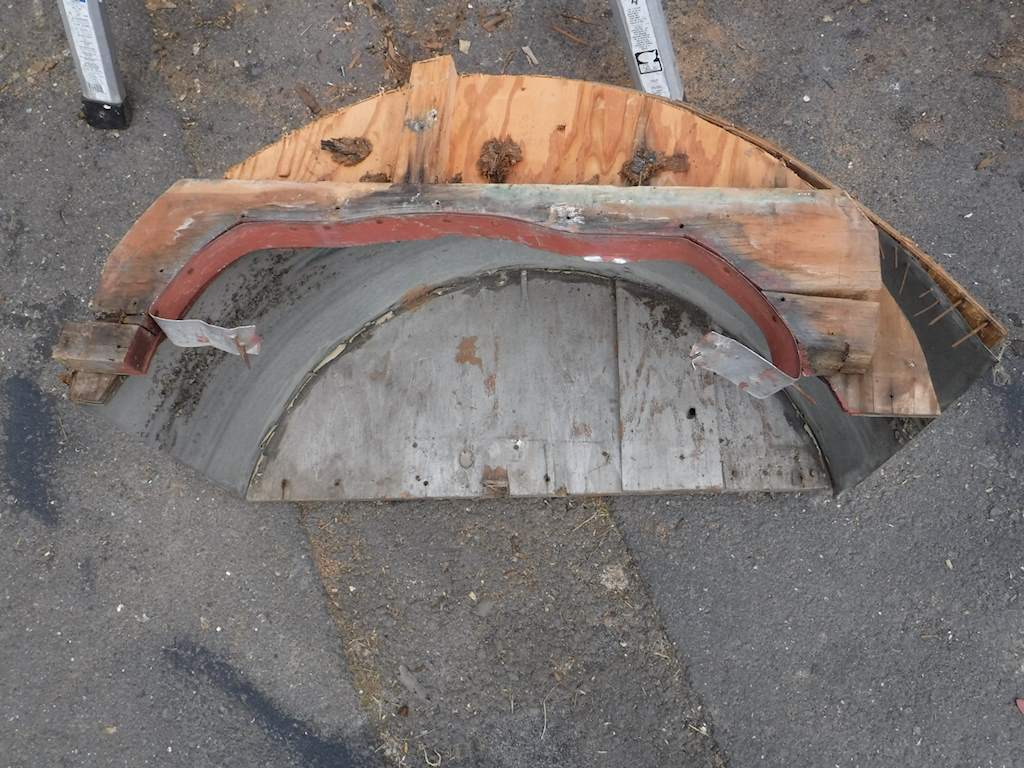 An ugly combination of plywood, a strip of galvanized steel, and nails. LOTS of nails. Just designed to leak and rot. The wood in the wheel well was rotting on both sides. The wood on the right side of the trailer, once the well was cut out, was a little water damaged but not much. I drilled a number of holes into the lowest 2×2 and put in about a cup of ethylene glycol using a plastic syringe.
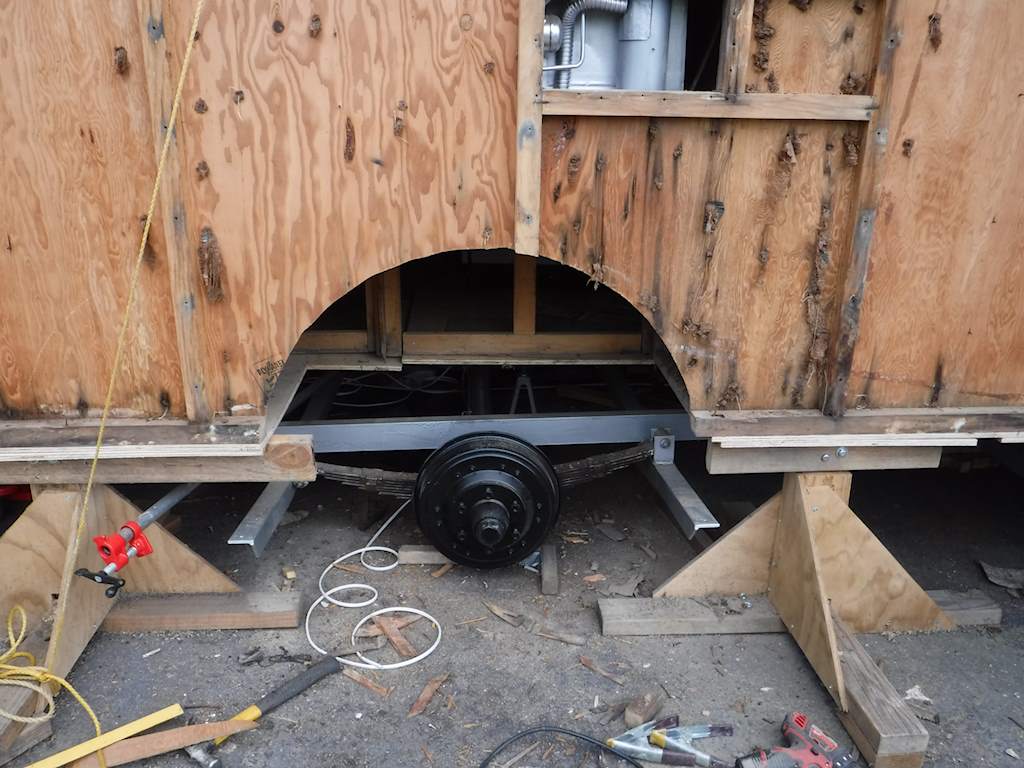
 The new wood at the top of the picture is glued (gorilla glue) to the existing 2×2 that runs under the windows. The water heater will go at the bottom right of this picture, to the right of the wheel well. Once I cut the hole for that I’ll put in whatever framing is necessary. Also I’m running out of those angle clips (just cut from a 1×1 aluminum extruded angle). I need to make another couple dozen, and when I do I’ll add some here. Probably do that tomorrow. I need to do a similar rebuild on the right side. That’s on the agenda for the next non-rainy day, .
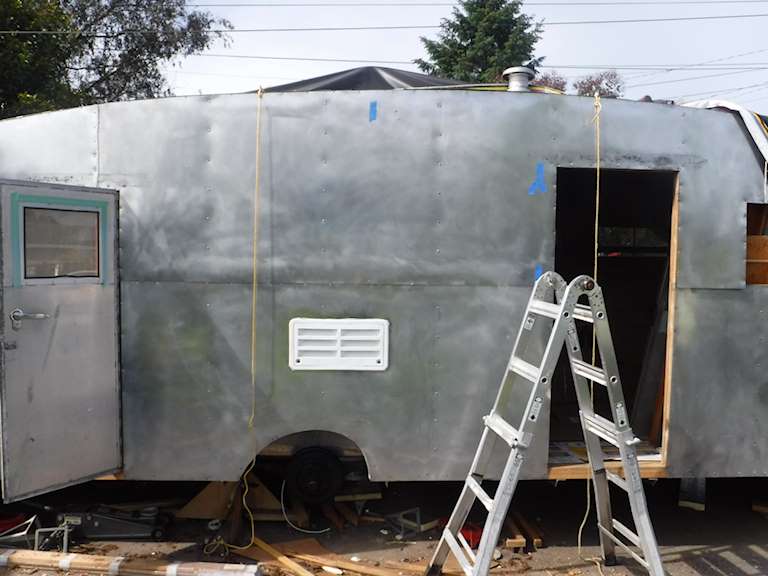
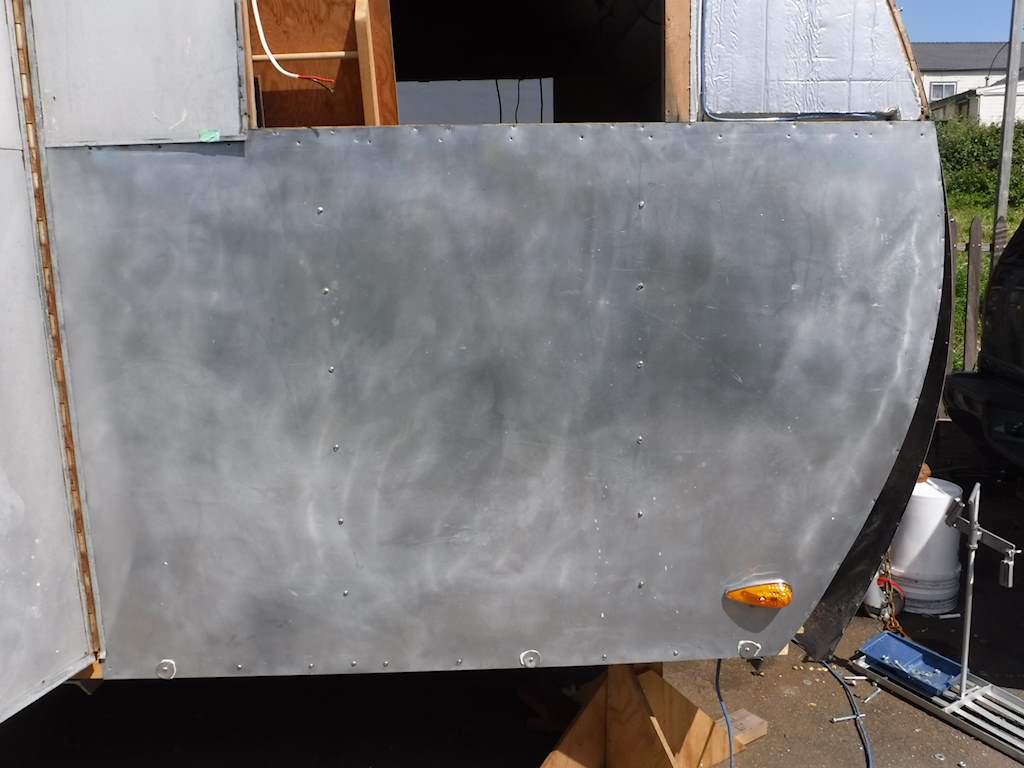
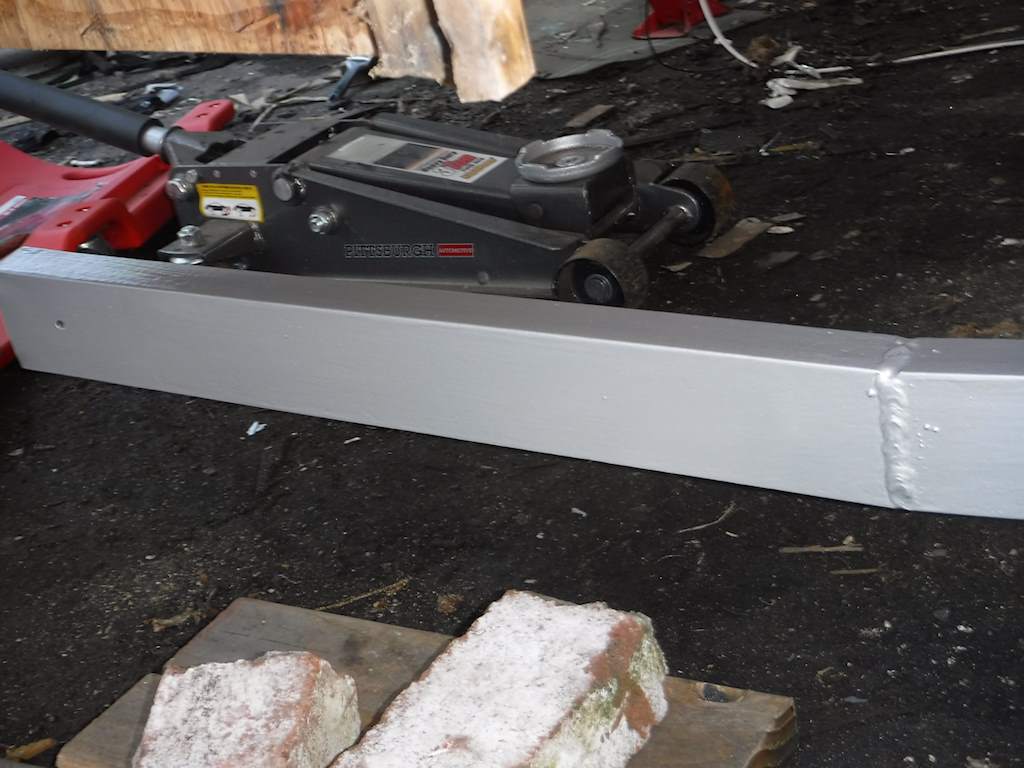
 And painted. Looks like this after two coats of Alumathane.
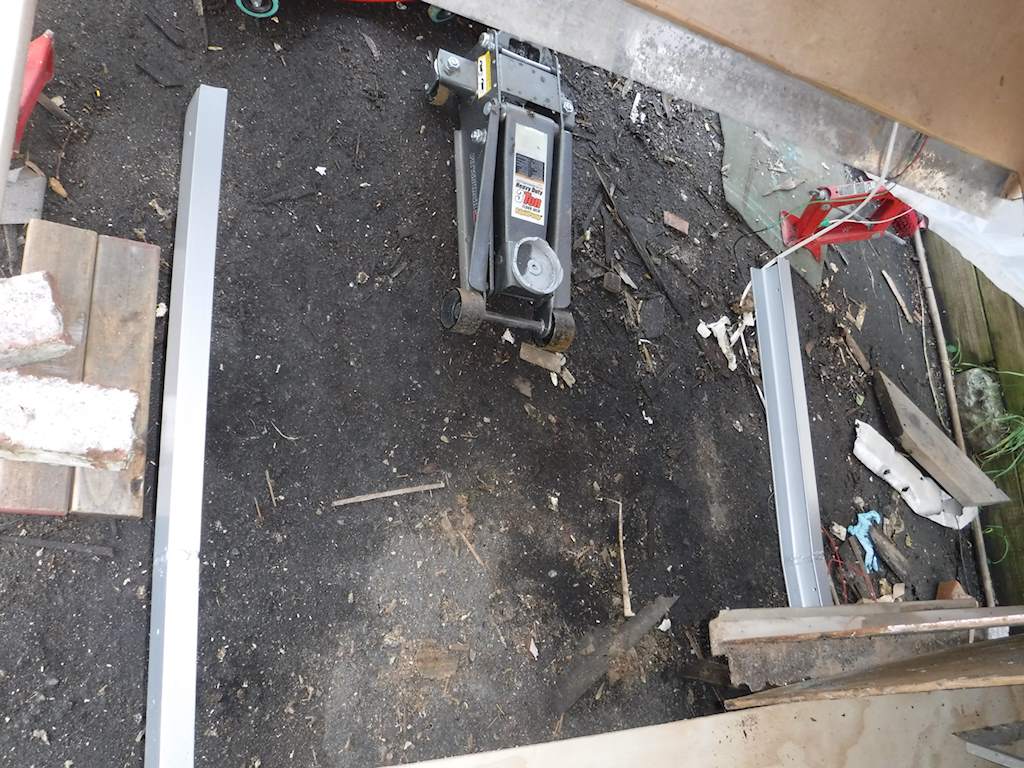
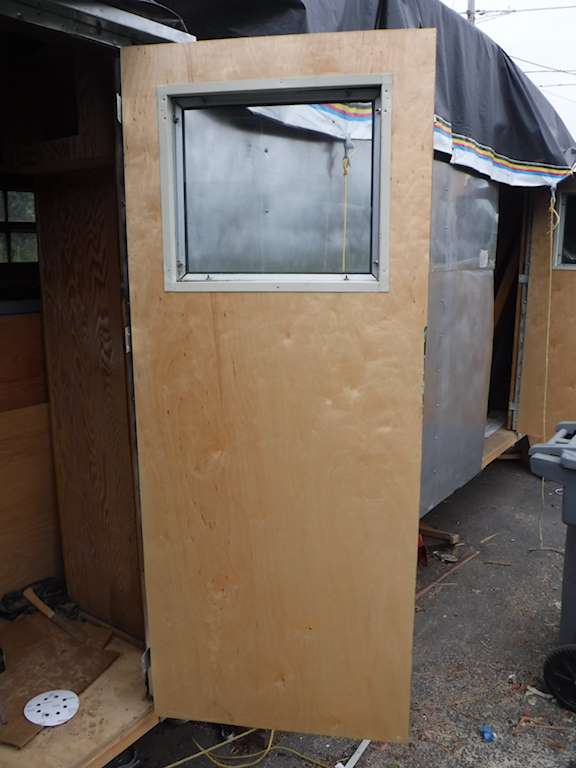
 And that completes the frame work except for the very front. I’m going to have a new hitch welded on and possibly some other work, so I’ve left the very front foot or so alone. I need to mount the rear floor section, but that’s easy. Higher priority is to get the wheel wells redone. I’ve asked the guy who rewelded the frame to make me some new aluminum wheel wells.